

I love lace insertion. There are so many ways to do it, depending on the type of lace you’re working with, and the effect you want to achieve.
When I made the Ettie Petticoat pattern I wanted to include instructions on doing them all. But a 70 page pattern is not practical! So I restrained myself to three techniques that are suitable for all types of fabric, most types of lace, and allow you to insert lace by hand or machine.
The one type of lace the pattern doesn’t cover is insertion lace with raw edges.

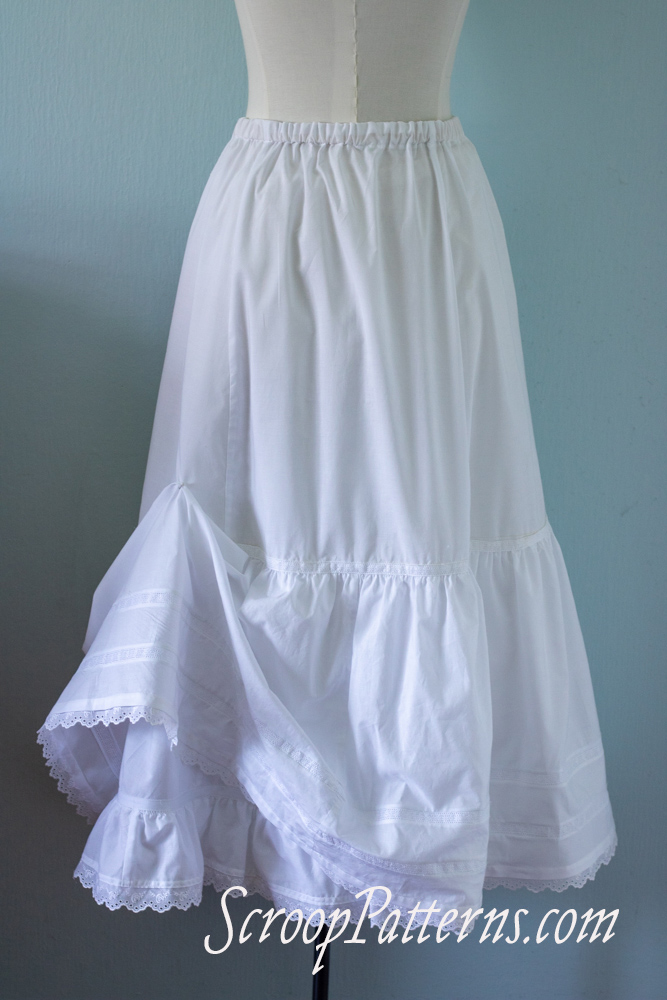
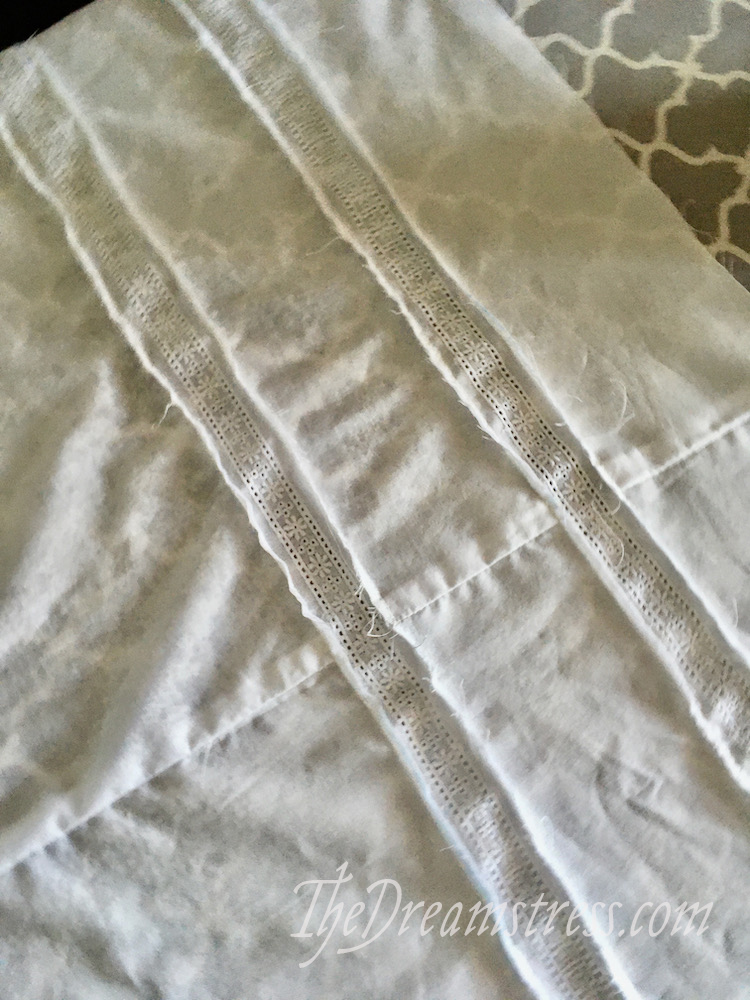
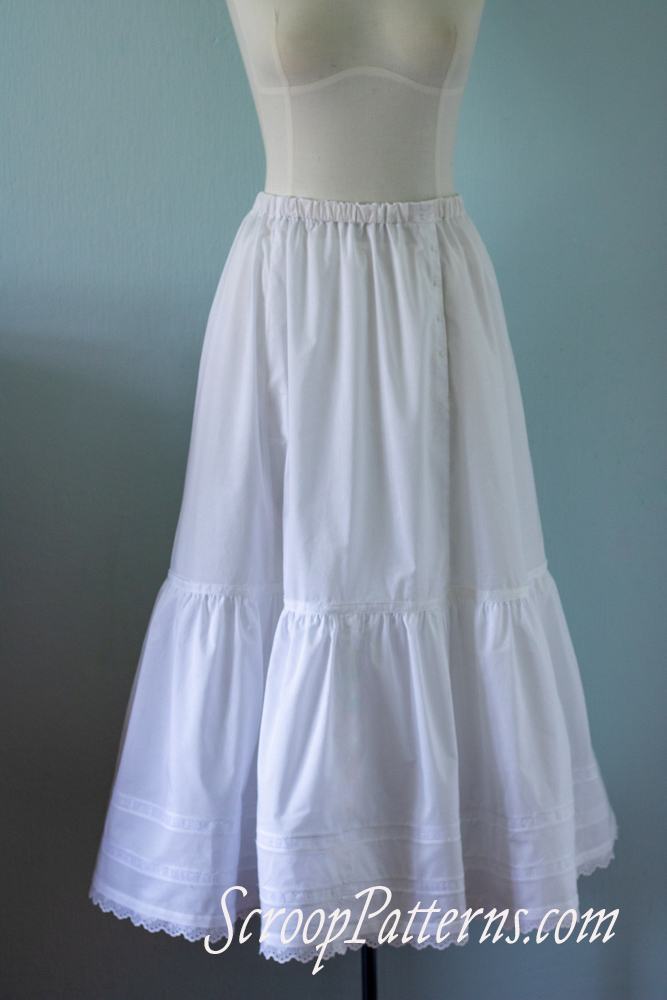
Embroidered and cutwork lace with raw edges was widely used in the Edwardian era. Here’s what it looks like in View C of the Ettie Petticoat:
I knew there wasn’t space to include working with raw-edged lace in the Ettie Petticoat pattern, but I can give you a tutorial on how to work with it.
Here’s how to add your own raw-edged insertion lace
The most common machine method for inserting raw-edged lace in the Edwardian era (at least according to most technique manuals and the extant garments I’ve studied) was with teeny, tiny french seams.
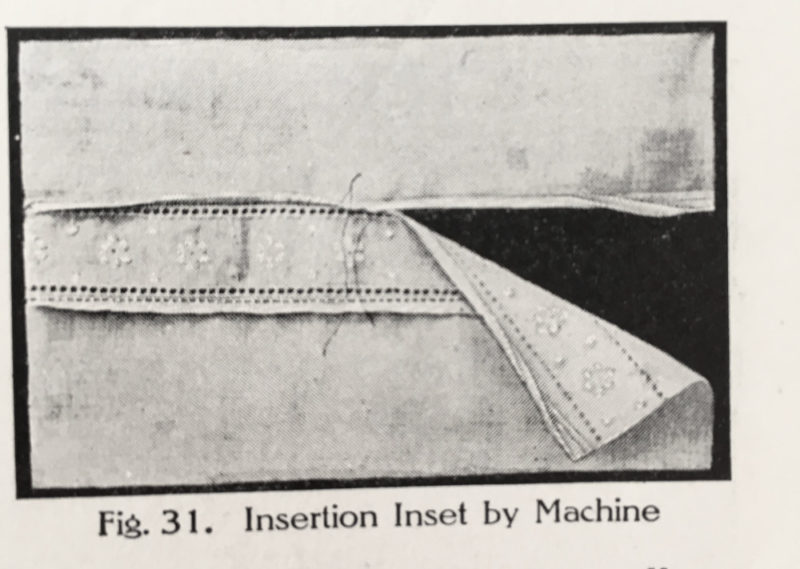
Let’s learn how to do that!
You’ll need:
- The Ettie Petticoat pattern, all cut out and the ruffles joined in circles, ready to add insertion lace.
- Insertion lace with raw edges.
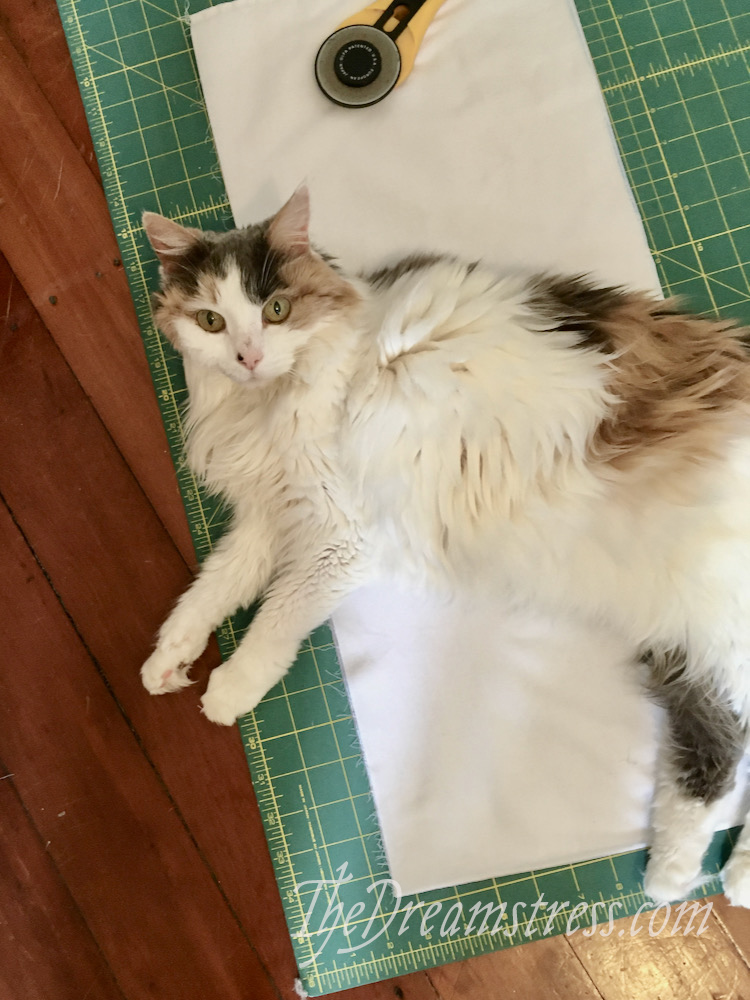
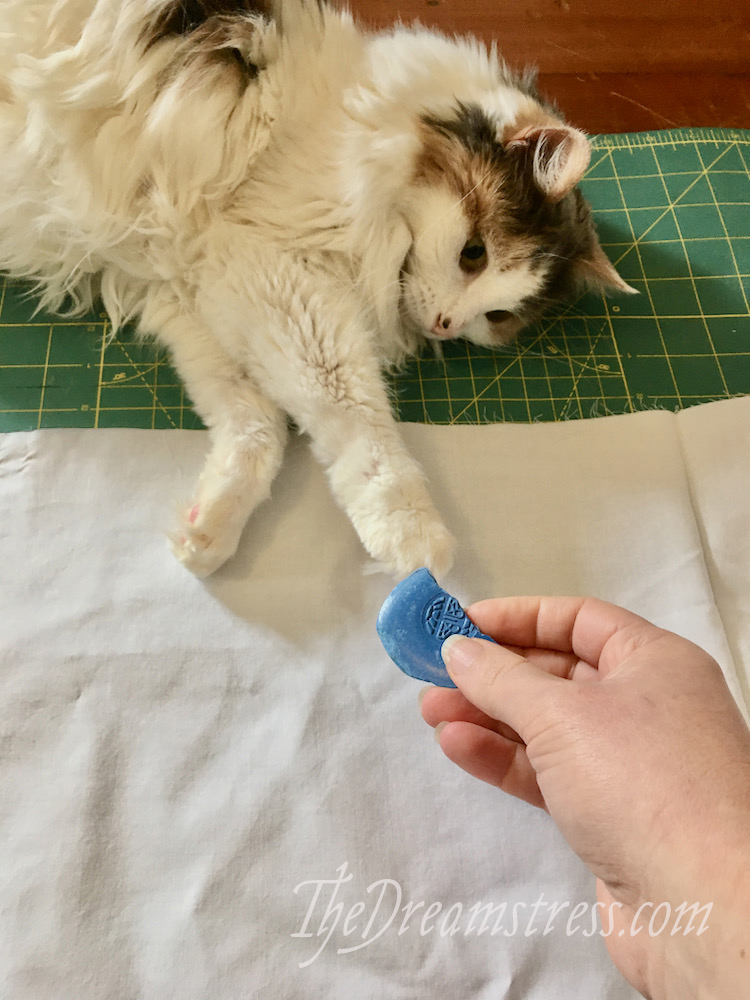
- Sewing cat (optional).
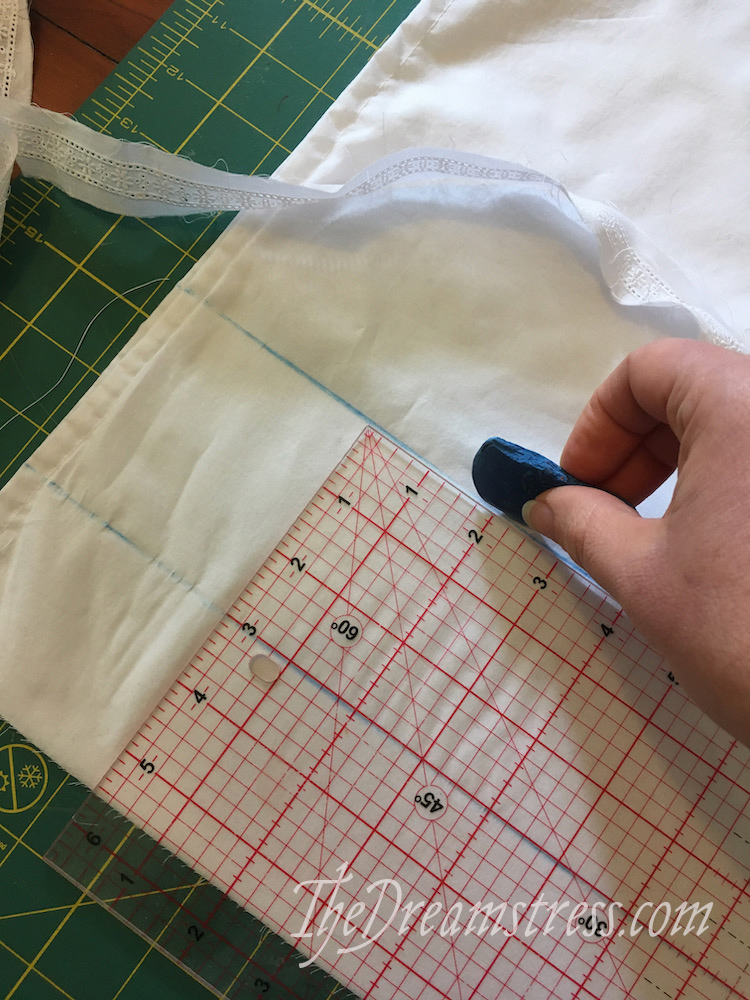
Part 1: Prep & Marking
Steam press all the lace you intend to use to pre-shrink it, so it doesn’t shrink and warp once you insert it.
Mark the insertion lines for the lace:
Part 2: Measuring
Yes. Maths. Sorry.
Inserting raw-edged lace involves slashing your fabric open, and inserting the lace into it. This means that you need to make sure that you either take up the same amount of fabric in the french seams that join the insertion lace to the petticoat, OR cut away the extra width.
If you don’t check the measure and cut away extra width your ruffle (or whatever you’re inserting the lace into) will end up longer or wider than intended. In the ruffle that’s an easy fix: just add an extra tuck. Extra width in a bodice would be a problem though!
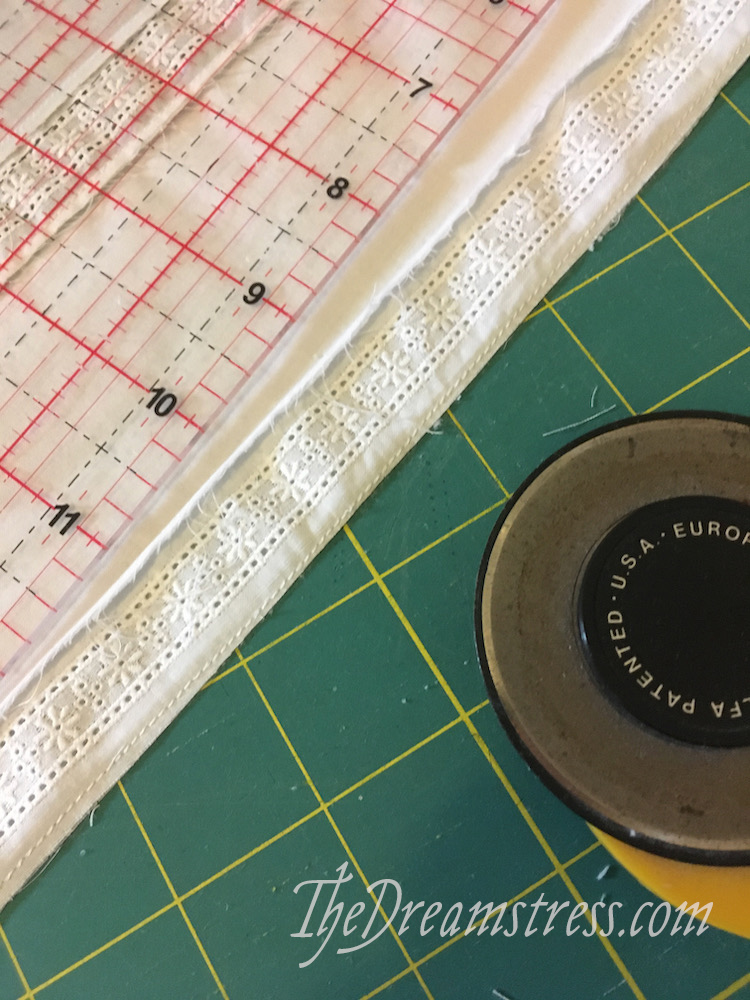
To calculate what you need to cut away, measure the width of your lace, and the width of the lace ‘seam allowances’. Ideally your lace will have 1/4” seam allowances. If they are narrower your french seams will be very small. If they are wider you can make wider french seams – or cut them down.
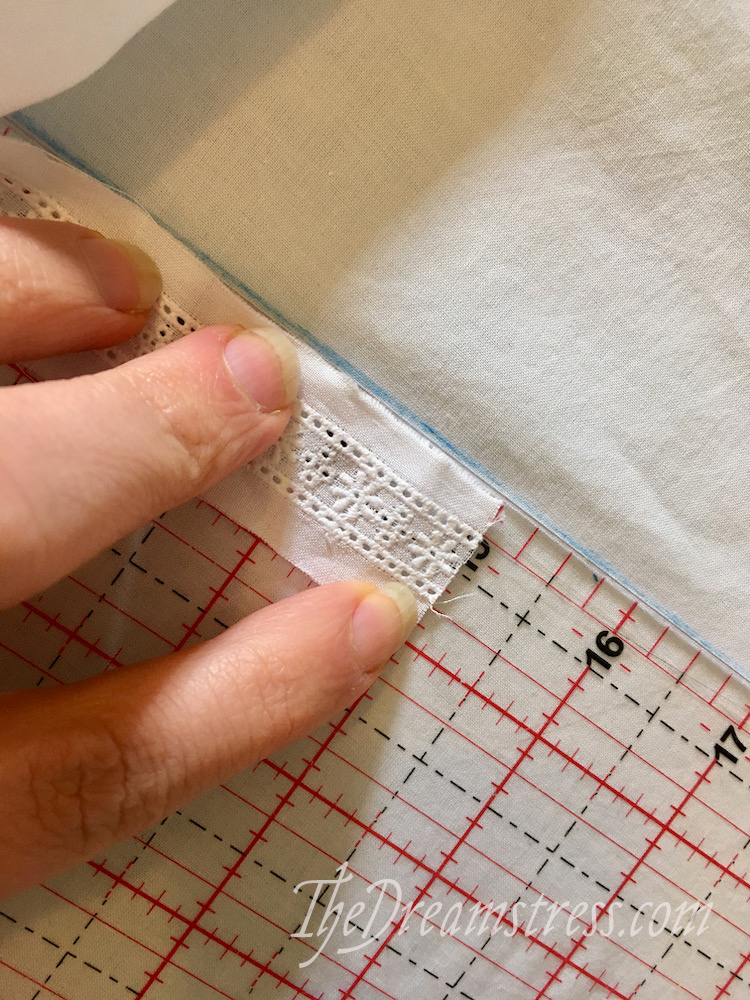
My lace is 1/2” wide, and my lace ‘seam allowances’ are 1/4” each, which makes it really easy. All I have to do is cut open on my marked lines, and I’m ready to go.
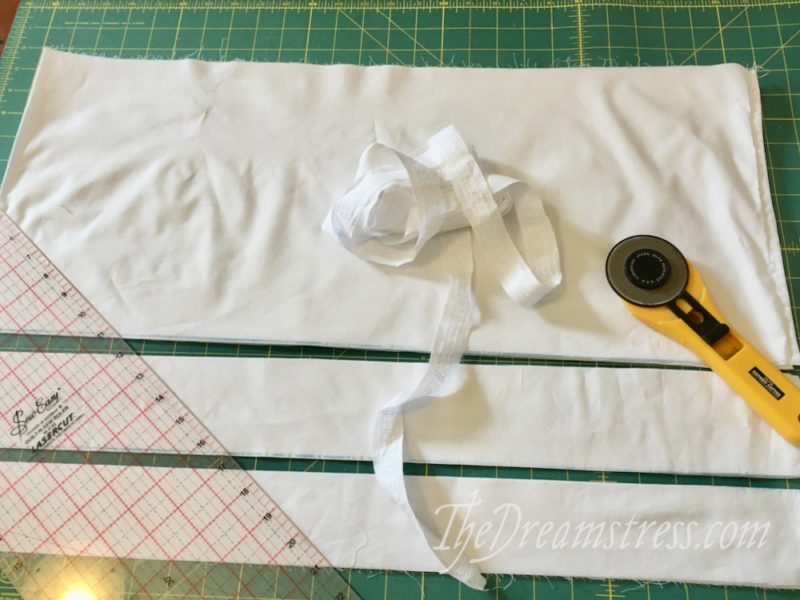
Part 3: Cutting
Cut your pattern piece (in this case the ruffle) along your insertion lines.
If your lace is WIDER than the amount you’re sewing into the french seams, you’ll need to cut that
For example, if your lace was 3/4” wide, you’d need to cut away a 1/4” strip along each insertion line, as your french seams only take up 1/4” of fabric.
If your lace is 1” wide you’d need to cut away 1/2” etc, etc.
Part 4: French Seams (aka, the inserting)
Important: Figure out the right side and wrong side of your lace! This can be surprisingly tricky with some laces. You may even want to mark the wrong side with removable marks at intervals.

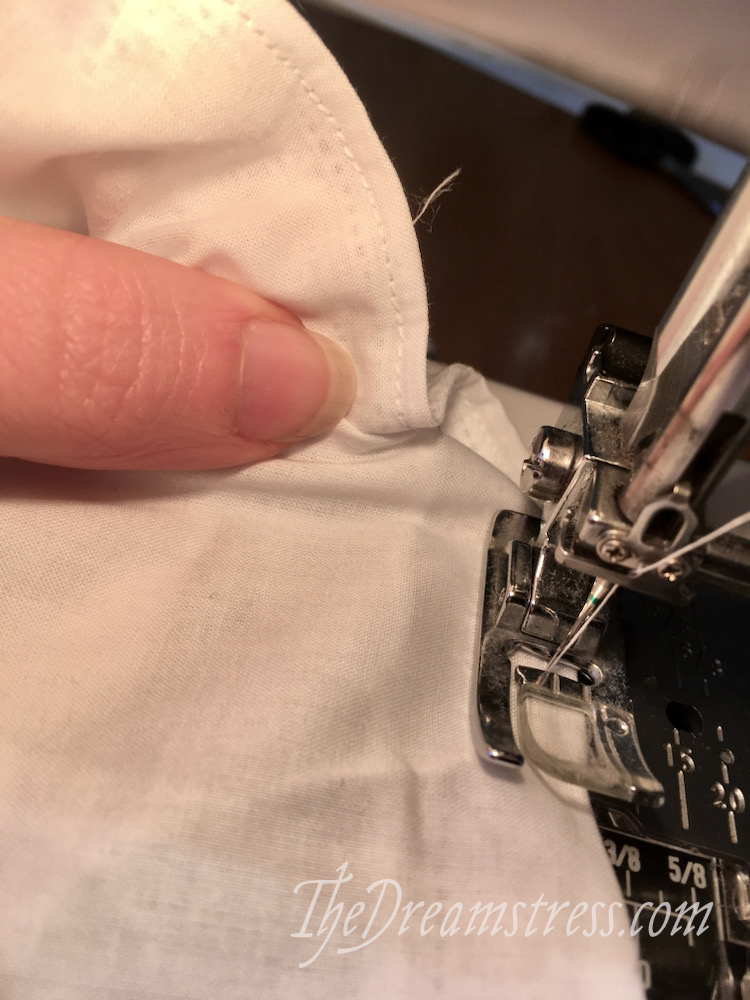
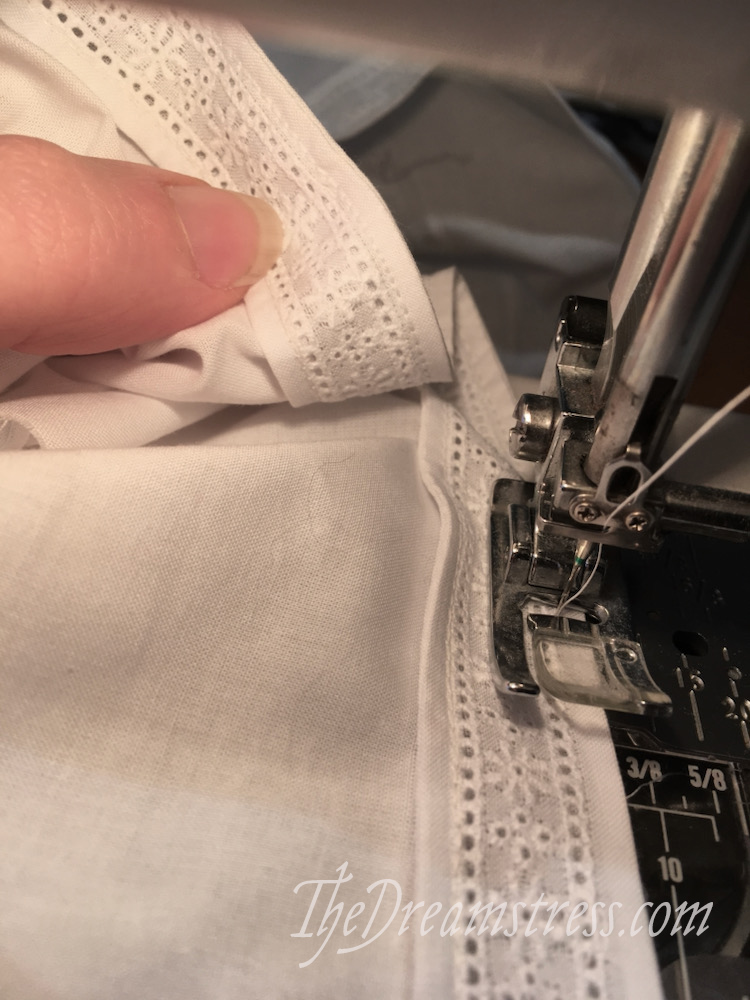
We’re going to be working with really small seam allowances, so if your machine has a foot plate with a tiny needle hole, use it. It will help keep the machine from sucking your fabric in to the needle hole.
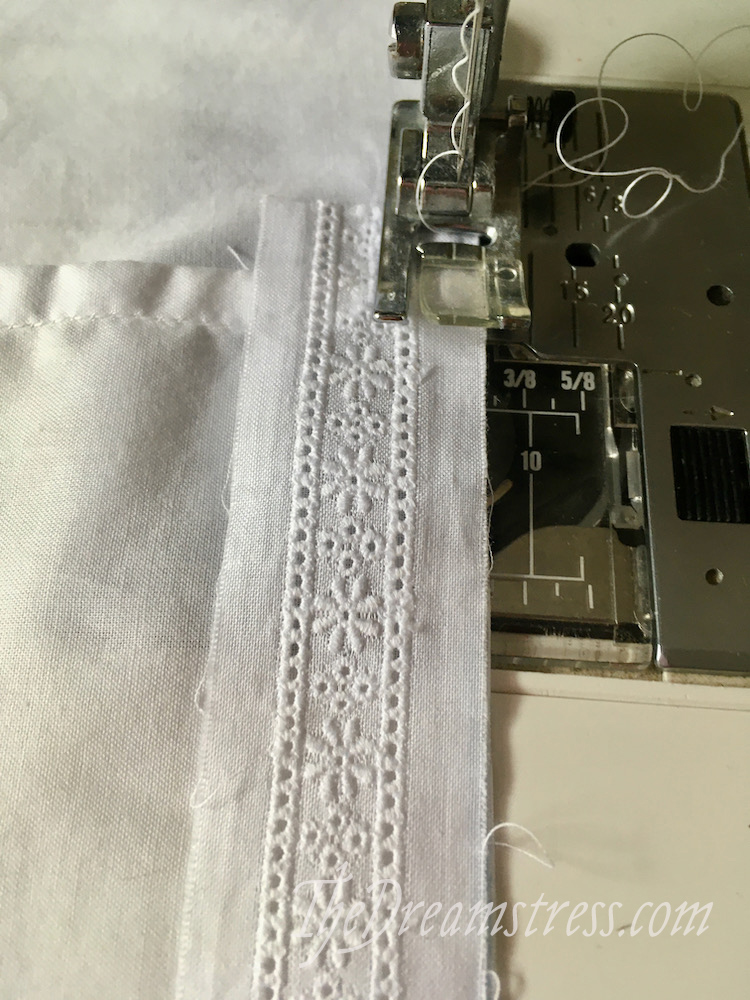
Seams 1: Wrong sides together
WRONG sides together, sew lace to pattern pieces with a scant 1/8” seam allowance.
When you get back around to your starting point, cut the lace so it overlaps your starting point by 1 1/4”/3cm, and fold under the final 1/2”’/1cm. Lap it over your start point, and sew it down.
Joining the first edge of lace to the pattern will be easy. The second is a little tricker: the lace can stretch as you sew it, so you’ll need to mark quarter (and maybe even eighth) points, and match them as you sew. Otherwise your pieces will be misaligned, and may not fit together.
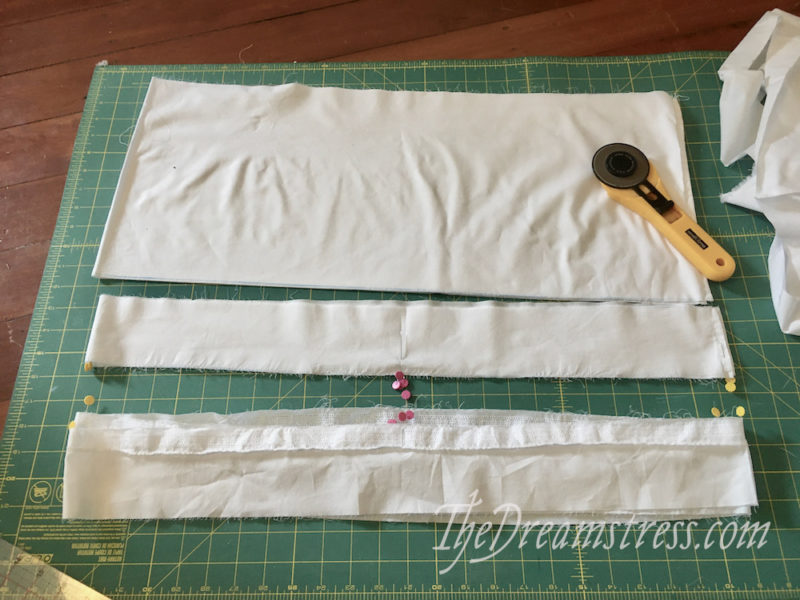

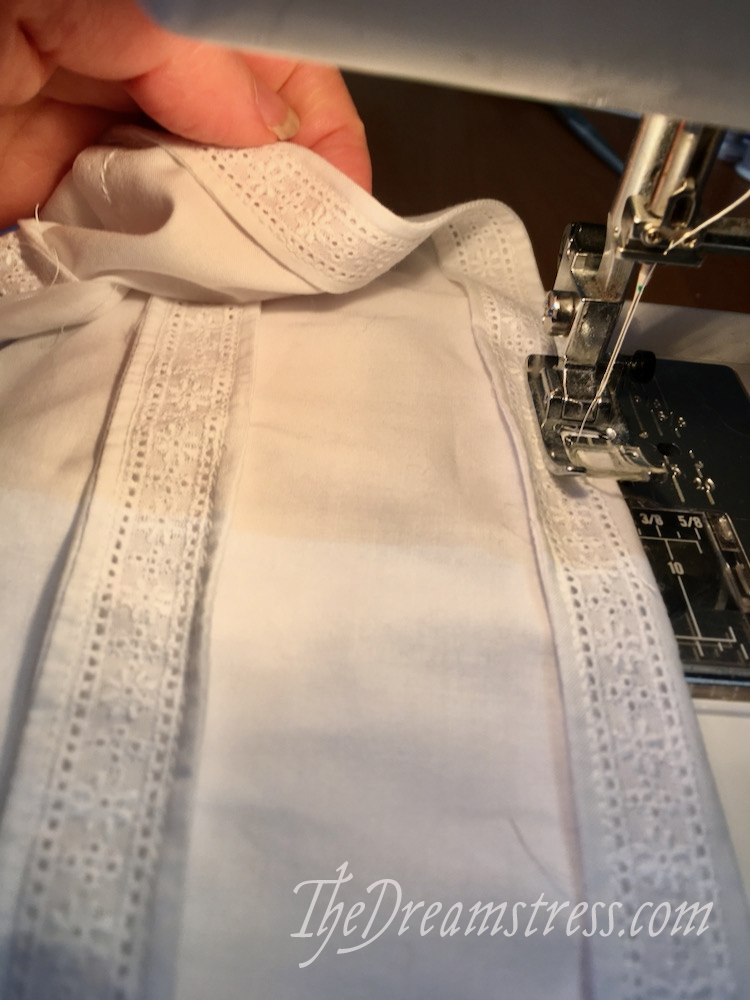
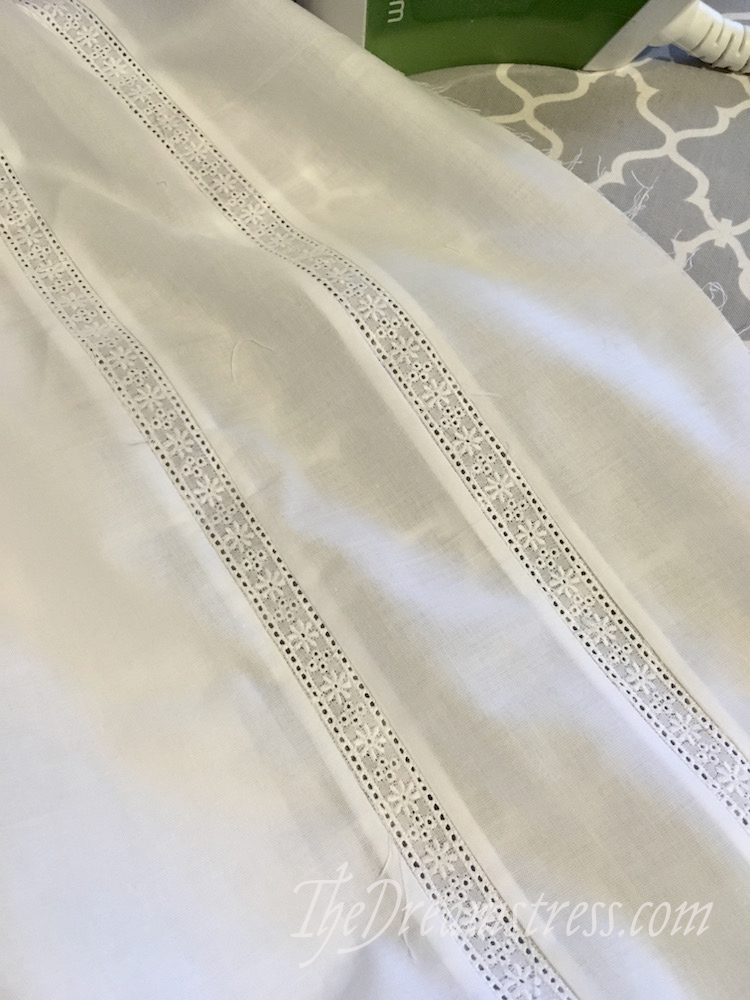
This is what your pieces should look like when you’ve joined all your panels with the first set of seams:
Now you’re ready to sew your second, final, seams, making pretty teeny-tiny french seams.
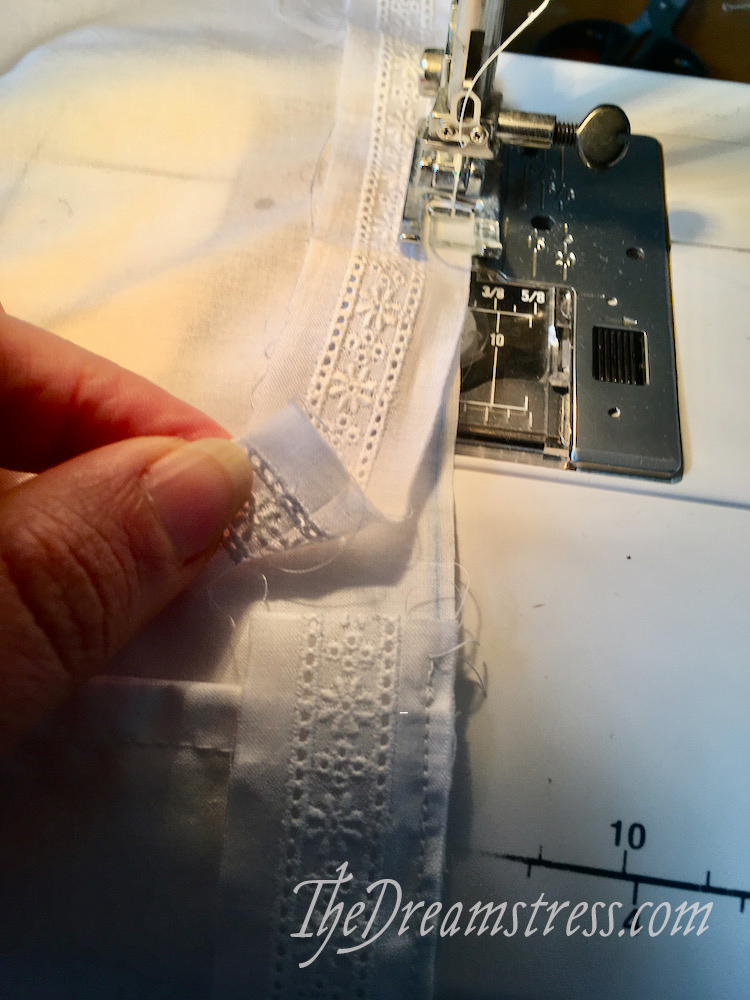
Seams 2: Right sides together
Before you sew your second seam you may need to trim off any stray bits of thread from your first seams, so they don’t stick out of the second seam.
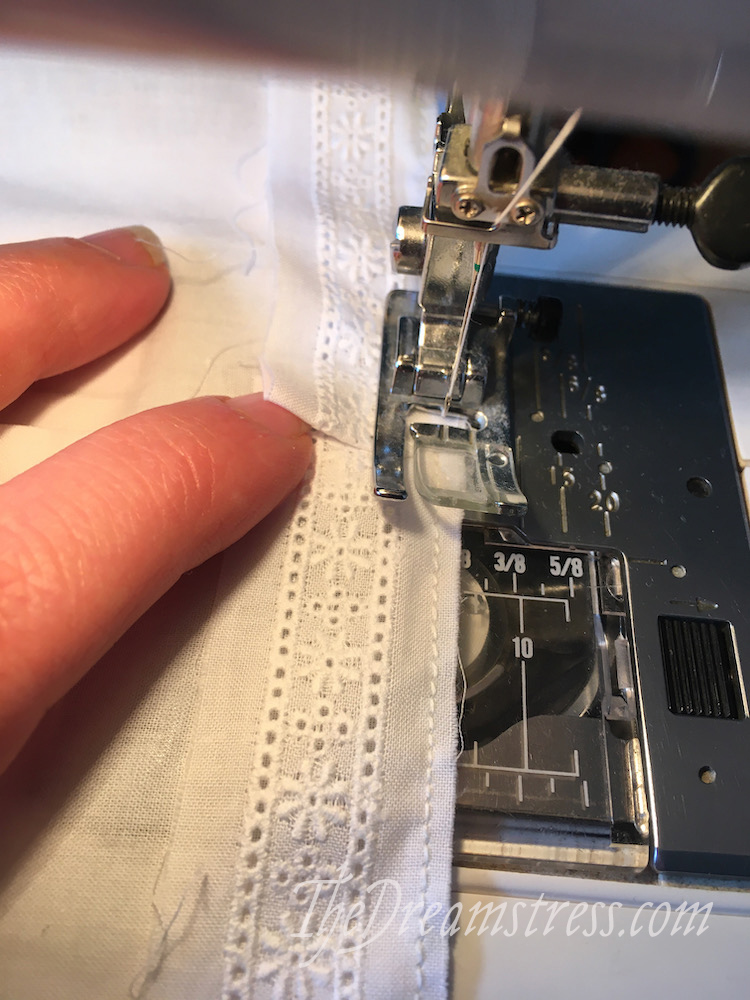
Press your sewn fabric and insertion lace RIGHT sides together, enclosing the raw seam allowances from Seams 1. Roll the pressed fold outwards, to form a crisp edge.
Sew with a 1/8” seam allowance.
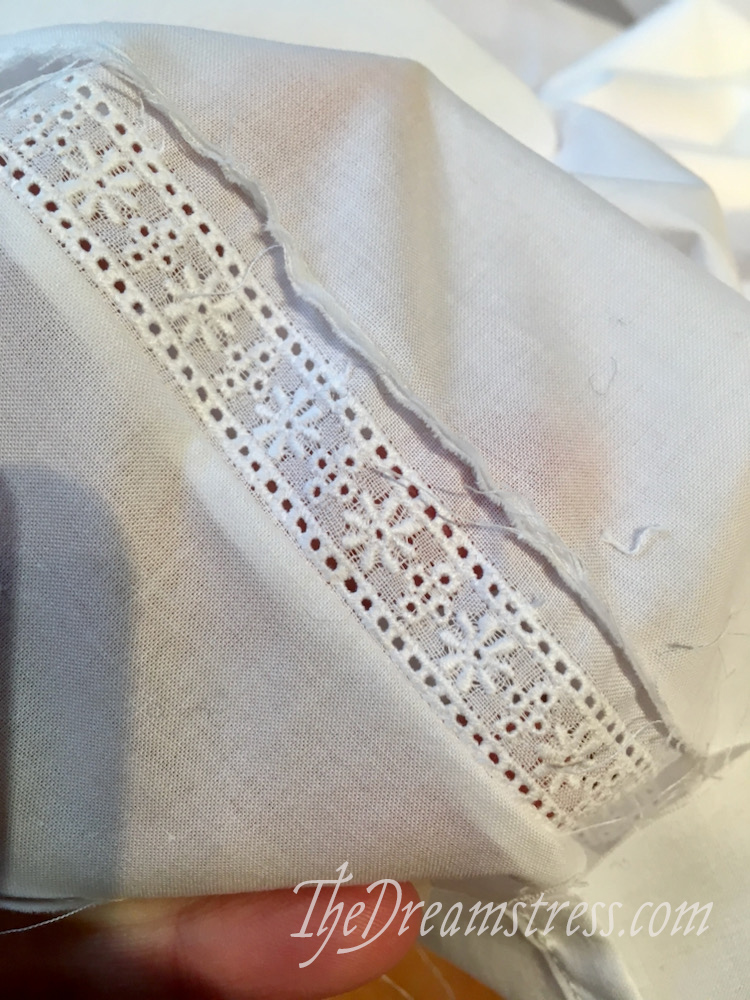
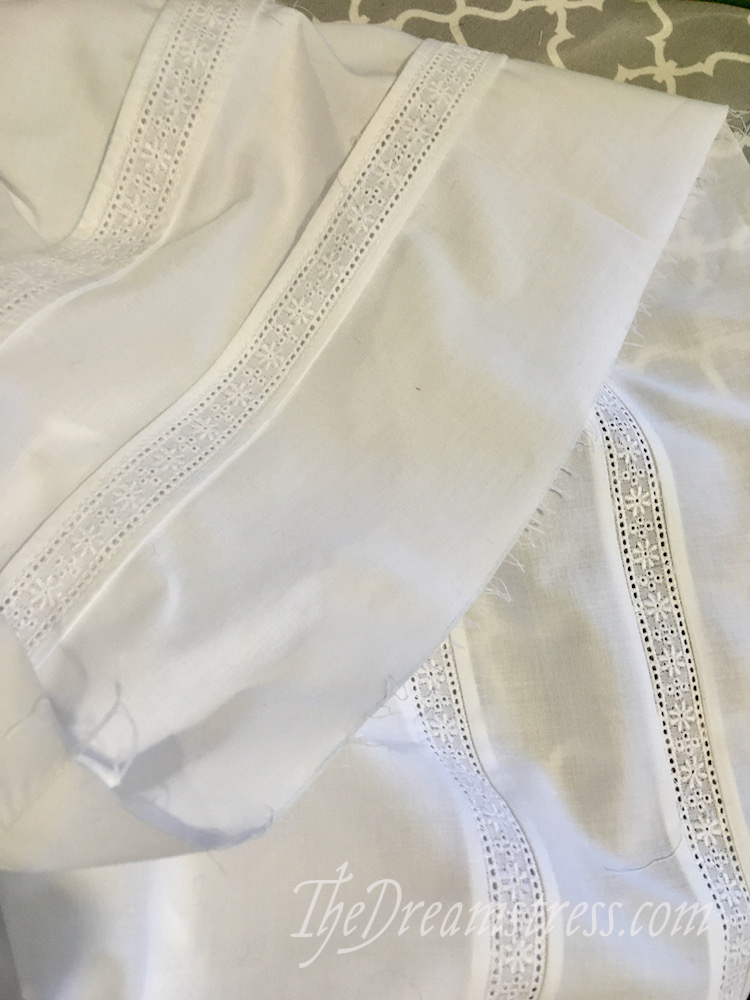
Here’s what it look’s like with one complete French seam, and one with only seam 1 sewn:
Fold, press and sew the other edge of your insertion lace:
And you’re done!
From the right side:
From the wrong side:
So pretty!
I hope you enjoyed the tutorial! I’d love to see photos if you use the method.
Nice !
And funny to know that what you call French seam is called English seam in France
Hah! Well, that’s a much nicer compliment on the part of each country than the ‘Spanish/French/English/whichever country we don’t like Disease’. French/English seams are very pretty and useful! <3
So pretty and strong too! it looks like the french seams also add a little structure to the flounce which is always a bonus 🙂
You know, you could almost put the wrong sides on the right sides as a pretty pintuck.