
Let’s be honest, for all the awesome things about 18th century womenswear, pockets are probably the most awesome.
Pockets big enough to fit ALL your stuff? The best! Moveable pockets that you can take from outfit to outfit without having to take everything out? Even better! Pockets that can be made out of anything from the most awesome fabric, to the smallest collection of scraps, and can be anything from un-decorated to elaborately embroidered? The dream.
(While panier pockets that you can literally stuff your entire picnic into are amazing, I think that hanging pockets still take the (figurative, if not literal) cake, because you can still sit in normal chairs while wearing them).
Despite my unabashed love of 18th c pockets, I’ve been making do with my not-very-historical bugs & birds pockets from 2019 under my 18th c costumes.
When I cut out my blue and white chintz Amalia jacket, one of my cutting goals was to have enough left over to make pockets, without compromising the layout of the chintz pattern on the jacket. And I managed it!
So now I have a matching Amalia Jacket and pockets. Will anyone ever see them together? Nope! Do they still make me very happy? Yep! And I’m pleased to now (finally!) have properly historical pockets. Maybe next time I’ll make patchwork or embroidered ones…
The Making
Here’s how I made my pockets, which may be helpful if you’re making your own.
The Pattern
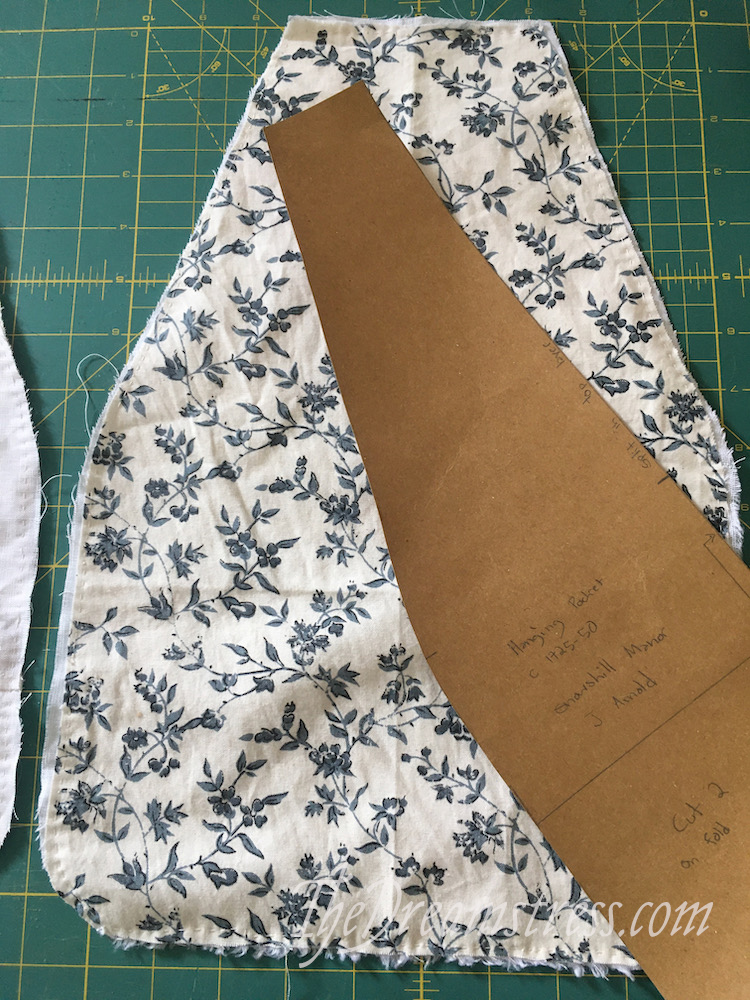
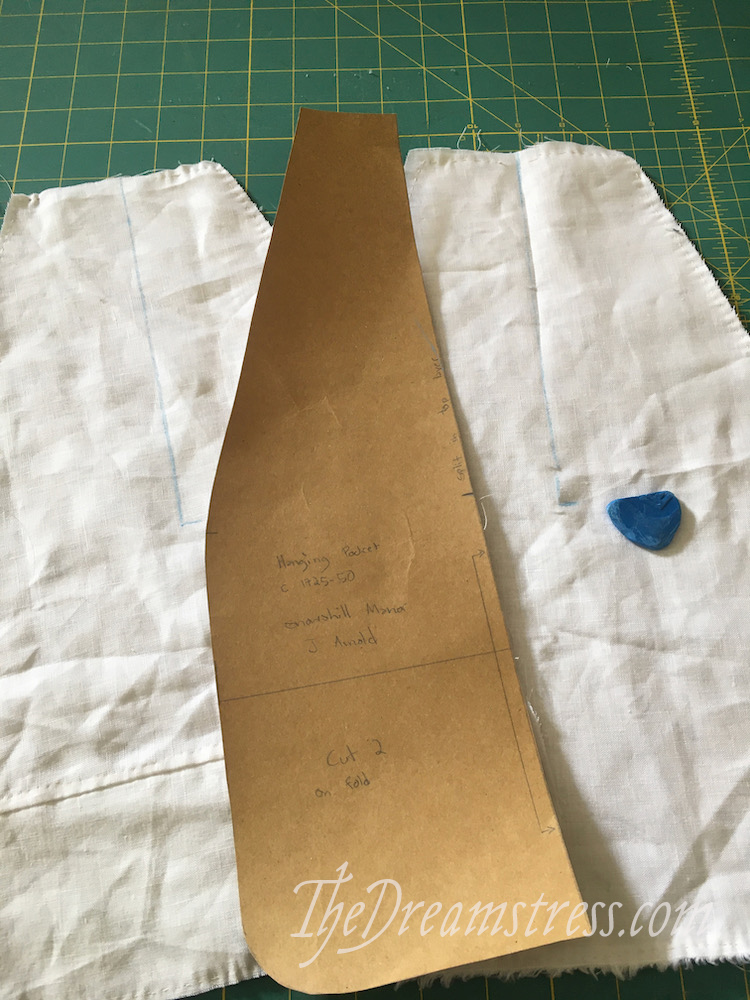
I used the Snowshill Manor pocket pattern from Janet Arnold’s Patterns of Fashion. They are from the 2nd quarter of the 18th century. Most standard pocket shapes seemed to have been used throughout the century (albeit with varying levels of popularity) so this shape should still be appropriate for the 1780s.
If you want to get a little more ambitious with your patterning, many museums now give dimensions for their pockets.
Larsdattir at The 18th Century Notebook has a fantastic round-up of extant pockets organised by type, if you want to deep-dive into pocket materials and shapes.
The Materials

Obviously my blue and white chintz! For backing, I had a rummage through my scraps, and found a dark teal linen that I’d made my mother a Robin Dress out of. The red-pink floral is for my binding.
The Making
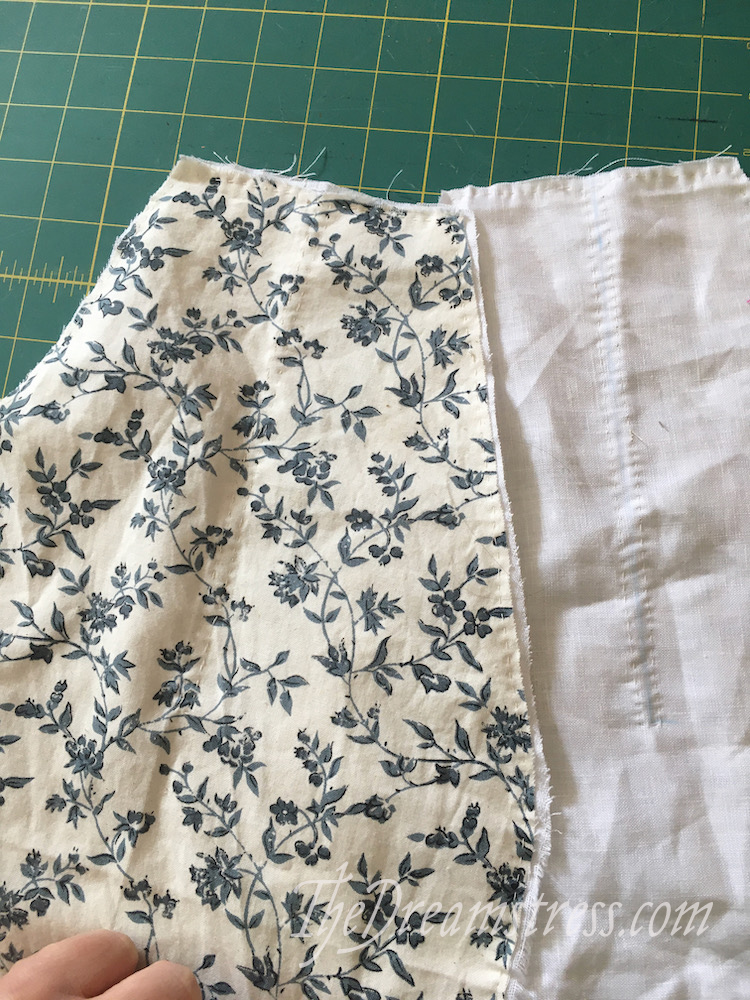
I didn’t feel that the chintz was quite strong enough on its own, and there are multiple examples of extant pockets with a lining layer (usually just for the front fabric), so I decided to line the front of my pockets with a white linen.
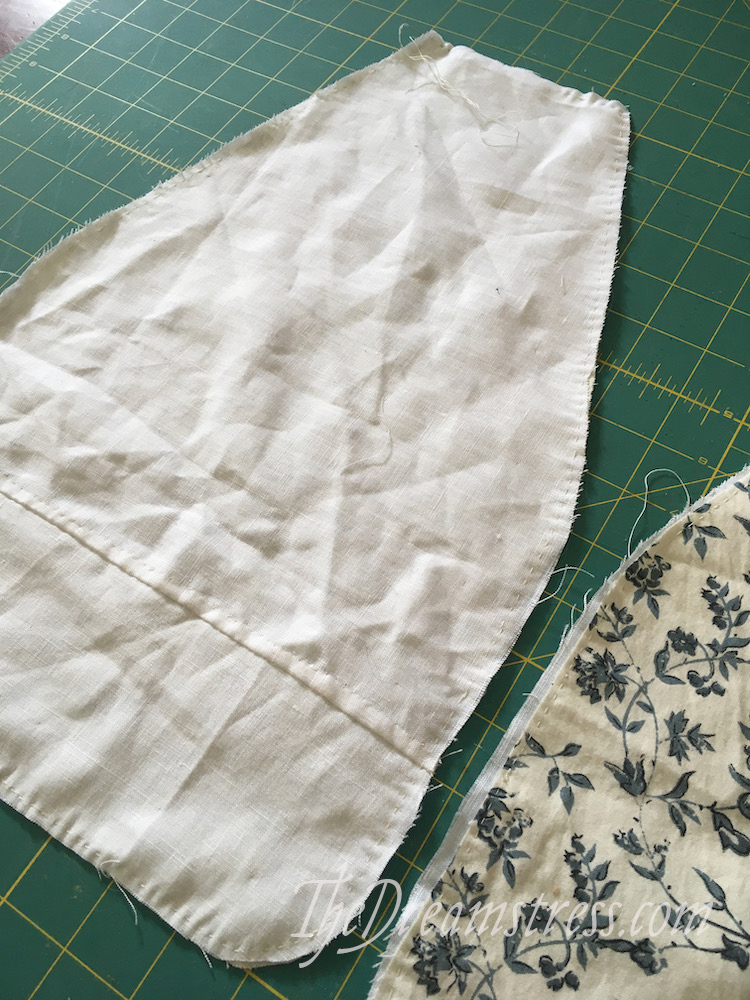
My white linen scraps weren’t quite big enough, so I had to piece one side.
It actually only took about 15 minutes extra, and makes my pocket feel very authentic!
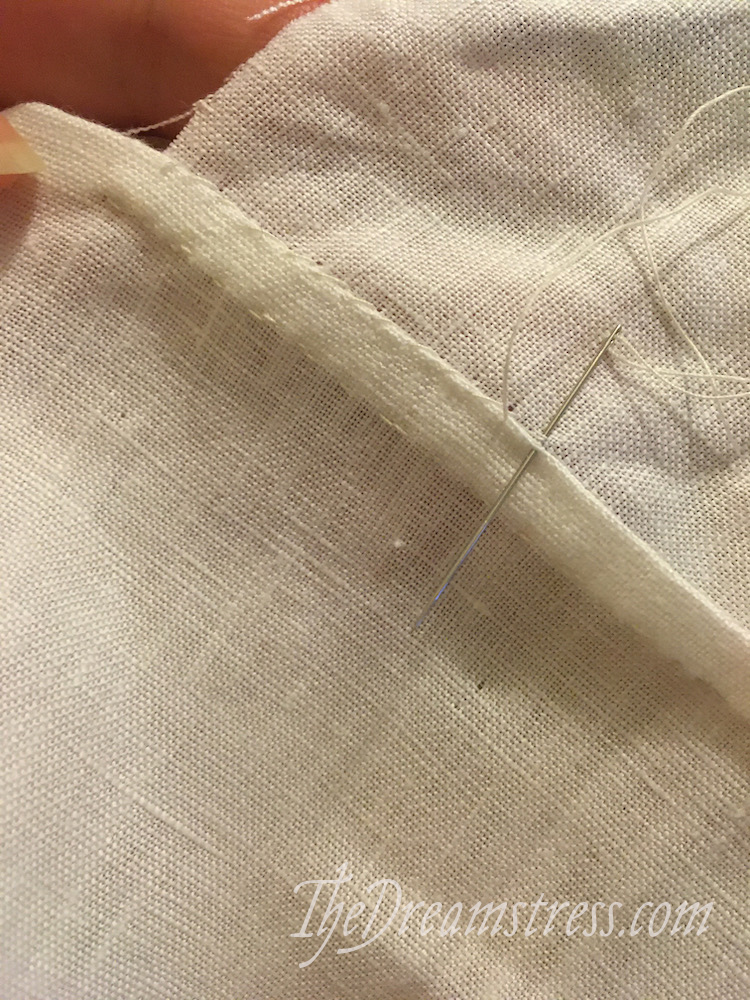
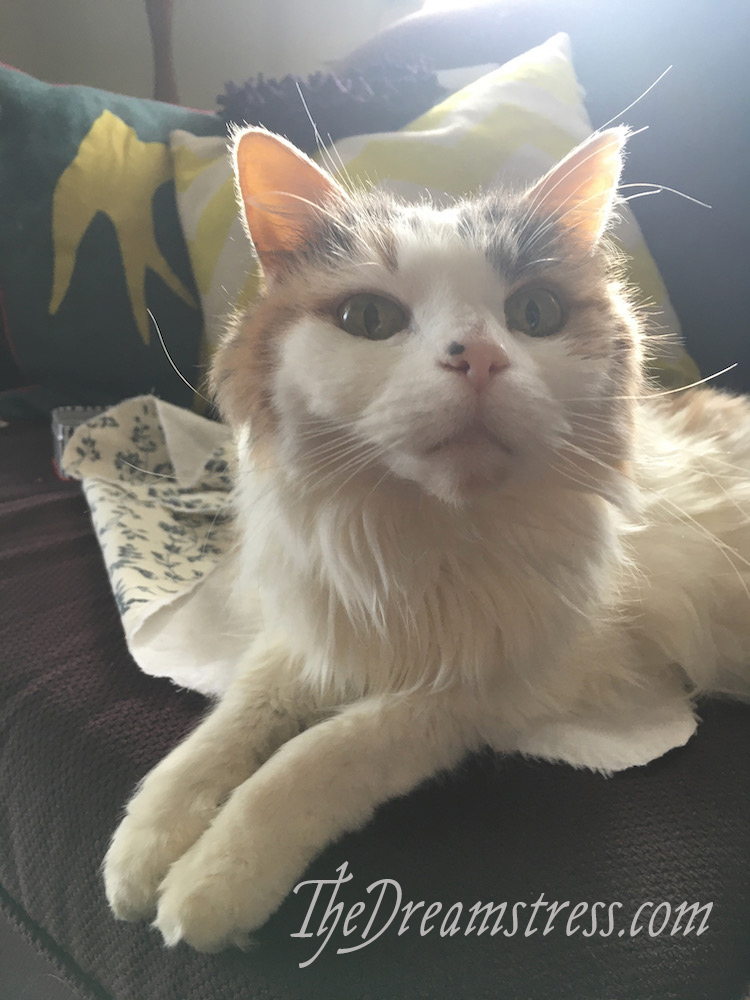
Then I basted the linings to pocket outers, with help from Miss Fiss:

With the linings and outers basted together, I marked the slash lines. I’d made sure to start and end my basting on either side of the slash line, so that I wouldn’t be cutting my basting when I cut it.
I basted around the slash lines:
And carefully cut them open:
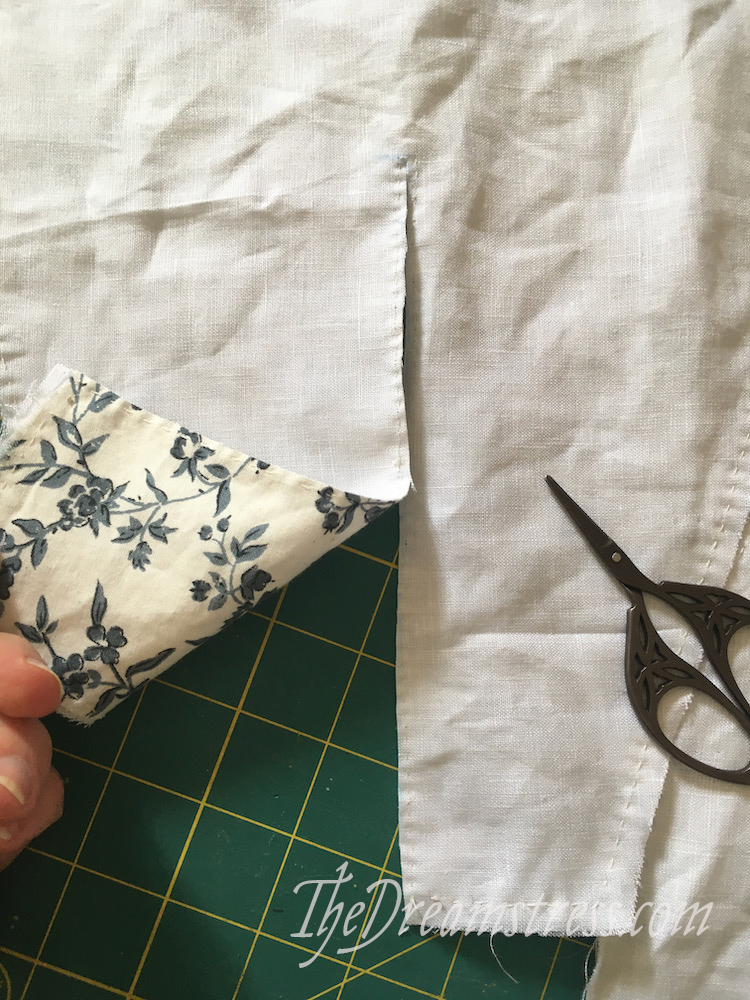
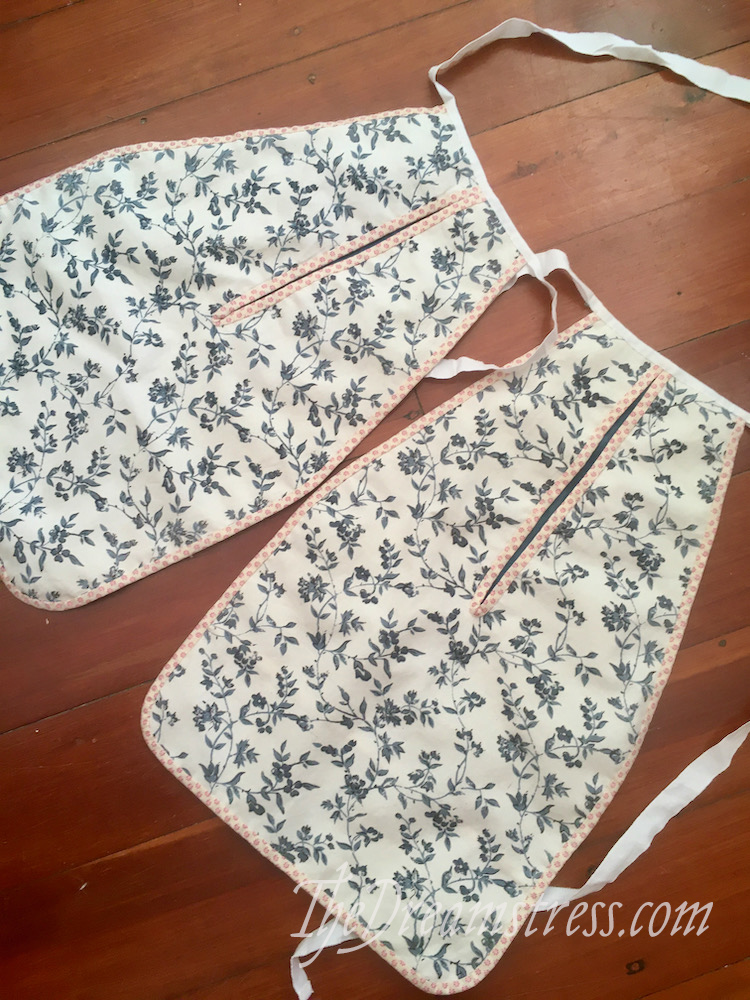
I slashed one open, bound it, and then slashed and bound the other, so there was no time for the fabric to fray.
Binding:
The current trend in reproduction pockets is to bind them with linen or wool tape. It’s easy, pre-made, and is certainly common in extant examples. However pockets bound in straight cut strips of fabric (cotton and linen for cotton and linen, silk for silk) seem to be equally common.
I went looking for extant cotton and linen pockets with this type of finish. Some of the examples have self-fabric binding. Some feature different fabrics in the slit and outer bindings. Here’s another example of different fabric, with a stripe pattern on the slit binding that makes it clear that the fabric is cut on the grain, not on the bias. Some use the same fabric for their slit and outer binding. There are even examples, like this patchwork pocket, that have joined/patchwork bindings.
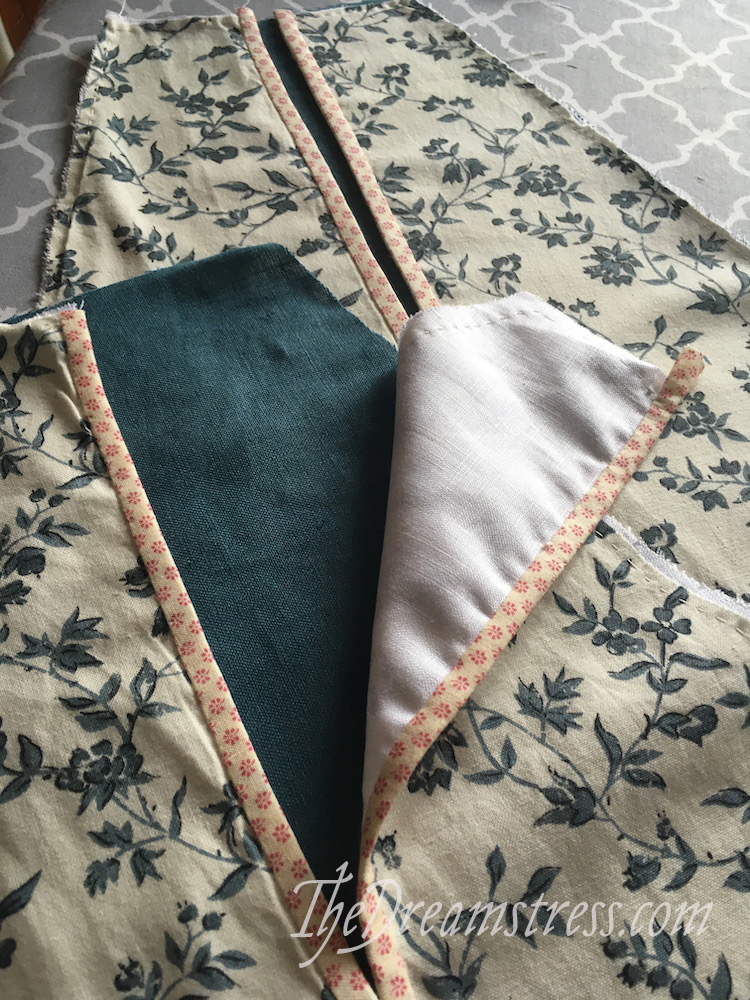
While some extant examples have plain binding, I love the patterned pockets with contrasting pattern binding. A rummage in my stash unearthed a cream cotton with a small floral print that’s a reasonable approximation of some late 18th c block prints. I really like the way the pink-red works with the teal-blues and grey-blues.
 ‘
‘
To make the binding I cut 1” wide lengths of my red-pink floral. I cut them from selvedge to selvedge, as that’s the most efficient way to use the fabric. Minimising fabric wastage is almost always the most historically accurate way to make something.
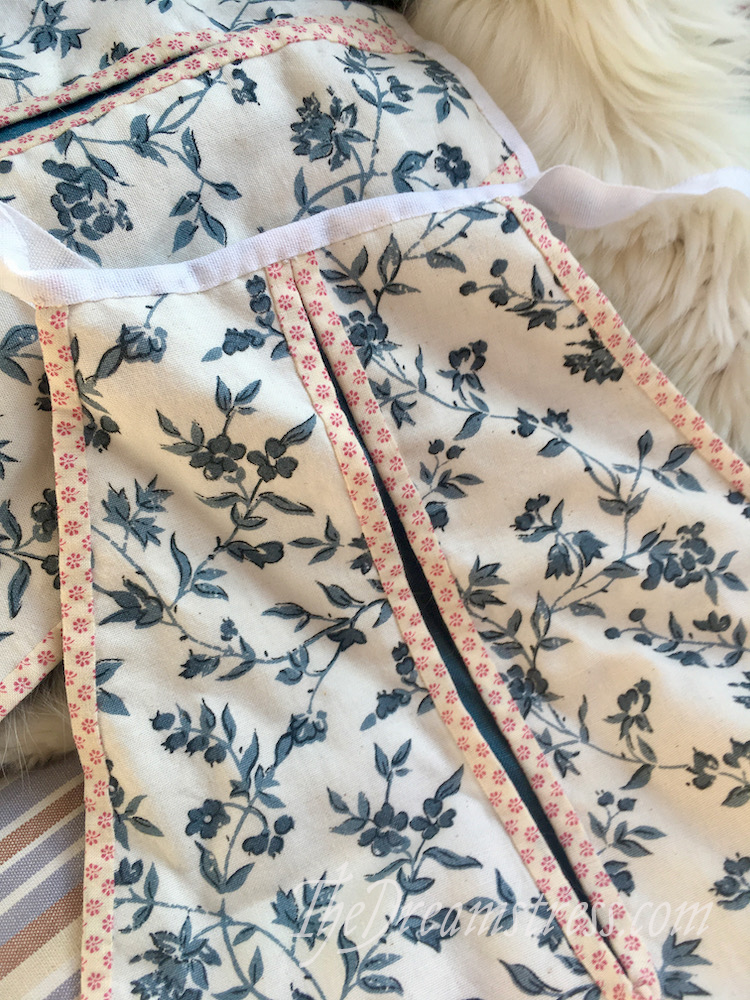
I then pressed the fabric strips in half, and pressed in each side 1/4”, ending up with a binding that was 1/4” wide. Next time I’d try to make it even narrower, as some 18th c bindings are really skinny!
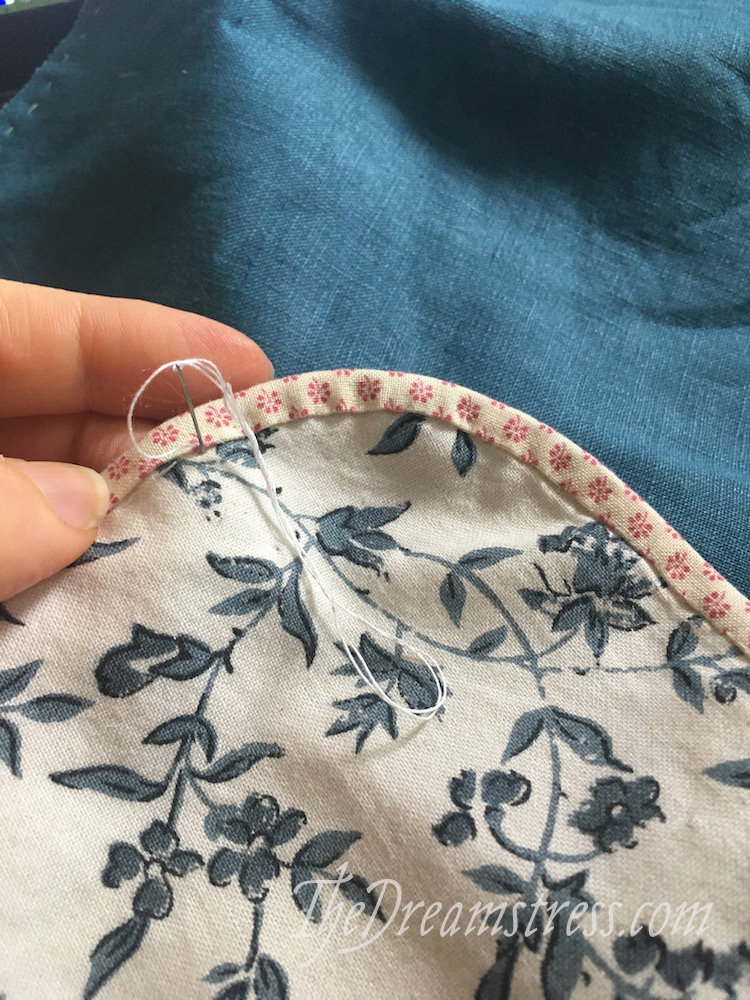
I slipstitched my slit binding on:

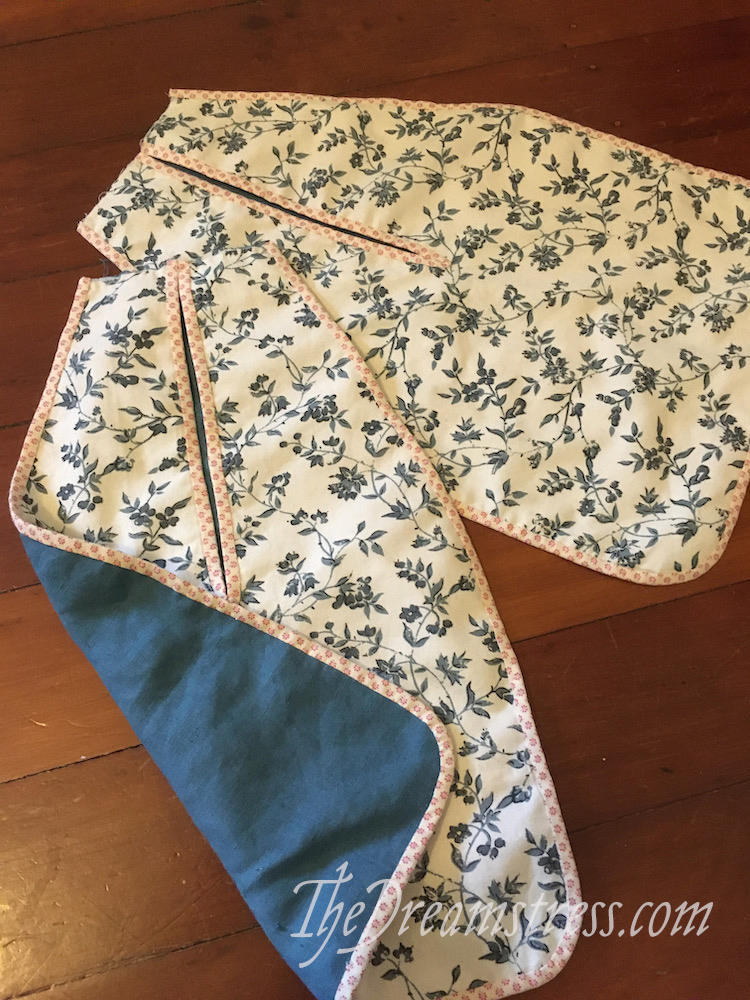
And then placed my finished fronts on my finished backs, and pinned and basted the backs to the fronts around the edges:
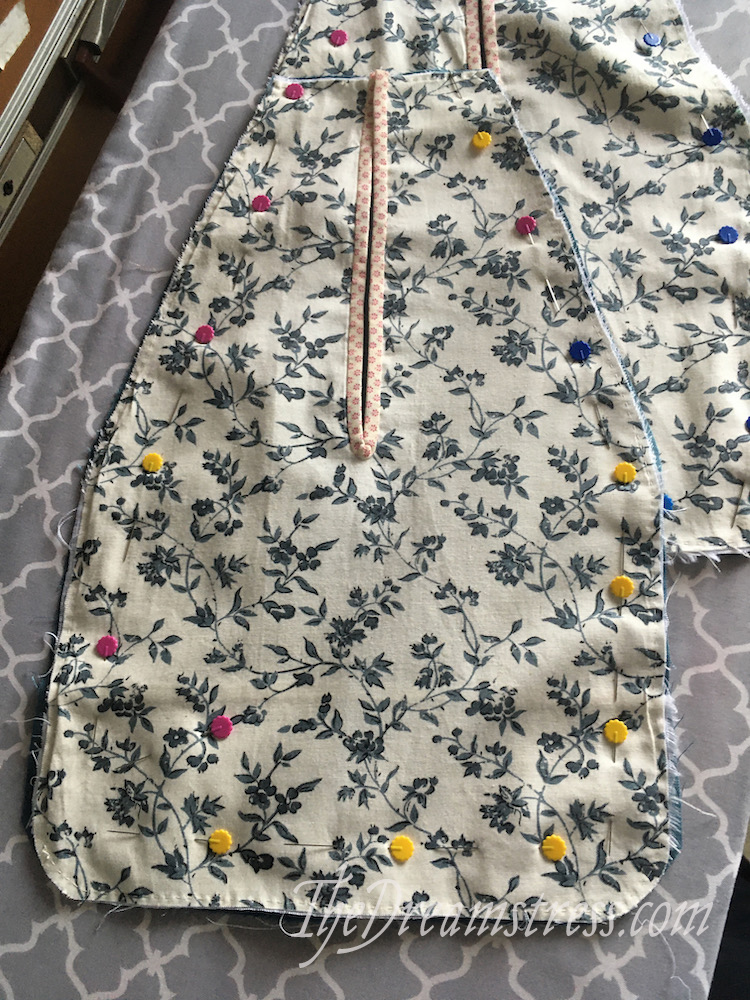
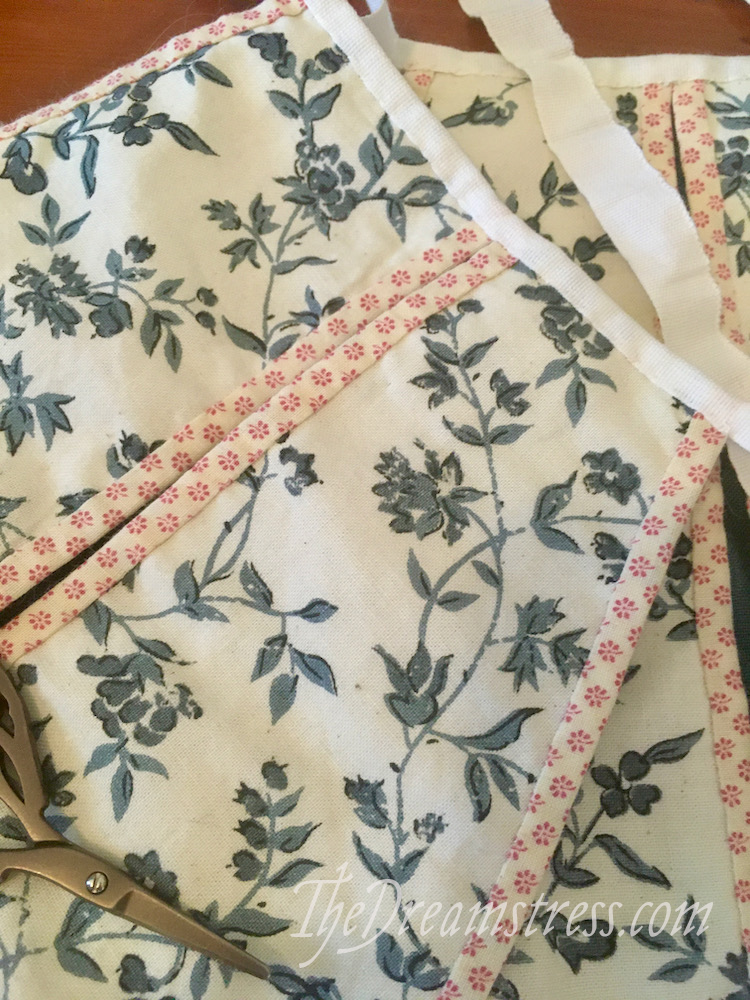
Then I trimmed of any overhang or offsets, and got to work slipstitching on my outer binding:
It’s actually really easy to ease a straight cut piece of binding around a curve. I just kept smoothing as I went.
Almost done:

(tiny safety pins are an amazing help for projects like this, especially if you have arm/hand issues where holding the fabric ahead of you as you work adds extra strain).
Finishing
For my tape, I used the last of the 20c lengths of cotton tape I describe in my Birds & Bugs pocket post. I don’t know when I’ll be able to get linen tape again with all the delays in shipping. Using what you have, instead of ordering something special in, is also more environmental, and, in its own way, more historical.
I just folded it over the top edge, and whipstitched it down.
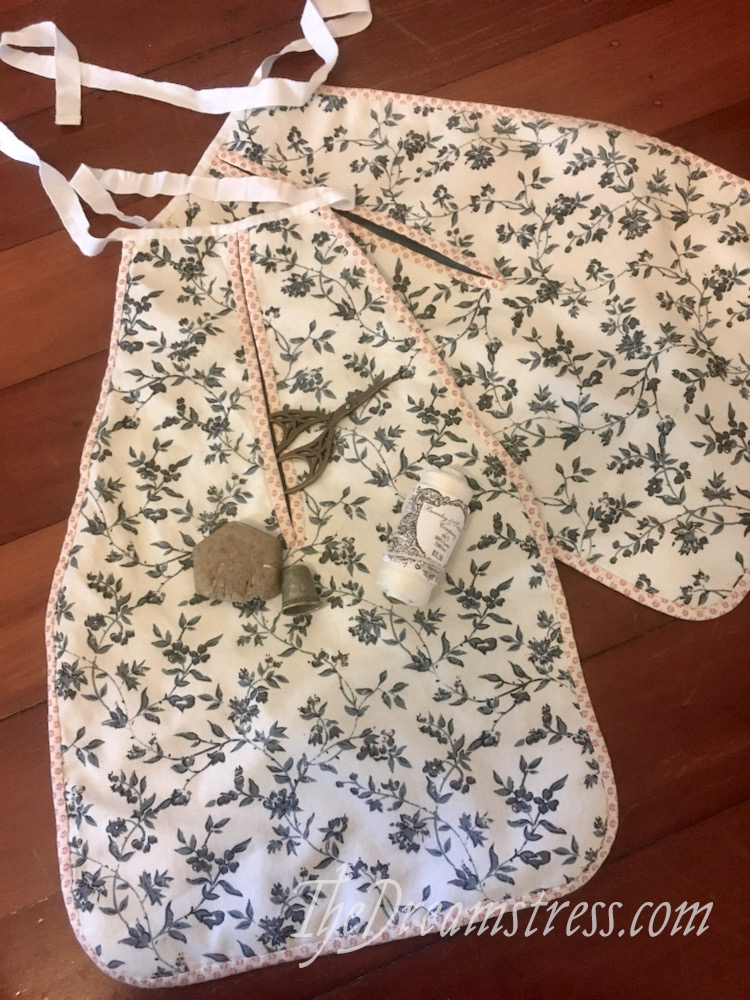
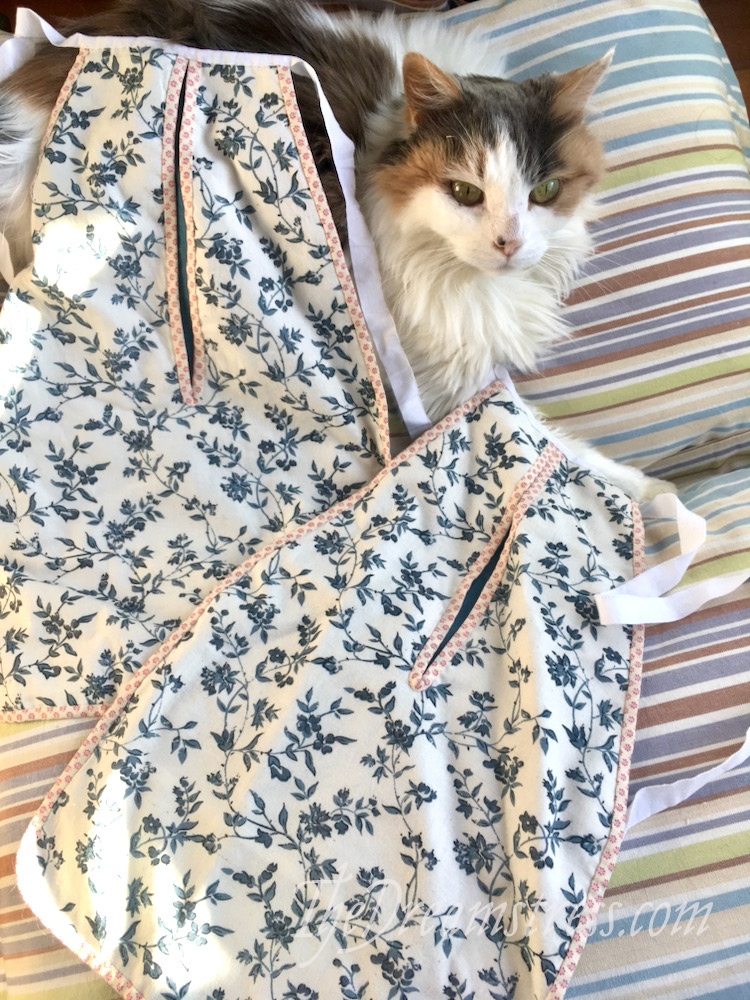
And there are my pockets!
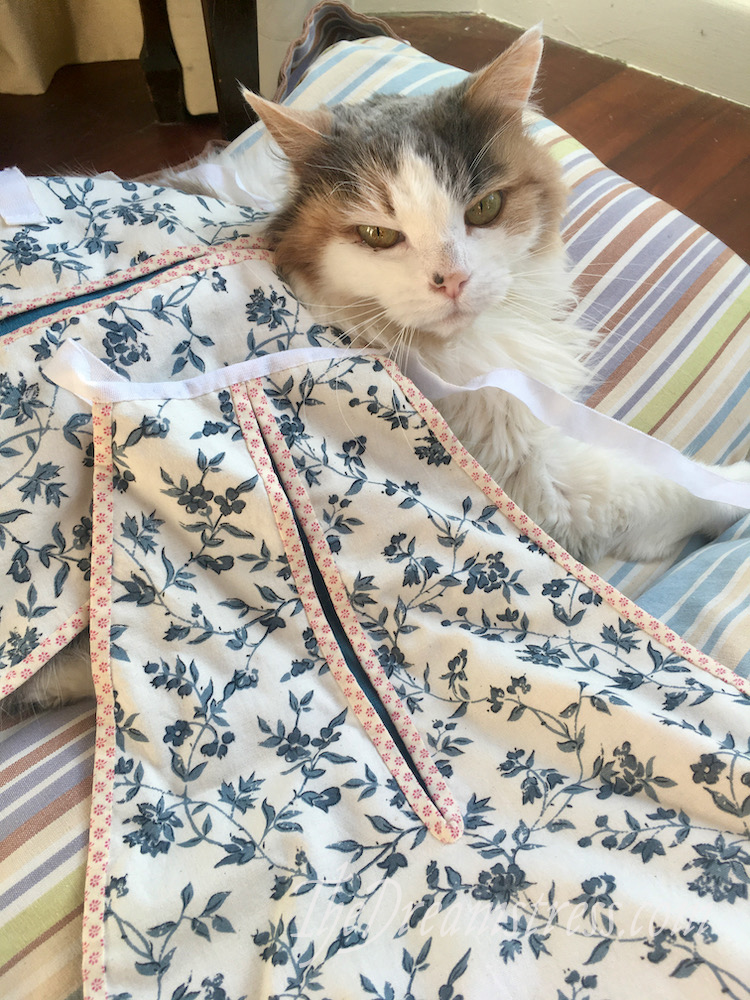
I got Felicity to model them, just as she did with the Birds & Bugs pockets. You can see how much older she’s getting, poor darling. She’ll always be my kitten though!
I hope this was useful if you decide to make your own 18th century pockets.
They look lovely! And all the better as modeled by Miss Felicity! Always a joy to see her.
they turned out beautifully and there truly is a great satisfaction in knowing that everything matches, even the bits that no one else can see.
ever since discovering historic tie-on pockets, i’ve wondered why, oh why did we ever give these up? they are amazingly useful. like belt bags…very practical, adaptable, and frankly more comfortable than lugging around a bulky handbag. quite often at home i will tie on a pocket or slip a belt purse onto a belt to have my phone and random other items handy. we should bring them back!
it’s good to see miss fiss still on the job. give her a scritch for me.
Oh, those are SO neat. I have a weakness for chintz, and coordinating patterns, and so these pockets ticked all the boxes.
Yes, my own glorious partner, Ivy-dog, is also ageing. And like Felicity, she is gloriously ageing. Time with our animal friends is so precious.
Mmm, binding. There’s something so sedately satisfying about a handstitched binding. I can feel my heart rate slowing just thinking about it.
I too noticed the other day that my older cat is starting to look like…well, an older cat. I don’t know how many years she has left, but I undertake to ensure that they are happy ones, well stocked with all the clothing to shed on she could possibly want – including plenty of wool as she’s something of a fibre snob.
It’s very relaxing isn’t it? I’ve been noticing how good these projects are for my mindfulness.
Miss Fiss definitely appreciates my laying out nice fabric for her to lie on. Other than that she just wants the heater on as often as possible.