
Previously on The Cassandra Stays Sew Along:
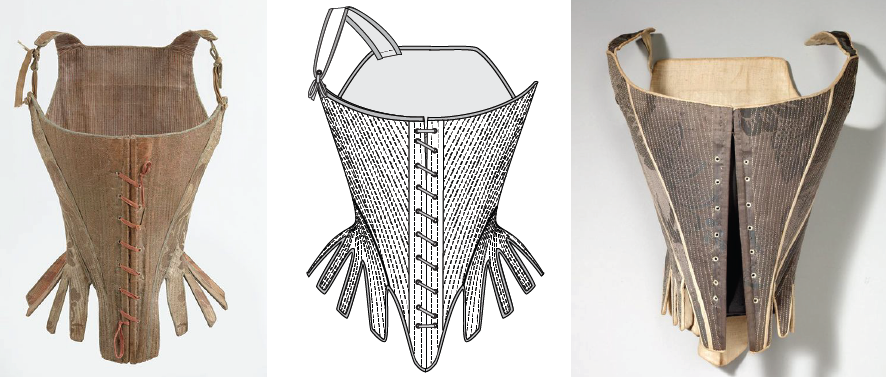
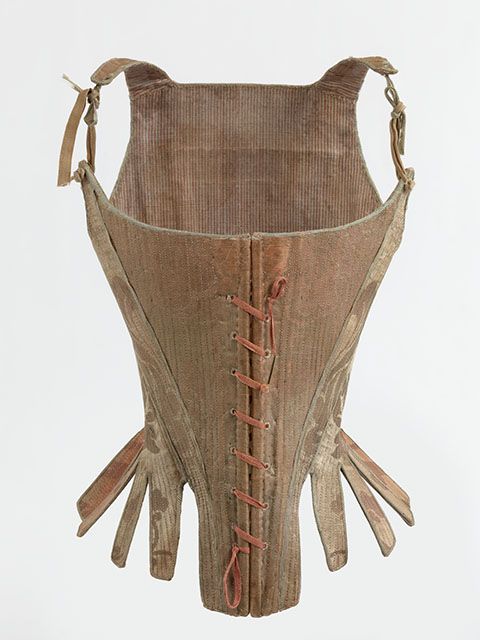
We designed View B of the Cassandra Stays to have front and back lacing for maximum flexibility. However, it’s very easy to alter View B to be front-laced only. It’s historically accurate too, based on examples like these stays:
Dutch corset from Antwerp, 1770-90
And these stays:
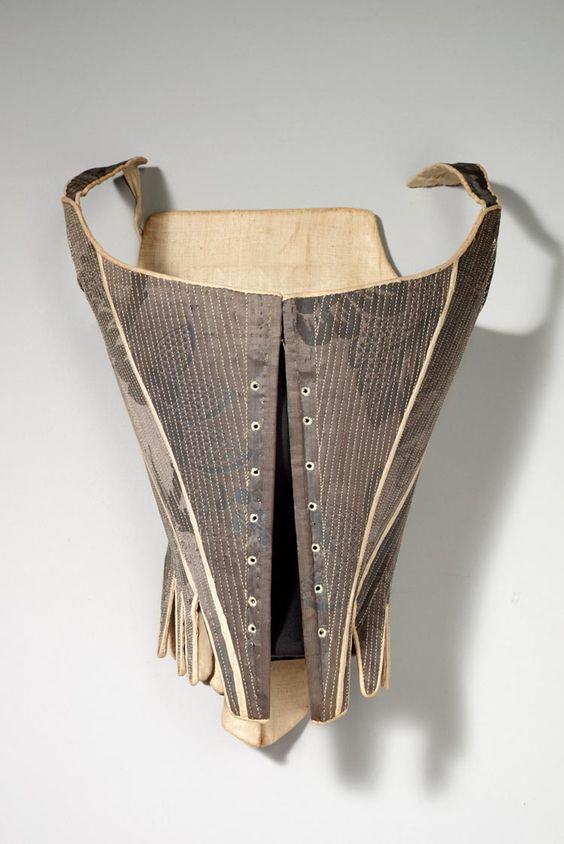
I’ve used these two pairs of stays as the primary inspiration for the pair of stays I’m making for the Cassandra Stays Sew Along.
Here’s how I altered the Cassandra Pattern to be front-laced only!
Fitting for Front-Laced Only Stays:
It’s very important to get the fit just right in front-lacing only stays. After all, you’ll only have one set of lacing to adjust to your body.
When fitting, aim for a back lacing gap that is 1.5cm/5/8” or under, and perfectly even up and down. No gap at all is best.
You can see here that I either need to be able to comfortably tighten the lacing just a bit more in the middle, or let out my seams in the middle where it wants to bow out just a wee bit:
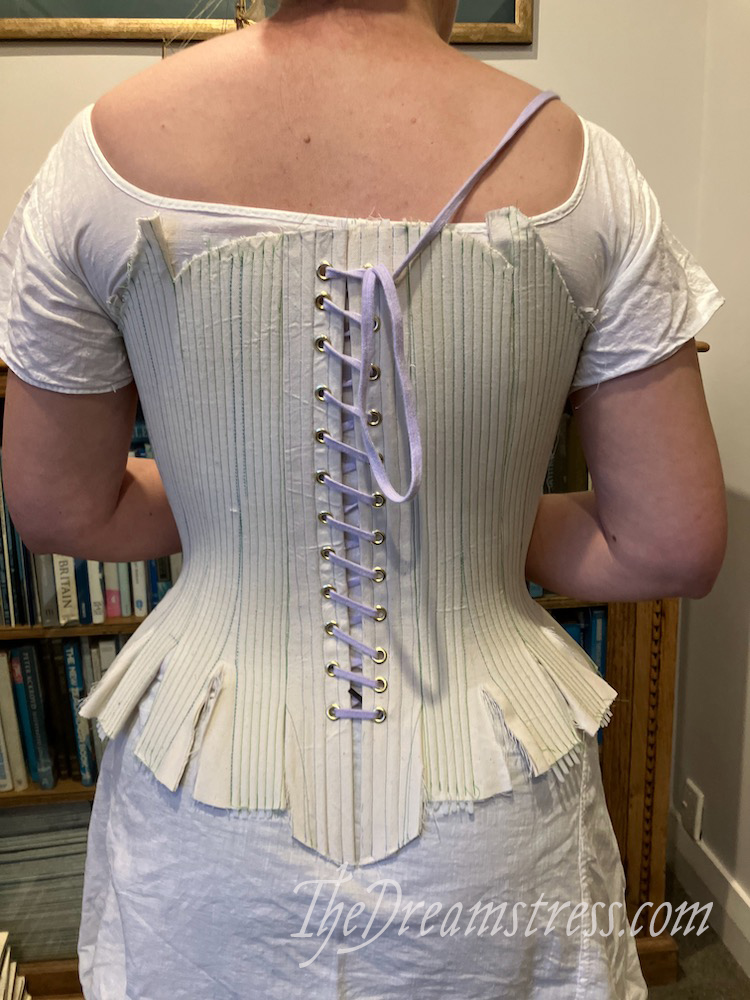
Make a careful note of exactly how wide your back lacing gap is.
Moving to the front of the stays, let’s look at the front lacing gap. Think about how tightly laced you want it in front. I want the option to lace my stays totally closed at the front at their snuggest, or to wear them with a bit of a cap and the stomacher showing for a more casual look.
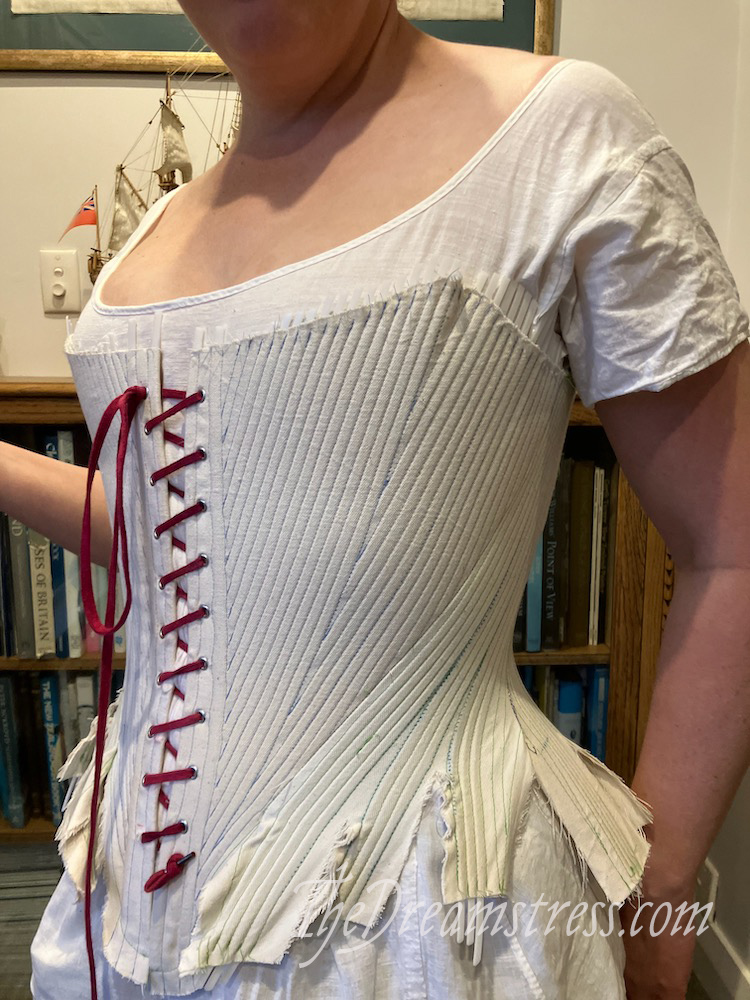
Keep in mind any changes your body might go through. I fitted my stays after 2 months on meds that made me gain weight, right before switching to meds that have minor weight loss as a common side effect, so I’ve left just a little gap in case I drop a kilo or two. I can also take in or let out the seams of the final stays when I get to the final fitting, and this should let me finesse them to wherever my body is at that point.
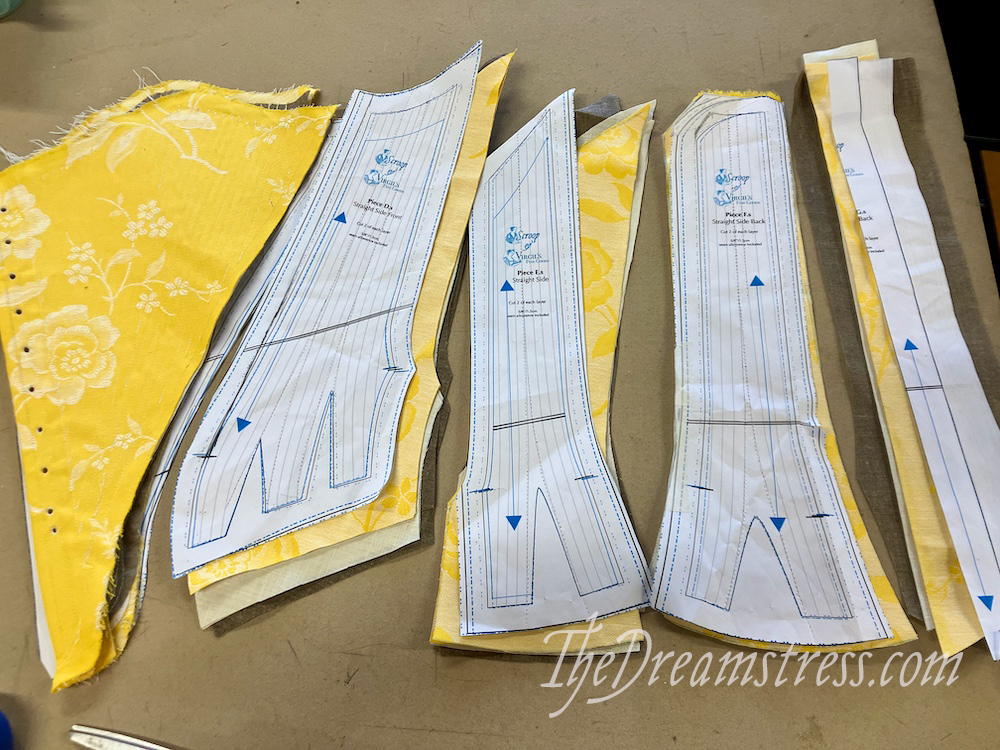
When you are completely happy with your stays fit and all your adjustments, it’s time to transfer the adjustments to the pattern.
Pattern Adjustments:
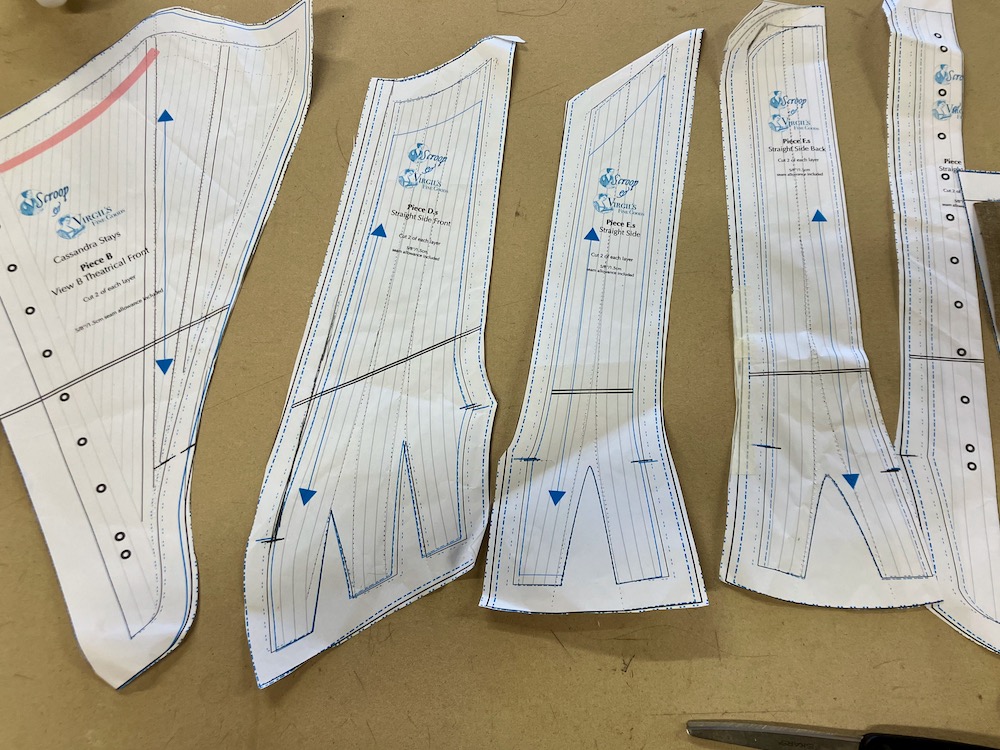
Transfer all your adjustments to your pattern, and when you come to Piece G (the centre back piece) draw a line parallel to the centre back line that is 1/2 of your lacing gap. Fold under the centre back seam allowance of Piece G on that line.
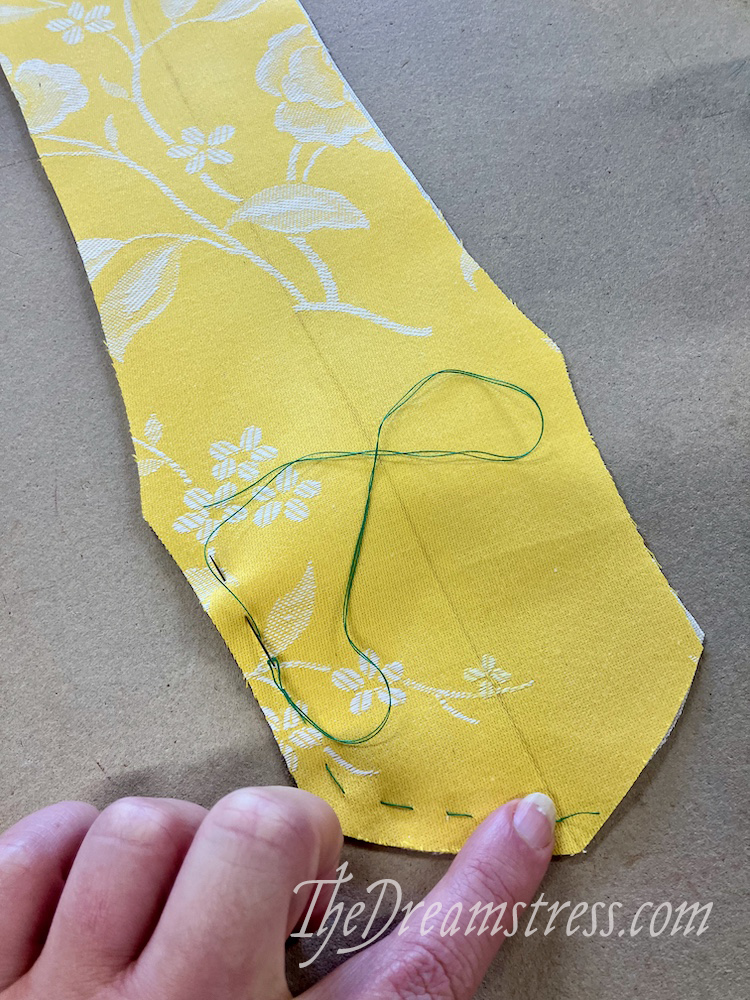
In my case I fit for no back gap whatsoever, so I folded in my pattern piece right along the centre back line:
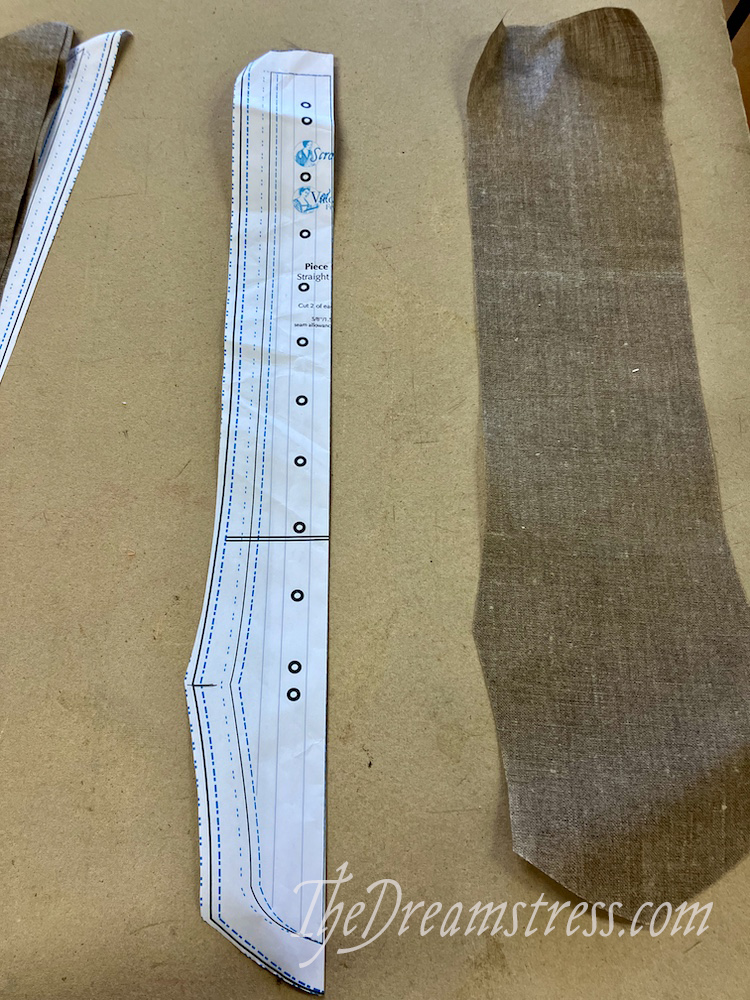
You’ll now be cutting your center back piece with this line along a fold:
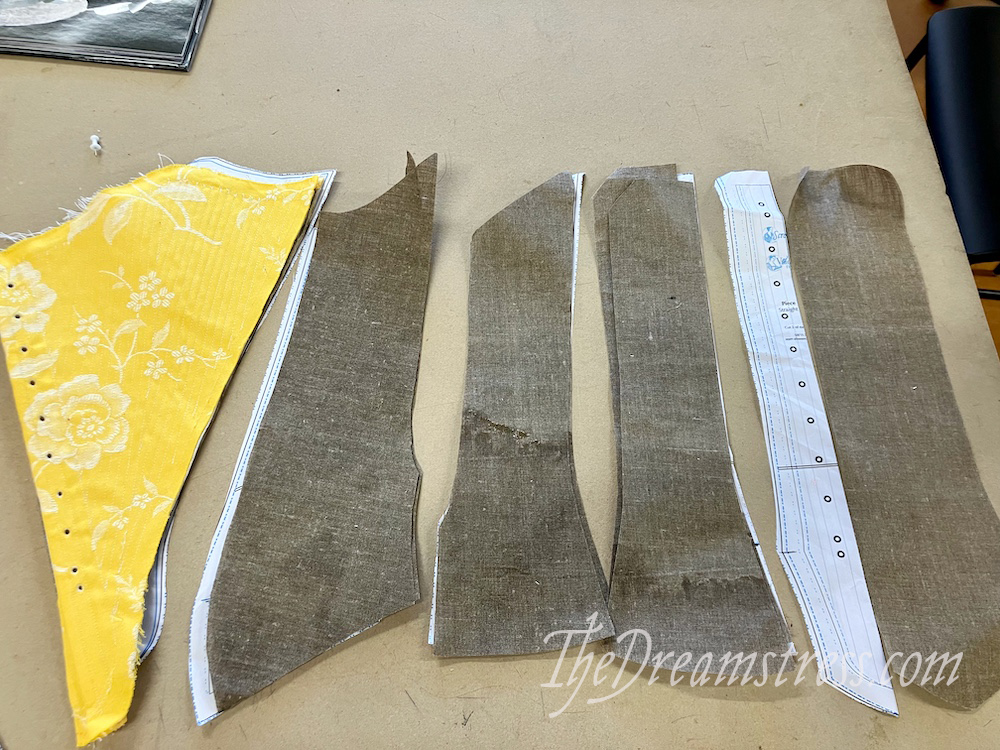
And that’s literally all you have to do to alter the Cassandra Pattern to have no back lacing!
Now you’re ready to cut out. And that will be the subject of the next post. After Rate the Dress, of course…