With my bodice finally fitted, boned, and adjusted for non-dorkyness, I could turn my attention to covering it with the fabulous golden yellow duchesse satin (aaAAAAAAAh).
I had originally planned to cover the bodice with pieces cut exactly the same as the boned support, so there would be four pieces for each half of the bodice.
Then I looked at some of the my inspiration images, and realised that many of them had eliminated the curved side-front seam.
You can clearly see the front seam, but Mary’s frock has no curved side seams.
It’s impossible to tell if the lady of the Walking Couple has a front seam, but it definitely doesn’t have a side seam.
My original inspiration image of Elisabeth of Orleans almost certainly has side seams under those jewels, but I realised that if I didn’t do the side seams, I could always make faux side seams with trim if I wanted that look, but I would also have the option of the smooth sides.
So that was that. The under-bodice has side seams, but my covering fabric won’t.
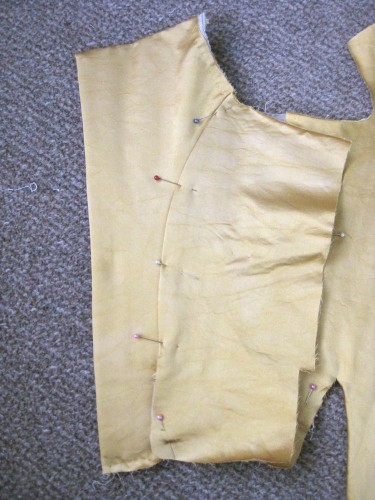
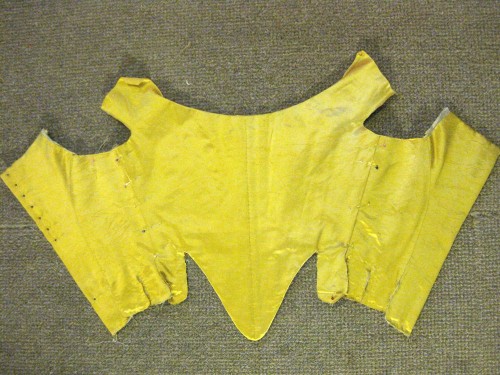
To make a covering front piece, I pinned the bodice on Isabelle and draped a pattern piece that covered the front and the front side piece. It worked like a charm.
I even remembered NOT to cut it along the grain just after snapping this picture but before slicing into the fabric. So I had time to turn it crosswise. How’s that for luck!
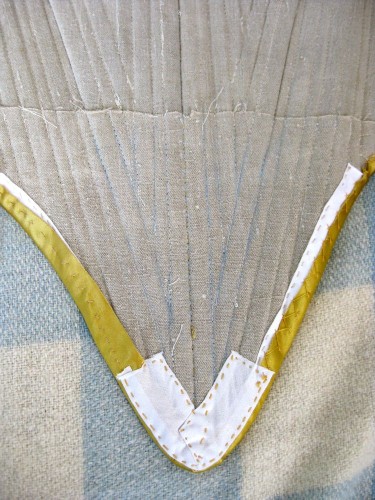
Getting the centre front point smooth was going to be the trickiest part, so I sewed a bit of bias tape over the point first to help support the curve, and then smoothed my front piece over it and basted it down from the back. Then I sewed another piece of tape over that, so that if I leave an opening to insert a busk it won’t catch when it goes in and out.
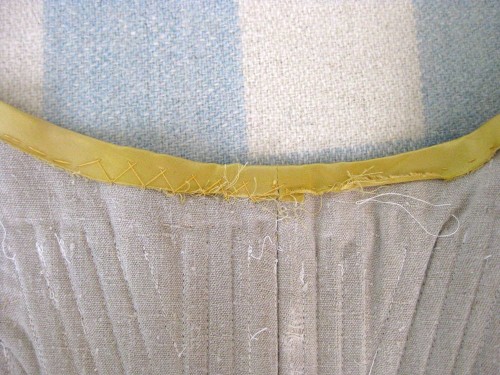
Then I basted down the top, and had a few issues with remembering which stitch I was doing in the middle of doing it. At least it’s just basting!
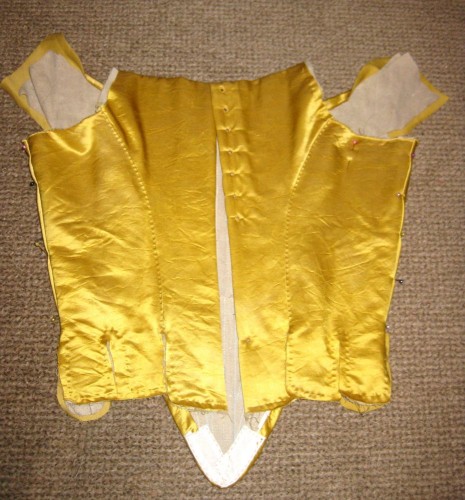
It’s looking pretty good from the outside. You can see a bit of the boning lines through the outer cover, and I’m beginning to worry that I made the wrong decision in leaving the shoulder straps till last, but these are pretty minor, so I’m happy.
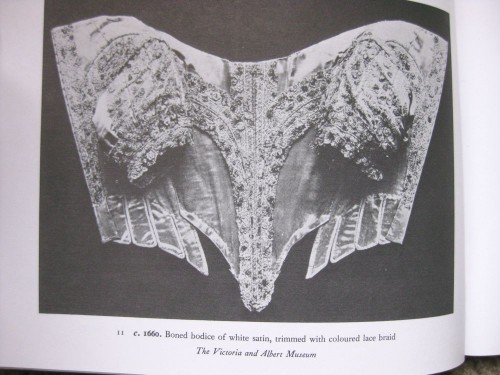
It’s not entirely obvious in these images, but the point edge is finished as far as the first tab, as is the neckline edge. The tabs will all be bound with tape to finish them, but in all the extent bodices I have seen images of the neckline and front point are finished by folding over the front fabric to the back, and then stitching the lining down on the reverse.
I think this is such a clever and fantastic way to finish the bodice – sooooooo much easier than binding all the edges with tape, but yet the tape is still used on the most fiddly tabs, that would be hard to finish any other way. And it’s totally historical – could it be any better!
I’m sewing all the satin bodice outer pieces on first, and then when they are done I’ll sew on all the lining pieces.
I’m overlapping the covering pieces from front to back. So the side back piece gets layered over the back, and then the front piece gets layered over the side back piece.
In order to be as historical as possible, I’m not using any ironing to fold and press down the seams as I stitch them. Just my fingers. It’s going well.
I’m using a simple running stitch through my covering layer all the way down to the boned bodice to hold down each layer. As far as I can tell from looking at photos, this is exactly what is happening with the Bath Dress.
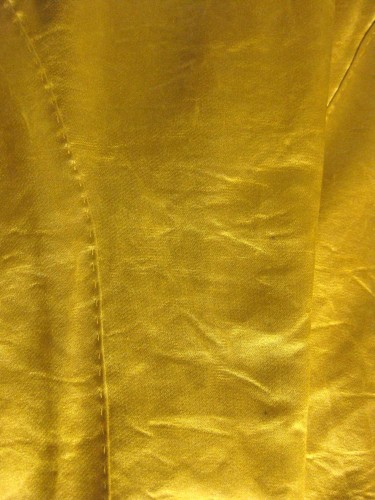
You may notice the distress damage that happened when I dyed the fabric. I’m trying not to wring my hands too much about it, but if I ever dye duchesse satin again I’m going to try to find another way to do it – one that doesn’t damage the fabric.
Even with the damage the colour still makes me swoon!
In order to check that the fit is absolutely perfect I want to do all the lacing holes before I sew the side seams, so I’m working on those now. When they are done I’ll have my final-est fitting, and then sew the side seams, and then do the lining. (and then do the sleeves and then do the trimmings and then….)
It’s a long process!



DANG, lady, you are FLYIN’ through this project! It’s looking splendid! I can’t wait to see it with the trim all on. Heck, I can’t wait to see it complete.
I wish I’d worked my point more on mine, like you did yours. Also, the boning did show through the bodice on mine as well. Not sure how you’d prevent this – a padding layer?
Flyin through it is what happens when you don’t do anything else with your life!
Kendra used a layer of flannel on hers to smooth out the boning, but I can’t find any evidence that this was done historically, so I wasn’t willing to do it. I wonder if the boning would be less evident using period boning? Baleen can be cut so much finer, which would mean less up and down bumps.
Lovely. And I can’t believe how smooth you’ve got it! I’ve made boned bodices before but have always had a terrible time trying to get the face fabric to lay smooth. Especially satin.
Were you using duchesse silk satin? I think it is a lot easier to work with and less likely to wrinkle than synthetic.
Nope, wool satin courtesy of Global Fabrics. It’s quite thin and flexible though, which I think was the issue. I also don’t think I attached it to the lining the right way.
Oooooh…wool satin! I missed that!
It’s SO cool and nice to work with. Made a gorgeous tricorn hat out of it too. FYI, Arthur Toye is having a 50% off sale at the moment.
Already been and bought out their stock of cotton muslins and voiles 😀
I have to say it again you are truly amazing!!!!!
Awww <3
Oh, this is a sight for sore eyes! Lovely, lovely. That silk is made of pure sunshine, I think.
I was wo deirng with a boned bodice would there be a stay underneath as well????
No, boned bodices were worn instead of stays. You may find this post helpful: https://thedreamstress.com/2013/09/terminology-what-is-a-robe-de-cour-or-grand-habit/