Latest Posts

The Dreamstress.com Black Friday Pattern Roundup

Is your Indie Pattern company running a Black Friday/Cyber Monday Sale? Let me know!

The Dreamstress.com Black Friday Pattern RoundupGet excited!

I’m going to be doing a round-up of ALL the indie pattern companies that are doing sales between November 20-30.  It will be your one-stop shop for finding out all the amazing sales that will be on in the next week.

I was inspired to do this because I’ve realised that most of the indie pattern sale round-ups don’t include historical & vintage based indie pattern lines (which is very sad – they were basically the original indie patterns!).  Plus many of them charge indie pattern companies to be included on their list.  As an indie pattern designer, I know how hard you have to work for every dollar you earn.  I thought it would a free, all-inclusive list would be a nice service I could offer back to the sewing and pattern designing community.

Know an indie pattern company planning to run a sale?

Let me know through my contact form here, or through my page messages on Facebook, or through the @scrooppatterns PM on Instagram.  Or, just leave a comment with all the info!

If you’re a pattern line and want to be on the list, please include:

  • A link to the sale advertisement OR
    • when the sale starts
    • what the discount is
    • when you want me to make the info public (if you’re the owner of the pattern line and haven’t announced the sale yet).
  • A link to where to buy the patterns


Inclusion on the list is free!

As long as any part of the sale falls between the 20th & 30th of Nov, and meets the perimeters below, I’ll include it.

I’ll try to get any info sent to me added within 24 hours of it being sent.

The preliminary list will go live tomorrow morning. I’ll keep adding to it throughout the 10 day period.

Inclusion in the list is totally at my discretion.  Because this is my website, and I need to set some perimeters to keep it from getting too crazy, I’m not going to include the following:

  • Pattern lines that are totally Ebay/Etsy/Etc based.  The pattern line needs to be sold through their own website, or one specialising in sewing patterns.
  • Vintage/historical lines that are totally reproduction based, with no original designs.
  • Pattern lines that engage in unethical business practices (a call that is totally up to me).

The Scroop Miramar top thedreamstress.com

And is this a hint that there might be a Scroop Patterns sale…maybe!

1900s day dress, 1900s fashion

Rate the Dress: a ca 1900 day dress gets the blues

Last week’s 1750s Robe a la Francaise was far better received than I had anticipated.  I thought the muddy colours and square shape would put people off.  If they weren’t enough, there was the lacklustre presentation and dreadful wig.

Despite all those, you found the back pleating sufficiently swooshy, and the fabric sufficiently luxurious, to keep all your ratings at 6 and above.  The ratings averaged out at 8.3 out of 10.  8 (or 8.5) was the most commonly rated # for the dress, so for once the ratings reflect the general reaction.

This week: A ca. 1900 day dress

This week I’ve chosen something in a nice bright, bold colour: a ca 1900 day dress in deep blue printed silk:

The silhouette of this dress, with its drooping bell sleeves, not-yet-excessive pigeon breast, and gored skirt with ruffled hem, is absolutely typical of fashionable 1900s dress.  The S-curve has yet to reach its most outrageous proportions, but is definitely in evidence.  The only throw-back is the sleeve heads, which retain a slight fullness.

The delicate but elaborate trims and ornamentation are also pure Edwardiana.   The rows of tiny pintucks are interrupted by lace insets, creating rhythms of vertical and horizontal lines.  The vertical lines converge at the centre front and centre back of the dress, drawing the eye in, and emphasising the wearer’s small waist.  French knots creating textural polka dots on the lower sleeves and collar.  The knots reverse the white-on-blue colour scheme of the primary floral fabric.  This ties the sleeves back into the garment, and bounces the eye back and forth between the different colours and textures.

When the wearer moved the hem ruffle would have fluffed around her feet.  The slight train would have swooshed an attractive ‘follow me’.  The lighter lower sleeves would draw attention to artistic hands.  Imagine them folded demurely at the front of the dress, or gesturing in conversation.  The fullness of the lower sleeves would enhance the impression of small, delicate hands.

The most work the hands in the sleeves might have done in this dress was fancy-work or flower arranging.  This ca 1900 day dress is definitely the gown of a woman of leisure: and not just for everyday wear either.  The combination of silk fabric, vivid colours, and delicate white details would have made this extremely difficult to launder and care for.  I’ve called this a day dress, but it could equally be described as a reception gown.

Those troublesome (for the maid) vivid colours show the transition from late Victorian fashion to Edwardian.  The fabric and print are both lighter and more delicate than those typical of the late Victorian era.  However, the rich cobalt hue is more robust than the delicate half-shades and pastels that were the predominant fashionable colours in the first decade of the 20th century.  The geometricised florals may be surprisingly modern too our eyes, but weren’t unusual at the time.

The lace trim was most likely a closer match to the blue of the silk when the dress was made.  It has probably simply faded or colour changed differently over time.  The greenish tone it has taken on is a common effect of dye change.  Despite that, it is possible that it was originally this shade.  Particularly when it came to lace, the Edwardians were not fixated on matching exact hues.  It’s possible they thought the slight variations added to the overall effect of textures and layering.

What do you think? Do the swooshy skirts and subtle details make you swoon with delight?  Do you like the combination of delicate and bold?  Or do you think it a dress divided: pulled between eras and design details?  Or does it just not work for you for another reason?

Rate the Dress on a Scale of 1 to 10

SaveSave

SaveSave

A super-full 1916 petticoat thedreamstress.com, 1910s petticoat, starched petticoat

The super-full 1916 petticoat: or, the wonder & magic of starch

Remember my cheater 1916 petticoat?

A petticoat for a 1916 evening dress thedreamstress.com

I’m sure a lot of you looked at it and thought: “It’s so limp!”   And “There is no way that is going to support a skirt as big as her inspiration image!”

1916, 1910s, 1916 petticoat

Harpers Bazaar 1916

Behold the wonders of starch:

A super-full 1916 petticoat thedreamstress.com, 1910s petticoat, starched petticoat

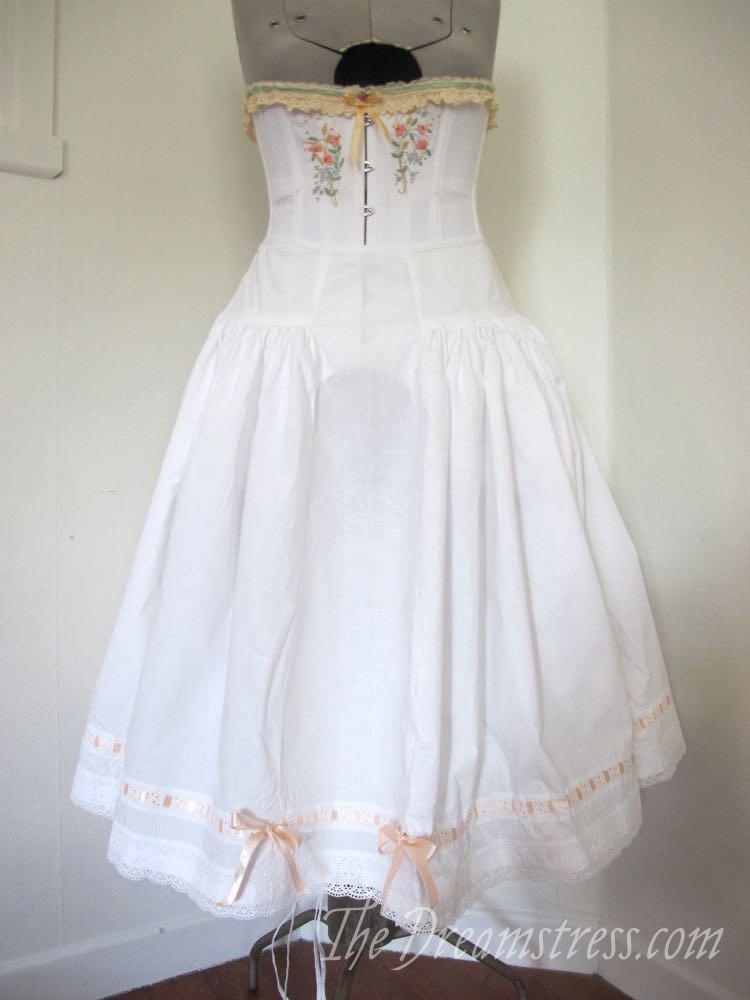
The photograph above was taken after I starched my 1916 petticoat, let it sit around the house for a week in the Wellington damp, handled it a lot threading the ribbon through, shoved it in a suitcase, took it to LA, wore it, let it live in the hot humidity there* for 10 days, shoved it in a suitcase again, let it sit in damp, cold, humid Wellington for another 10 days, and then pressed and photographed it.**

A super-full 1916 petticoat thedreamstress.com, 1910s petticoat, starched petticoat

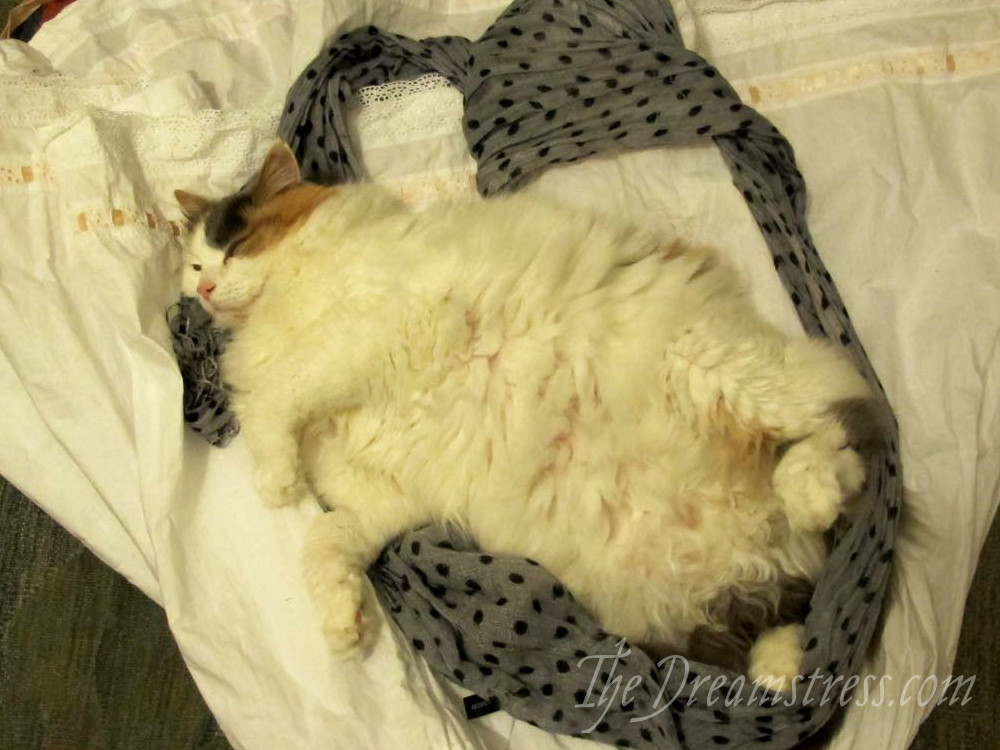
Plus, at some point in this process Felicity managed to conscript it as a bed for a luxurious nap…

And it’s still poofy!

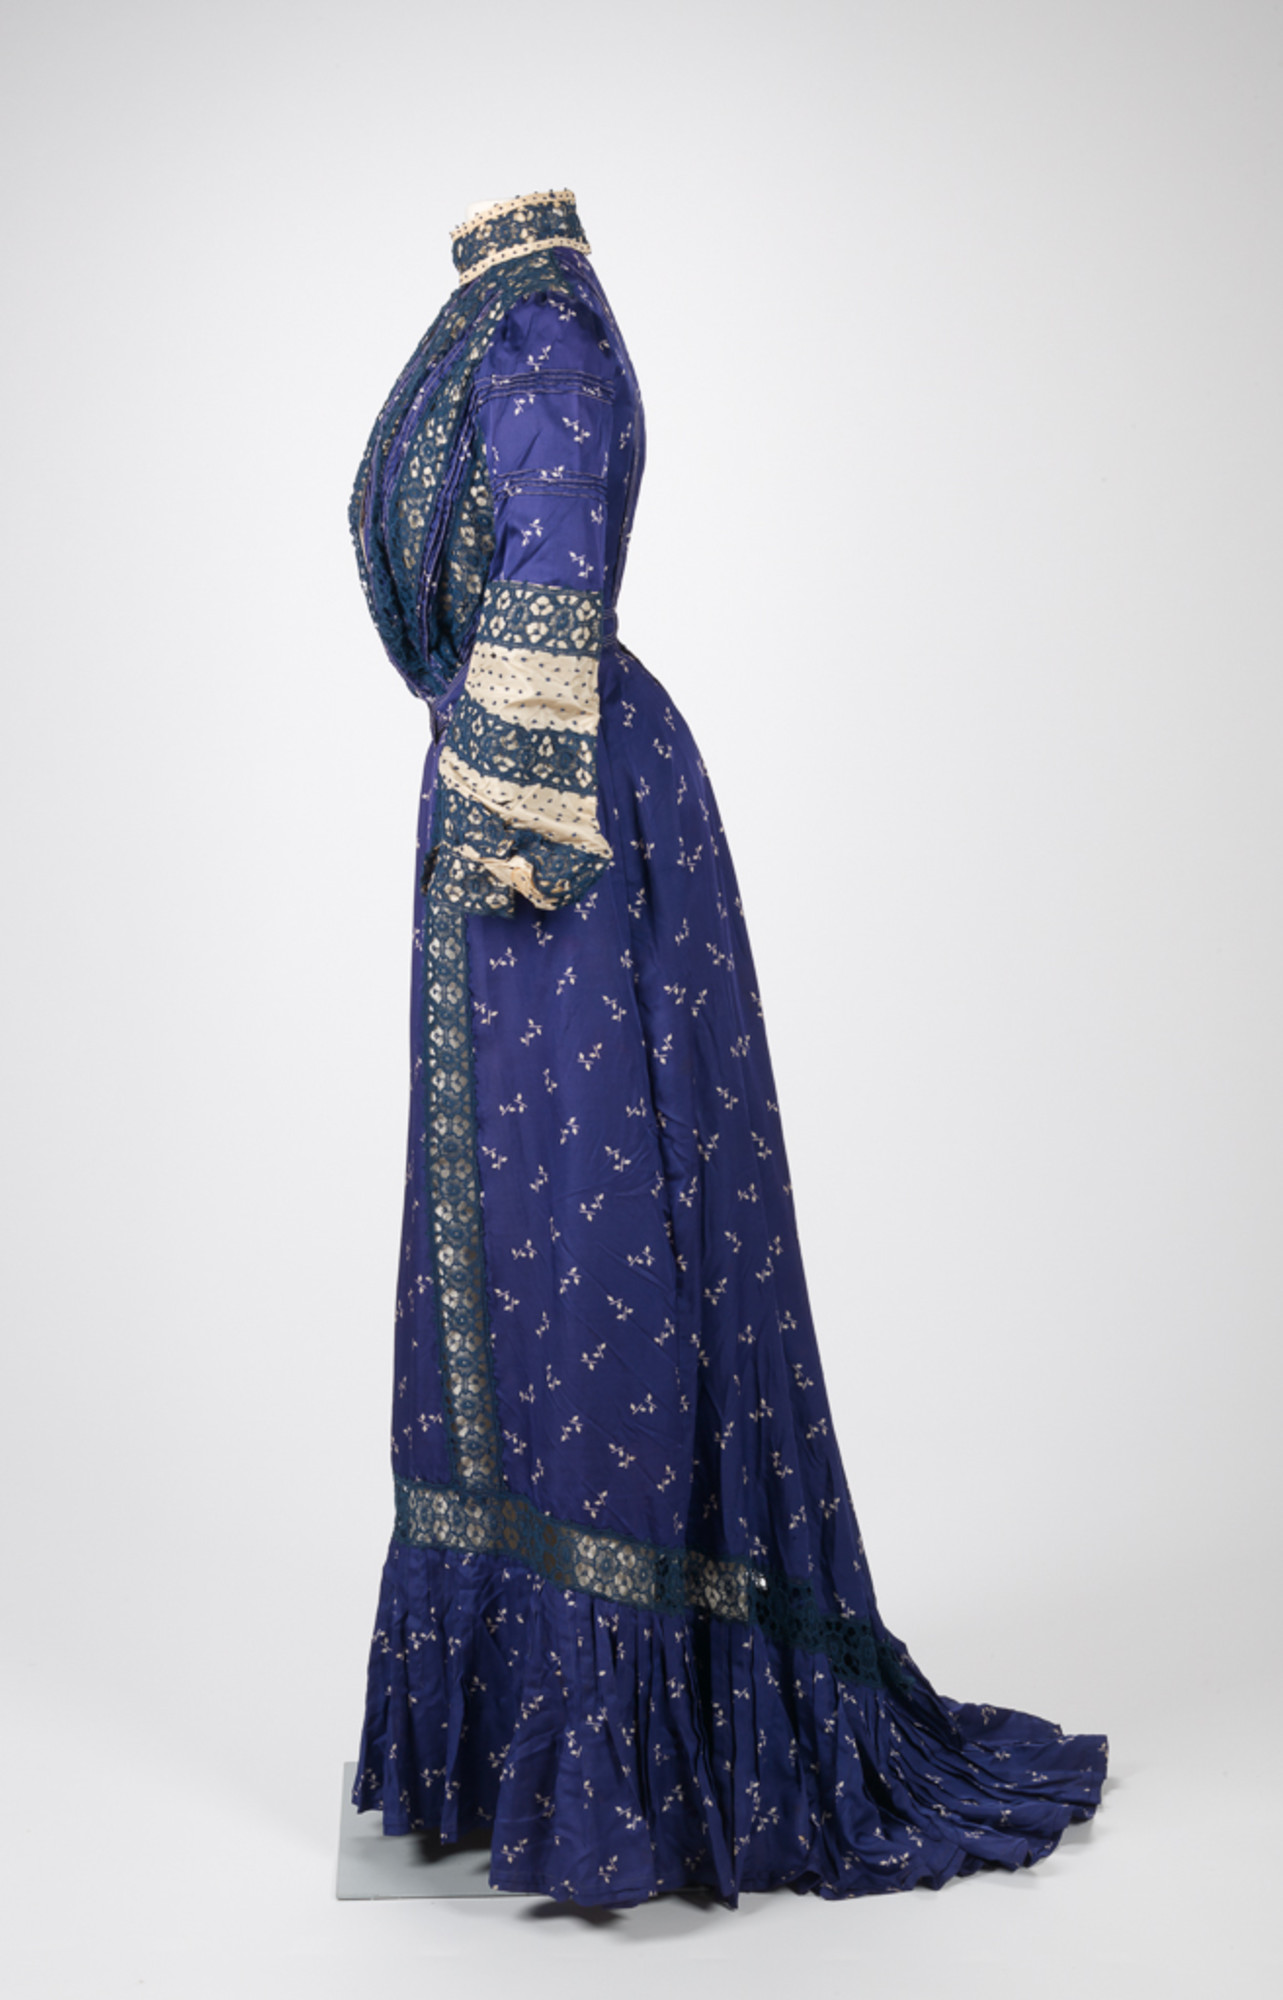
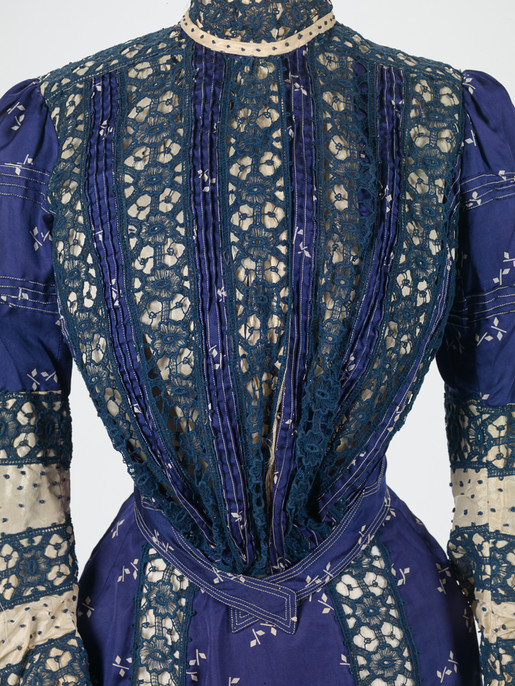
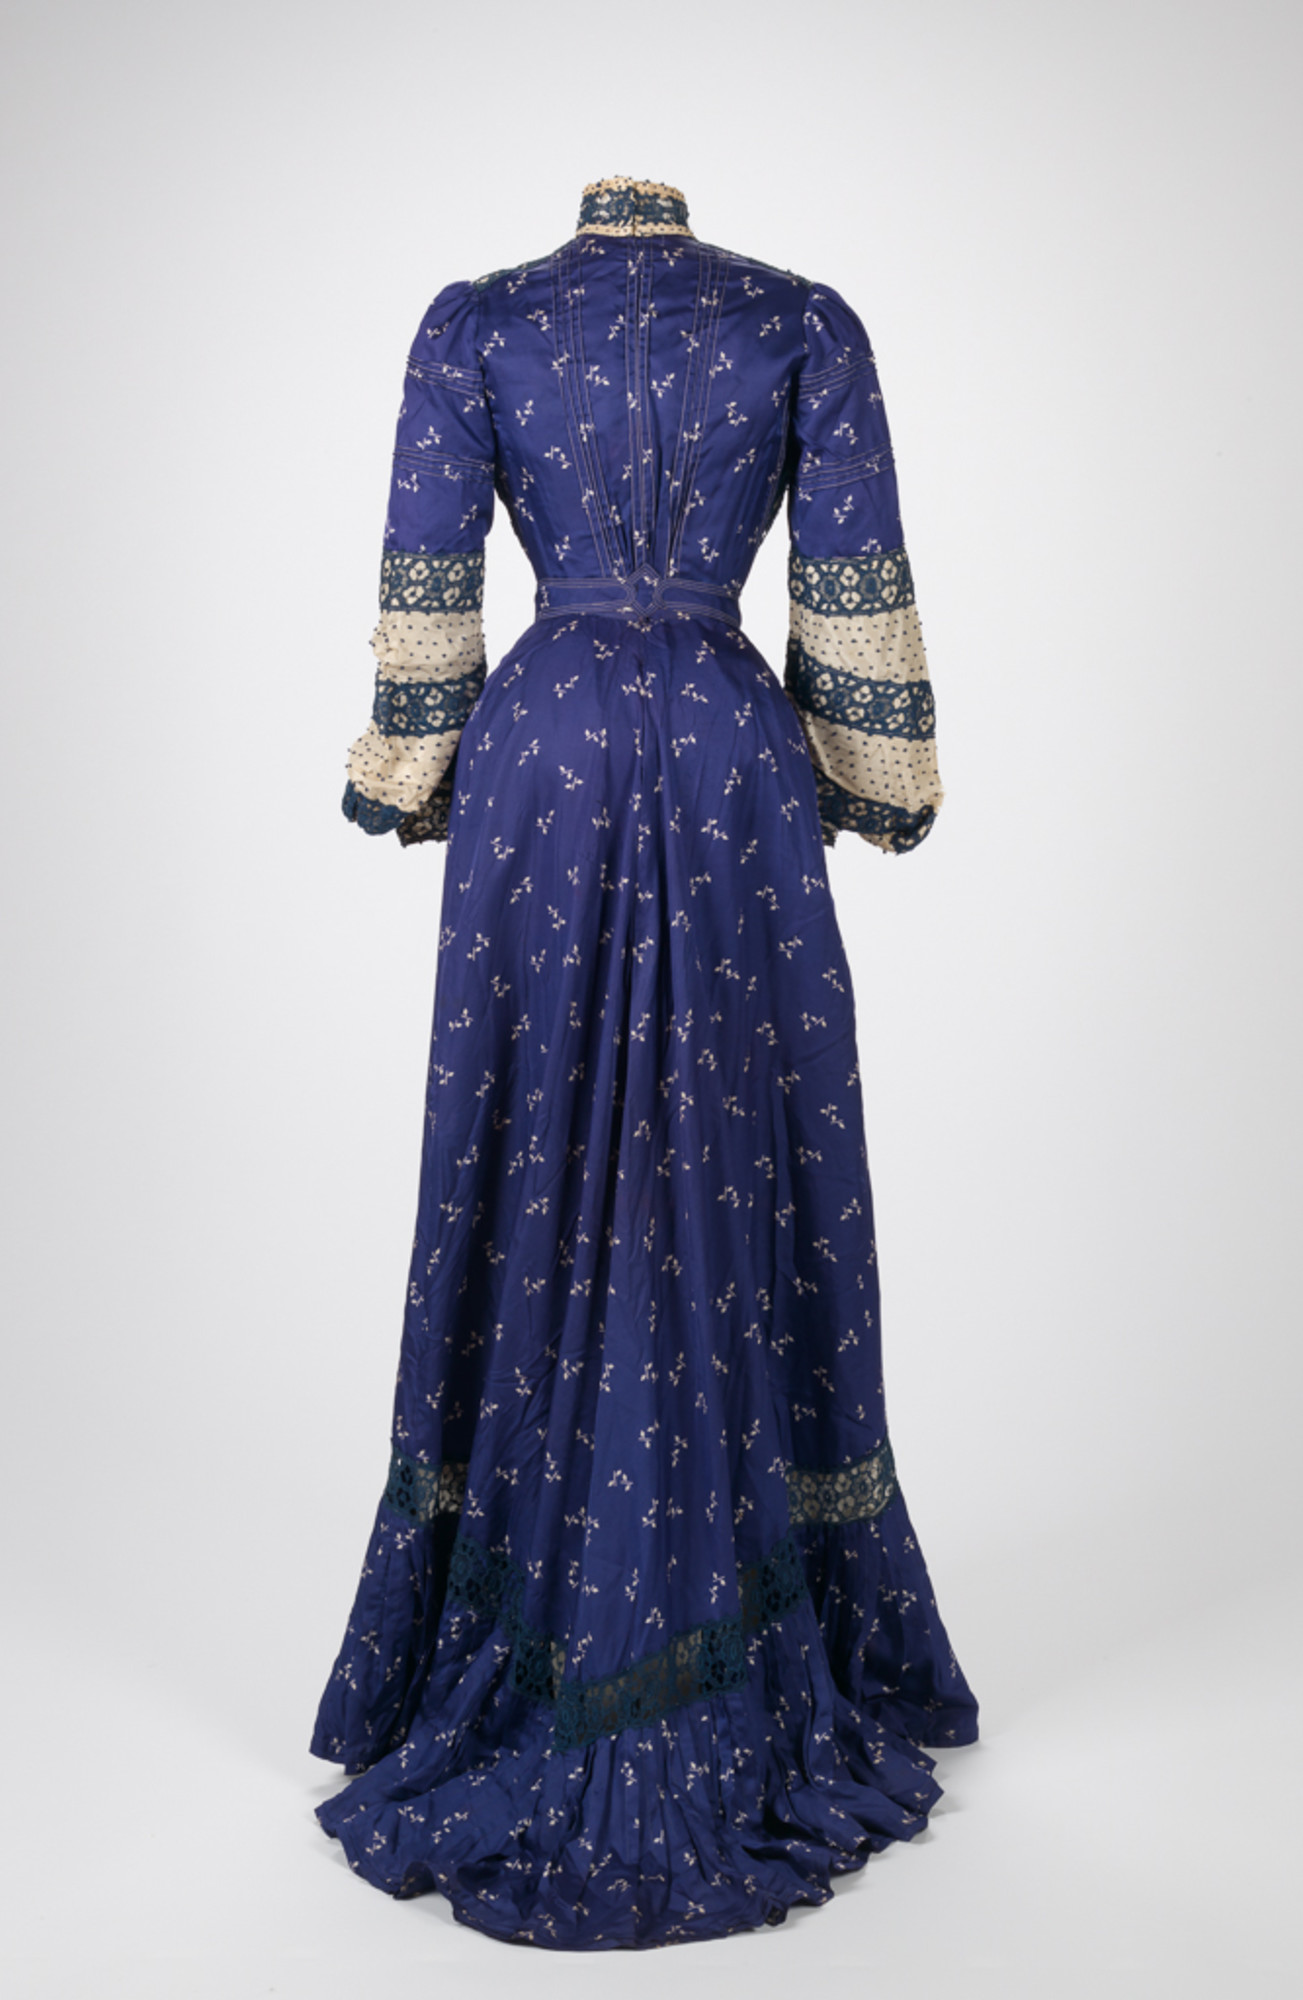
A reminder of how poofy my 1916 ‘Gather Ye Rosebuds’ dress was on the night:
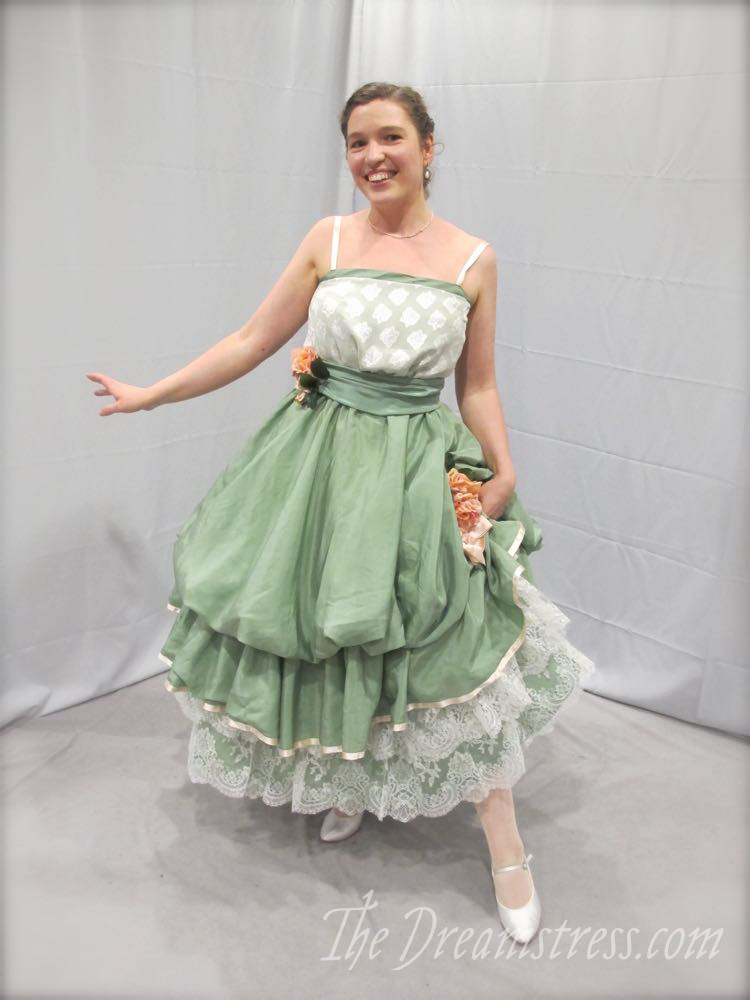
Gather Ye Rosebuds CoCo 2017 Gala Gown thedreamstress.com

So much poof!

So how did I do it?

Lots & lots of starch!

A super-full 1916 petticoat thedreamstress.com, 1910s petticoat, starched petticoat

How to starch a petticoat:

You will need:

  • 1/4 cup cornstarch (per large petticoat)
  • 1/2 cup + 4 cups of water (per large petticoat) (This is for a very stiff starch.  Use 8 cups of water for a moderate starch – blouses and overskirts.  Use 16 for a very light starch – as with chemises and everyday summer clothes)
  • A large pot
  • Heavy duty rubber gloves to protect your hands
  • Tongs/stirrers
  • Somewhere to dry your dripping, messy, starched petticoat – preferably somewhere you can hang it out in a circle, so it doesn’t stick to itself as it dries, and so you begin forming fullness as it dries.
  • An iron, ironing board, muslin/calico to cover the board or a sacrificial ironing board cover, a pressing cloth.

Prep:

Pre-wash your items to be starched (or just run the shower over them if you’re in a real hurry).  Fully washing is preferable, as it thoroughly wets the fabric, and cleans out any dirt or soiling so they aren’t sealed into the fabric with the starching.

Cooking the starch:

Mix your cornstarch with 1/2 cup of water in your pot.  Once it’s thoroughly mixed, add the remaining 4 cups of water.

Bring the starch mix to a boil, stirring constantly (starching is an excellent arm workout).  Once it comes to a boil, let it boil for 1-1.5 minutes.  It will turn slightly translucent, and is thick and goopy, like runny glue, rather than totally liquid.

Turn off and remove from heat.

Starching:

I wear thick rubber gloves for the next few steps, to protect my hands from the hot starch.

Take the pot somewhere where it won’t make a mess if you drip starch goop everywhere.  This is where I love that my kitchen exits right on to the cement patio, which is equally handy to our washing line.  I carry my pot out to the patio, and starch there.  Then it doesn’t matter if I drip starch all across the lawn to the line.

If you have to do this indoors in a sink/bath/shower, it’s best to plug the sink/bath/shower so that you can run a bunch of water to dilute any dripped starch when you’re done.  Thick undiluted starch can dry and clog drains, which really isn’t the best for your plumbing.

Once you are set up, dunk your damp petticoats in the starch. Stir them round using a stirrer, tongs until they are fully impregnated with starch.

Fish out the petticoat.  Use your (gloved!) hands to wring and squish out the excess starch, so you just have a nice, thin layer of starch evenly coating the fabric.

Drying:

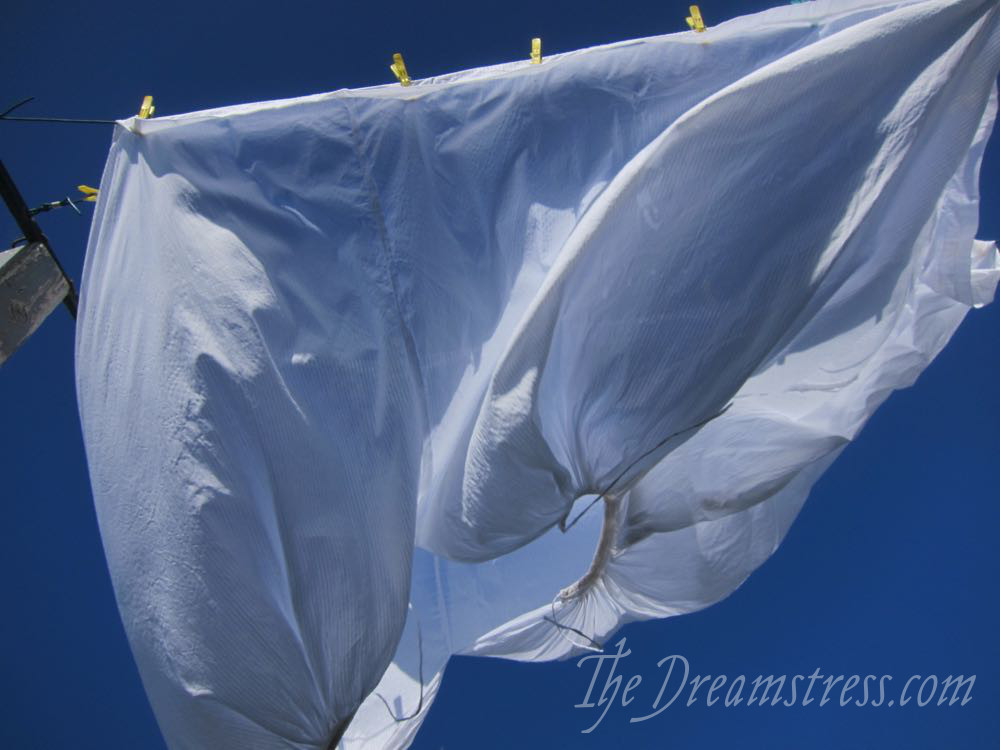
Hang or spread your fully starched petticoats out to dry, trying to hang/spread them in as wide and circular a shape as possible.

When it’s sunny and warm outside I use my clothesline, clipping each side of the skirt to the furthest-apart parallel lines, to hold it in a wide, circular-ish shape.

A super-full 1916 petticoat thedreamstress.com, 1910s petticoat, starched petticoat

It was rainy and cold when I starched the 1916 petticoat, so I dried it indoors, over my plastic-tubing hoopskirt, with rags beneath it to protect the floor, and a dehumidifier under it to dry it as efficiently as possible.

A super-full 1916 petticoat thedreamstress.com, 1910s petticoat, starched petticoat

The result:


A super-full 1916 petticoat thedreamstress.com, 1910s petticoat, starched petticoat

A petticoat that stands up by itself!

A super-full 1916 petticoat thedreamstress.com, 1910s petticoat, starched petticoat

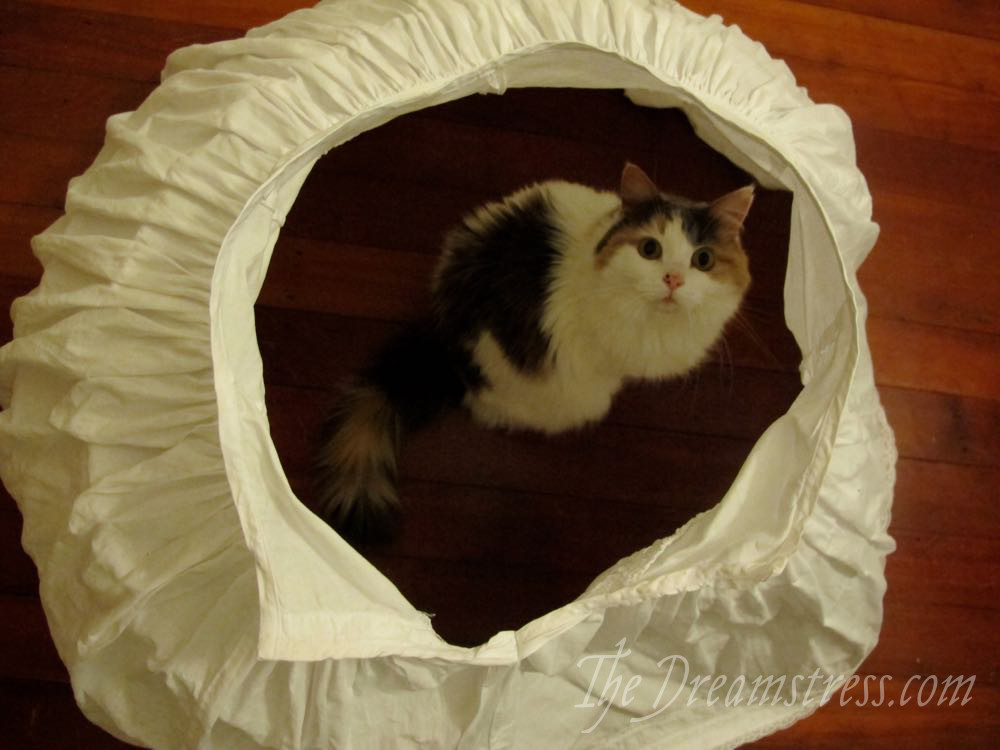
Felicity could not decide if it was the best cat house ever, or a prison…

Ironing:

You have two options with ironing a starched item: before it’s dry, or after.

Ideally you iron starched items while they are still ever so slightly damp, before any creases dry in.  This makes them a lot easier to iron, and the ironing seals in the starch, creating a slightly glazed finish.   Obviously things like petticoats don’t dry evenly, so I try to iron them when the main body is just the tiniest bit damp, even if the gathers at the waist are still very wet.

If I’m travelling with a large starched item, I sometimes let it dry completely, and shove it in my suitcase.  I then iron it when I am ready to wear it – so I don’t have to iron it twice.  This does mean that I have to use a LOT of steam when I iron the totally dried item.  You’ll loose a little bit of the stiffness and fullness of the starching doing it this way, as the steam softens the crispness slightly.  However, as my skirt shows, you can still get a lot of volume.

Whether I’m ironing a starched item damp or dry, I cover my ironing board with a length of calico/muslin, or use a really old ironing board cover, to avoid getting starch on my nice ironing board cover.  I also use a pressing cloth, so I don’t get starch on the iron, and because starched fabric can scorch with a hot iron if you aren’t careful.
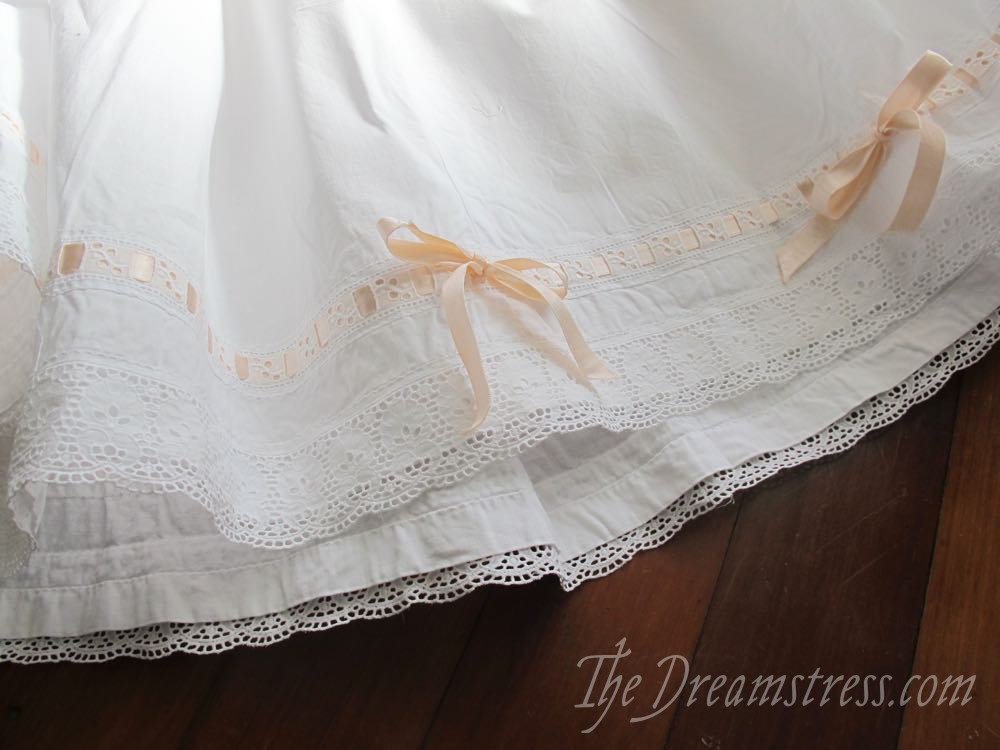
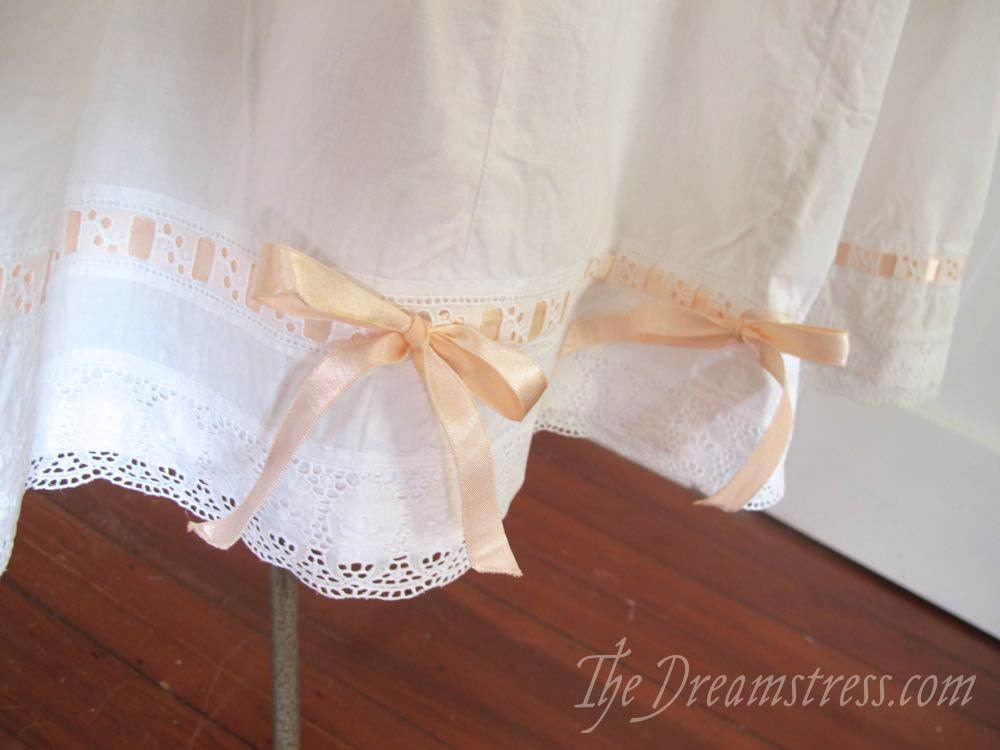
A super-full 1916 petticoat thedreamstress.com, 1910s petticoat, starched petticoat

Ribbons & trim:

Starching something with decorative beading ribbon, like my 1916 petticoat, is always a bit of a problem.  You can starch with the ribbon, and get starch on the ribbon, which doesn’t look that nice.  Or you can remove the ribbon, and have to re-thread it after starching.  This is what I chose to do, and it is a pain.  The starch glues the layers of fabric together, and you have to pries them apart as you thread the ribbon through.

I did a lot of muttering threading my beading ribbon.  Luckily I only had to do 1/4 of it by myself.  For another quarter I got some help from a very charming 18 month old.  I poked my bodkin through, she grabbed hold of it, pulled the ribbon through, and handed the bodkin back to me, saying “Again!”

This may be the only time I’ve ever wanted a toddler to day “Again” 30 times in a row!

For the final half of the beading, my wonderful mother in law took over, threaded it all through, twisted it all straight, and tied perfect bows in it.

A super-full 1916 petticoat thedreamstress.com, 1910s petticoat, starched petticoat

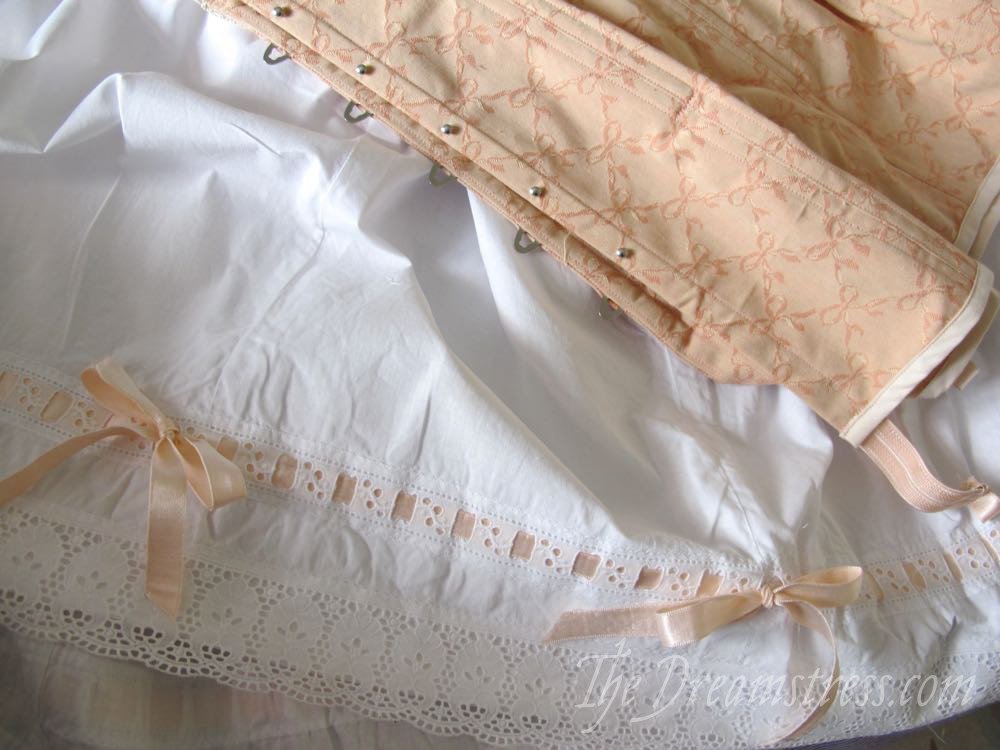
I’m showing my petticoat with the amazing embroidered Rilla corset that Madame O made, but it also matches my peach bows Rilla corset perfectly:

A super-full 1916 petticoat thedreamstress.com, 1910s petticoat, starched petticoat

For more information on starching historical garments, Retrospect and Historical Sewing have both done excellent write-ups on it.

*Yes, LA can be humid!

** And then washed the poor thing!


SaveSaveSaveSaveSaveSaveSaveSave