Previously on The Cassandra Stays Sew Along:
- Choosing Material for the Cassandra Stays
- Making Linen Buckram
- Making your Mock-Up
- Fitting
- How to alter the Cassandra Stays pattern to be front-laced only
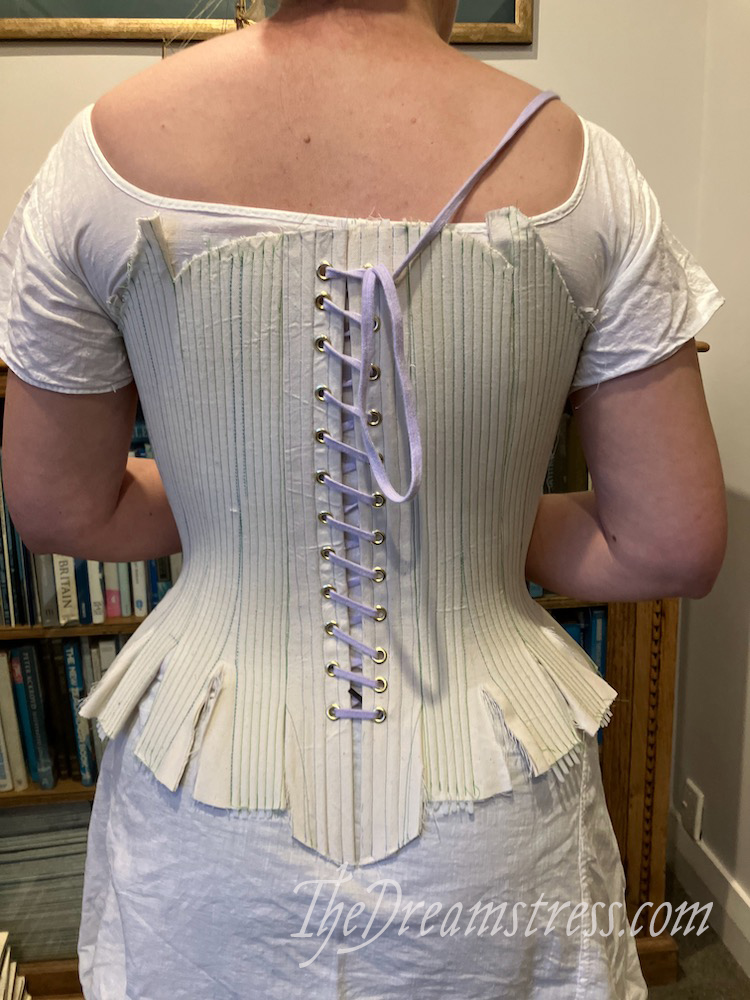
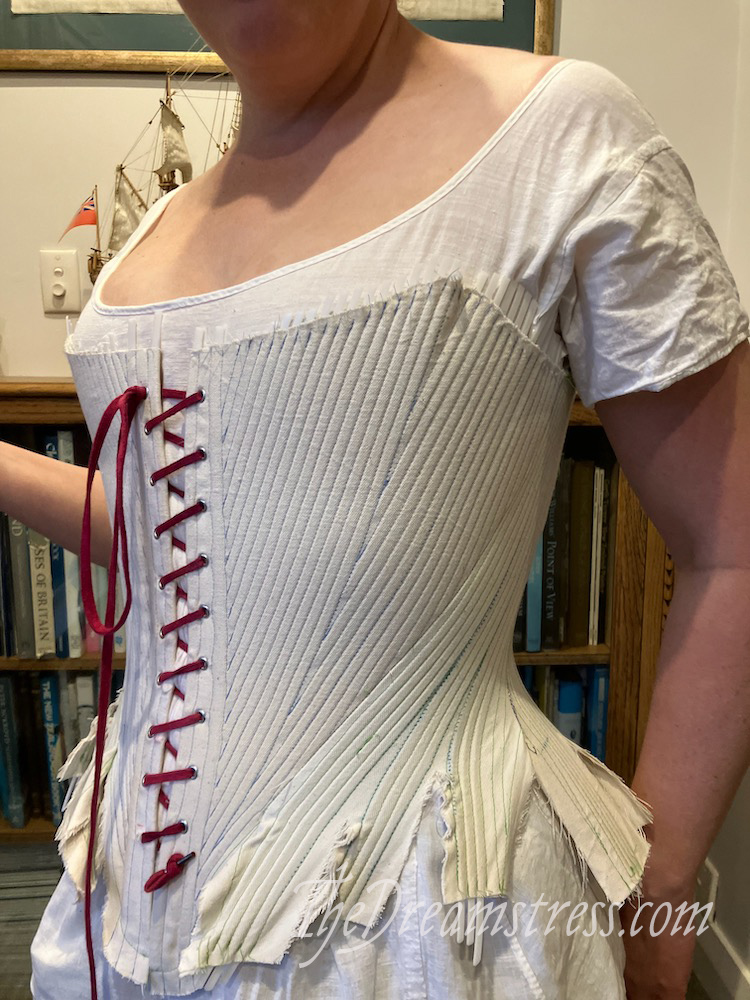
You’ve chosen your fabrics, made some buckram for the historical version, made a mock-up, fitted it to your figure, and transferred all your alterations to your pattern. Now it’s time to cut your fabric!
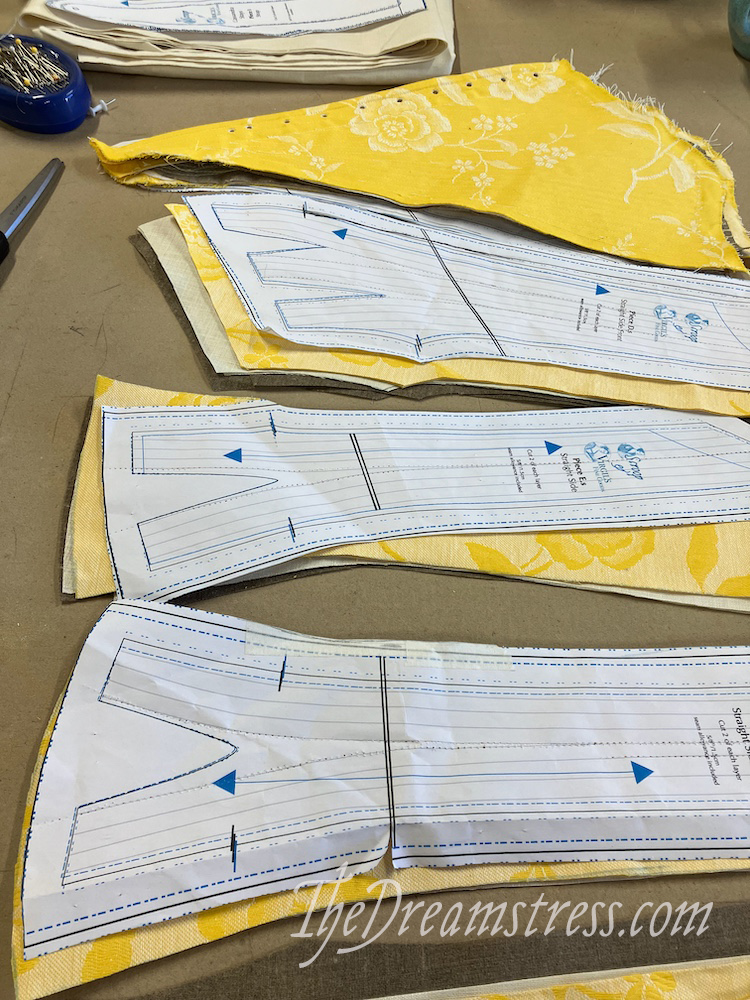
Cutting Out
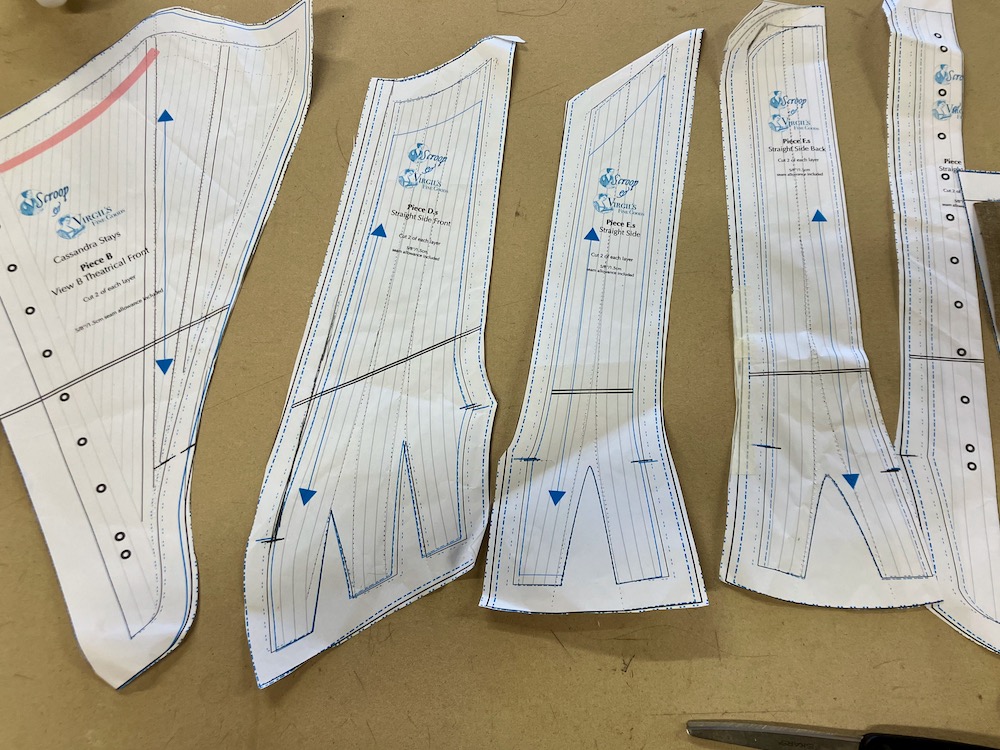
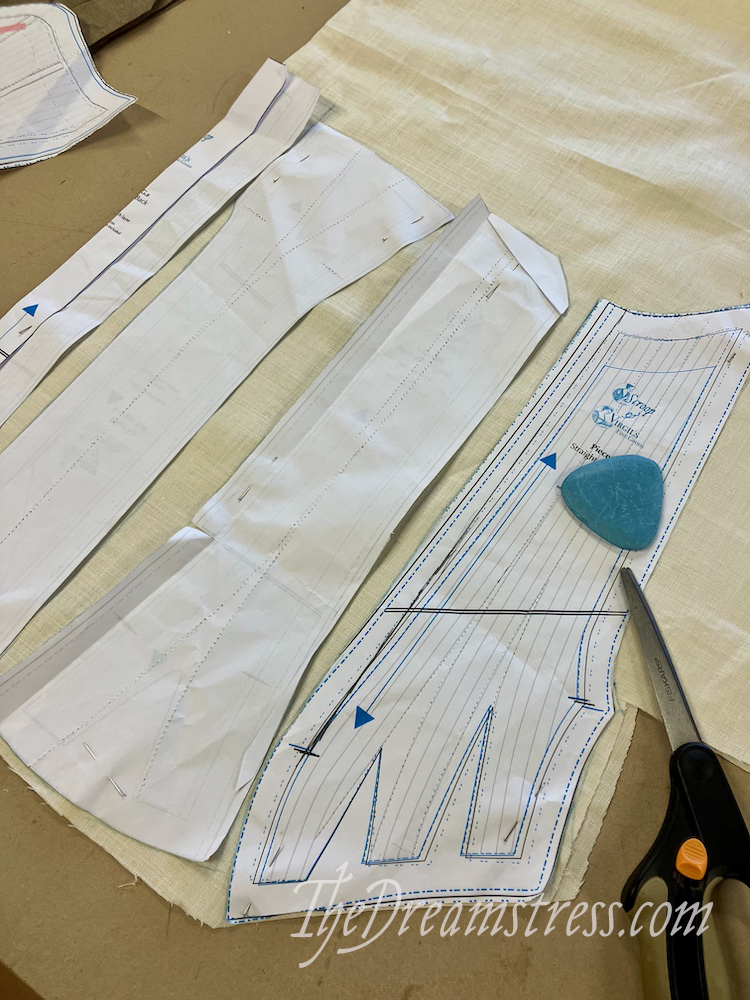
First, double-triple-quadruple check that you have made all your alterations to your pattern piece. In English we say ‘measure twice, cut once’. I had a sewing student from Latvia, and she said in Latvia they say ‘measure seven times, cut once’. That’s my kind of risk-adverse cutting!
There’s no big tips for cutting out stays: you’re working with nice stable fabric that shouldn’t be too tricky.
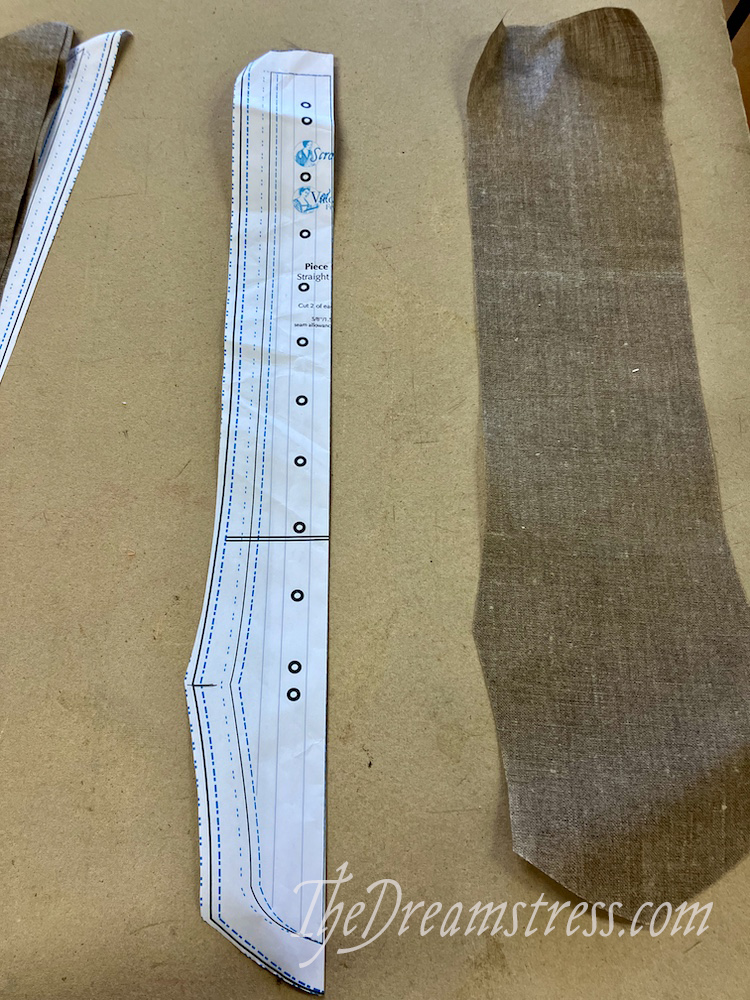
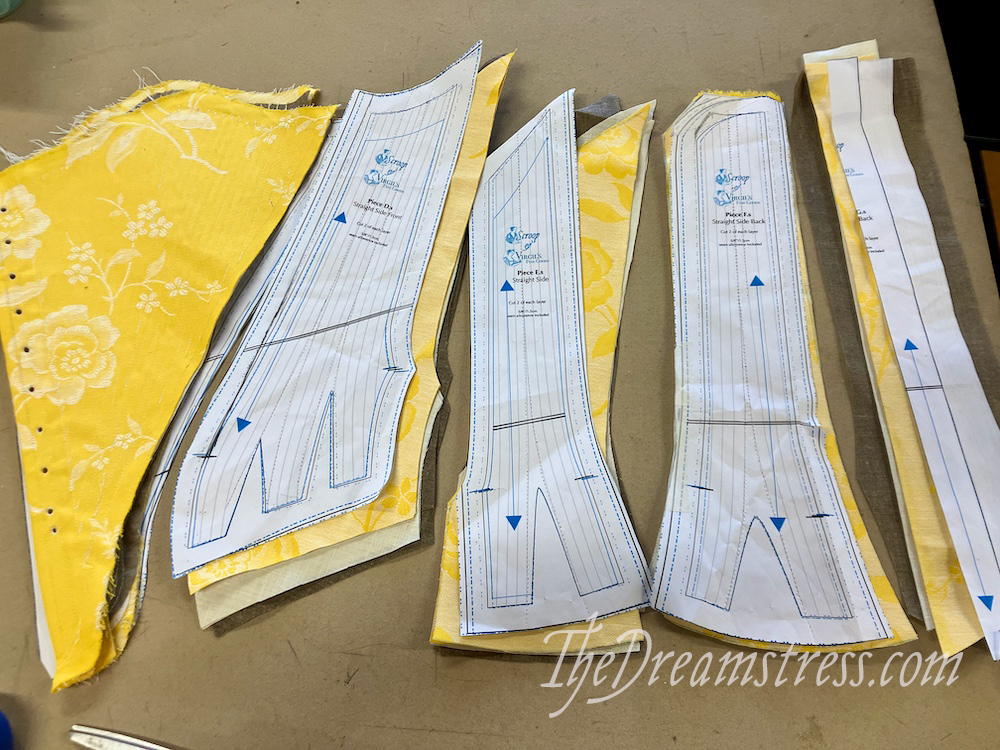
If you’re doing the historical version I like to cut my buckram first, and use it as a template for the other pieces, as it doesn’t fray or warp at all.
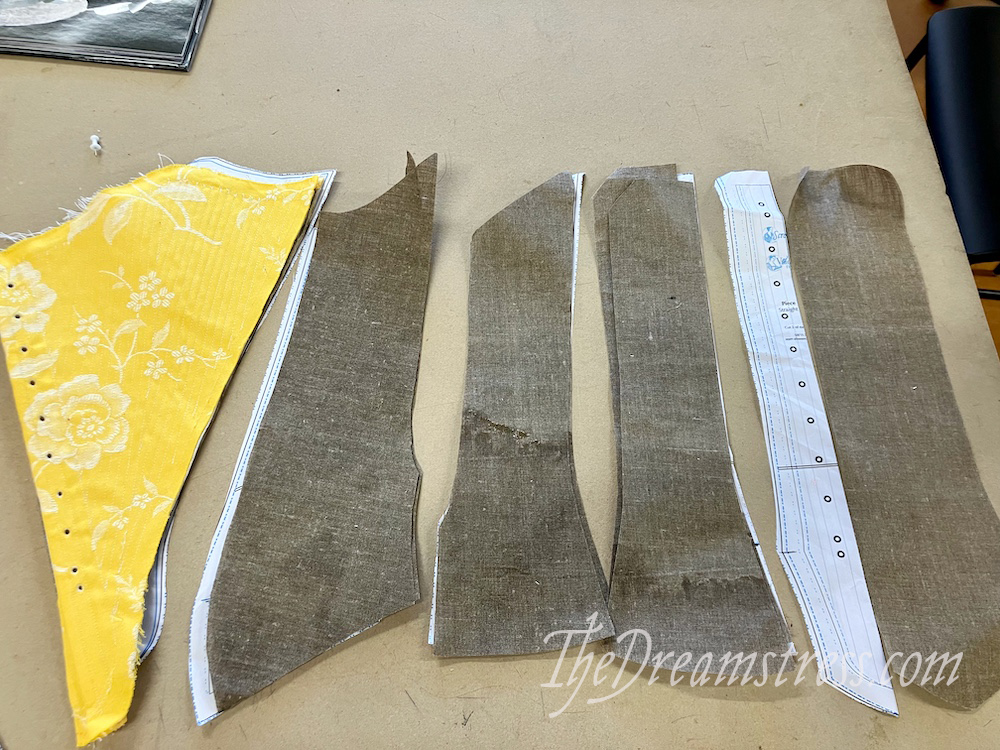
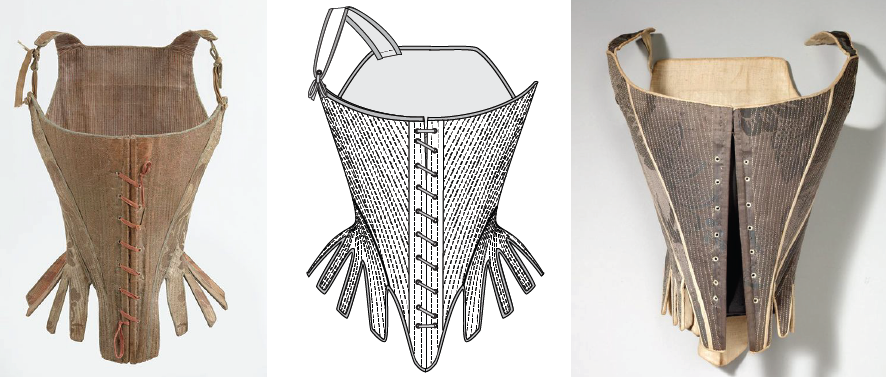
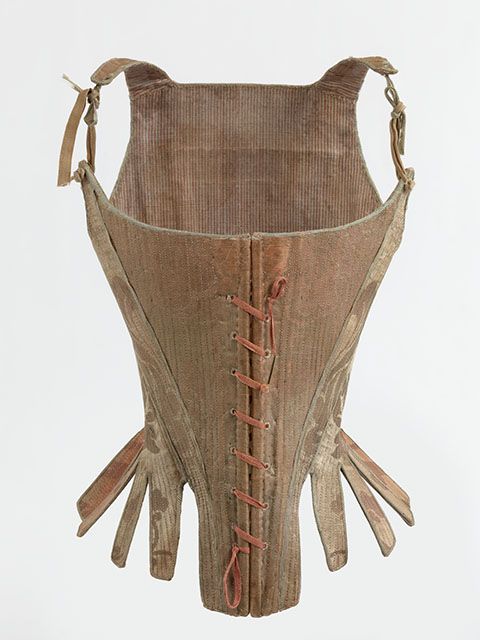
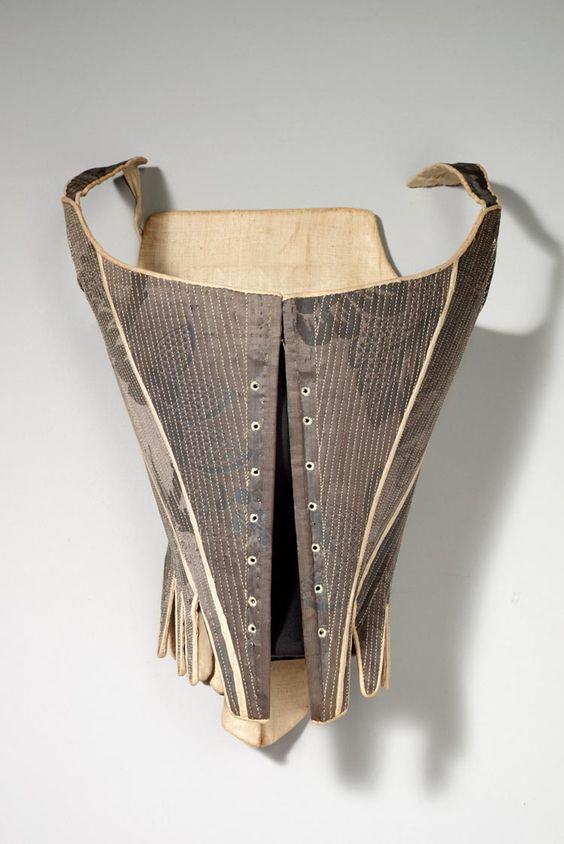
Then I cut the inner support layer:
And finally the outer fabric:
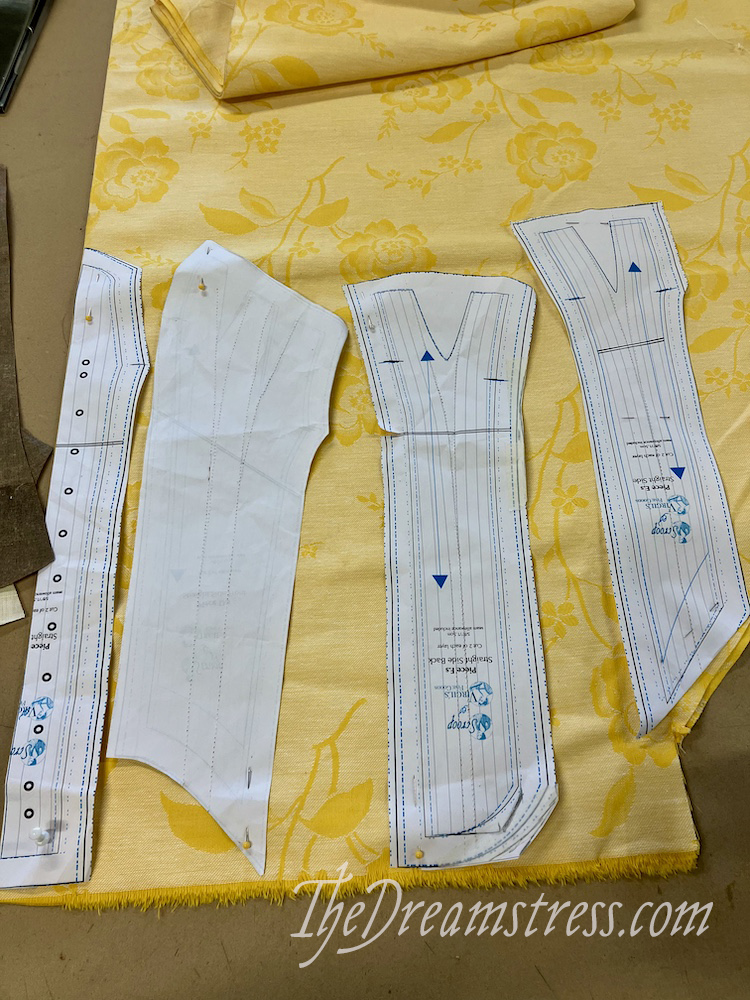
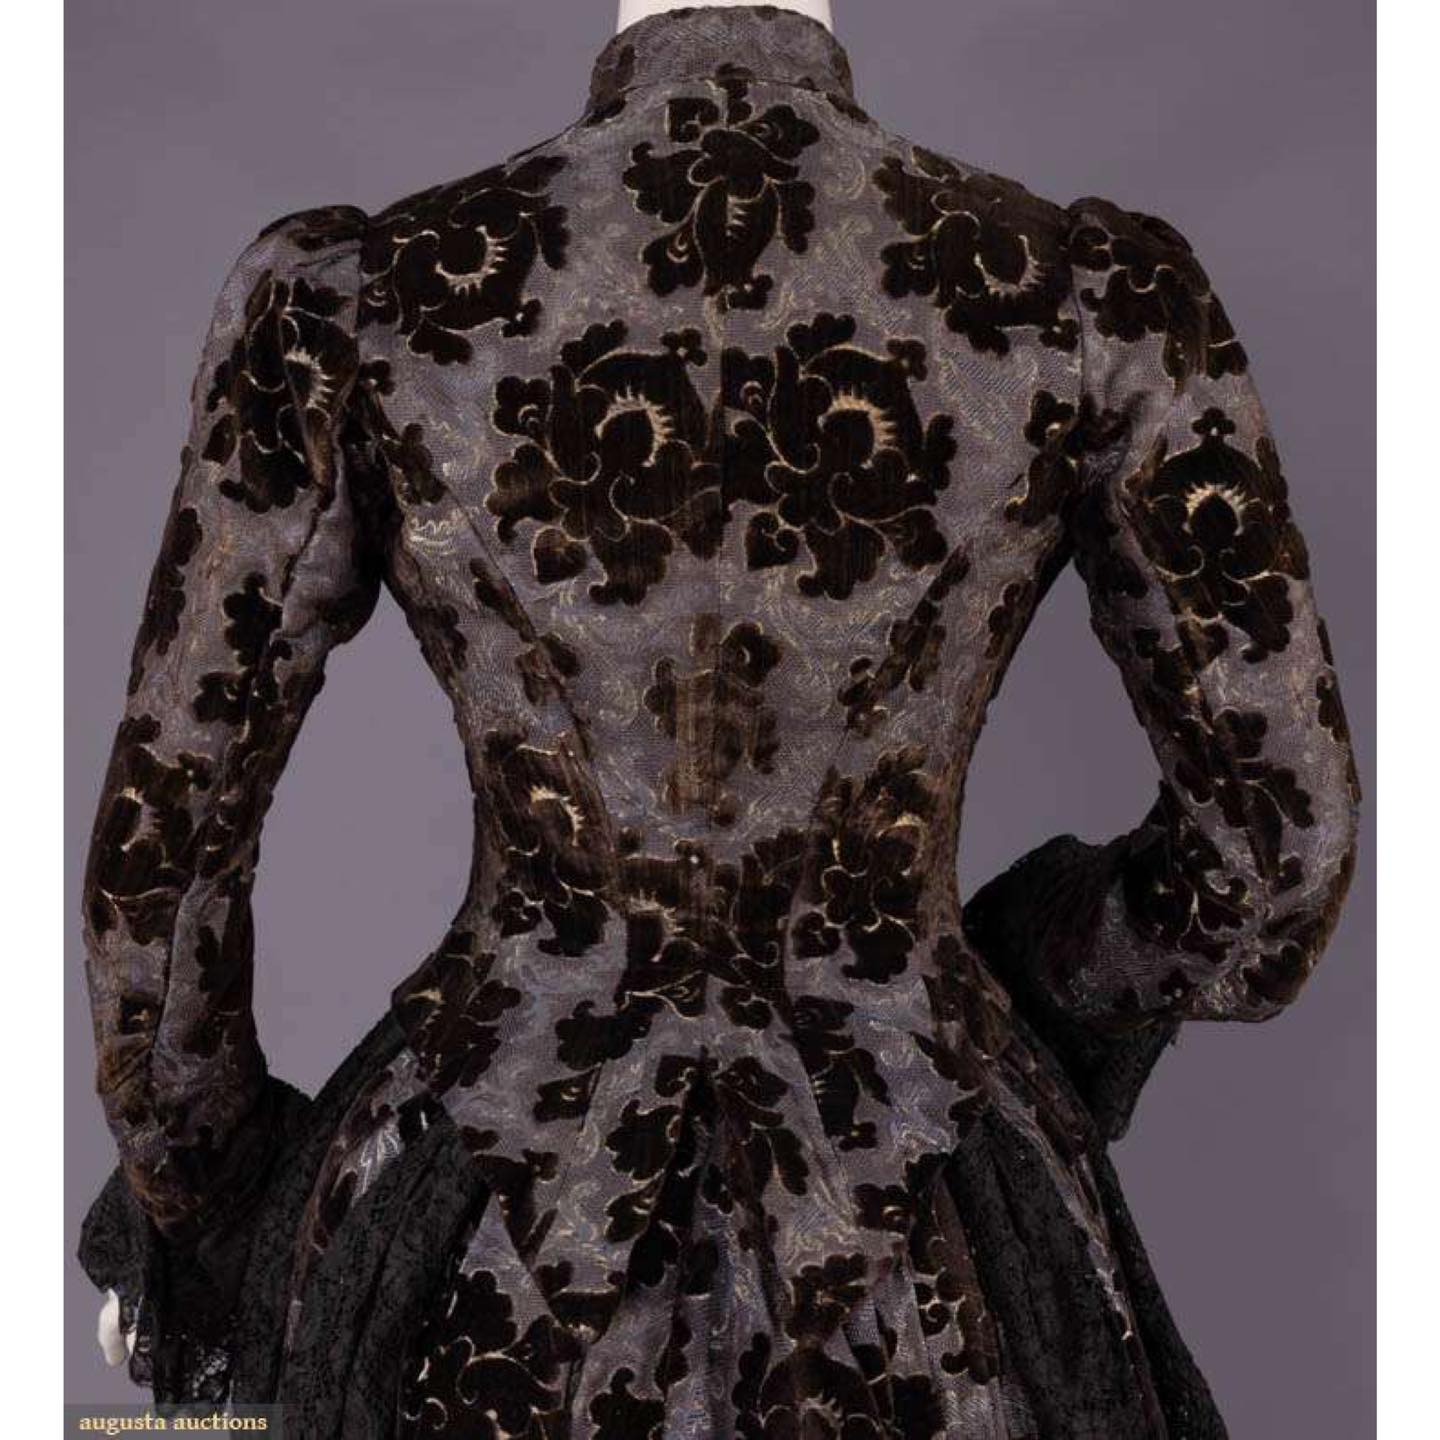
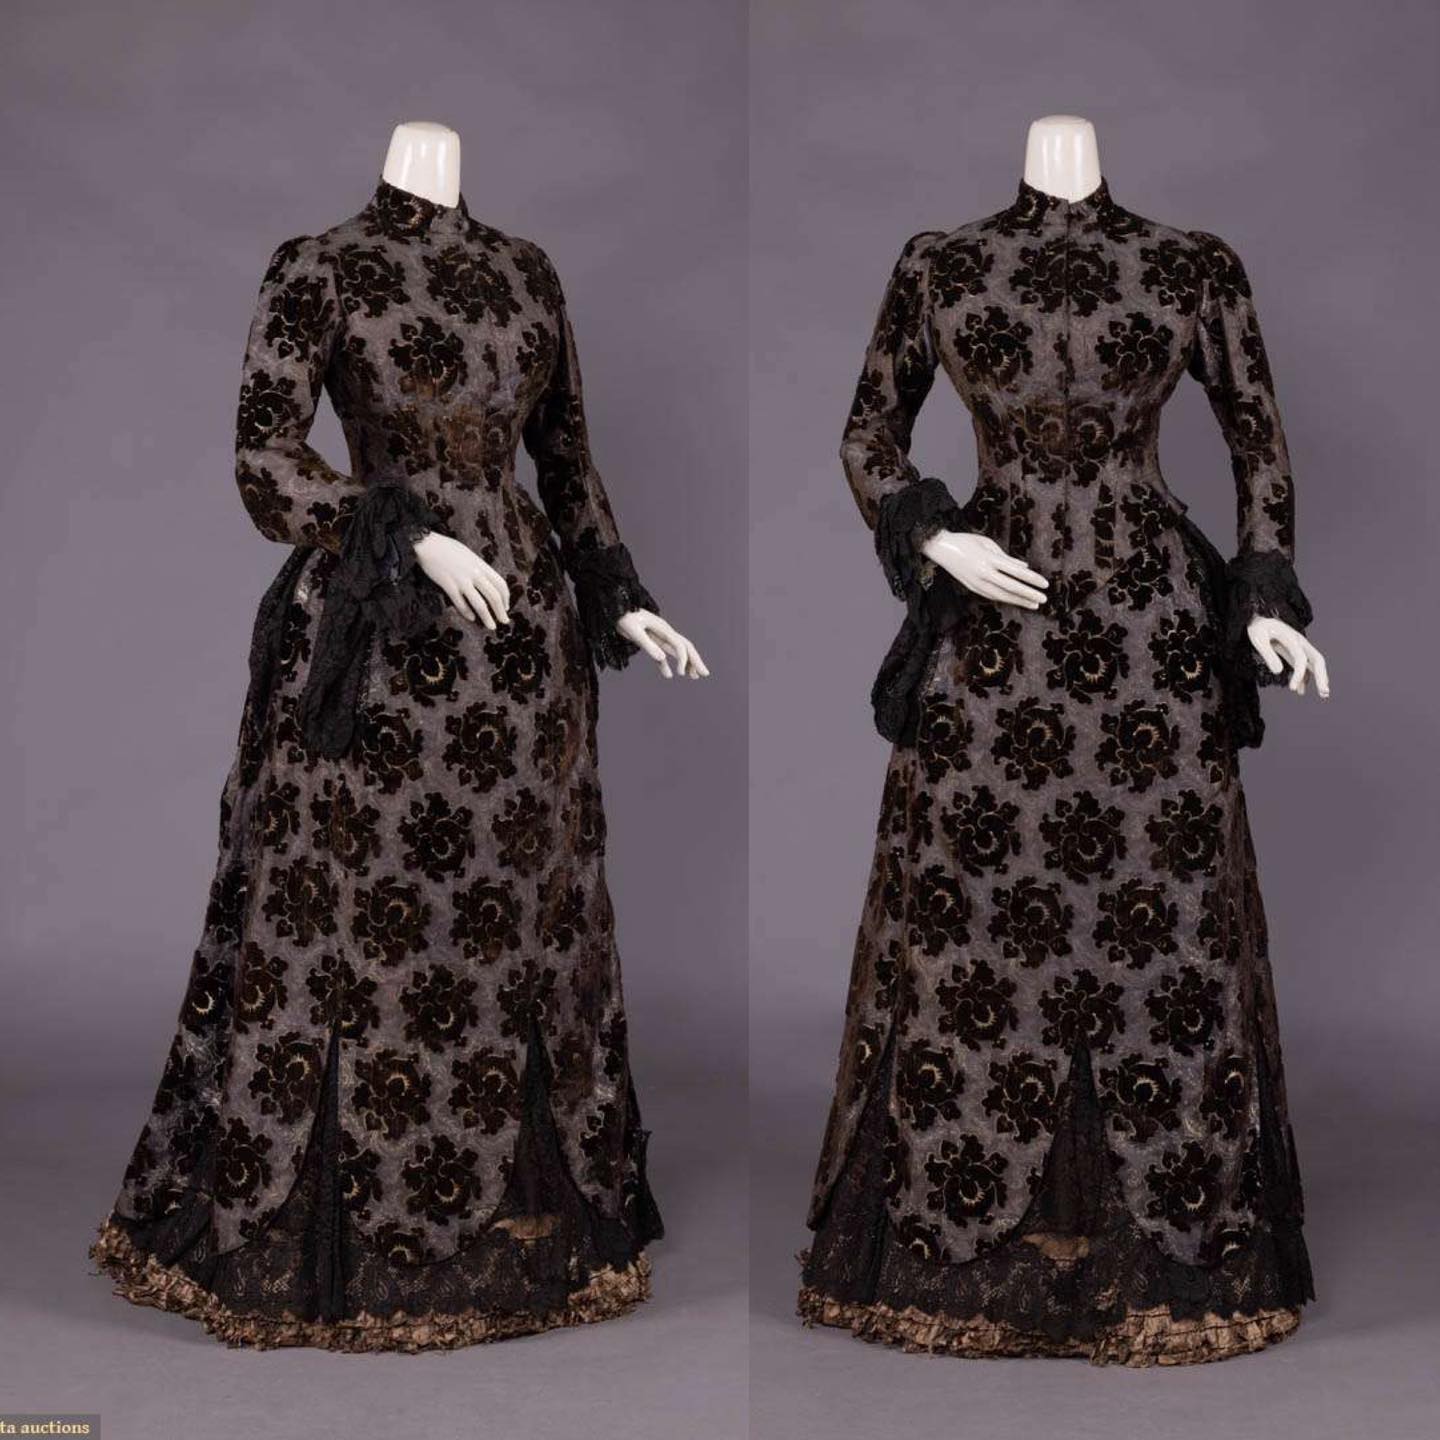
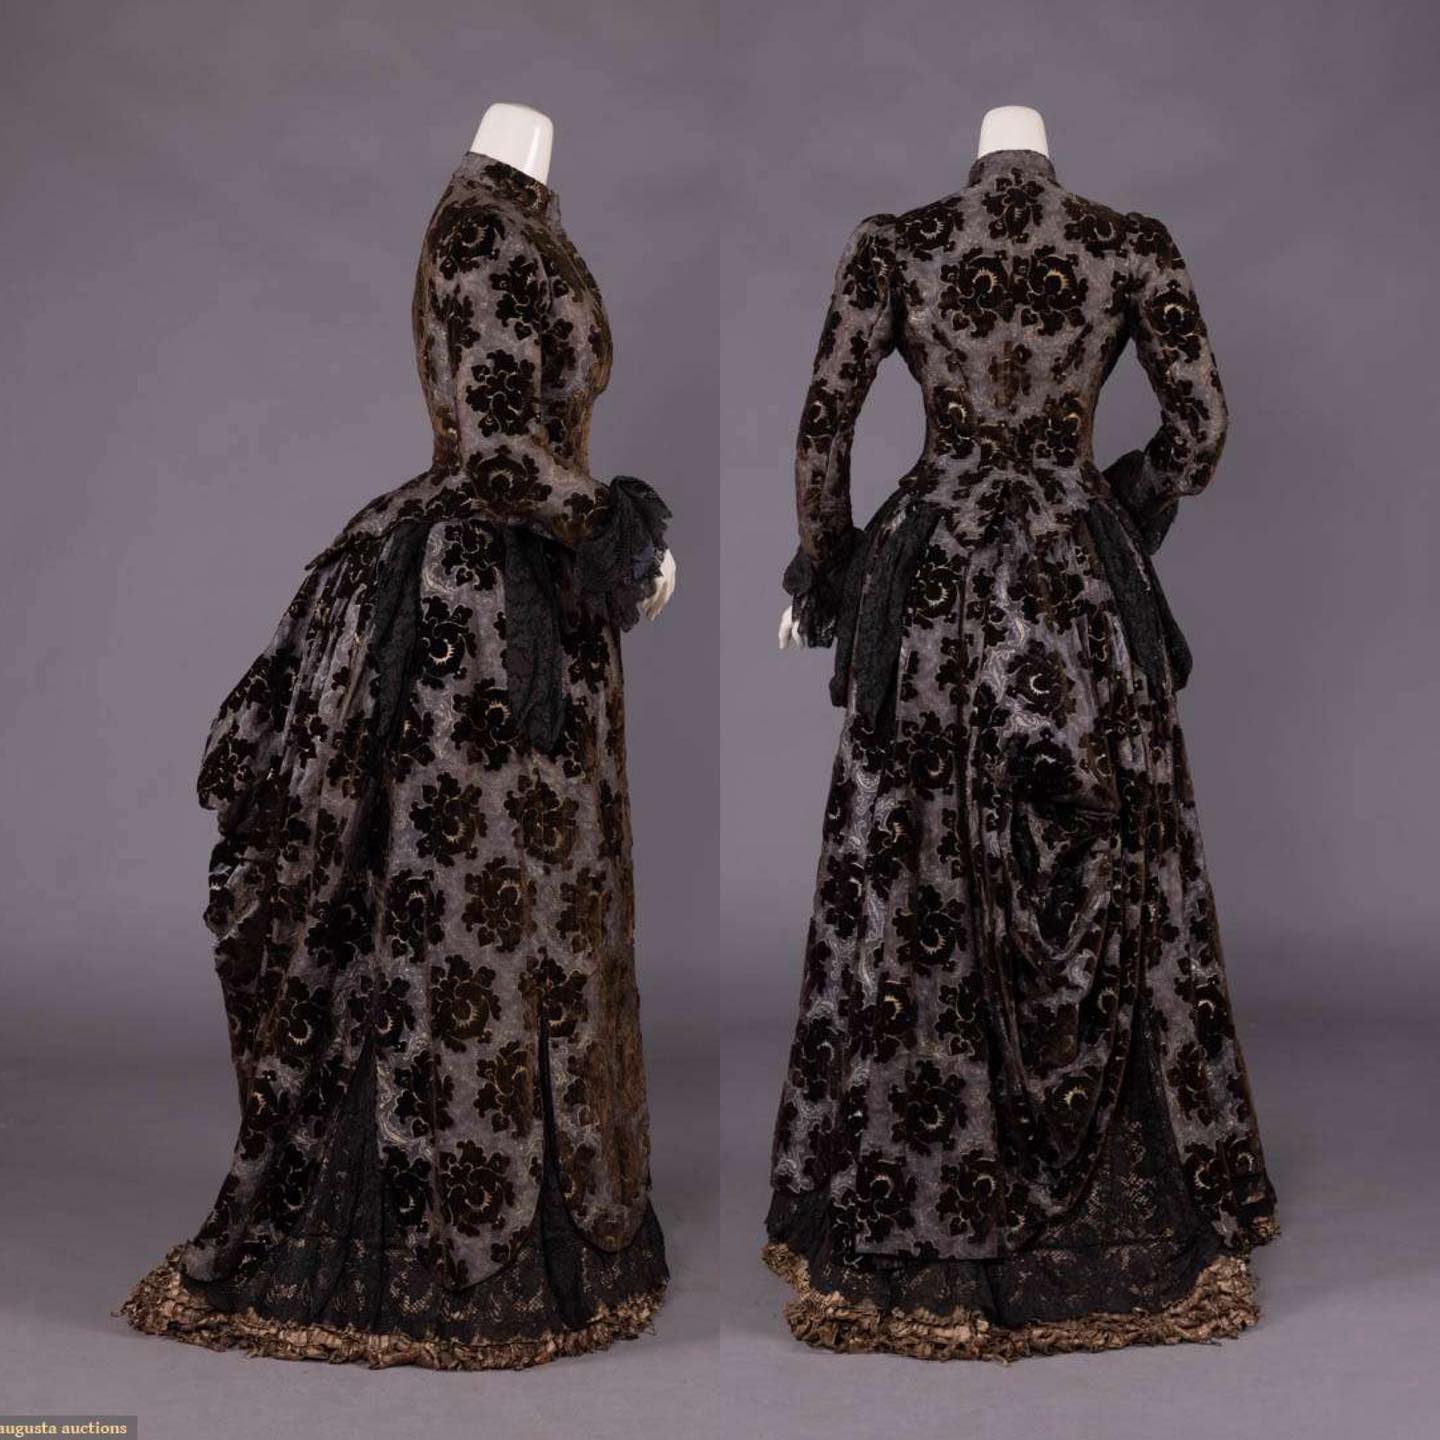
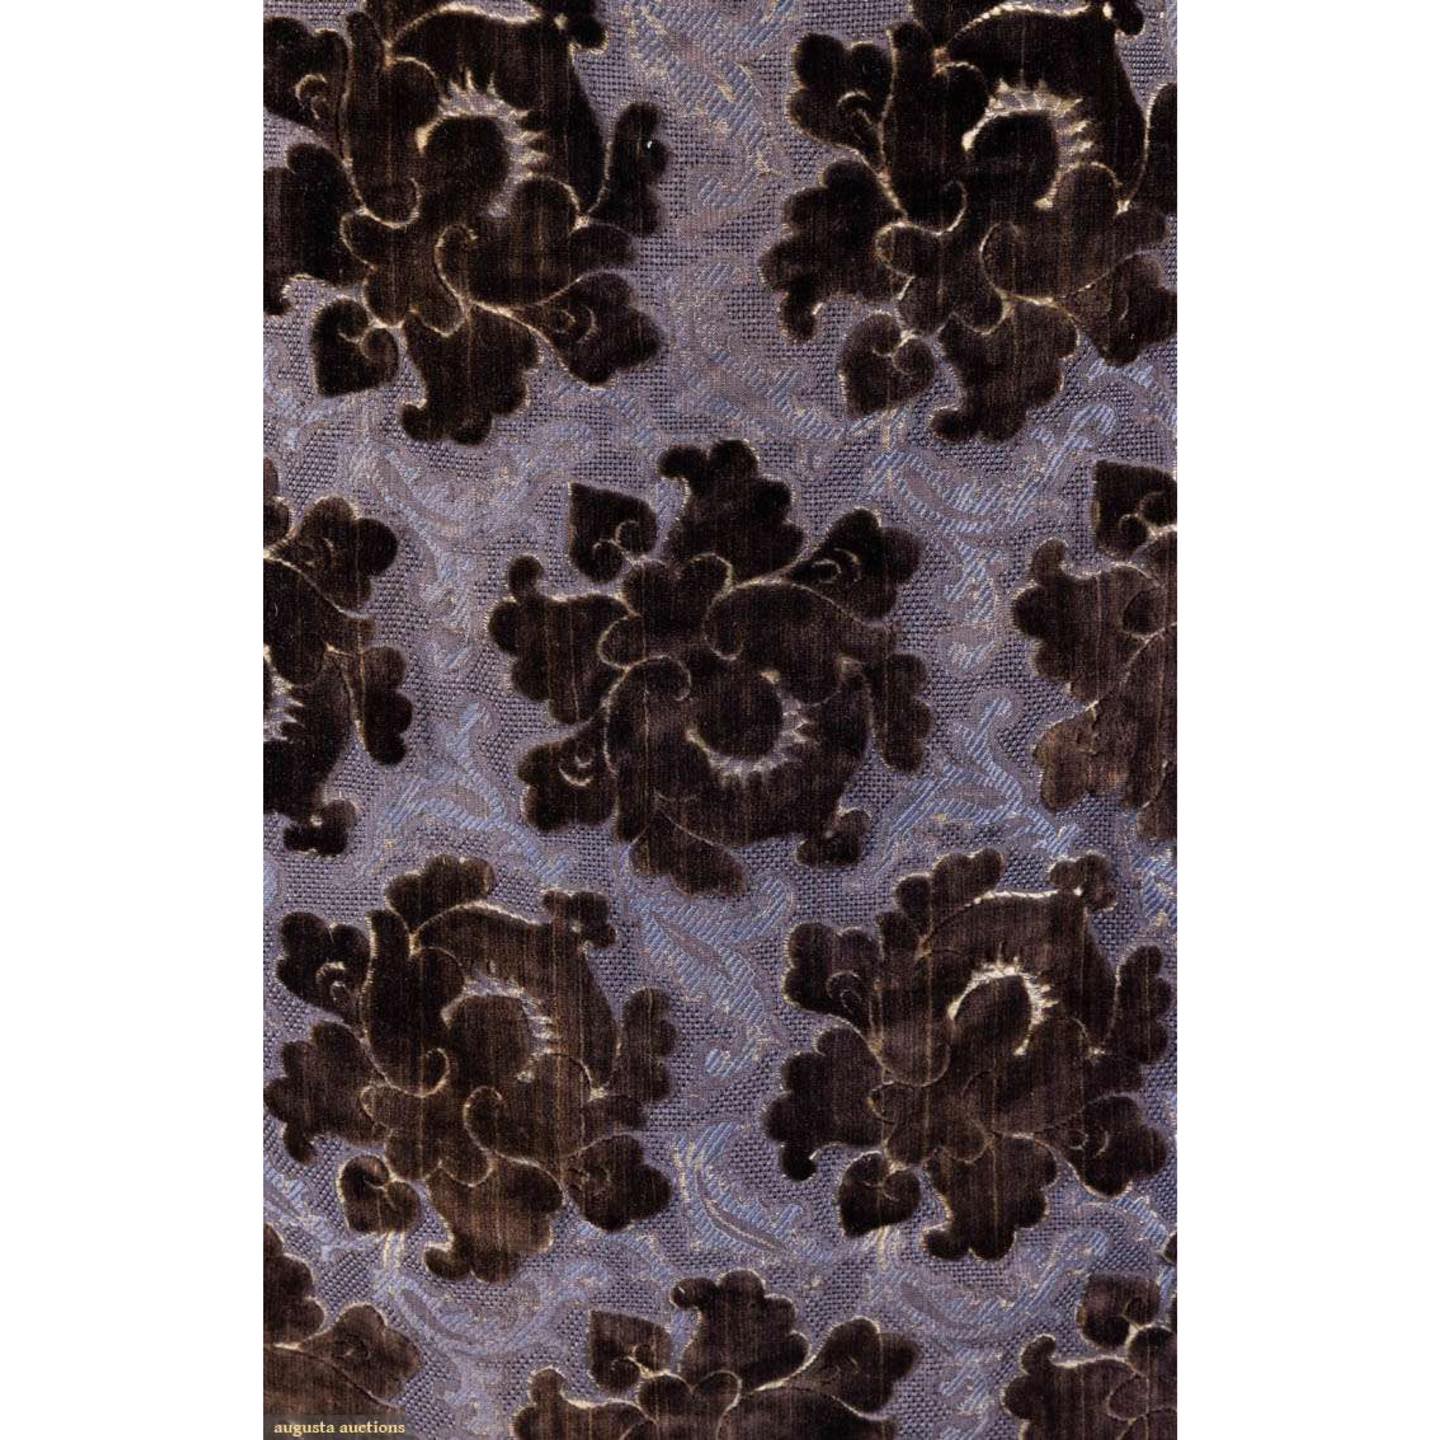
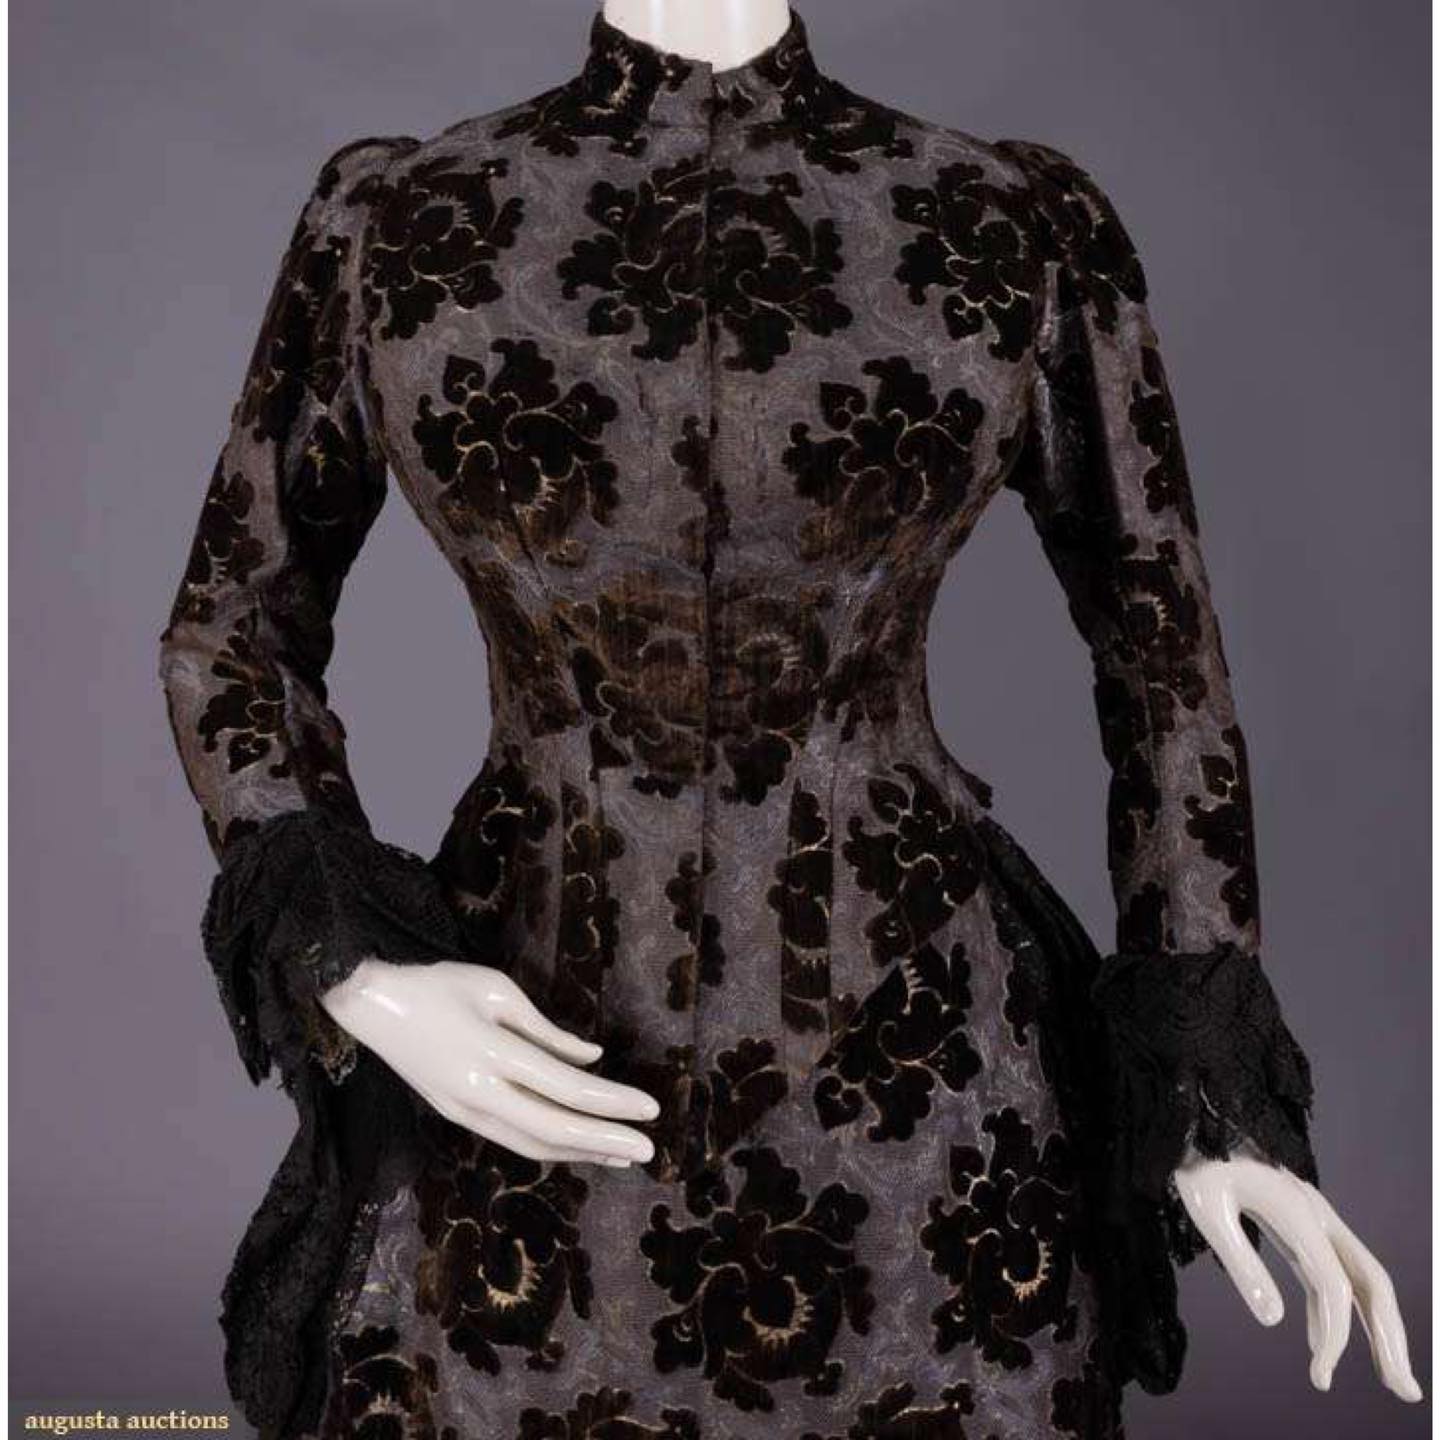
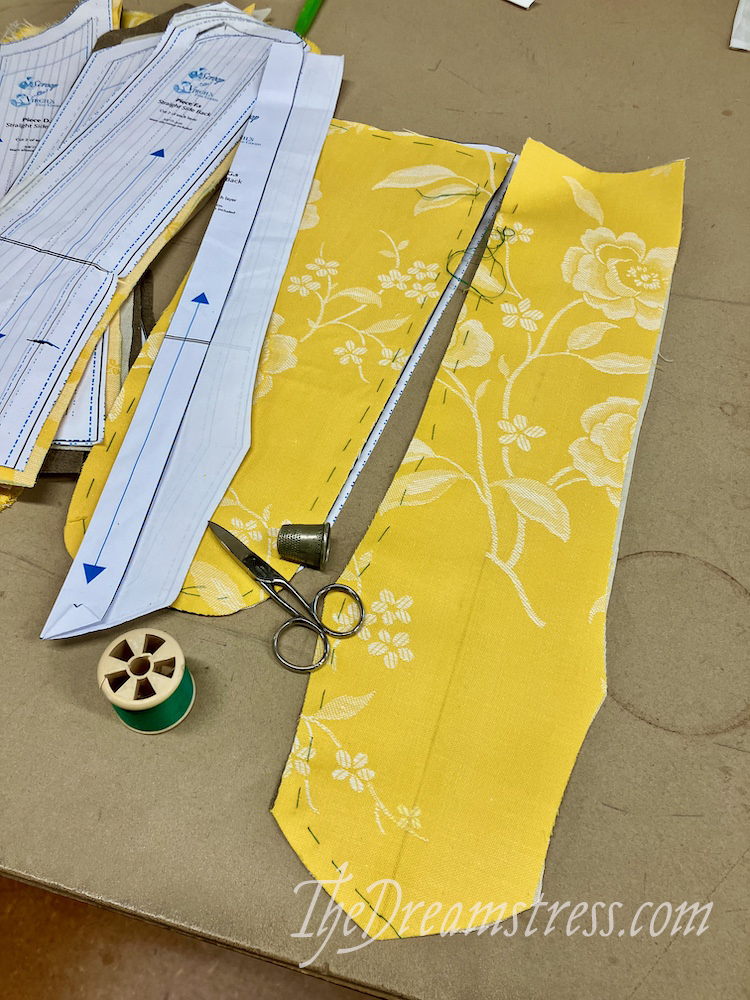
My outer fabric is directional and has a large-scale pattern, so I had to place all my pattern pieces so the top was heading in the same direction, and ensure that the pattern would flow nicely around the stays.
To check this, I chalked around each pattern piece before I cut out, and checked that the motifs fell in an attractive pattern.
Basting:
Now that you are done cutting out, it’s time to assemble the layers in preparation for sewing the boning channels.
I’m using the historical fabrics, so here are my layers:
- Linen Damask
- Midweight Linen
- Linen Buckram
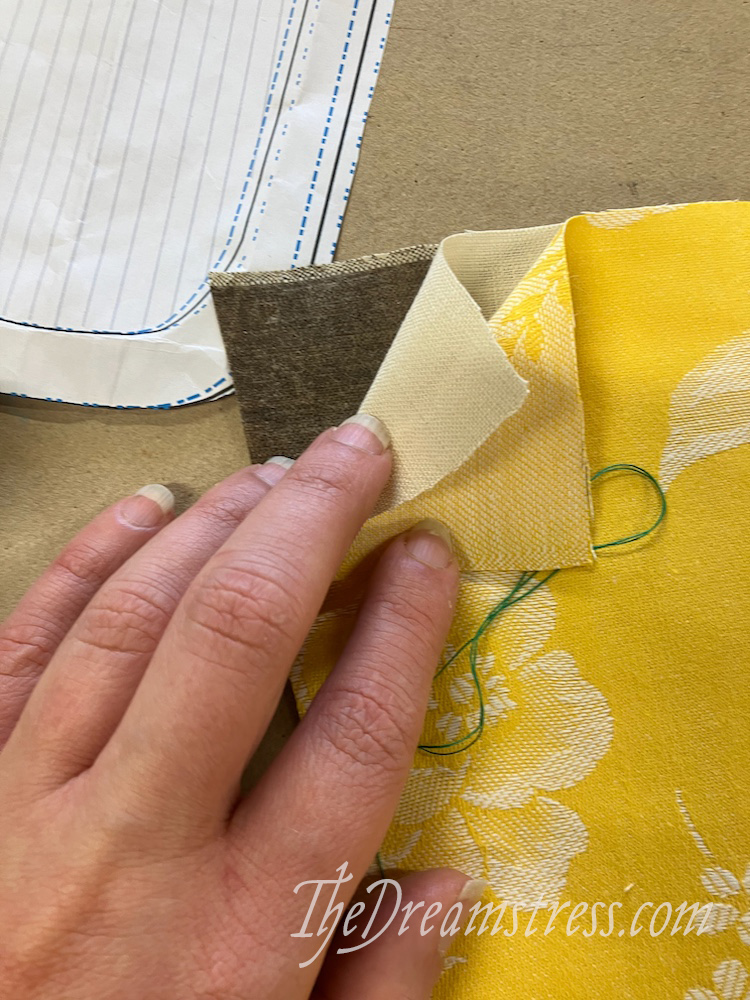
I lay them on top of each other, and then baste around them to hold all three layers together:
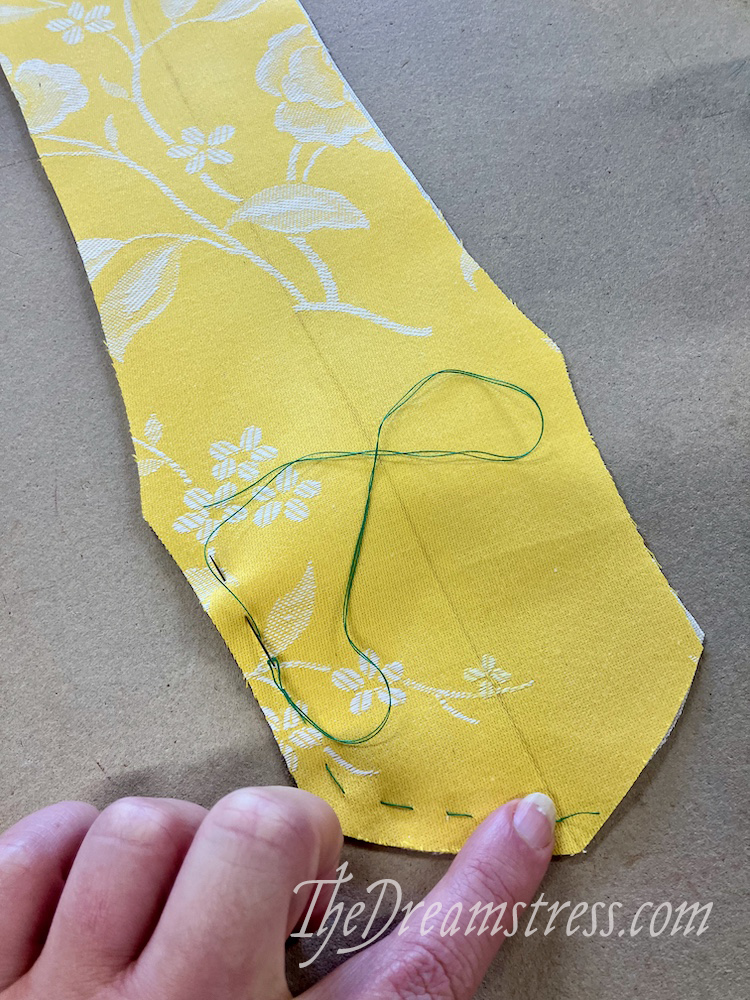
I’m using a contrasting cotton thread, so it’s easy to see, and making sure to baste in the seam allowances, so my basting is out of the way of the boning channels
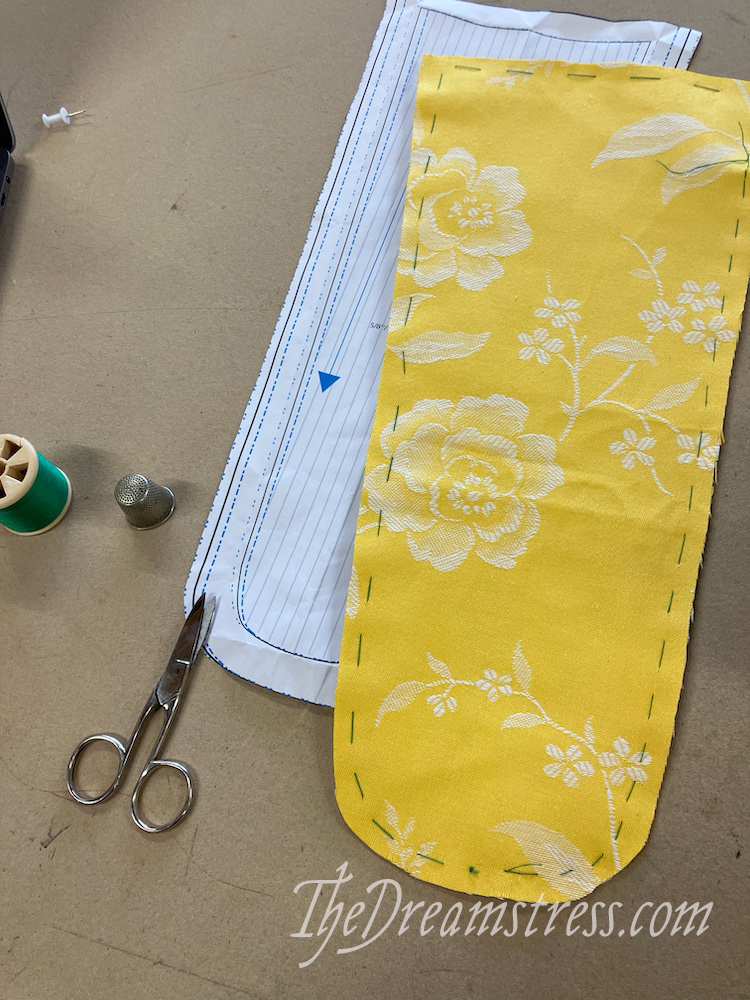
Do it for all your pieces, and then you are ready for the next big exciting step: boning channels!