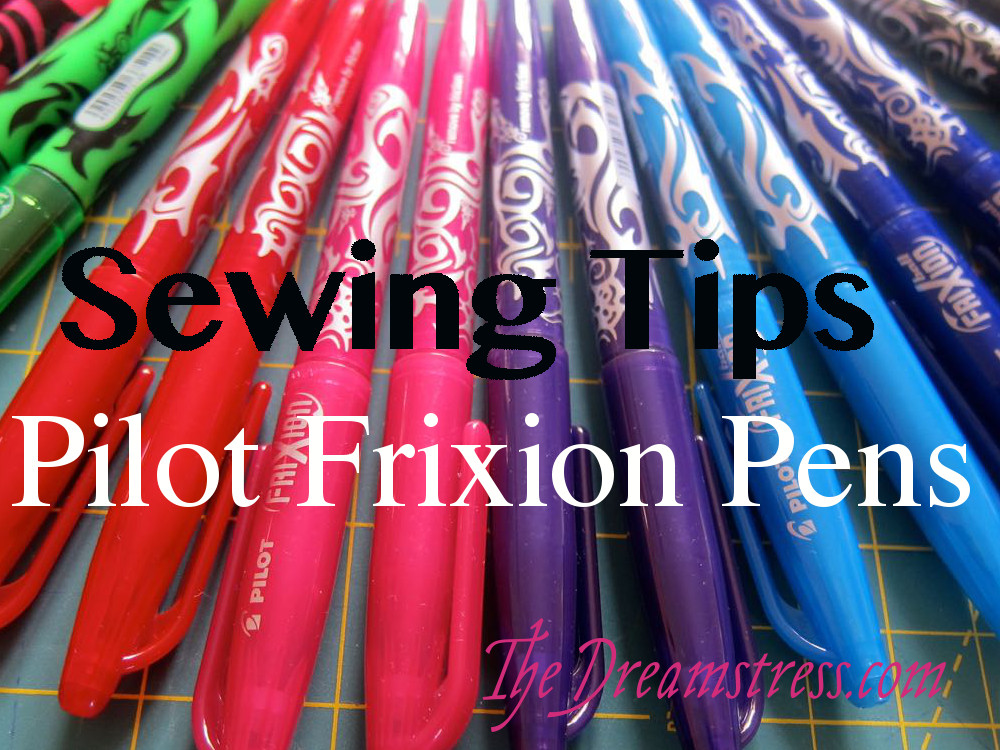
These are Pilot Frixion pens, and they are my newest favourite sewing toy:
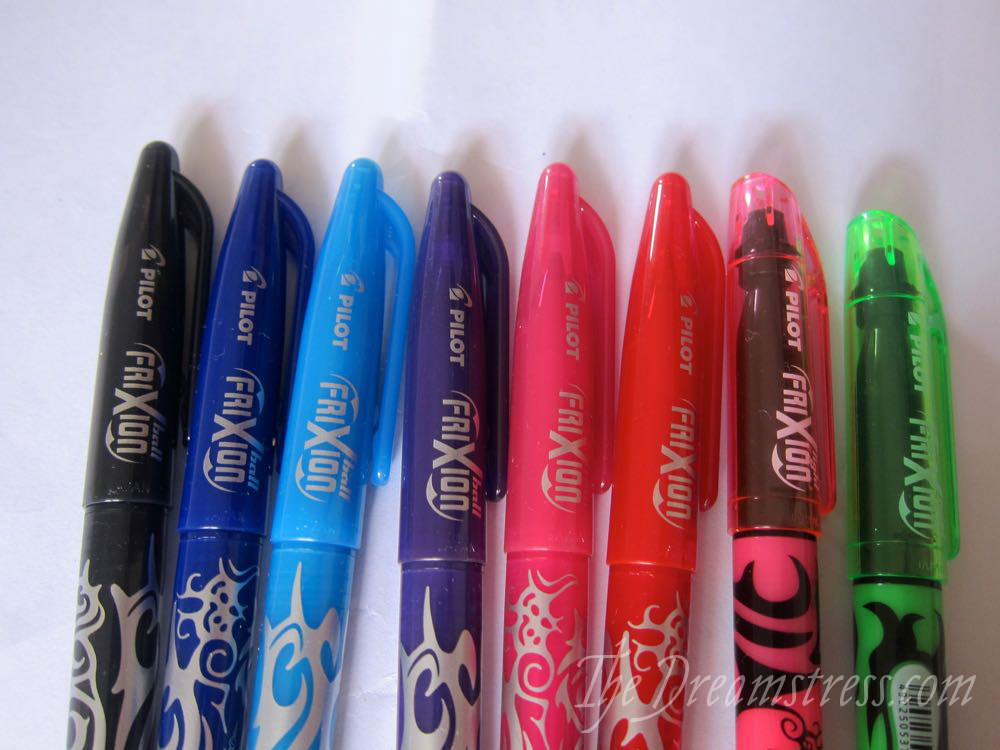
They have been around overseas for a while, but haven’t been available in NZ for that long, so they are a relatively new toy to me.
Pilot designed these as erasable pens: you can write with them, and then use the special eraser end to erase the writing with friction.
Only it’s not really friction that makes the writing disappear. It’s what friction creates, which is heat. And that makes them perfect for marking fabric for sewing.
Let me demonstrate!
You start with a plain piece of fabric:
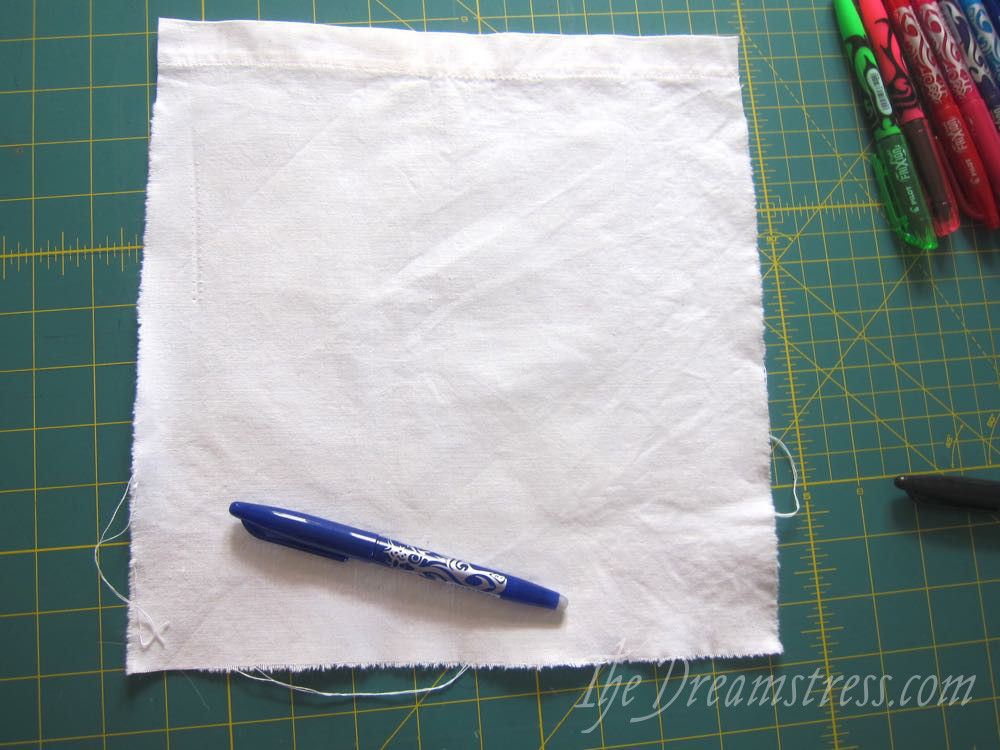
Write on it!
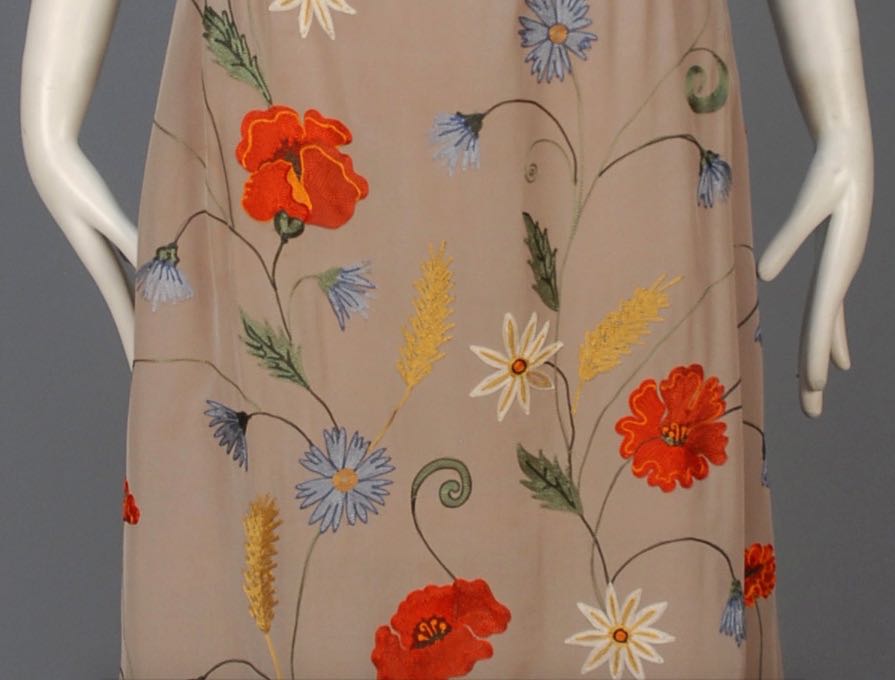
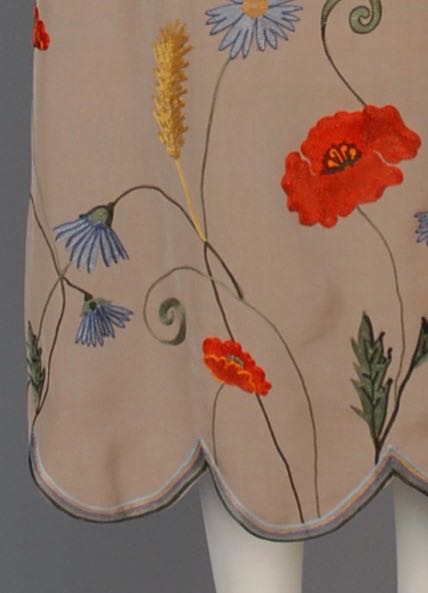
I use my pens for marking darts, pleats, notches, drawing out embroidery designs, marking dots for cartridge pleating: anywhere you want to be able to make a fine, precise line that is going to completely disappear.
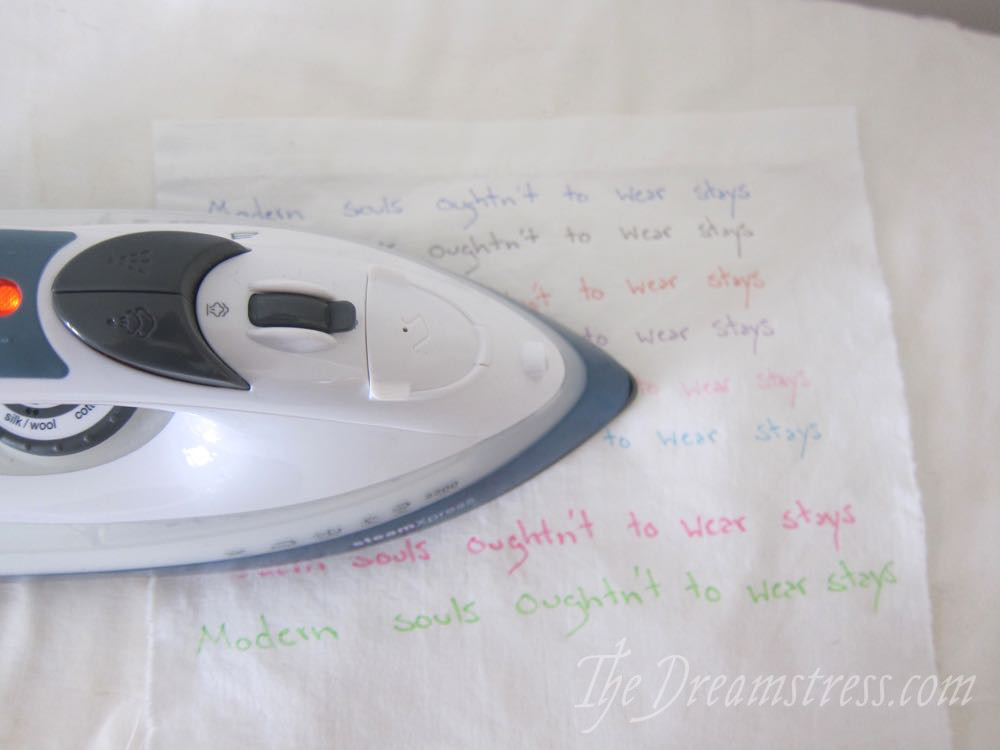
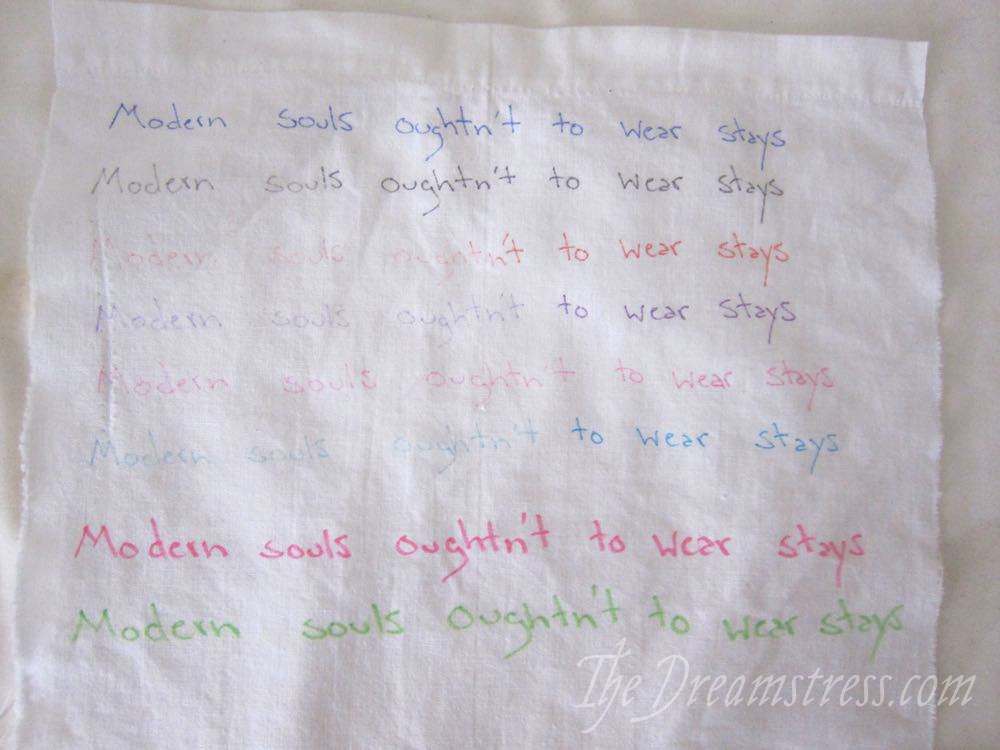
For this demonstration, I’m just going to write a slight mis-quote of one of my favourite Katherine Mansfield lines. The actual quote is “Modern souls oughtn’t to wear them” with the ‘them’ referring to stays (i.e. corsets – a lovely example of how stays was still used instead of corset by many people well into the 20th century)

Writing all over the cloth! Nice, clear, precise, easily readable writing in a whole host of colours that will stand out on almost every fabric. So useful as a sewist!
But how to get rid of it so it doesn’t show on the finished project?
Just iron it:
And look!
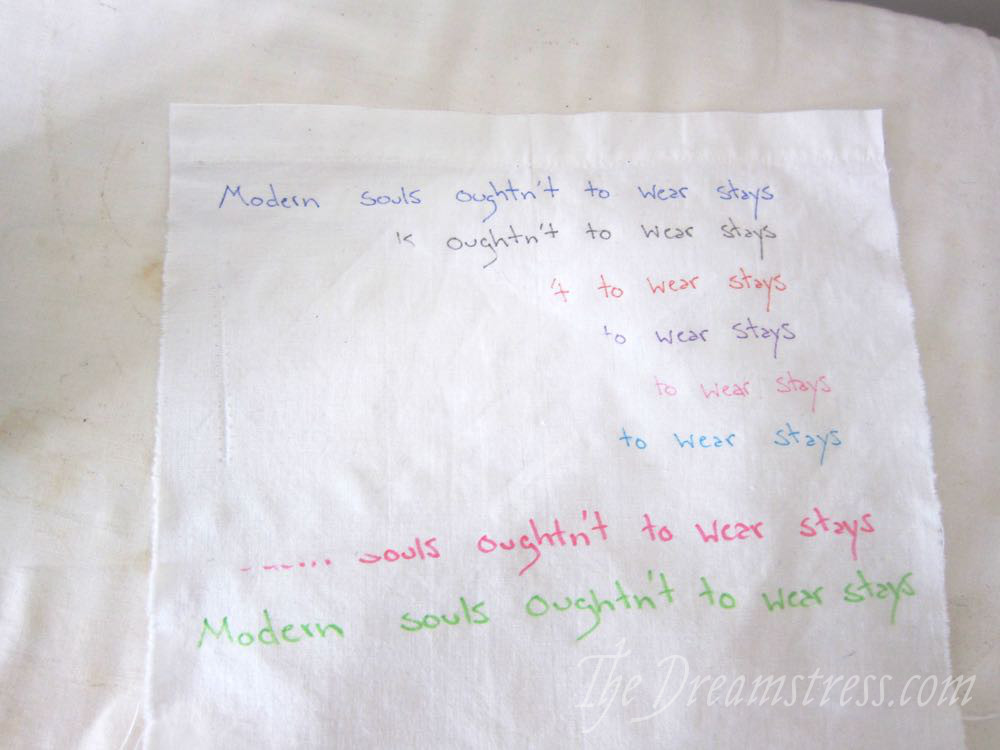
COMPLETELY gone!
Better than any chalk or fabric marking pen, and more precise and easier to use!
The pens work (to break down the science in to total layman’s terms) because the heat of friction on paper, or of an iron on fabric, heats up the molecules and gets them excited and they move apart and loose the ability to reflect colour.
Because the marks are heat reactive, a funny thing happens if you get them really cold. For example, put them in the freezer:
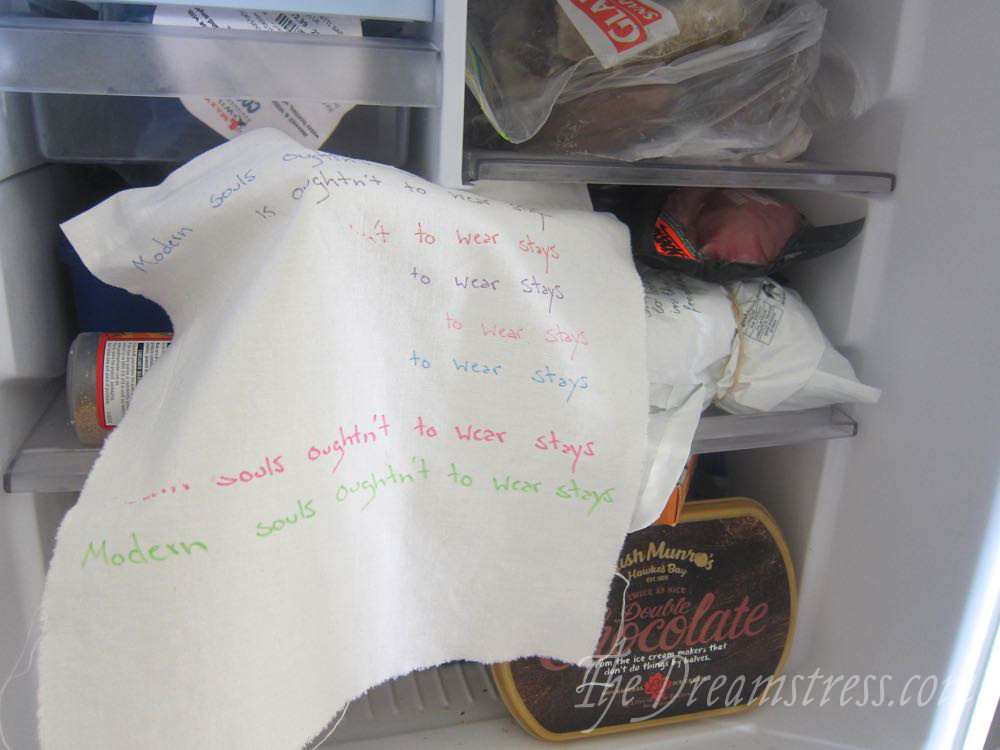
20 minutes later the ghost of writing has returned (the Frixion highlighters come back almost at normal):
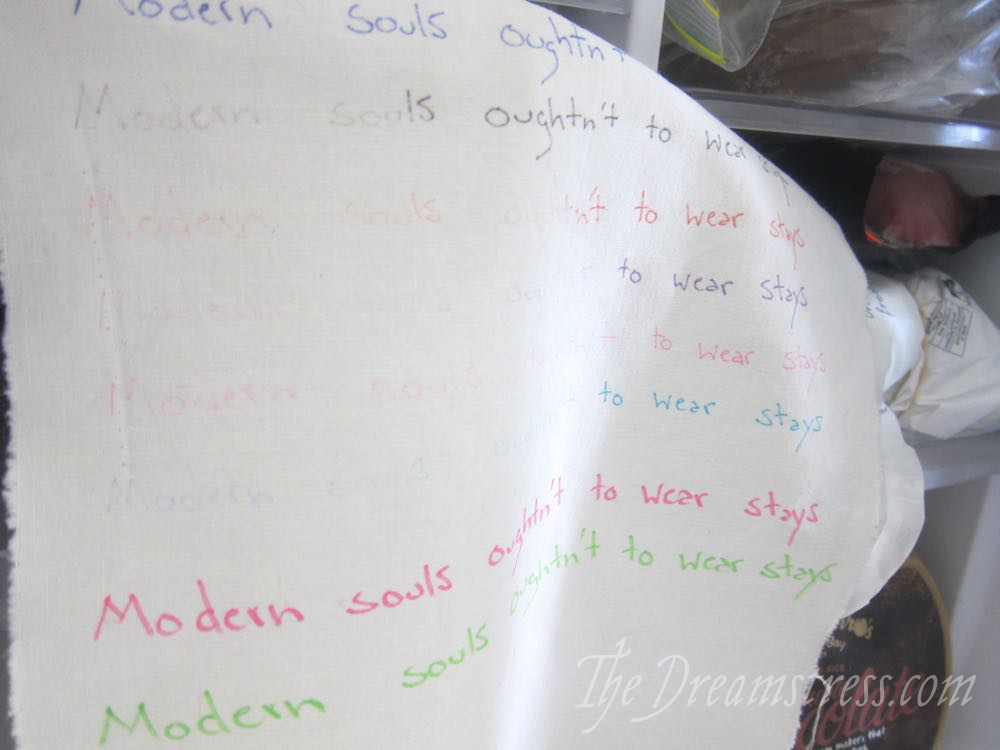
After two hours in the freezer, the writing is a bit more distinct:
Another iron, and the writing disappears again:

In addition to ironing, you can also make the marking disappear by washing your items in hot water. If you wash before ironing, the marks are less likely to come back when exposed to extreme cold – ironing them first almost seams to ‘set’ the marks.
I LOVE these things! Of all the tools I have for marking fabric (basically, all of them) these are the easiest to use, most precise, and most versatile. Tailors chalk and chalk pencils aren’t that precise, and the chalk pencils are hard to get out. I’ve had really bad luck with the fade-away pens refusing to fade away on a variety of fabrics. Chaco chalk pens are amazing, but super expensive and don’t work for every situation. These pens are also quite reasonably priced (hence the reason I have two in every colour!).
They do have the minor drawbacks of not being a suitable marker for situations where you are ironing a lot as you work but still need to be able to see the markings, and having the slight risk of reappearing on a finished item if it gets stuck in below-freezing temperatures for more than 15 minutes, but other than that they are AWESOME.
There is a similar looking erasable pen available in NZ, but they don’t work. Only these ones.
When I first used them, I was quite worried about some of them not disappearing, or re-appearing, and was very careful to only use them for marking notches on the selvedges and in other places where they could never show on the finished item. However, I’ve used them quite a bit, and have a number of students using them, and have yet to encounter a fabric or use where they refuse to disappear or do reappear (granted I rarely sew with synthetics or other super-heat sensitive fabrics).
I’d still recommend testing on new fabrics before blithely scrawling the name of each pattern piece across the front of your cut fabric 😉