You may have guessed from Saturday’s post that I’m working on shoes. It was the first time that I’ve really tried to remake a pair of modern shoes into historical shoes, and it was an interesting process.
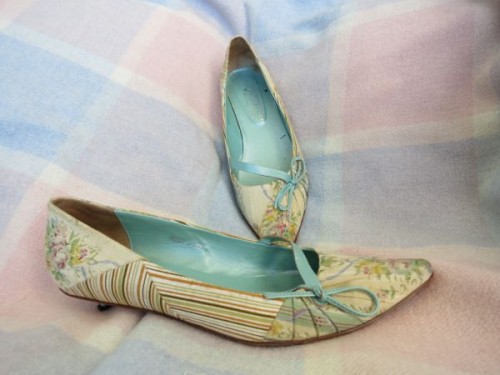
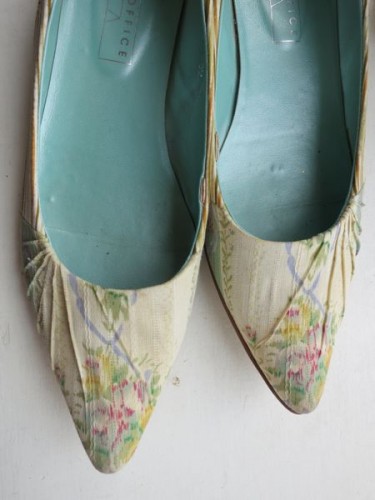
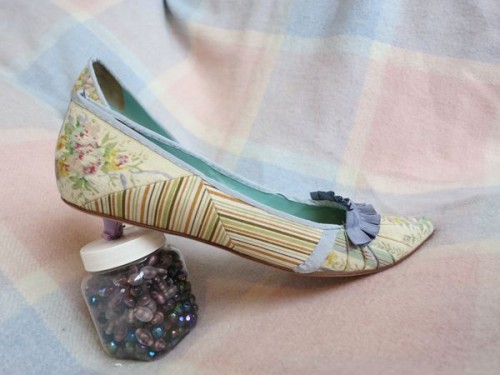
The shoes started like this: cute, but a bit daft:
I wanted them to look like these type of shoes:
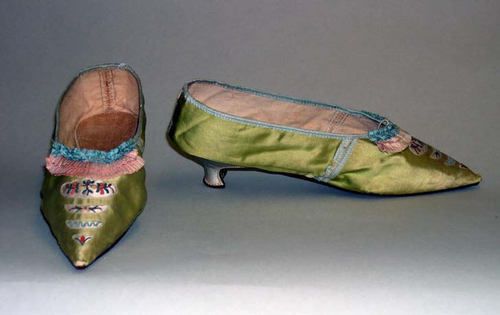
Slippers, 1790, Metropolitan Museum of Art
Mine don’t come as high up in the toe and around the foot, but there are example of shoes from the 1780s & ’90s that are cut lower over the toe and the sides of the foot:

Shoe, leather, 1780s Museum of the City of New York
I liked the idea of being able to wear the shoes for anything from 1780 to 1800- more versatile.
To re-make mine, first I took off the silly trim and bow:
Then I cleaned the shoes.
The next step was to re-paint the heel, to get rid of the anachronistic metallic teal leather colour.
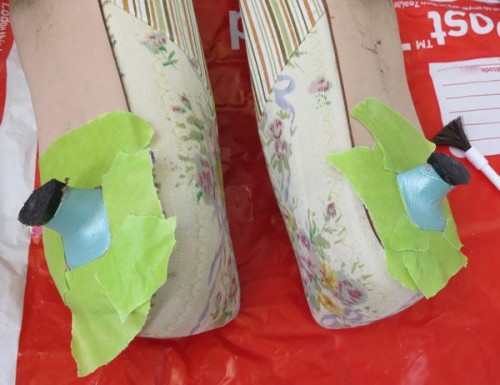
I first painted the heels pale blue, but it turned out too blue:

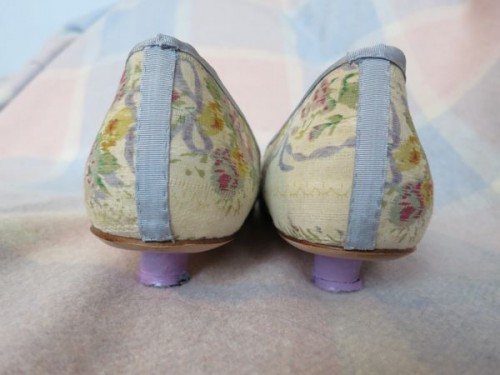
I repainted the heels lavender, which I’m not much happier with. I’ll repaint them again, attempting to match the colour of the ribbons I used, once I get the heel ends replaced – they are going to need it soon.
With the heels done, I hand-sewed 1cm wide rayon ribbons in pale blue to cover the centre back seams in my shoes:
And sewed the same ribbons over the front-side seams:
My front-side seams are placed a little further forward towards the toe than the seams on most period shoes, but it felt more accurate to actually cover the seams that were already in the shoe, than to fake a further back placement, and leave the original seam joins visible.
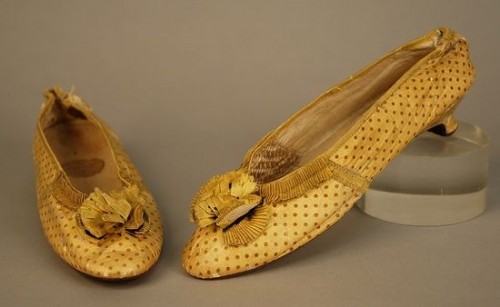
Shoes of spotted leather, 1790-1800 Whittaker Auctions
With the vertical ribbons in place, it was time to bind the edge of the shoe opening. Argh. What a major pain that was! It took me almost four hours, and cost me two broken needles. The leather lining was just too thick to go through easily.
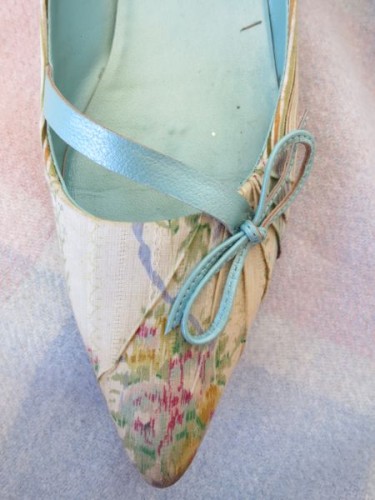
Finally I sewed the trim over the toe. I couldn’t find a soft, narrow ribbon to match the shoes in order to replicate the effect on the Met shoes at the top of the post, and I didn’t like the look of a tassel on these shoes. Finally I found this pair of charming slippers. The box-pleated ribbon trim was just the thing
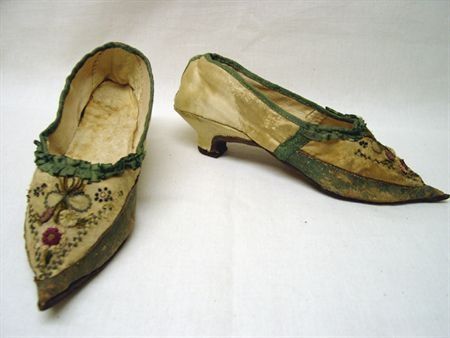
Shoes, 1790, Portugal, cream satin, trimmed with ribbon of green leather. Forefoot embroidered with sequins and chenille, forming floral motifs. Application of silk ribbon forming floral motifs. Museu Nacional do Traje e da Moda
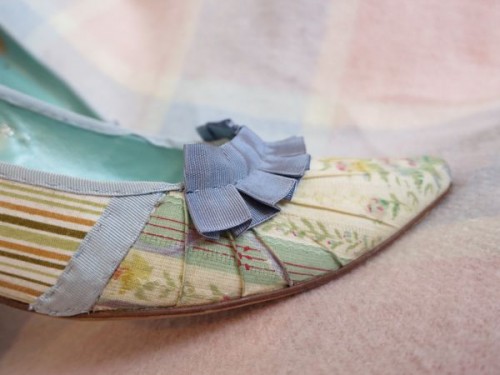
Four tries later (getting those box pleats even was a headdache, and then when I finally did I accidentally cut one too short and had to re-pleat a set), my shoes were done:
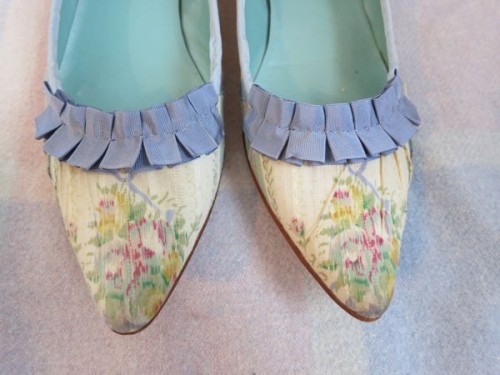
Sure, they aren’t perfectly historical (the fabric is more than a bit anachronistic, and the lining is metallic teal), but they make me very happy, and give a reasonable overall 1790s look.
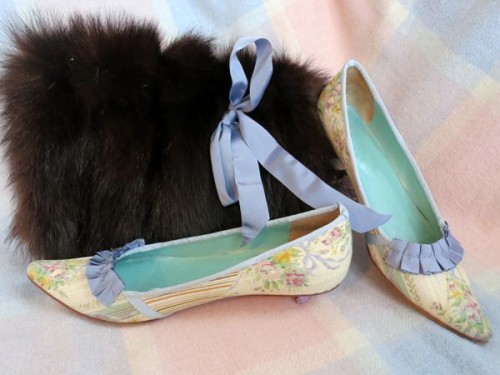
Also, look how perfectly they match my ‘Fur & Scales’ muff:
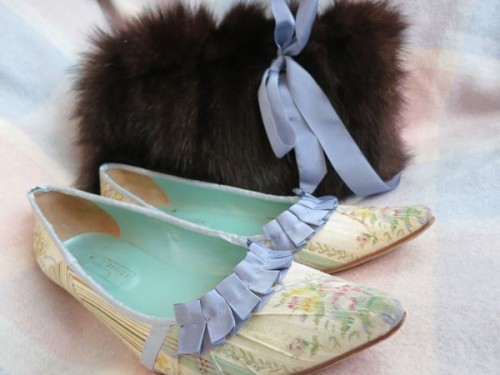
Awww yeah!
The same ribbon I used for the bow on the muff just happened to work perfectly for the toe decoration on the shoes. Happiness!
The Challenge: Flora & Fauna
Fabric: One pair of modern kitten heels, fabric with leather linings (NZ$8)
Pattern: Inspiration taken from extent 1780s & 90s shoes
Year: ca. 1790
Notions: 1m of 1cm wide pale blue rayon ribbon (50 NZcents), .5m of 2.5cm wide periwinkle blue rayon ribbon (25 NZcents), shoe paint (NZ$13, but I have enough left to paint 2 more pairs of shoes, or 9 more heels, so NZ$1.30)
How historically accurate is it? That’s a tricky one. I made a pair of modern kitten heels as accurate as you could, but there is only so much one can do, and the fabric is certainly a bit anachronistic. Say 35%
Hours to complete: 7. Way more than I anticipated! Mostly on binding the rim of the shoe, and re-pleating the trim
First worn: Not yet, but soon! These make me want to re-do my wardrobe in pastels so I can wear them with modern clothes too!
Total cost: NZ$10.05 more or less
, Made by Miss M. T. Splain, MFAB")