Latest Posts

Panier Along #6: Pleating & Finishing

Panier-along button2

Update: I’m so sorry! I finished my paniers on Wednesday, wrote the final posts on how to make them, scheduled all the posts, and headed off for a much-need relaxing long weekend with friends. And then stupid WordPress didn’t publish my posts!

So, to those of you who were counting on the end of the tutorial, I apologise! And to those of you who were just deprived of your daily entertainment, well, I apologise too!  On the bright side, now I have pretty pictures and a fun trip to tell you about on Wed!

~~~~~~~~~~~

Right, back to the Panier-Along! Let’s get these done!

Yay! Final steps!  Today we’ll be pleating the top of your panier bags, and sewing them to the channels that your waist ties will go through.  First, hem the short edges of both of your 3″ x 7″ waist pieces.  I’ve done mine by hand, but machine is fine too.  When you are done it will measure about 6-6.5″ long
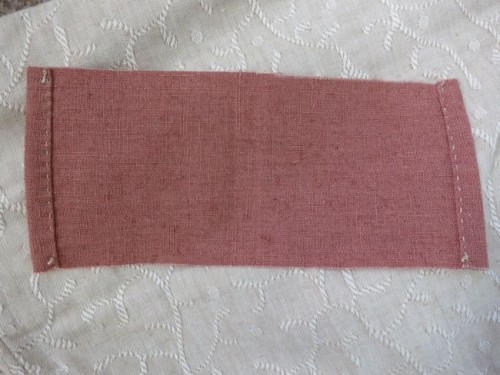
Hemmed waist piece

Hemmed waist piece

Now you’ll be pleating the top of your panier-bags so that they fit the waist pieces.

Mark the centre of your panier inside piece, and pin the pocket slit edges of your panier bag on either side of it.  Rather than butting the edges together at the centre leave a little gap to make it easier to slip your hand in.
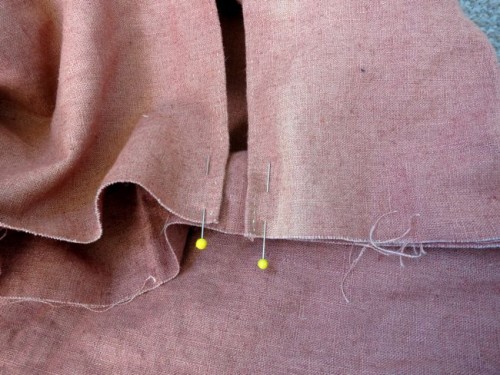
Pocket slit pinned to panier back

Pocket slit pinned to panier inside

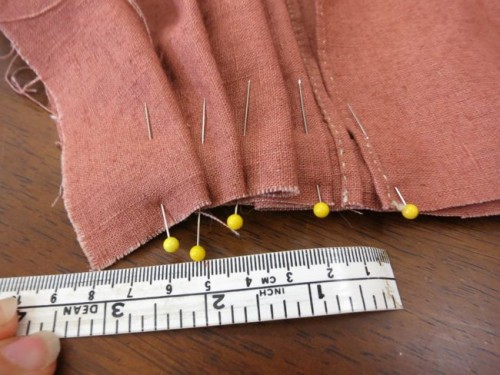
Now, pleat your panier bag inside and outside pieces together so that they measure the same length as your hemmed waist channel piece.
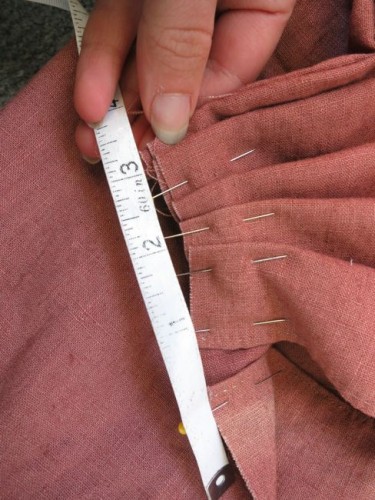
Checking that each half of the panier bag is pleated to 3"

Checking that each half of the panier bag is pleated to 3″

You’ll need one pleat of the shorter panier inside piece and longer outside pieces together, and four pleats in the panier outside piece by itself on each side of the pocket slit.
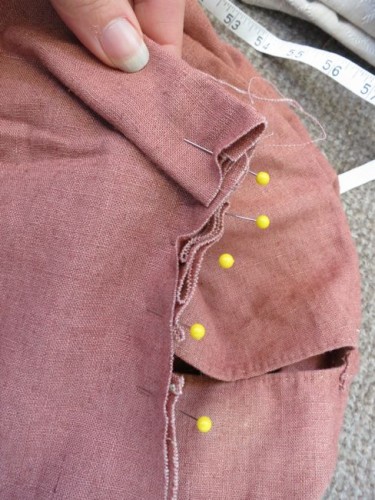
Single pleat of the panier inside piece and outside piece together

Single pleat of the panier inside piece and outside piece together

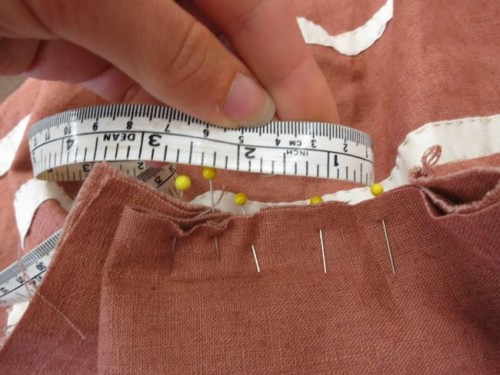
Check that your pleated together panier bag top is the same length as your waist piece:
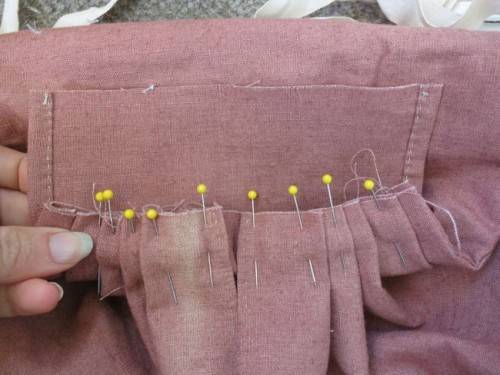
Checking the pleated bag against the waist piece

Checking the pleated bag against the waist piece


Once you have your pleats figured out, pin your waist piece to your pleats, with the right side of the panier waist piece to the right side of the panier inside piece.
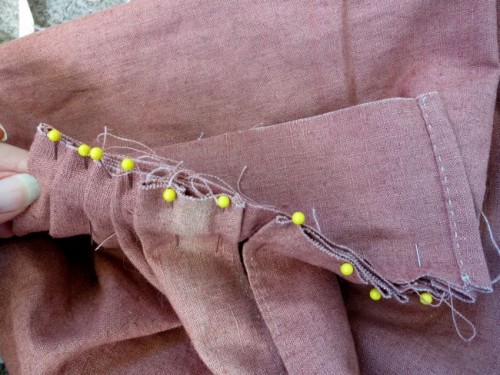
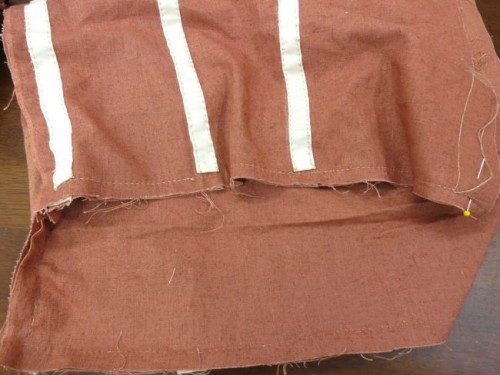
Pleated panier bag pinned to waist piece

Pleated panier bag pinned to waist piece

Sew the pieces together:

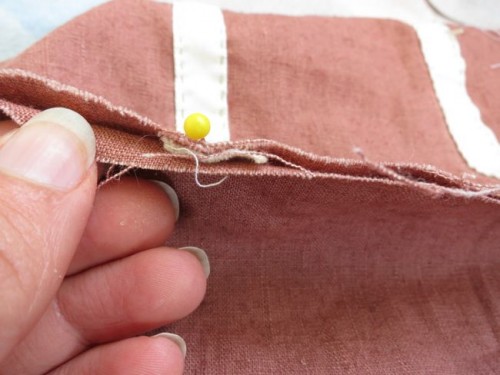
Sewn together panier bag and waist piece

Sewn together panier bag and waist piece

Now, fold the long raw edge of your waist piece under 1/2″, and fold the waist piece over so that it encloses the raw edges you have just sewn, forming a long tube with all the raw bits inside (just like you would sew a waistband).  Topstitch in place.

Waist channel topstitched in place
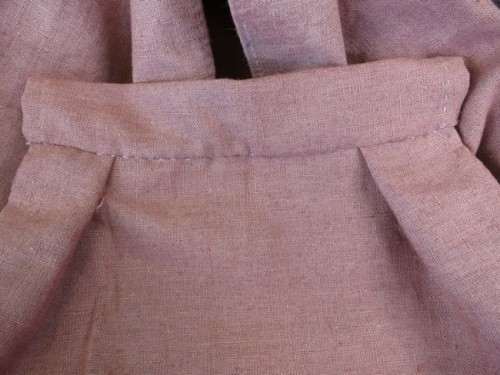
Waist channel topstitched in place

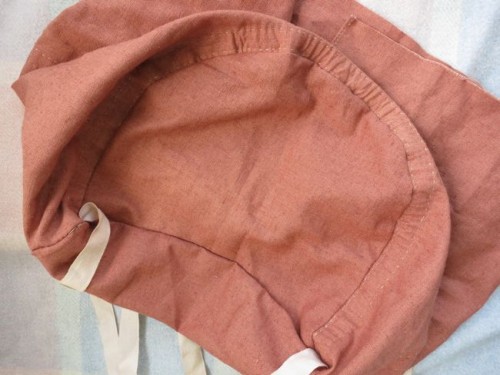
The waist channel from the back/inside

The waist channel from the back/inside

Now, thread your twill-tape waist tie through the channel (a big safety pin will help with this), and your first panier is done!
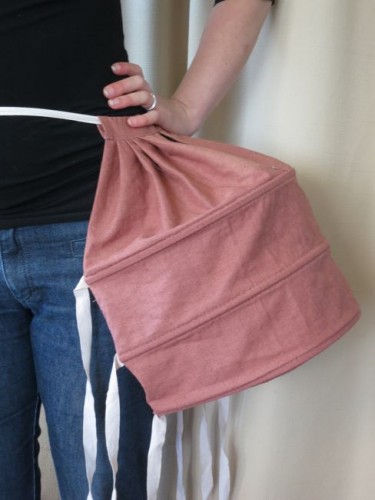
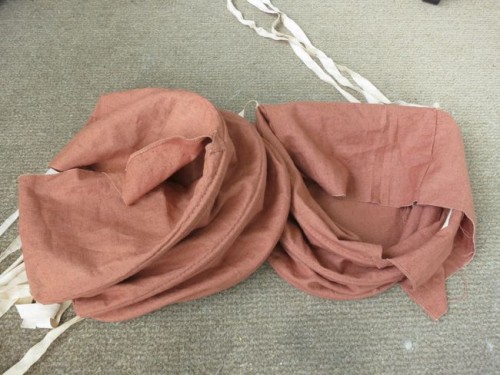
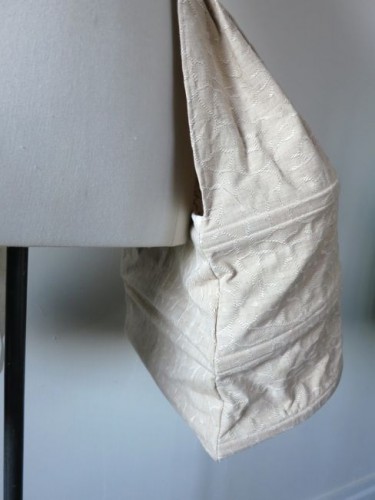
A finished panier bag

A finished panier bag

Do the same to the other one, and you have a finished pair of paniers.

I’ll show you my finished paniers tomorrow!

Panier-Along #5 – inserting the hooping/boning

Panier-along button2

Hoorah! We’re to that point – the point where you get to put your boning in your paniers, and they really starts to looks like a real garment.

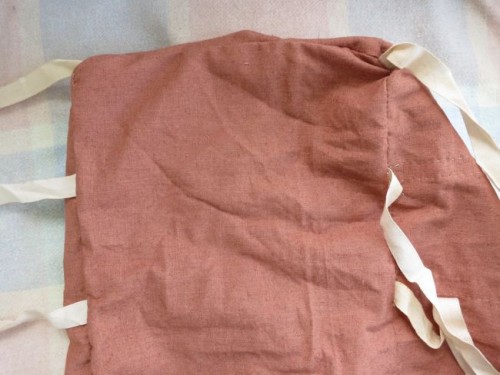
When we finished the last step your panier bag was fully assembled, and looked like this:

Panier bag right side out with front and back ties

Panier bag right side out with front and back ties

Now we put the  hoops in.

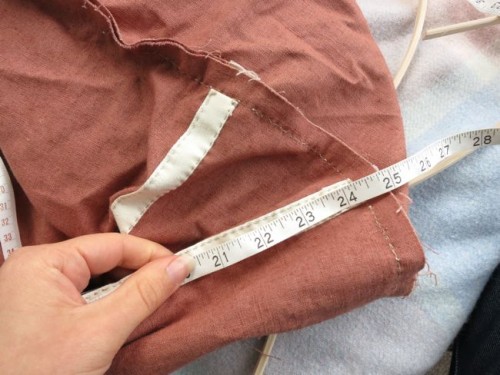
First, from the inside, measure along each hoop channel, and make a note of how long it is.

Measuring my hoop channels

Measuring my hoop channels


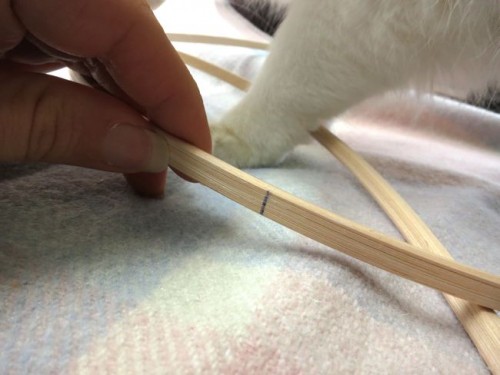
They should be 24″ long, but it still pays to check.  Mine all came out at 24 1/4″, so that is how long I cut each of my pieces of boning/hooping:

Marking my cane hooping (with bonus Felicity leg)

Marking my cane hooping (with bonus Felicity leg)

You can use all sorts of things as hooping (I covered them in my materials list), but the most common, easiest to work with and most period accurate are cane and wire hooping.

My cane hooping

My cane hooping

I’m using cane hooping, which is the most period accurate, and is quite easy to get (available at a lot of craft stores, and online), and very affordable (mine cost lest than NZ$8).  The one drawback to cane is that it needs a bit more prep than wire hooping, but it’s really not much work.

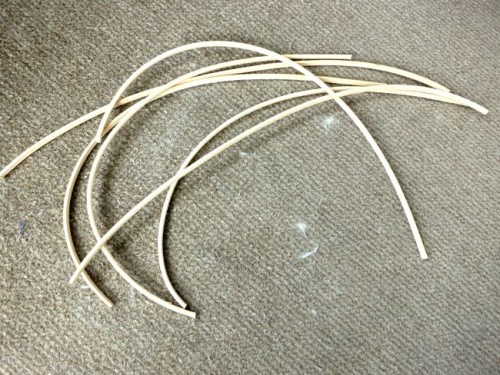
First you need to cut your cane or other hooping.  I cut mine with large pruning loppers, which gave me a nice crisp end, without too much fraying and splintering.  I’ll still sand the ends later to smooth them out.

My cut hooping

My cut hooping

Then I need to soak my cane and curve it to the right dimensions.  You’ll notice that the cut piece of cane hooping in the above picture all have different curves, which would make for very funny looking paniers.  To get an even curve, and to make your cane easy to work with and less likely to break later, you need to soak it.

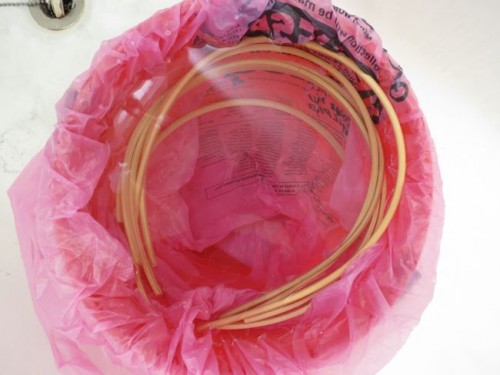
Fill a round bucket that has a similar curve to the outside curve of your paniers with hot water.  Gentle curve and force your cane pieces into the water, and wedge them down in the bucket so they don’t spring out:

The curved pieces of cane wedged in the bucket

The curved pieces of cane wedged in the bucket

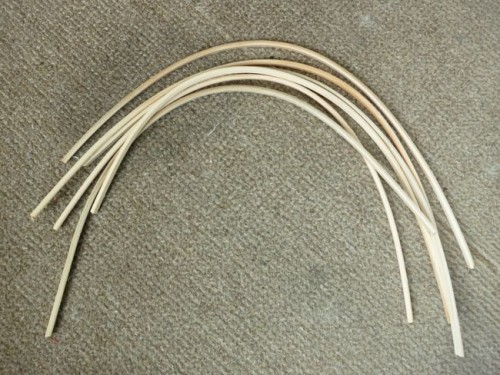
Leave them like this for at least 12 hours, so that the water fully penetrates the cane.  When you take them out they will be softer, and nicely formed into even curves:

The damp cane, all nicely and evenly curved

The damp cane, all nicely and evenly curved

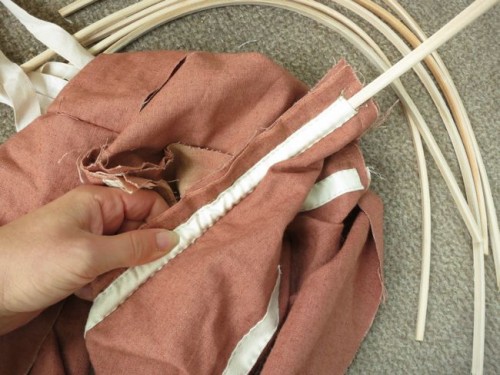
Give the ends a quick sand so that they won’t poke you or the fabric, and then you can begin inserting them into your paniers.  Work with your paniers right side out, reaching through into the inside.  Insert the lowest hoop channel first.

Sliding the cane hooping through a hoop channel

Sliding the cane hooping through a hoop channel

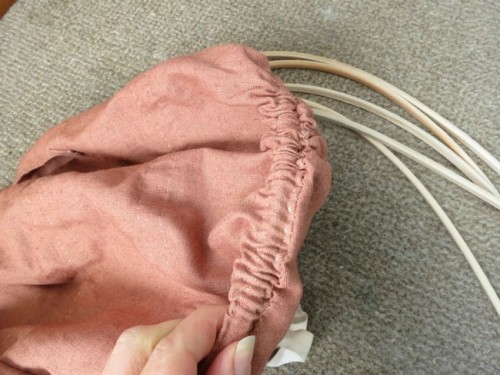
With the hoop mostly in you can work from the outside, sliding the bulk of the fabric around the hoop and forcing it to the end of your channel

Sliding the fabric around the hoop

Sliding the fabric around the hoop

There is the first hoop done!

First hoop done

First hoop done

Now repeat this with the next hoop up:

Hoop two done

Hoop two done

And the final one:

Hoop three done

Hoop three done

Repeat for your other panier, and that’s your hooping done, and there is only one step to go for a finished set of paniers!

Two fully hooped/boned paniers

Two fully hooped/boned paniers

Panier Along #4: Panier body assembly

The Panier-Along

On Monday I showed you how to sew the bottom of your paniers to the side piece, and how to sew the panier inside piece to the bottom.  Now we need to attach the panier inside piece to the panier side piece, so that you have your full assembled bag.

Before we can do this though, we need to do a quick check of how your fabric will pleat into your waistband.  I’m making my panier out of midweight linen, so it pleats together without being too bulky.  If you are making your paniers out of a thicker fabric it may be too bulky when you pleat the panier outside piece (the one with the hoop channels) and your panier inside piece together at the waistband.

To check if this is going to be a problem, quickly pleat the top of your panier outside piece, and your panier inside piece together until they measure 7″ across (or 3.5″ on each side of the panier pocket slit).

It will look like this on the outside, with multiple pleats to gather in the full 25″:

Pleating the top of the panier to check the thickness

Pleating the top of the panier to check the thickness

And this on the inside, with one pleat to gather in the 11.5″:

Checking the pleating width

Checking the pleating width

Did it work?  Or was it really thick and bulky and impossible to pleat?

If it was really thick and bulky, the solution is to cut off 5 inches of the length of your panier inside piece, taking it down from 16″ to 11″, creating partly open panier bags, like the ones on my mistletoe paniers:

The partly open style panier bag

The partly open style panier bag

Hem your cut-down edge, so it will be tidy and finished when your bag is done.

The shorter panier inside of the open-bag style

The shorter panier inside of the open-bag style

This style is perfectly historical, and does make it easier to fish things out of your paniers if you are using them as pockets and get things stuck inside.  Unfortunately, it does make it slightly more likely that you drop something through your pocket slit and it falls out of the large opening over your hip.

Right, now that that is sorted, another step where you need to make a decision!

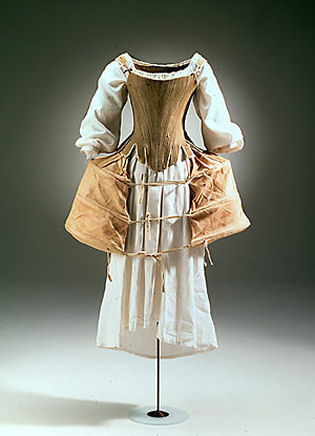
You have to decide if you want front and back ties (the ones that hold the left panier to the right over your front and back) to your paniers, like the Tidens Tøj paniers have, or if you want to skip the ties.

Paniers, Tidens Toj

Paniers, Tidens Toj

If find they aren’t completely necessary, as the weight of your skirts generally keeps the paniers neatly in place, and there are period examples that don’t have front and back ties, but they do help keep things more secure.  If you don’t add them now, and decide that you want them later on, you can always just hand sew them on at any point in the future.

I’m doing front and back ties 1) to show you how to do them and 2) because I don’t have a pair or panier with ties.  You’re going to need 12 piece of twill tape, each 26″ long, as per the materials list.

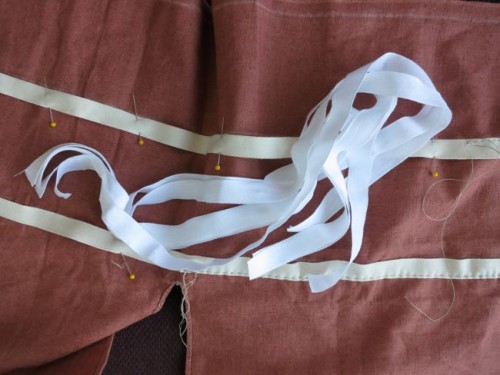
Cut piece of twill tape for ties

Cut piece of twill tape for ties

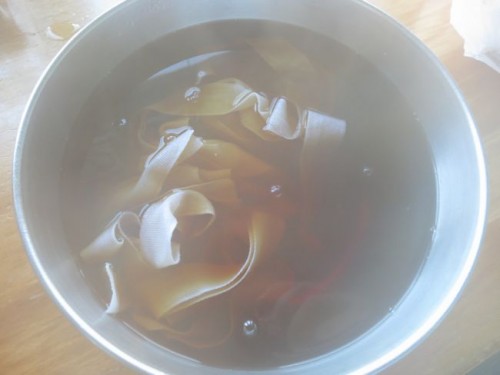
The twill tape that I found for my ties was rather on the bright side, so I tea dyed it by steeping two black tea bags in a bowl of hot water, and then putting in my ties and soaking for 10 minutes, just to dull the brightness a bit.

Tea dyeing my ties

Tea dyeing my ties

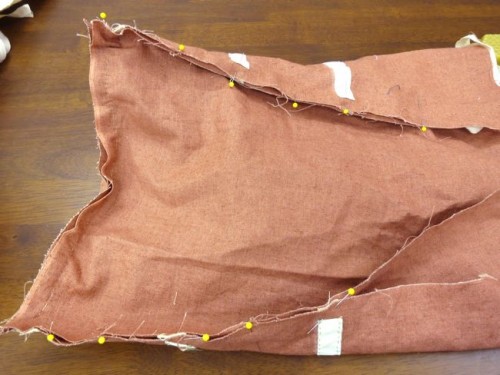
Right, back to business!  Now you are pinning the long 16″ or 11″ (depending on whether you shortened them or not) panier inside pieces to the 16″ edge of the panier side pieces with the hoop channels, right sides together.

The panier inside piece pinned to the panier side piece at both sides

The panier inside piece pinned to the panier side piece at both sides

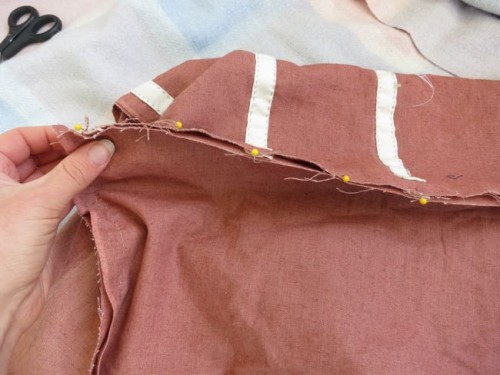
Your front and back ties go along the same lines as your hoop channels.  Pin one piece of your ties twill-tape between your panier inside piece and your panier side piece.


Panier inside piece pinned to panier side piece

Panier inside piece pinned to panier side piece


You can see the twill tape sandwiched here:

Tie sandwiched between side piece and inside piece

Tie sandwiched between side piece and inside piece

Now, starting at the point where you finished sewing the panier bottom to the panier side, sew up the panier side to panier inside seam:

Your sewn panier side to inside seam

Your sewn panier side to inside seam

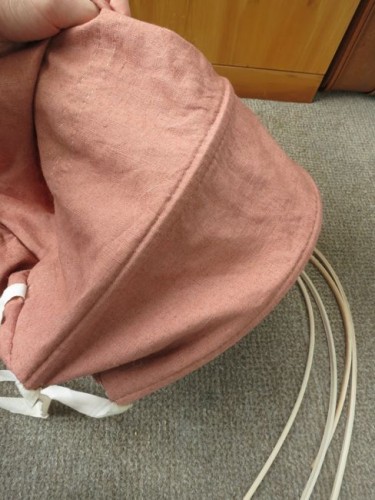
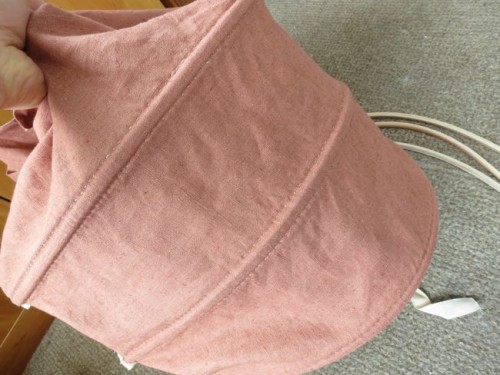
Once it is sewn, here is what it will look like right sides out:

The panier inside piece pinned to the panier side piece at both sides

The panier inside piece pinned to the panier side piece at both sides

Look, it’s a fully assembled bag!

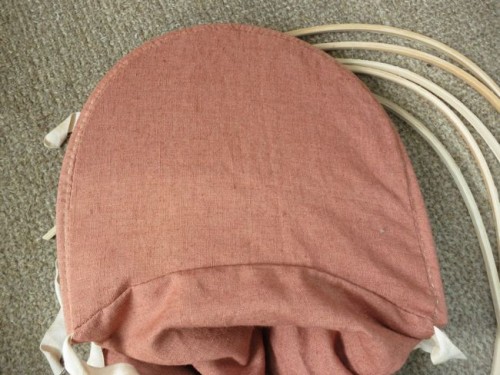
Panier bag, bottom view

Panier bag, bottom view

Whee!  We’re really almost there!

Next, I’ll show you how to put the hooping in, and how to soak it if you are using cane like me.  Finally, we’ll attach the loops to put your waist-tape through, and then you are done!