I know the 1813 Kashmiri dress is done, but I wanted to share some of the construction details to explain how I did it (and as a reference for anyone trying to make a similar dress).
Today I’ll focus on the skirt construction.
My skirt is based on two rectangles, each 136cm/55″ wide and 135cm/54″long as they were cut. The skirt lost barely any width in the sewing, but has a very large hem and top turning, so the finished measurement is 133cm/52″ wide and
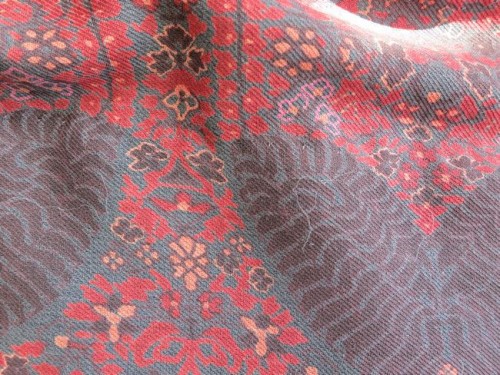
Kashmiri shawls of the early 19th century are usually between 100-110″ long & 50-55″ wide, so my finished dress dimensions are an almost exact match to what a period seamstress would have been working with. The major change in design/fabric area is that I have an extra area of patterned fabric to construct the bodice out of, and don’t have the lovely narrow side borders to use as trim.
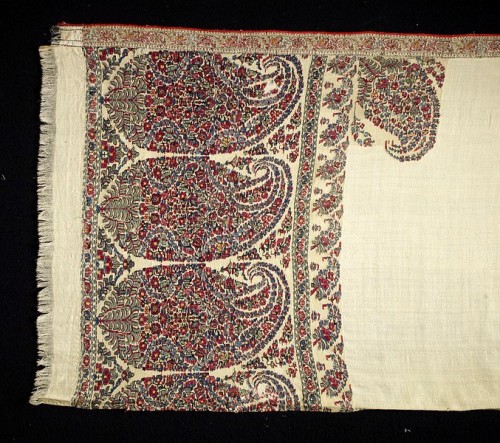
Kashmiri Shawl, early 19th century, Woven cashmere, 129cm (51″) x 281cm (111″), V&A
Skirts based entirely on rectangles were very common in the first decade of the 19th century, but in the early 1810s skirts with gored side-back and back pieces become more common, as the skirt shape evolved from a slim column into a slight inverted triangle, with the gores helping to create the wider hem. However, entirely rectangular skirts were still seen in the 1810s, and all the examples made from kashmiri shawl that I can find clearly used the full width of the shawl. It would make sense that seamstresses would want to maximize their fabric usage and take advantage of the finished selvedges of the shawl for their seams. Using the full width also helps to keep the paisley border even.
And, for the final proof that I was right to use straight rectangles, look how similar the fall of my skirt is to this fashion plate (and no, I wasn’t trying ti imitate the plate, the similarity in poses is a total coincidence!):
My gown:
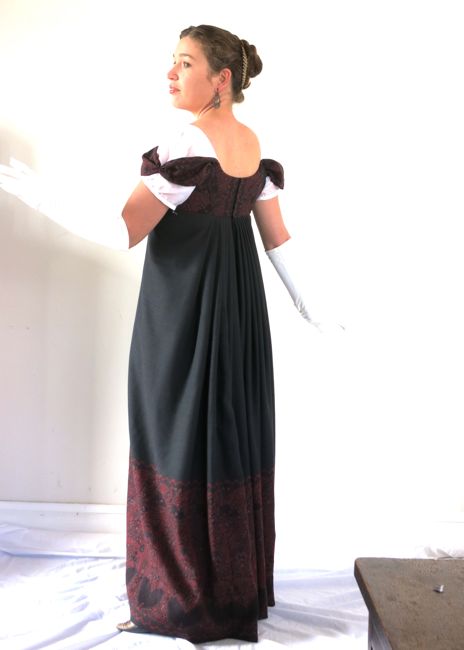
1813 Kashmiri gown
Fashion plate:

Fashion plate featuring a ballgown, 1810
Right, back to the construction:
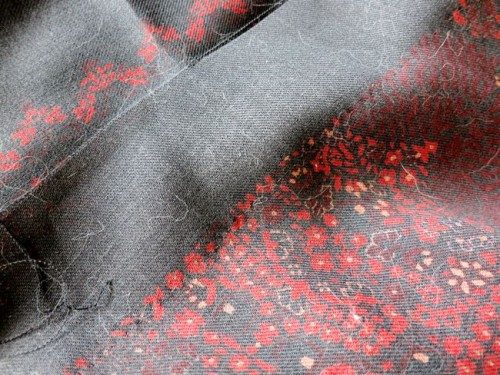
While Regency seamstresses had lovely finished selvedges for their skirt seams, I did not, so I had to combine historical techniques for my two long vertical skirt seams. Remember I started with two panels with a wide border running along the selvedge and a narrow border running across the fabric. I cut off the narrow border to use in the bodice:
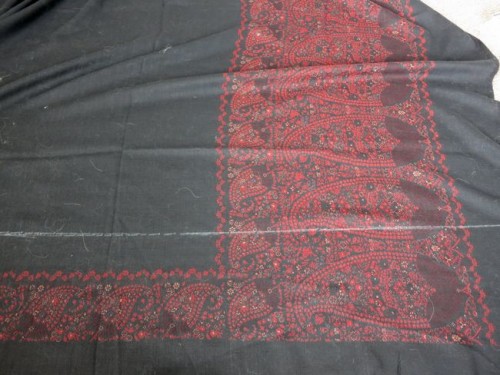
Chalk lines to mark where I will cut.
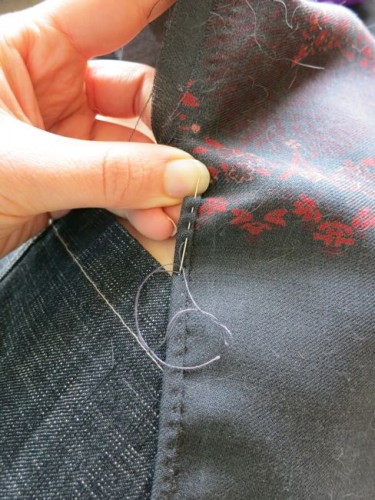
Because my fabric was in panels, with the pattern running right to the edge on one side of the panel (where I cut off the horizontal border) and ending before the edge of the fabric on the other, my seam allowances weren’t even. I sewed my skirt seam very close to the cut edge, with the longer un-patterned edge hanging off. I used a running stitch with a backstitch every 3 or 4 inches. My stitches average between 10-12 stitches per inch.
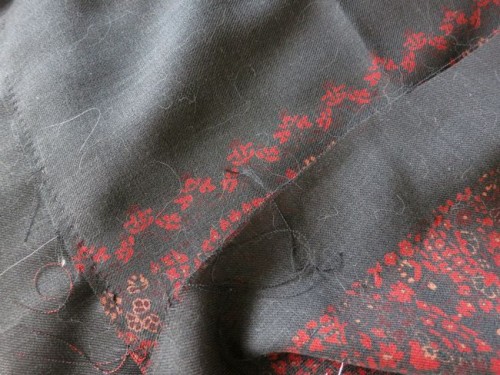
The stitches on the narrow-seam allowance (on the left) and wider seam allwance (right)
12 stitches per inch on the side seam (with the wider seam allowance up)
Once the seam was sewn I had to deal with the wool, which frays terribly. My solution was to cut my wide seam allowance down to about an inch, and fold it over my narrow seam allowance to create a sort of interior flat felled seam which finished both edges. I then sewed this down with the same running stitch I used on the seam. I started with a whipstitch, but it didn’t work well in the fabric and was a pain to do.
My seam finish
I’m not sure this was a historically accurate seam finish. I’m sure I’ve seen similar finishes (the catch being similar), but I can’t remember where. It was, however, the most obvious solution to the problem, and the most obvious solution is often the right one. It will certainly be a very strong seam!
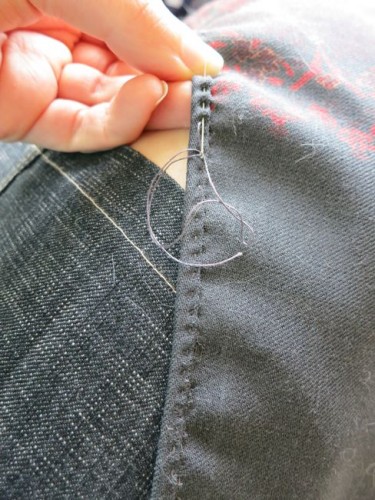
The seam finish
The completed seam
I’m using a cotton thread to sew. I’m not actually sure when cotton thread became common and widely available, but assume it was in the early-mid 19th century. Nor am I sure of what type of thread would be most accurate to sew a wool gown in 1813. Cotton? Linen? Silk? The only Regency era gowns I’ve been able to examine in New Zealand were cotton, sewn with cotton thread.
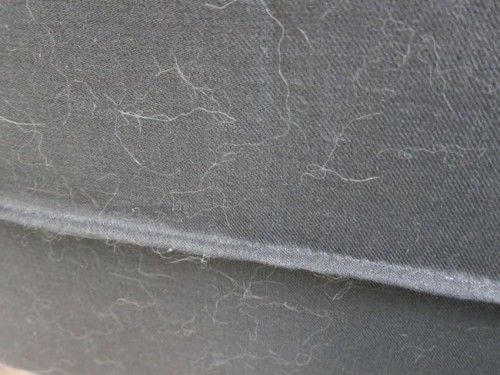
With the two skirt panels sewn to form a tube I hemmed the skirt. By the early 19th century skirts were usually hemmed in the modern fashion: attached at the waist and then hemmed up (as opposed to hemming and then straightening the hem as you pinned it at the waist). However, as seamstresses making a dress from a kashmiri shawl would already have a finished hem, they had to have been hemming from the waist.
My hem from the inside
My hem is just a simple turn and turn. I kept it very wide to preserve as much of the fabric, and because the weight of the hem will help the skirt fall properly. It’s not precisely historical, but the idea of preserving as much of your fabric in case the dress ever needs to be re-made certainly is.
The hem from the outside, with tiny hand stitches
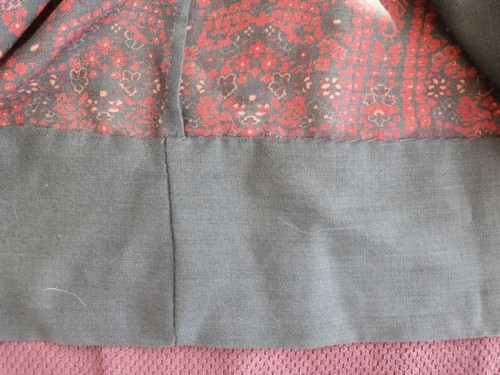
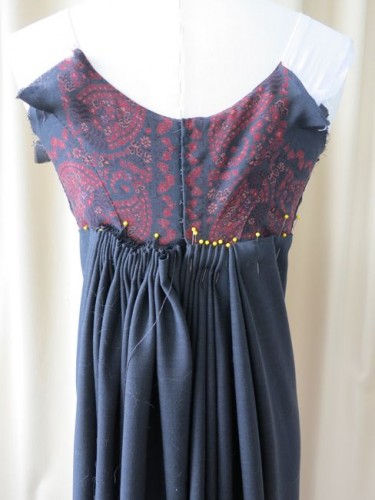
I attached my skirt to the bodice by folding over the top few inches to bring it to the right length for dancing, and then topstitching down the fold.
The skirt to bodice attachment
This is another place where I have sacrifised historical accuracy (confession: I’ve never figured out exactly what the proper historical skirt to bodice attachment for a Regency dress is) to the needs of the fabric. The topstitched attachment is just much more secure on the wool, and prevents sagging and pulls in the twill weave. It would also be nearly impossible to do the pleats in the skirt with any other attachment.
The skirt-to-bodice seam from the inside
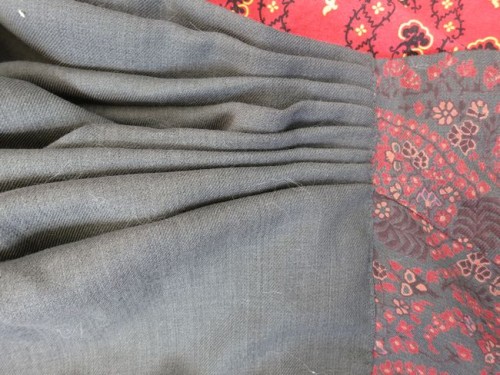
The skirt pleats are simple knife pleats. I’ve seen similar pleats on extent dresses, and the effect they gave matched the back views in fashion plates of ballgowns like the one I featured above.

The skirt pleating
I did trial a few other pleat options, including narrow cartridge pleats and gathering, neither of which worked due to the bulk of the fabric.
Pleat trials – cartridge pleats on the left, knife pleats on the right
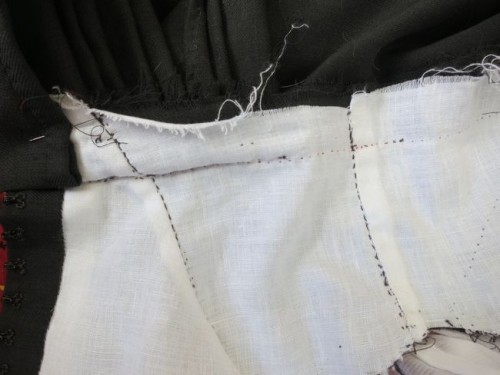
To create the pleats I pinned them in, sewed the skirt to bodice, catching the pleats just in the last few cm where they are visible on the outside of the skirt. Then I turned the skirt inside out, and secured the long ends of the pleats that are hidden underneath each other. This keeps the pleats neat and flat, without creating a huge amount of bulk in the skirt-to-bodice attachment.
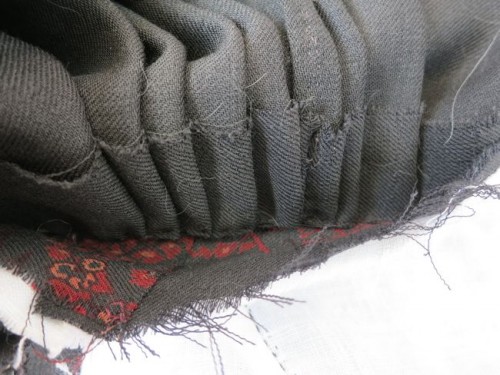
The sewn-down pleats underneath
In order to get in to the dress I cut a slit in the centre back and finished it with a self-fabric binding:
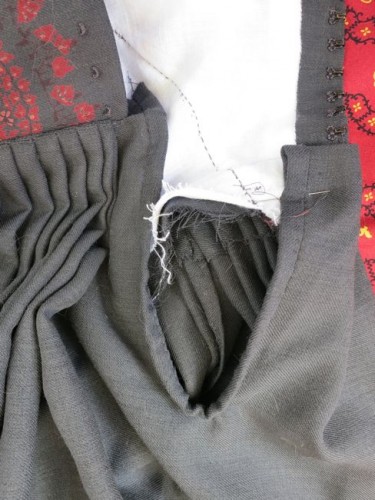
The centre back egress
Because the column of the dress is so narrow, and the pleats are so deep, the skirt seams are placed all the way back in the pleats, entirely hidden in the valley of the third pleat from the dress sides. Even as the pleats fall away from the body and angle out, the seam is quite hidden, which is a good thing, because I didn’t match the pattern going around the dress (mostly because I forgot to think about it while cutting, but also because the pattern wouldn’t match if you made a dress from a real paisley shaw).
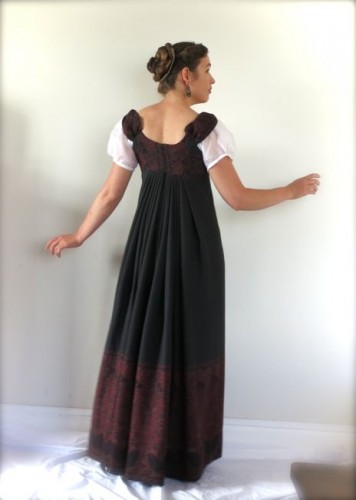
1813 Kashmiri dress
Whew! That was quite an epic post! I’ll tell you about my bodice and sleeve construction in another post, probably on Monday.