

Some construction details on my Frou Frou Francaise sleeves and sleeve ruffles, for those who are interested. And some photos of Felicity, for those who are interested 😉
I based my sleeve pattern on the from Janet Arnold’s Patterns of Fashion
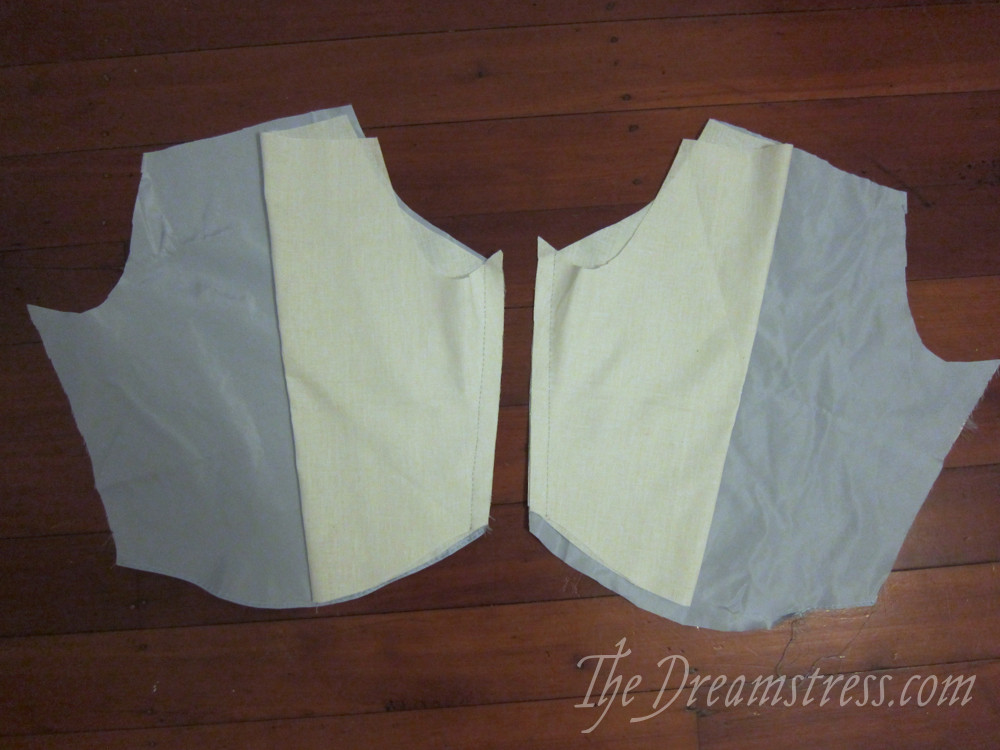
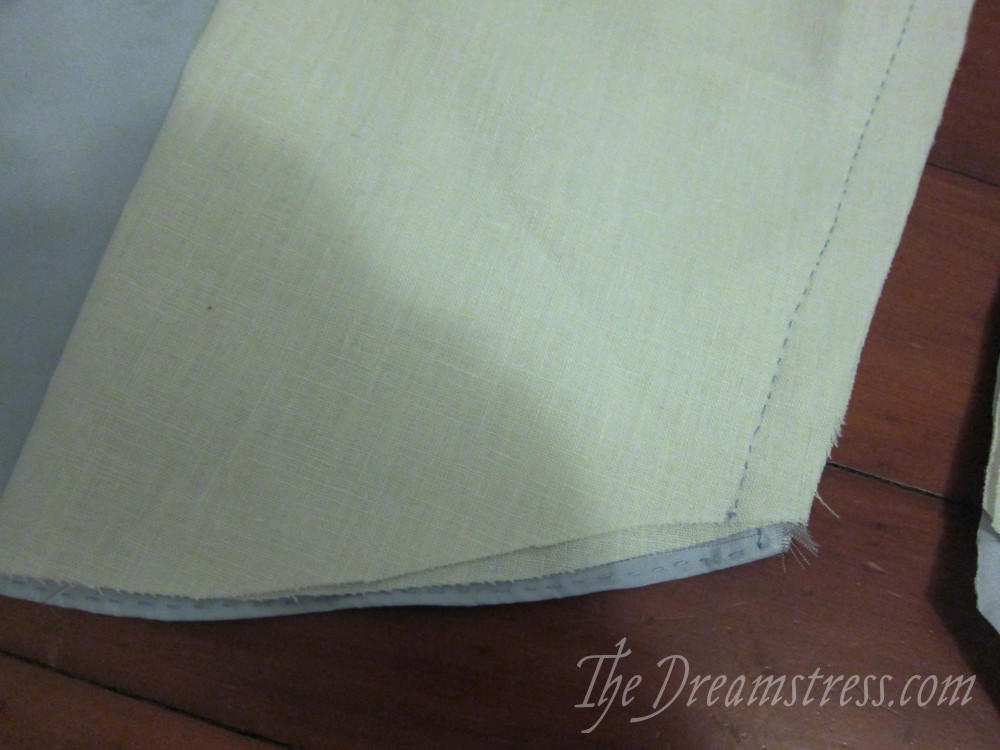
The construction is a basic sew-three-layers-together-and-then-use-the-outer-fabric-to-hide-all-the-seam-allowances construction. I don’t know if there is a less-wordy 18th c name for it!
The fun part of sleeves, is, of course, sleeve ruffles!
I based the punch pattern on my sleeve ruffles on this sacque in the V&A.
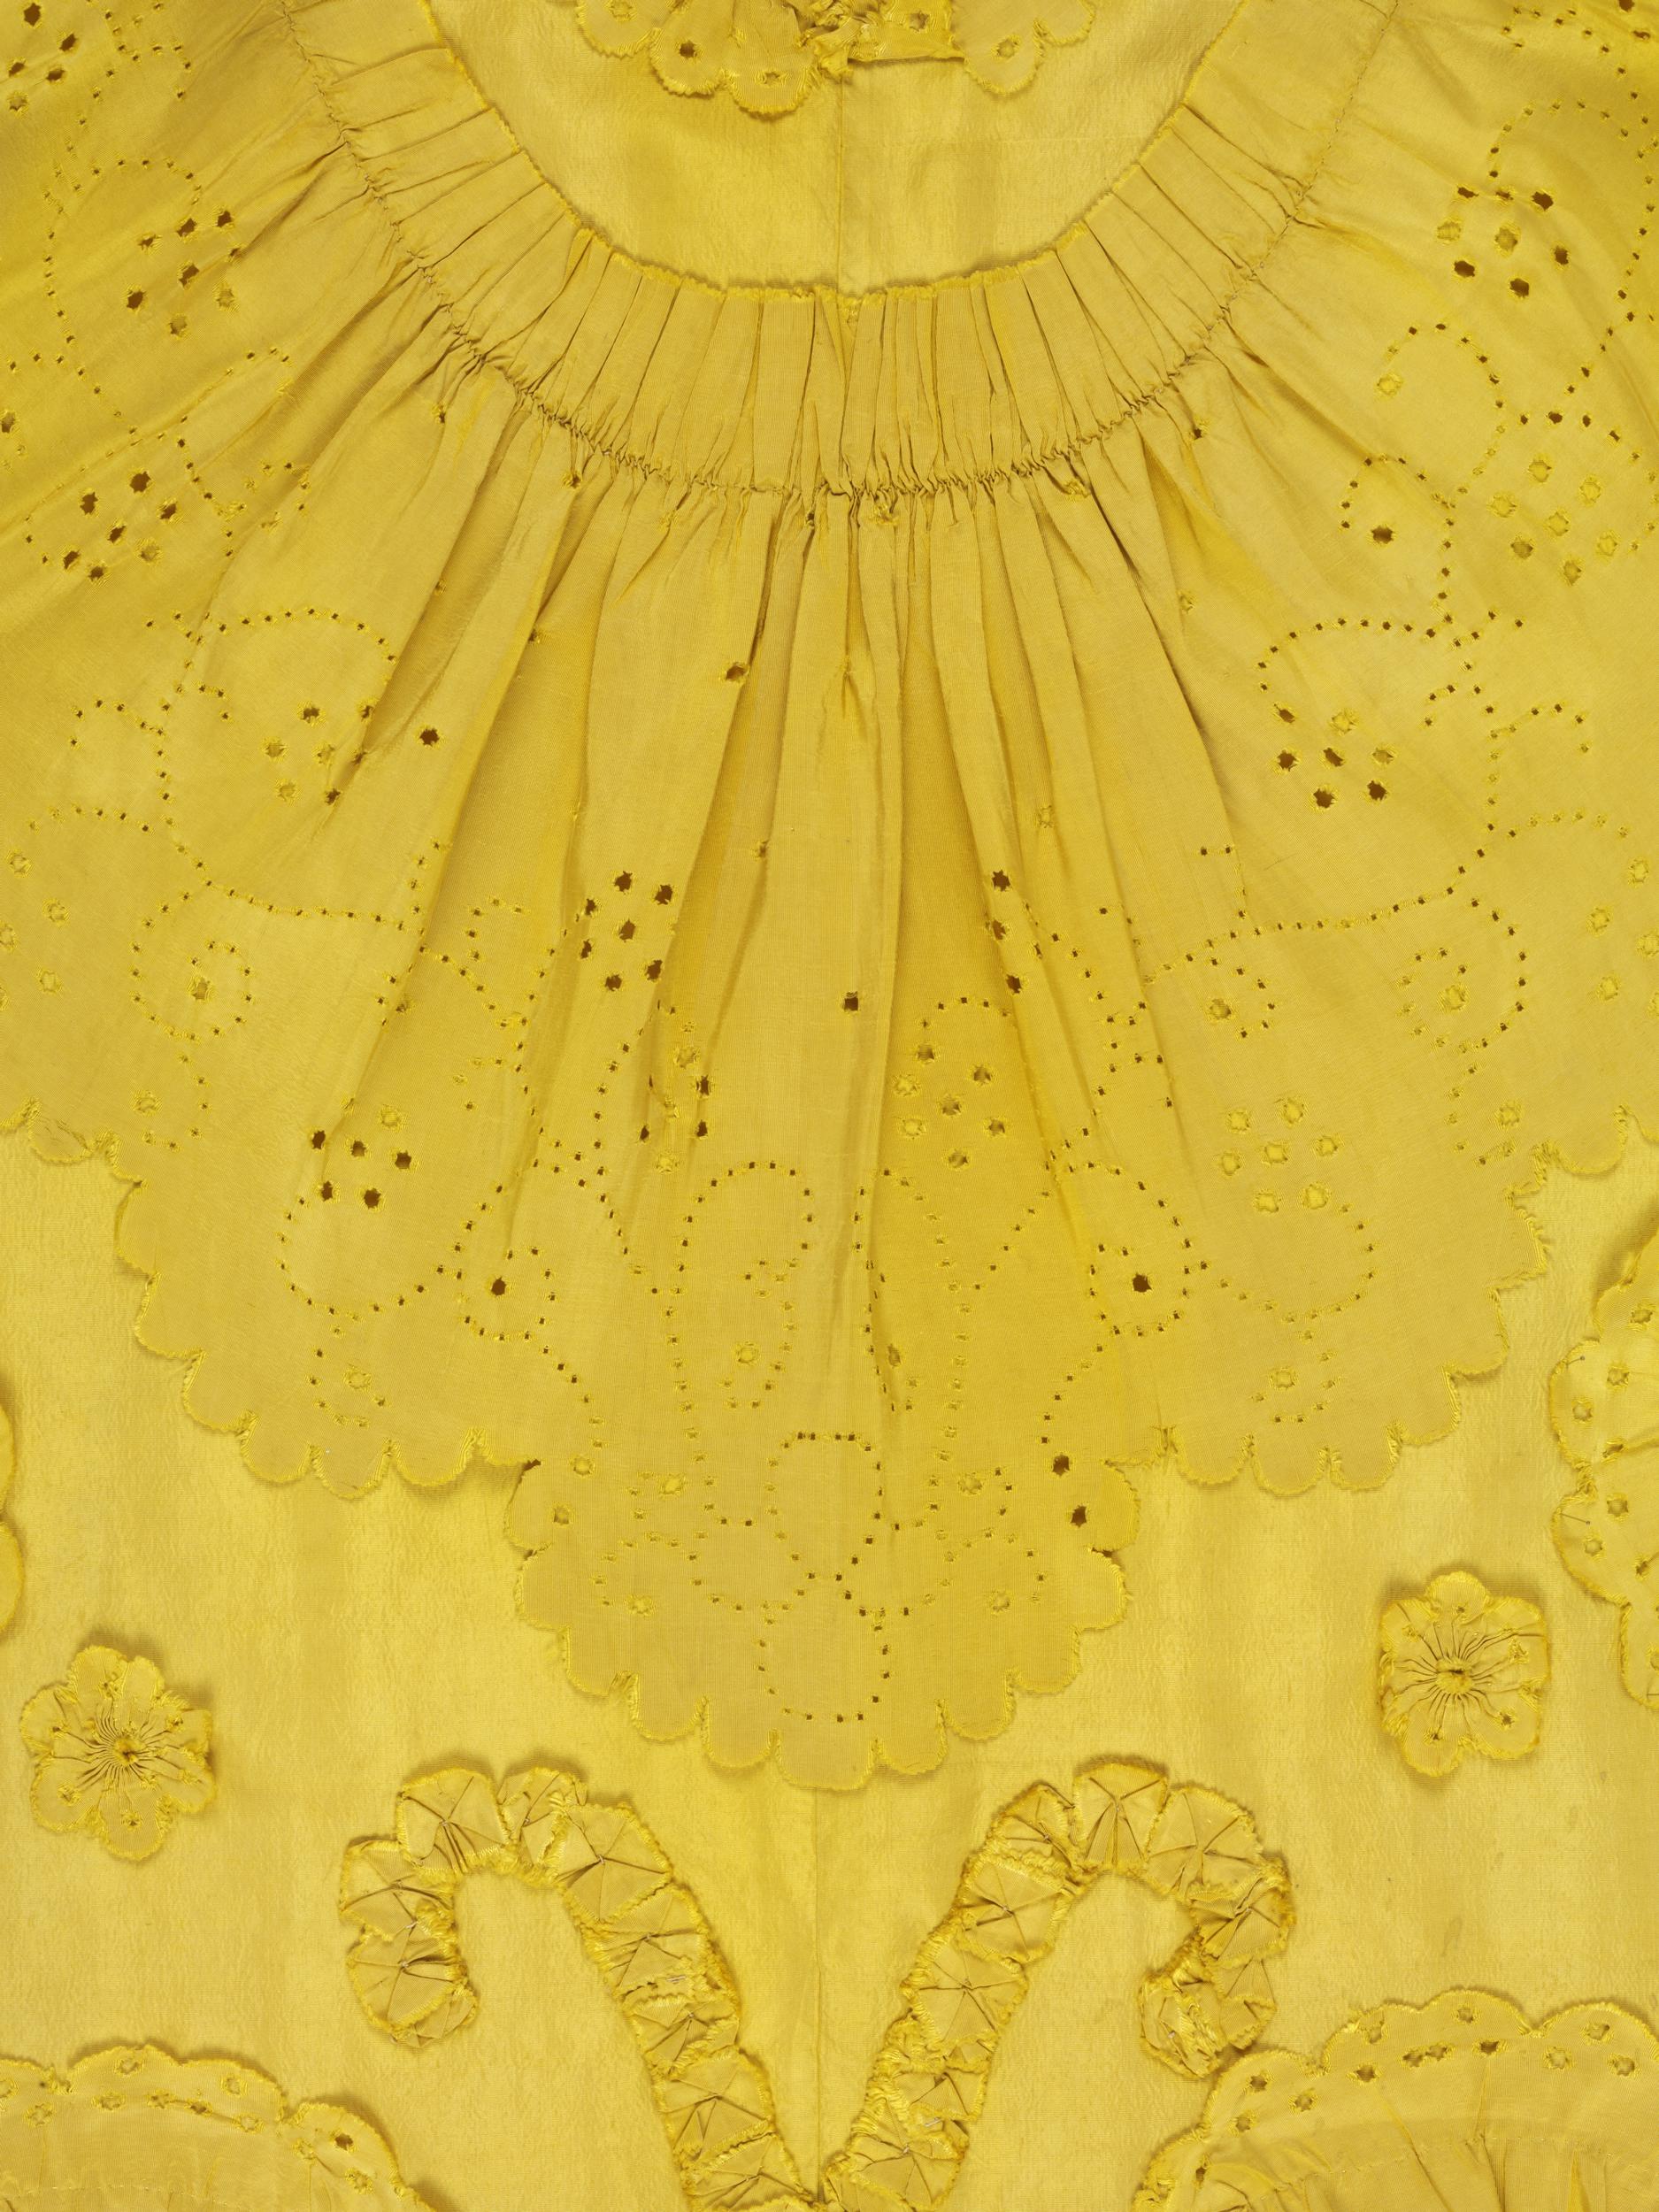
There is a close-up image of the sleeve details in the 18th century Historical Fashion in Detail book (page 176 if you want to see it), but this image of the petticoat ruffle should give you a good idea of what the punch detailing looks like.
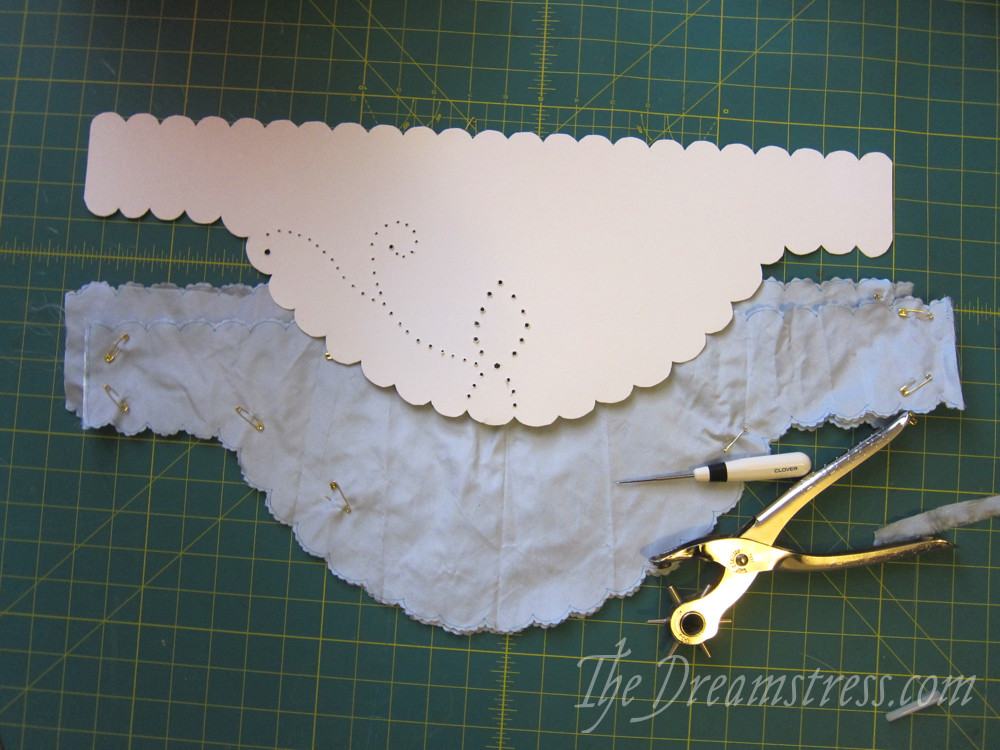
To create my pattern I used the sleeve ruffle patterns from the American Duchess book (in retrospect I really wish I’d used the ruffle that corresponds with the Janet Arnold sleeve, but oh well) , and sketched out a punch design.
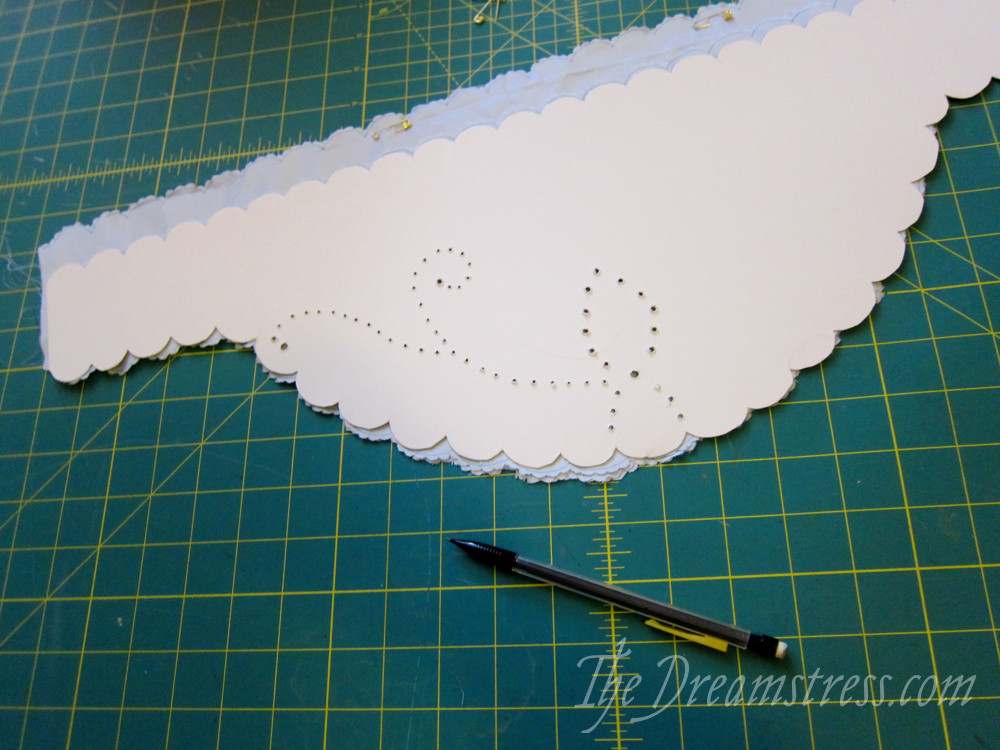
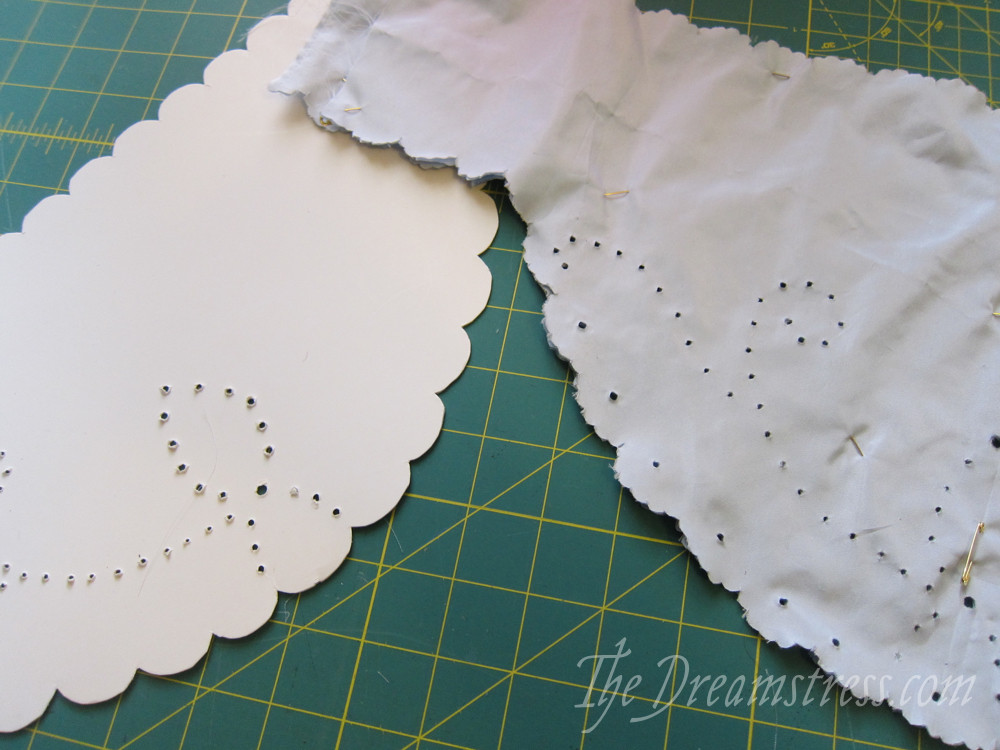
I poked holes in it, and used a pencil to transfer them to my sleeve ruffles, flipping the pattern over to create a symmetrical design.
I then pinned all four of my sleeve ruffles together, so I could punch all four of them at once.
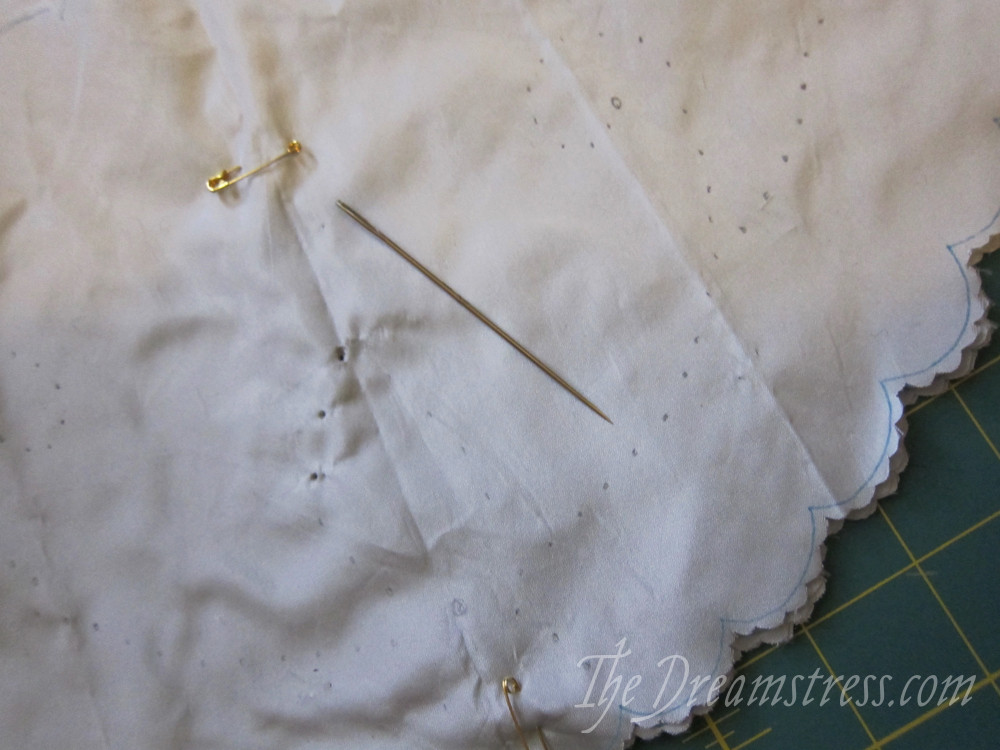
Because I wanted very small punch holes, I tried simply poking them with a large needle, but they closed when I pulled and manipulated the fabric.
So I turned to my awesome leather punch, and used the smallest setting of that for my tiniest holes, and a larger setting for contrast holes.
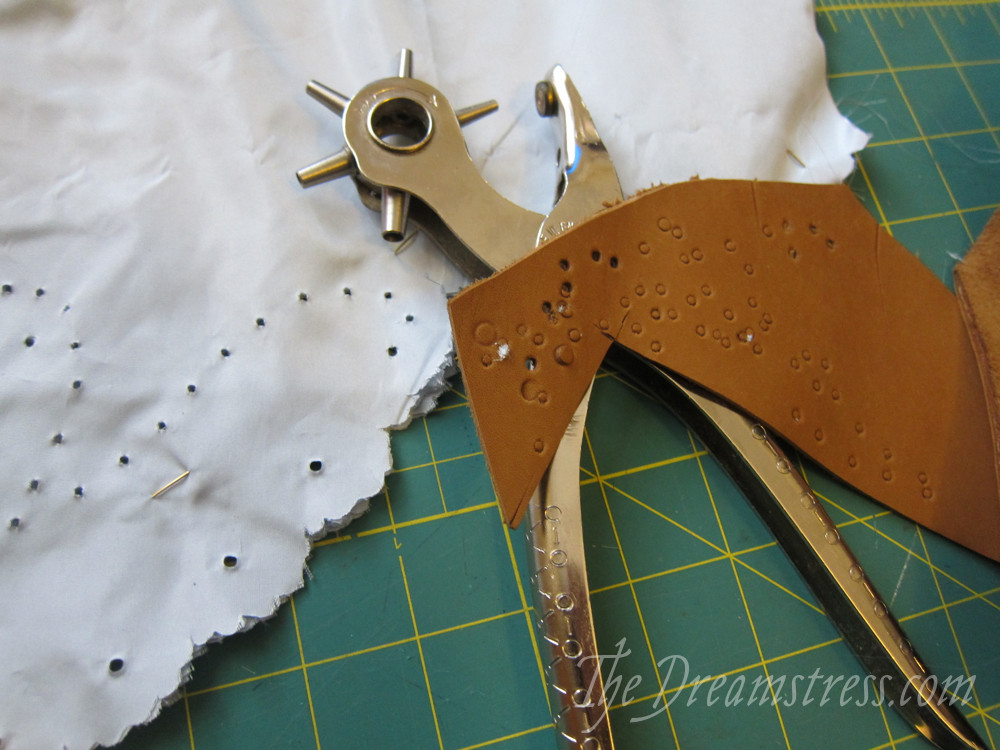
The leather punch needs something with squish to punch into in order to get through the crisp taffeta, so I used some scrap leather for that.
With the ruffles punched, it was time to gather!
Nope.
It was time for a cat mandated petting break!
Look at that little face! How could I possibly deny it?
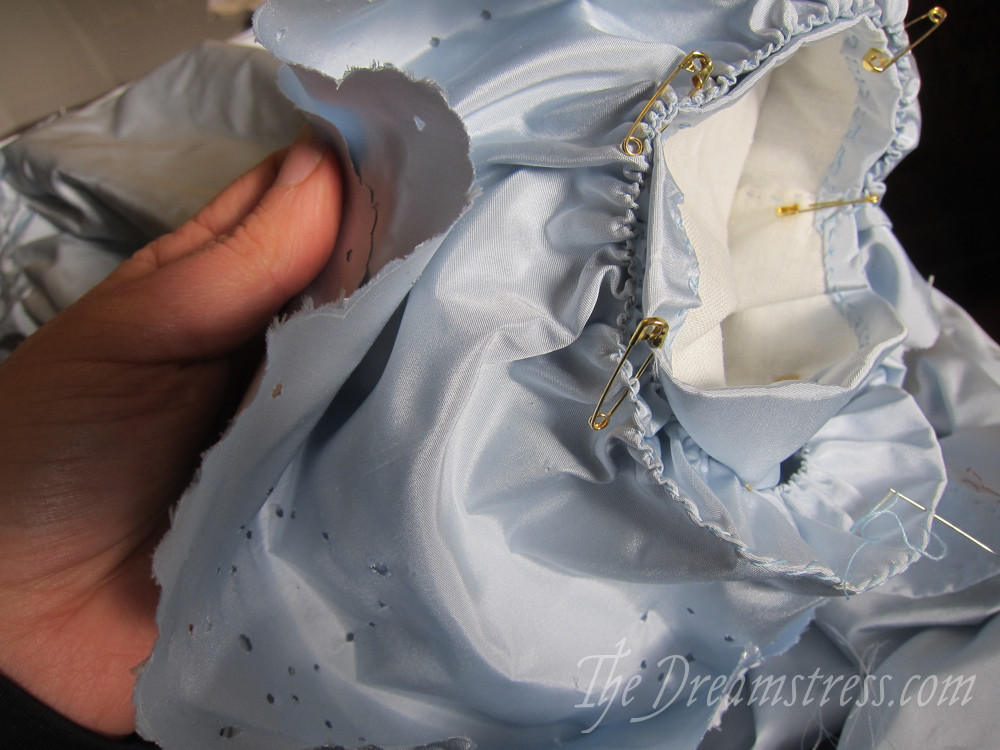
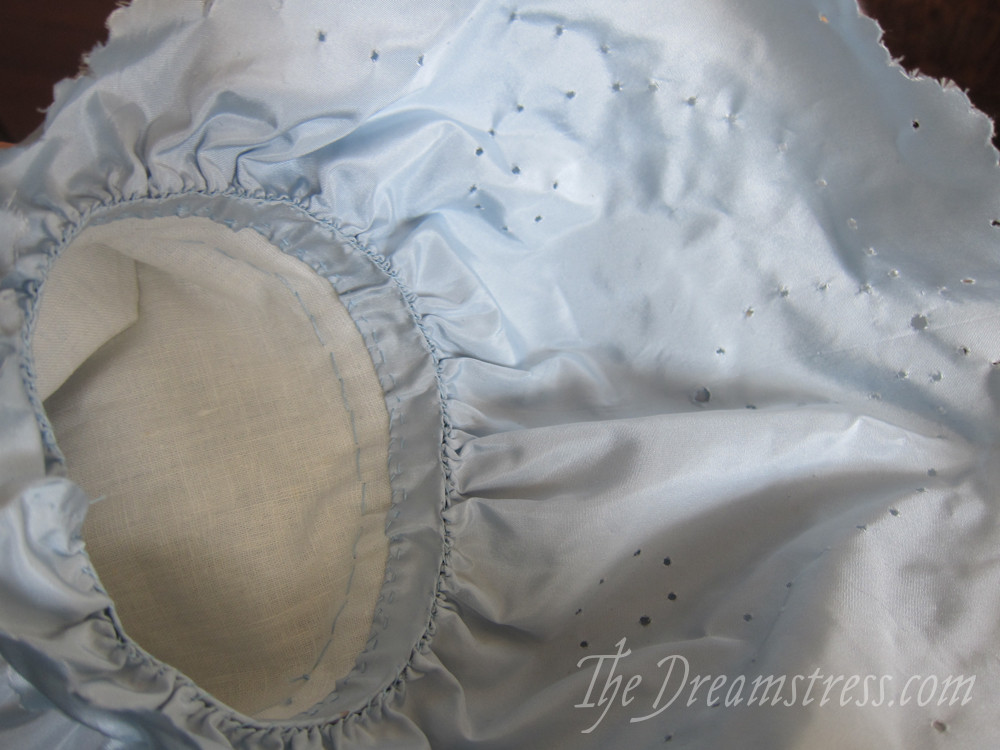
Cat duties satisfied, it was time for gathering!
I sewed two lines of whip-gathering into the sleeves, pinning and adjusting the gathers to fit the bottom of the sleeves as I went. (Amber of Lady of the Wilderness & Virgils Fine Goods put me on to the idea of using safety pins for securing things as I work and it’s pretty much the best thing ever).
It was a fun thing to do while hanging out with Mr D.

And Miss F!

And here is the finished result!
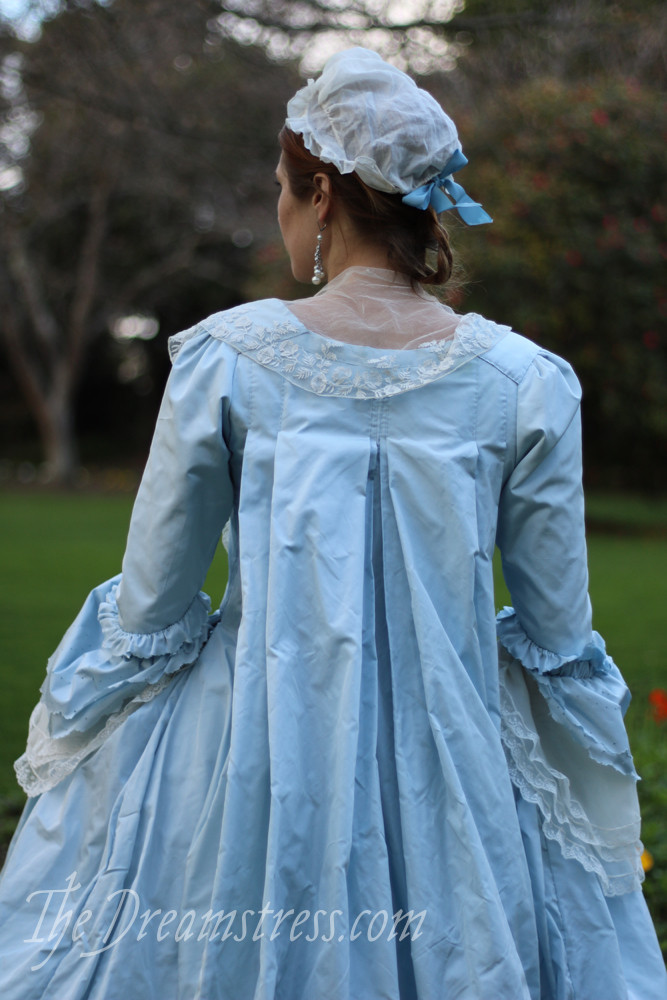
Aaaaaand…the whole sleeve is about 3″ too long, and possibly a little too big, though I’m trying to decide if that’s just my modern sensibilities talking.
More on the sleeve fit later.
So fun and pretty! I’m becoming awfully fond of punched ruffles. 🙂
What a fascinating technique to see. I am now trying to think of how I could apply this to something…anything. Miss Felicity is looking beautiful as ever and it is good to hear that you are fulfilling your cat mandated petting breaks.
Despite not being perfect, they are still lovely! I really like the effect of your double row of whip gathers! I’ll have to remember that!
Best,
Quinn
The ruffles are gorgeous! And so is Felicity 🙂
The ruffles look great, and Felicity is as perfectly beautiful as ever.
Gorgeous dress! Perhaps the sleeves are a bit too large; I was taught that skin tight meant that you didn’t have to do any work/labor, which would necessitate looser sleeves. All (or most) of the portraits of that era show very tight sleeves. Still, it’s a beautiful gown you can be proud of. Keep up the good work.
mfa.orgSome historical eras did use skin tight sleeves, but definitely not 1750-60. Sleeves of this era are quite roomy: notice how much space there is in the sleeves of the white (very upper-class) dress: https://www.mfa.org/collections/object/portrait-of-horace-walpole-s-nieces-the-honorable-laura-keppel-and-charlotte-lady-huntingtower-524274
I used the exact width measurements of an extent garment to draft mine, and the original is not a large dress by any means. Most costumers err in making their mid-18th c sleeves too slim: it looks better to modern eyes. But I think I’ve over-compensated and made mine a bit too roomy! 😛
very nice, and the engageantes (do i have the right term?) look lovely too. I have a few questions, if you don’t mind.
any reason why you couldn’t lay the paper on top of the ruffles and punch it all together rather than transferring the design?
how do you stop it all from fraying, especially that scalloped edge?
what is whip-gathering? thank ‘ee kindly.
Thank you!
I can’t punch the ruffles and the pattern at the same time first because there is no way to pin my pattern (on stiff card) to the ruffle, and second because the punch gets dulled on paper, so doesn’t punch nicely.
You don’t stop it from fraying – frays are just part of the look :-/ Actual 18th c fabric was pretty tightly woven, and resisted some amount of fraying, but still frayed, as extent example show us.
Whip gathering is gathering over a folded edge using whip stitches. 🙂
Princess Ivy-Dog approves!
This is such a fun project to follow. Thank you so much for sharing this with us.
I think the length of the sleeves is most elegant. Quite a romantic look you got going! As to the fullness – maybe not era perfect, but i bet they are comfortable. Real world comfort counts with me!
Well done!
I think the “little bit big” may be just modern sensibilities – I’m often surprised at the size of 18th century sleeves. Length I can’t tell, I’m not enough into 18th century for that…
I love the overall effect, though. And Felicity, of course.
AND the safety pins tip. I’ll probably find good use for it in current projects!
I definitely agree that 18th c sleeves (well, at least mid-18th c sleeves, and these are supposed to be 1755-60) are much bigger than people imagine. NOT remotely skin tight. But I still think these are a smidge too big – just 2cm. And definitely too long!