
The Otari Hoodie Sew-Along continues. Today’s post is the fun part, where you sew the sleeves to the body, and it starts to look like an actually garment!
If you want to join in you’re not to late to catch up with the Sew-Along
Buy the Otari Hoodie Pattern Here
In the previous Otari Hoodie Sew Along posts I covered:
- #1 Choosing fabric
- #2 Pattern alterations to get the perfect fit, & cutting out
- #3 Sewing Preparation: interfacing & choosing stitches
- #4 View A Pockets
- #5 View B Pockets – including a hack to add binding to them
Sleeves:
For this part of the Sew Along I’m going to be using images taken when making the original sample Otari Hoodies for the pattern launch.
The numbering of the instructions in this post corresponds to the numbering of the pattern’s instructions.
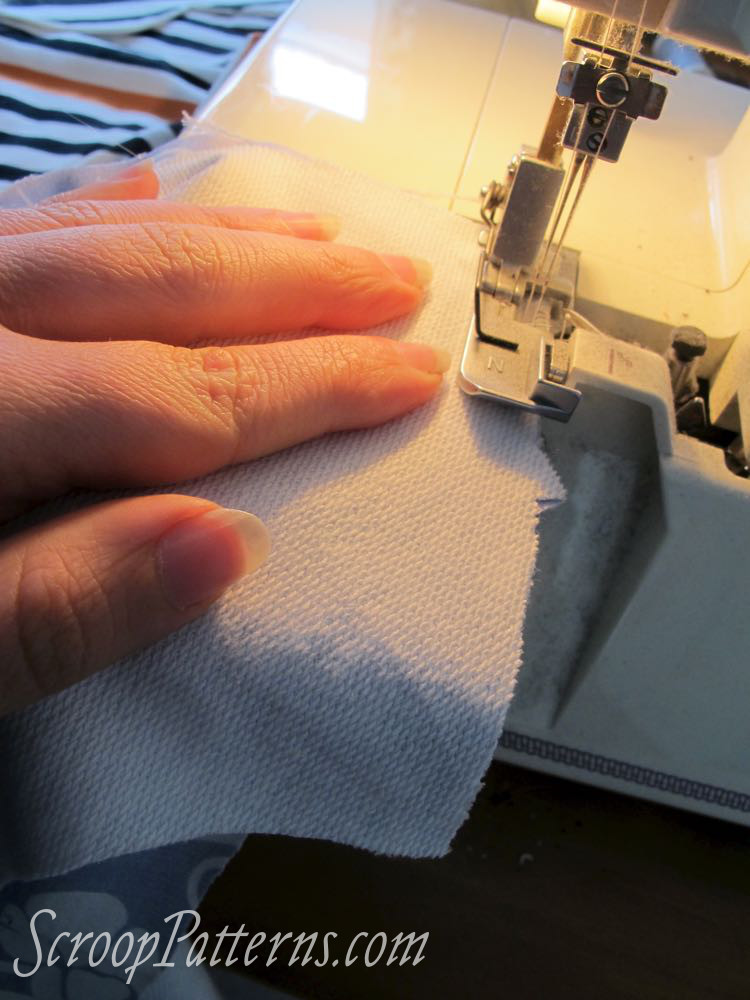
12. Right sides together, sew Front A to Back B at shoulders. As with many of the steps in the Otari Hoodie, you can use an overlocker (like I am), or a sewing machine on a stretch stitch.
The sleeves of the Otari Hoodie are set ‘in the flat’, where you set the sleeves before sewing the side seams of the hoodie and the underarm seam of the sleeve in one go.
13. Start by matching the top point of the sleeve to the shoulder seam of the hoodie:

Tip >>>
Standard patternmaking practice is for a sleeve to have a single notch at the front and a double notch at the back. This allows you to instantly tell which part of a sleeve goes to the front of a garment, and which goes to the back. Some T-shirt and hoodie patterns may not have sleeves notches because they have sleeves pattern pieces that are totally symmetrical front & back. These types of pattern rely on the stretch of the fabric to accomodate the differences in your body shape from front to back. The Otari Hoodie sleeves are not symmetrical front to back, as I feel you receive a superior fit, even in a knit, with a sleeve that is cut to accomodate the actual shape of your arm.
13. Match the single notches and underarm points at the front of the sleeve:
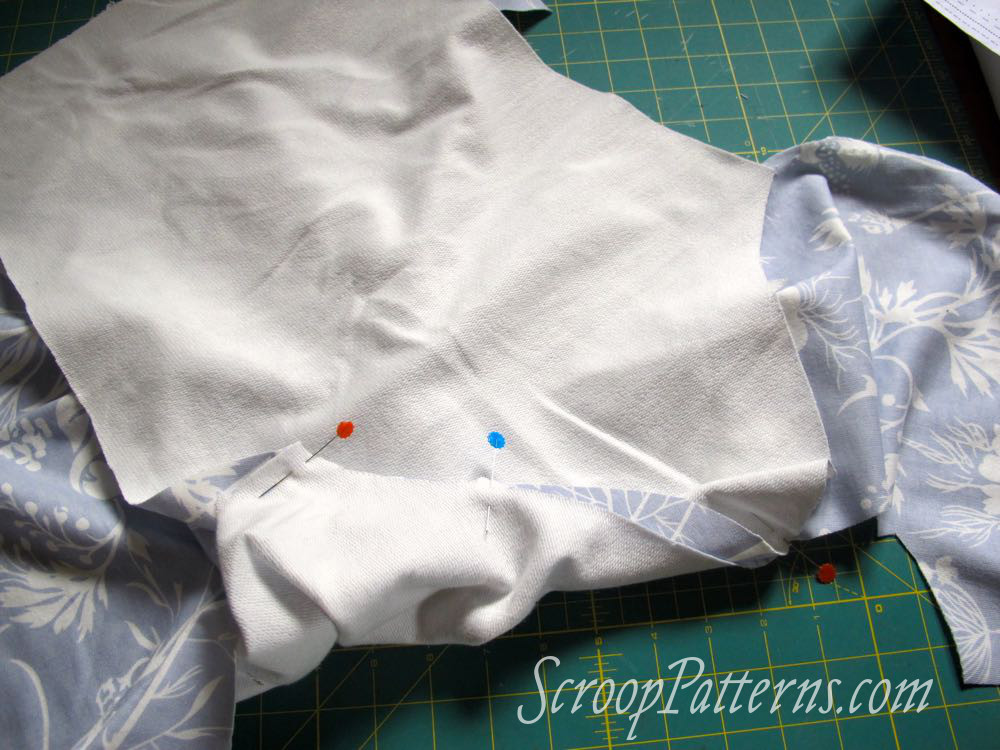
And the underarm point and double notches at the back:
Now pin the points between the top of the sleeve and notches.
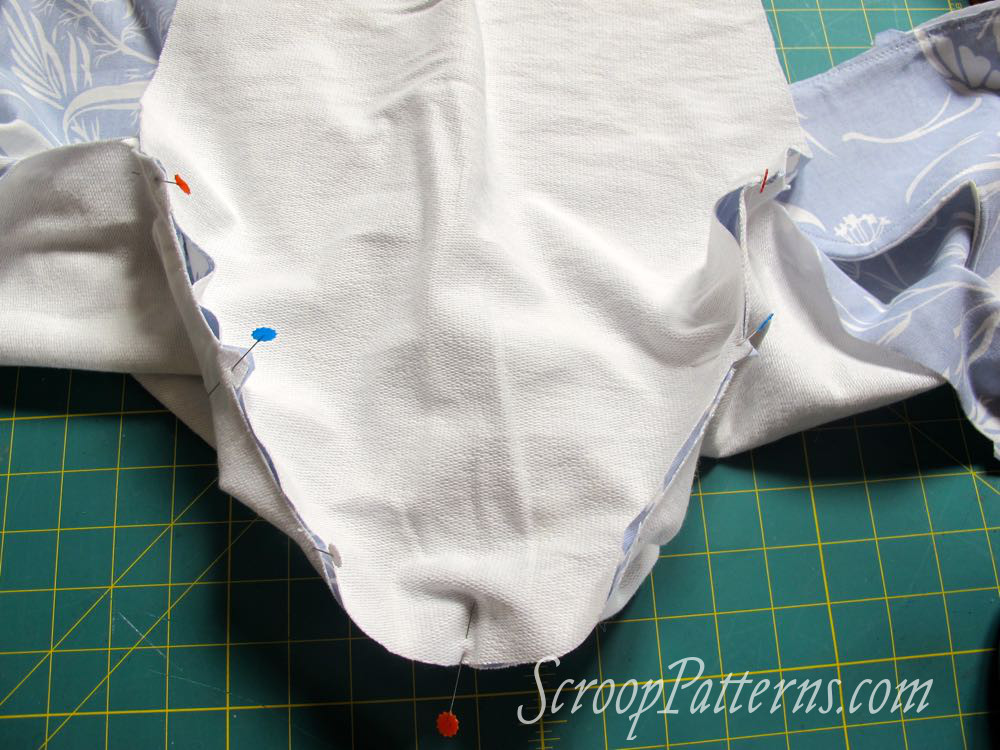
Tip>>>
In some fabrics you may have to stretch the armhole of the Otari a little to fit in the sleeve, but in most knit fabrics no easing will be needed. The cut of the Otari sleeve and the stretch of the fabric makes sleeve ease unnecessary (and many experienced patternmakers feel it isn’t needed in most sleeves, even in woven fabrics, but that’s a discussion for a completely different post!).
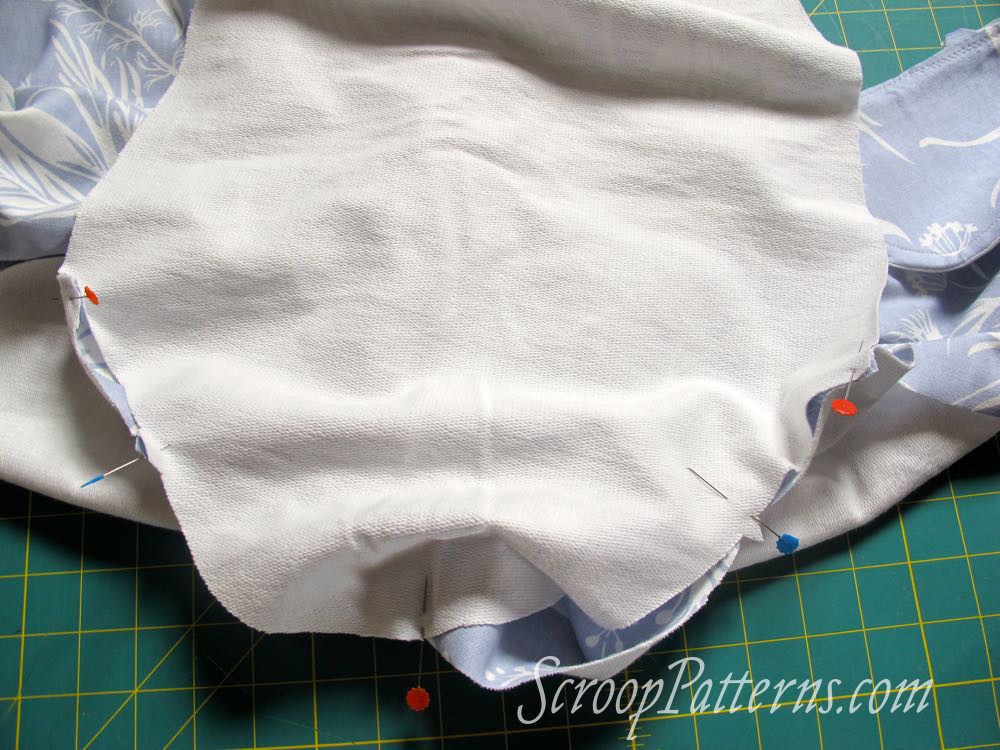
13. Sew the sleeve to body:
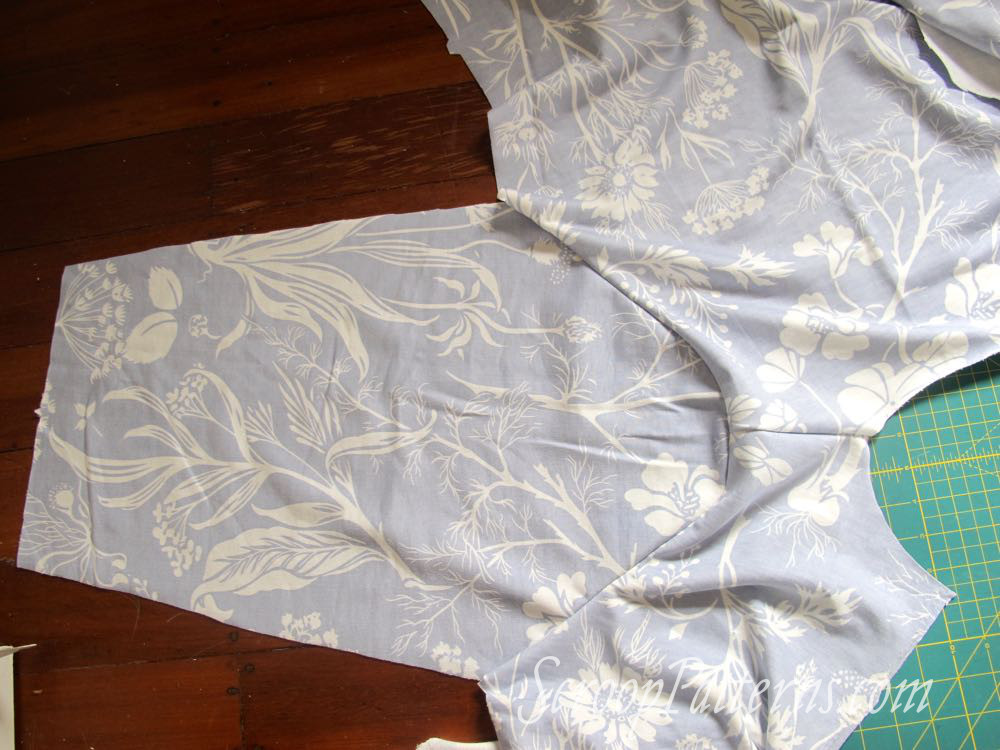
Body:
This part is super easy!
14. Matching notches, hems and underarm sleeve points, sew the side seam/underarm seam of your hoodie in one go. Sew from the bottom of the body out to the sleeve end.
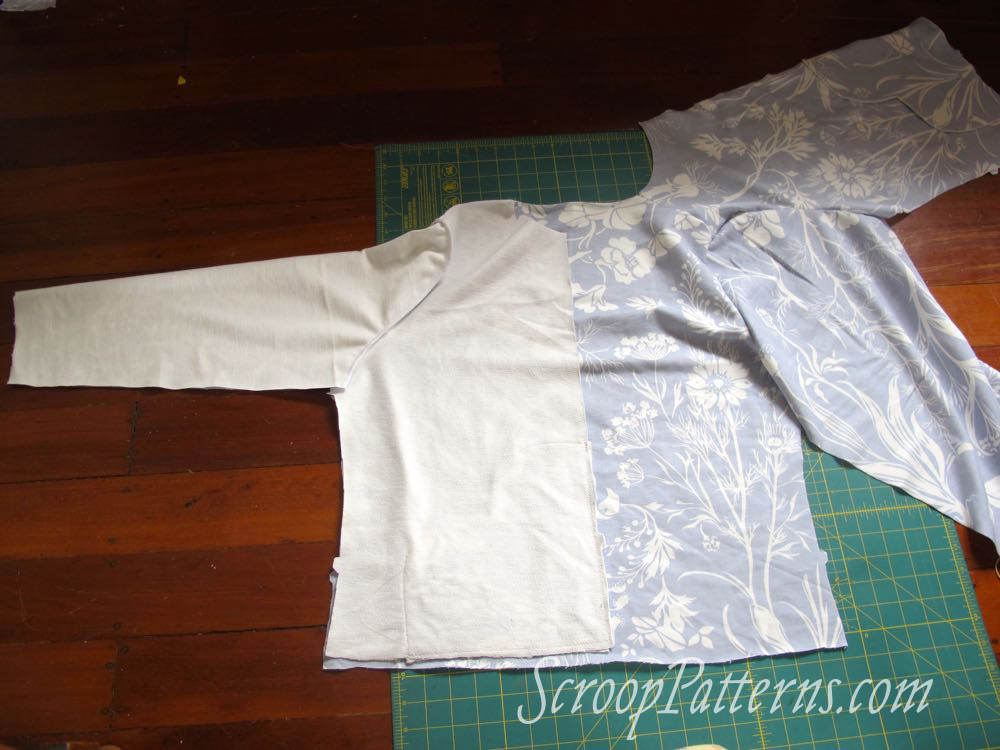
And there is your assembled body that looks like a thing!
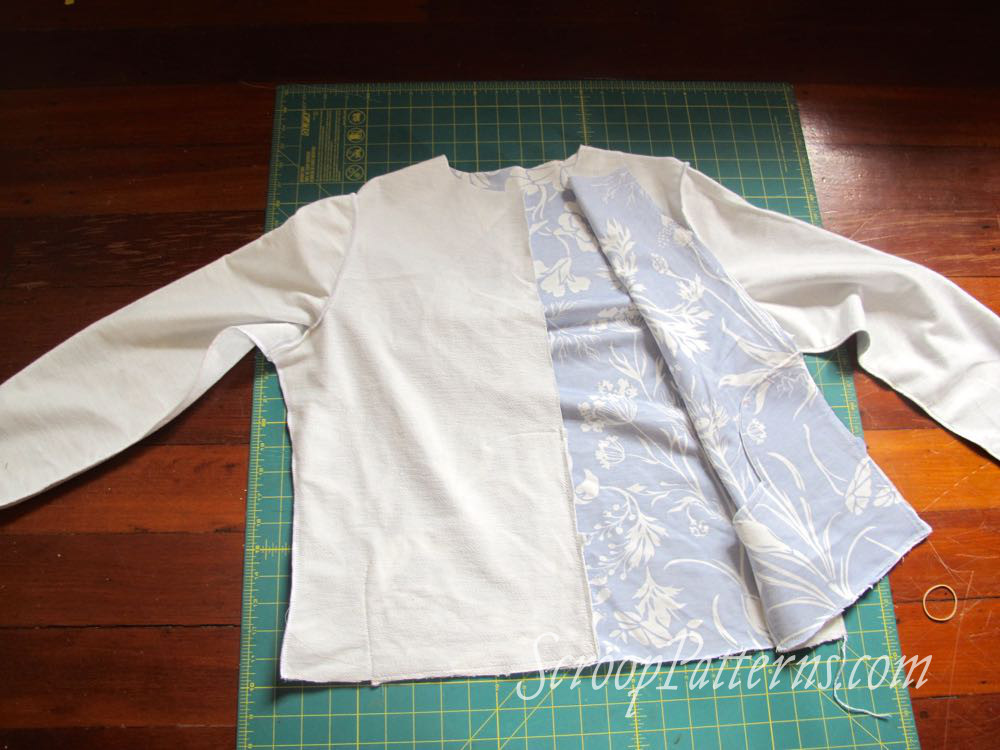
You can try it on at this point and get a basic feel for fit and length. Remember that the finished hoodie will be longer in both the sleeves and the body, as the hem band and cuffs are still to be added.

In the next Sew Along post:
Hem bands and cuffs.
Want to join in? Buy your Otari Hoodie Pattern Here