
I’ve shown you the making of my Extremely Exuberant Amalia jacket. As if the jacket wasn’t exuberant enough on its own, I decided it needed a petticoat to match.
I think everyone who makes 18th century costumes develops their own petticoat-ing method, with their favourite stitches and order of assembly. This is how I make my late 18th century petticoats, but there are lots of variations on the idea.
Burnley & Trowbridge have an excellent video tutorial series on making a petticoat. If you (like me) prefer reading to watching, Katherine of Koshka the Cat’s blog tutorial is a classic.
I started by cutting my skirt panels. My fabric was 45″ wide, so I cut two full width lengths, and one 22″ wide half width, for a total hem circumference of 112”, minus seam allowances.
For 1780s I like a slightly fuller back, and a slightly smoother front. I have no evidence for this being historically accurate, but it gives a nice silhouette, and it’s very logical when your fabric width means you have two full widths and one half width panel, as it allows you to put the pocket slits both on a seam, with one full width in front, and the second full width + half width for the back. I also set my pocket slits slightly towards the front when I use this method – it makes it a little easier to access them.
With all the math figure out, I sewed all my skirt panels together, and finished my pocket slits.
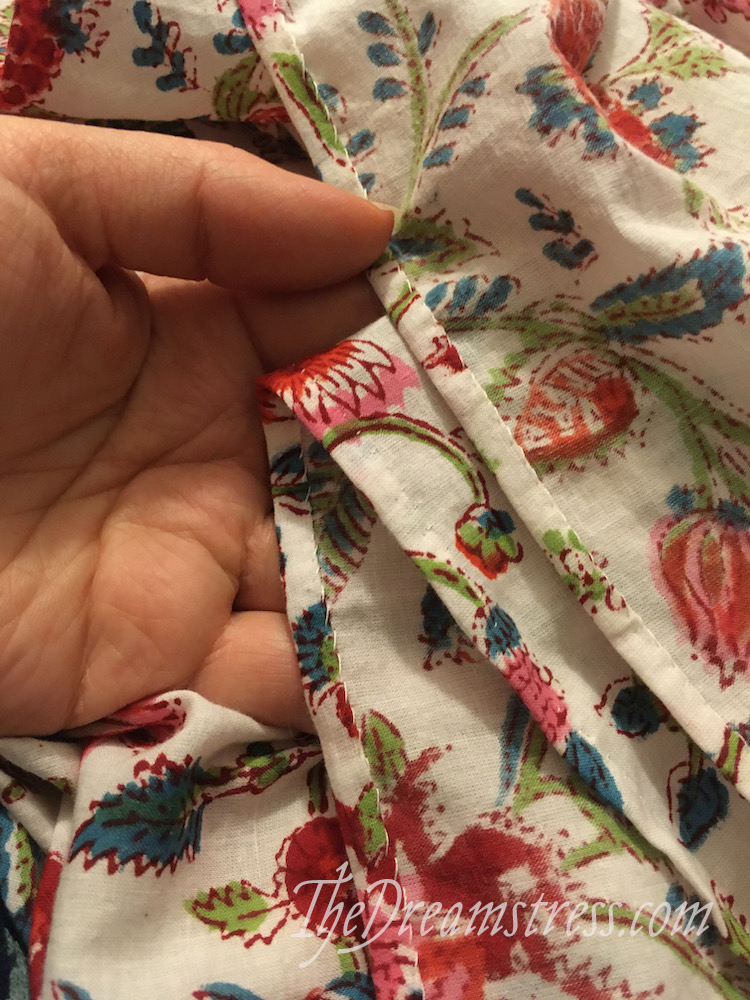
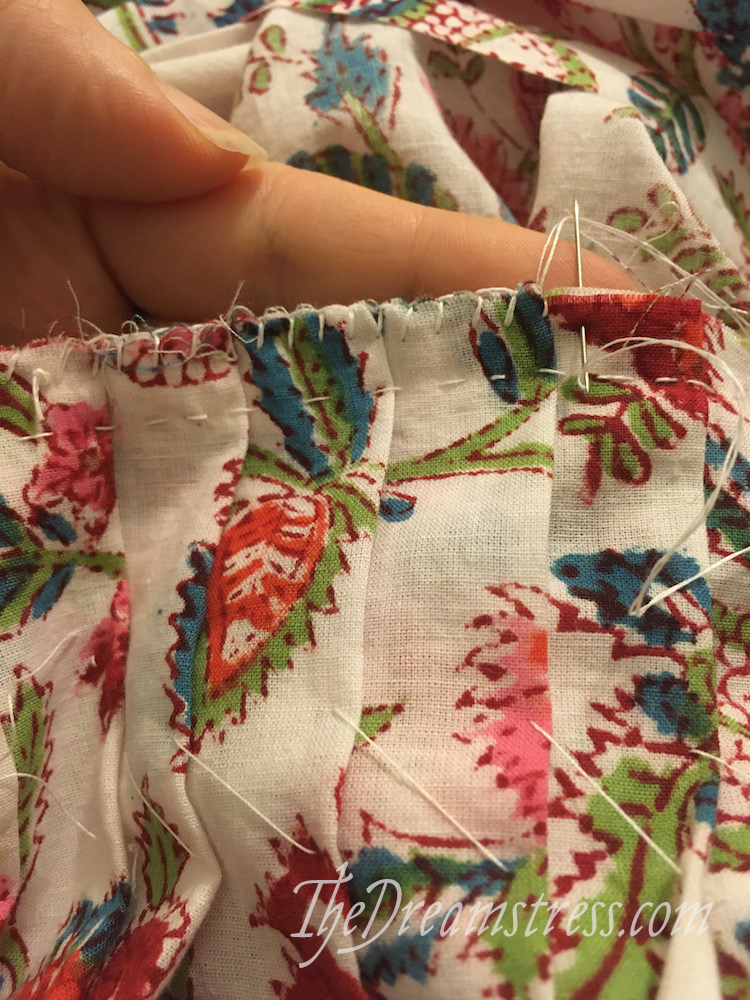
Then it was on to hemming…
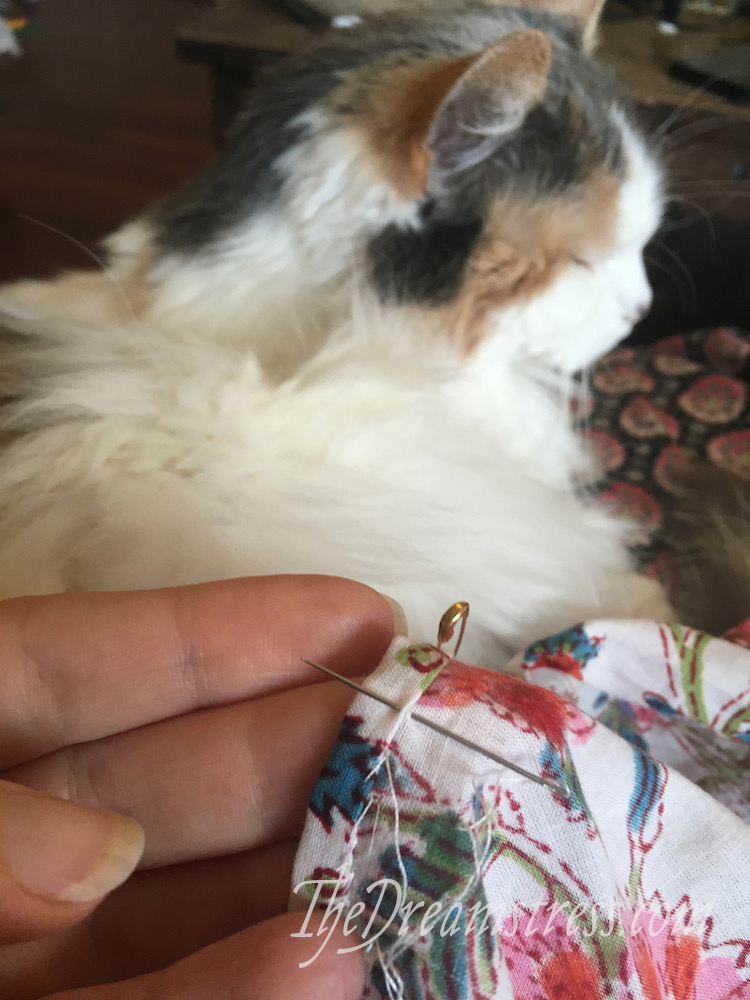
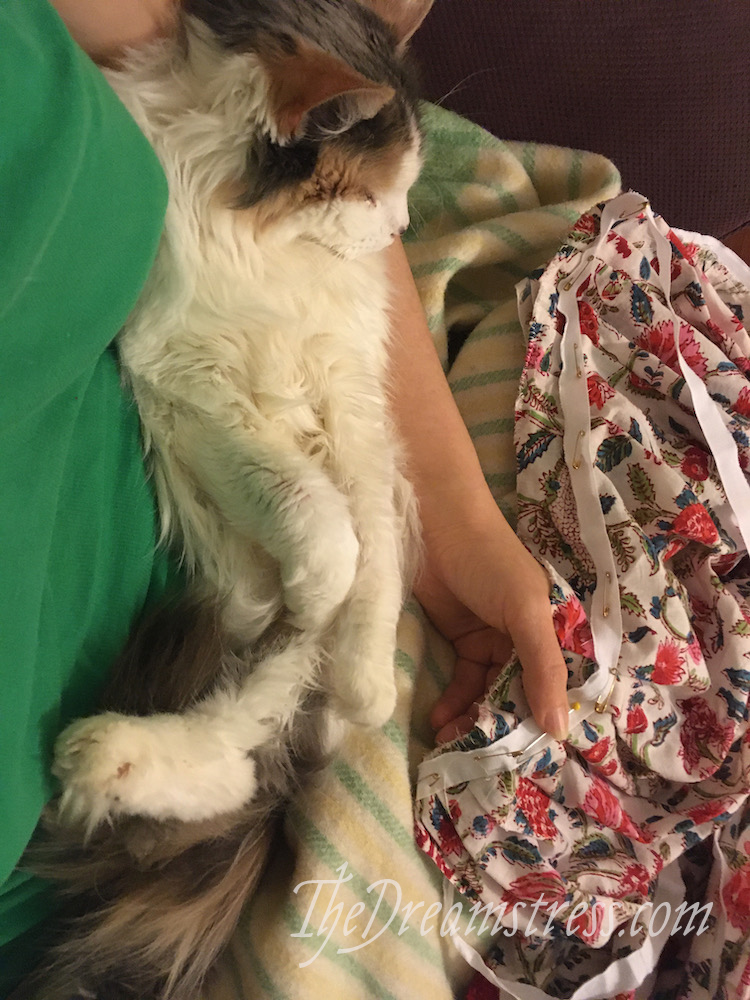
Using tiny safety pins to secure my sewing has revolutionised my handsewing. It makes it so much easier to haul big complicated projects around. Or to sew with a cat on my lap…

Hem done!
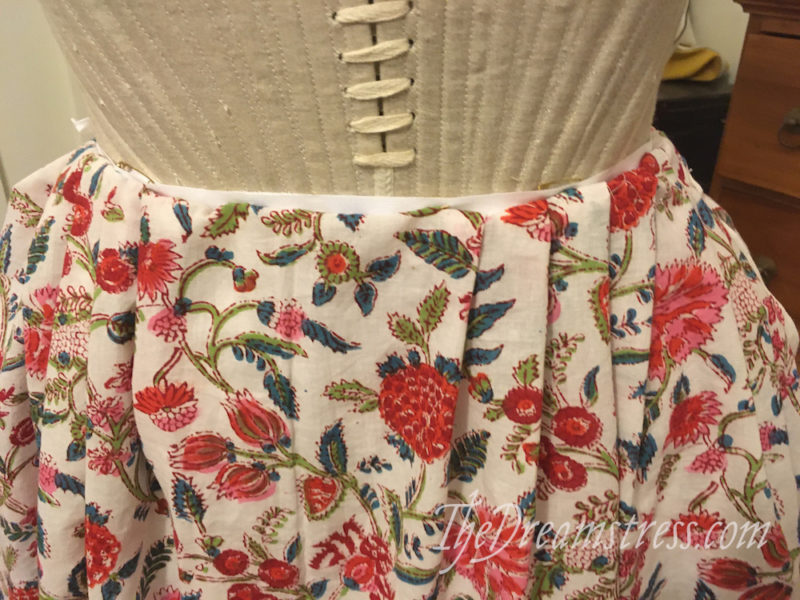
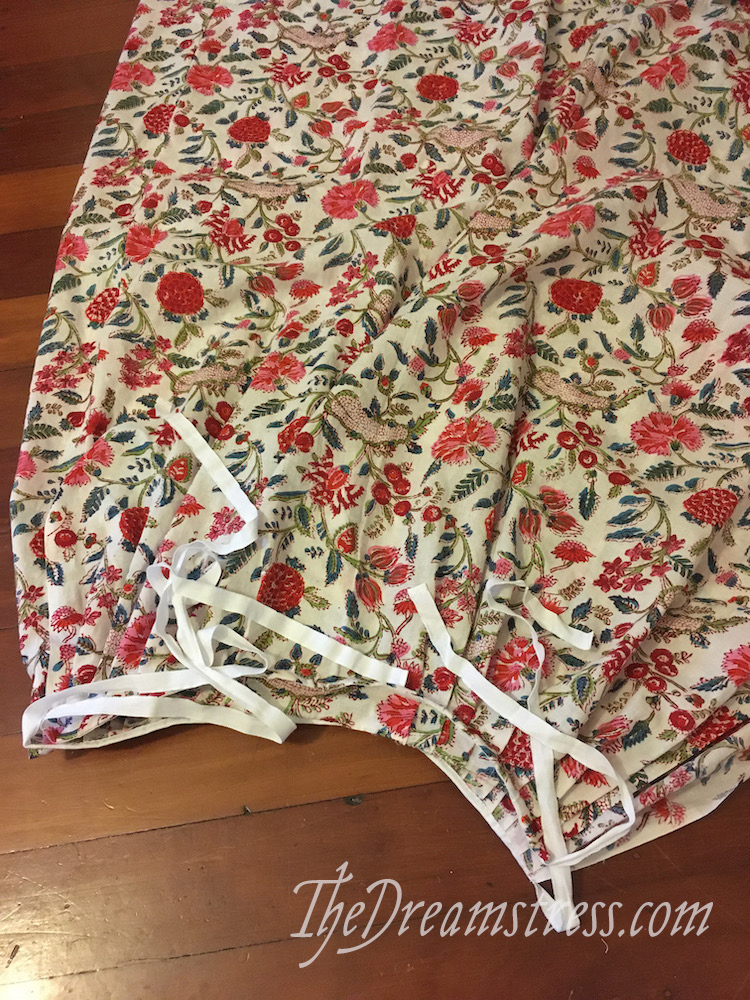
Next was figuring out the waist length, and pleating the skirt.
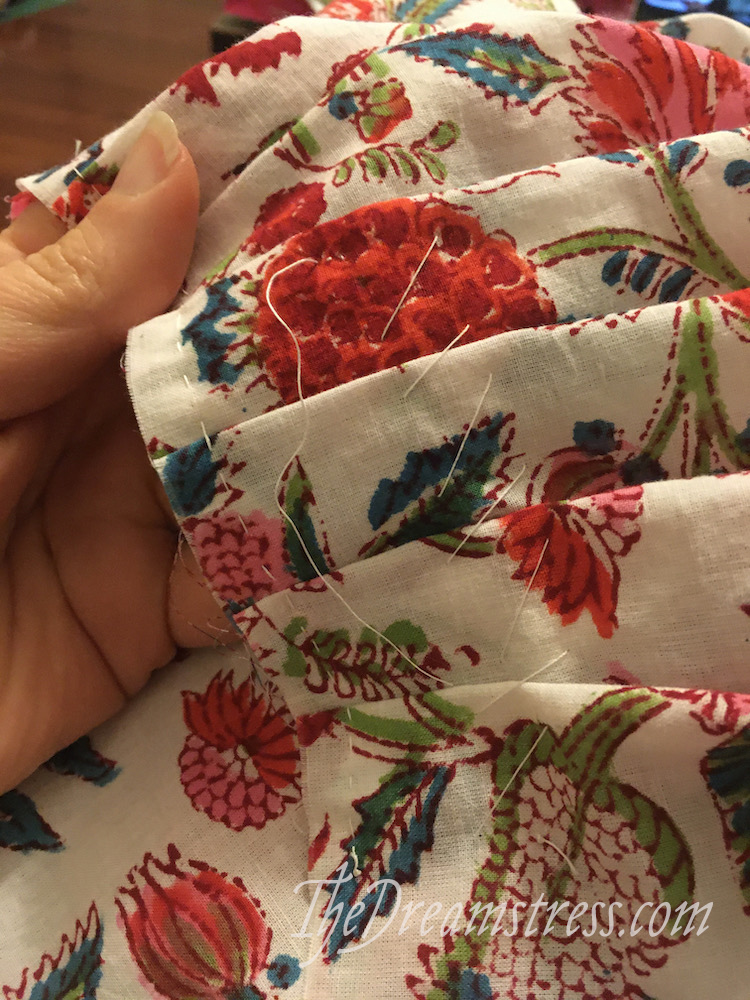
To make it easier to level the hem and attach the waist tape I secured the pleats with diagonal basting stitches.
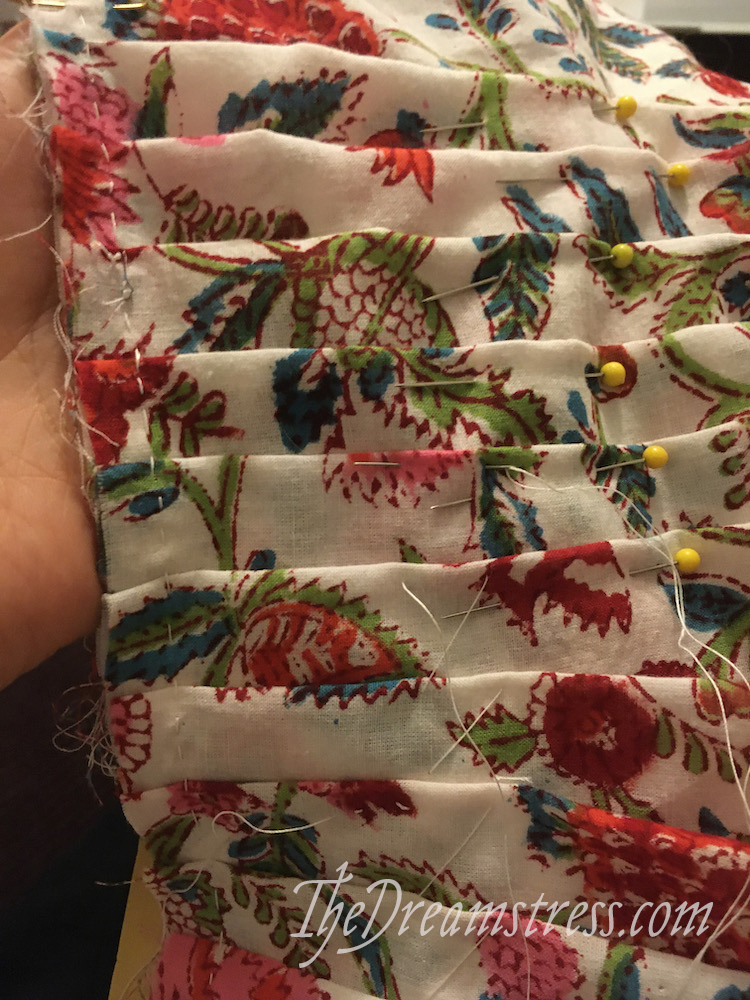
I loooooove sewing diagonal basting stitches and sometimes get a bit carried away at this part, and do multiple rows.

I also get carried away with blanket stitching. Whipped stitches would be more accurate, but blanket stitches made me happier, and it’s my skirt!
In most 18th century sewing you hem first, and then level the hem from the waist. To do this I put all my undergarments (Augusta Stays, Frances Rump, under-petticoat) on a dressform. I put the petticoat on the dressform, and tied the waistband over it.

Then with the help of vintage hem levelers I levelled the hem, carefully pulling the petticoat up under the waistband until it was perfectly level all the way around. It’s 7″ off the floor.
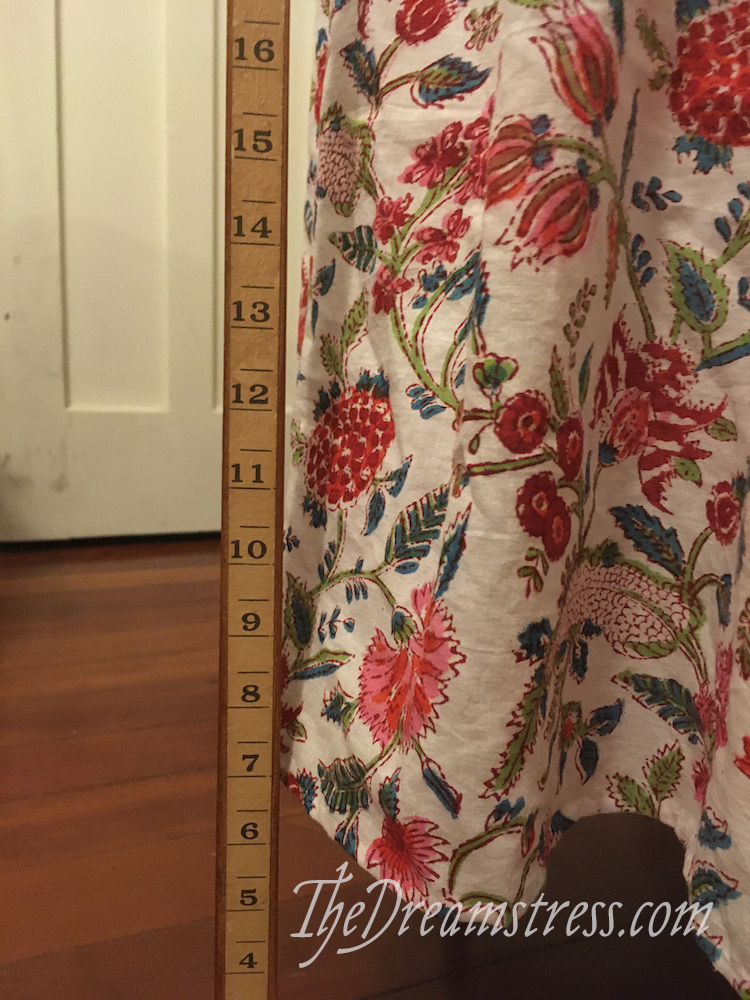
It’s better to wear the petticoat and have someone do this, but a dressform works in a pinch, as long as it has the correct undergarments on.
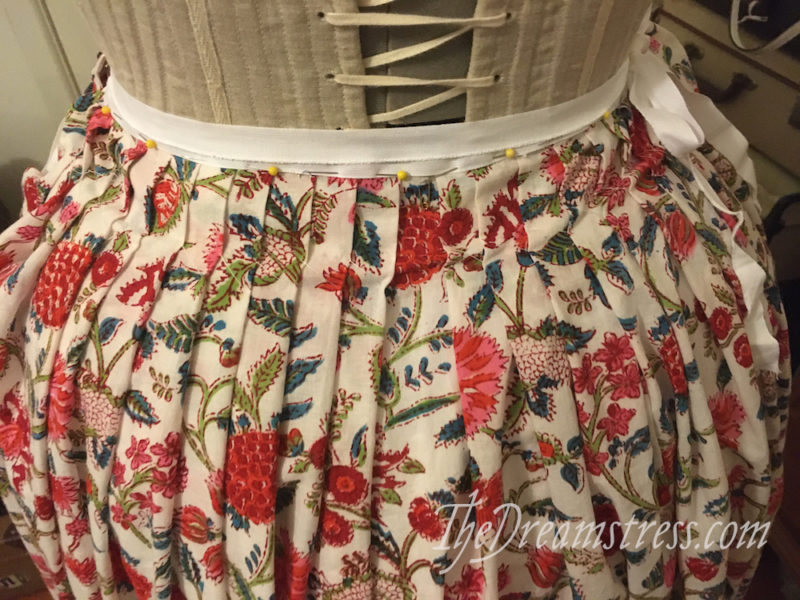
Since I was doing this on a dressform, I basted this on the waistband, and waited until I had a proper try on to finalise it.

All level and correct!
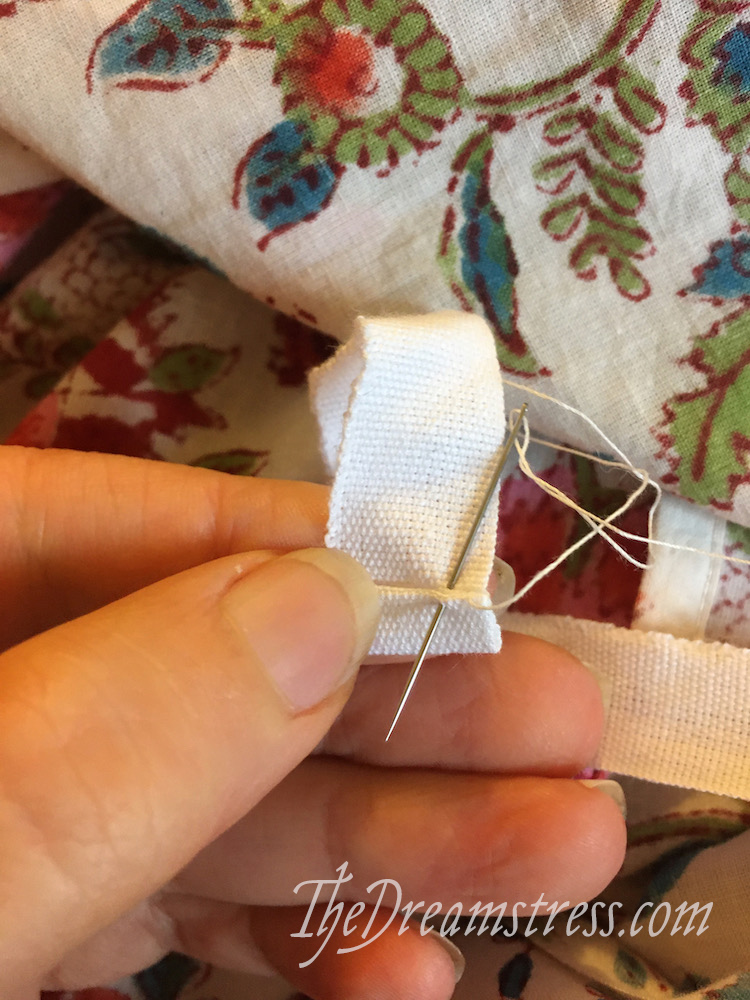
So I stitched the tape on. The front tape is stitched on with backstitches, and then folded to the back and caught down.

The back tape is backstitched down on the front, folded down to the back, and whipstitched down, enclosing the raw edge in the fabric.
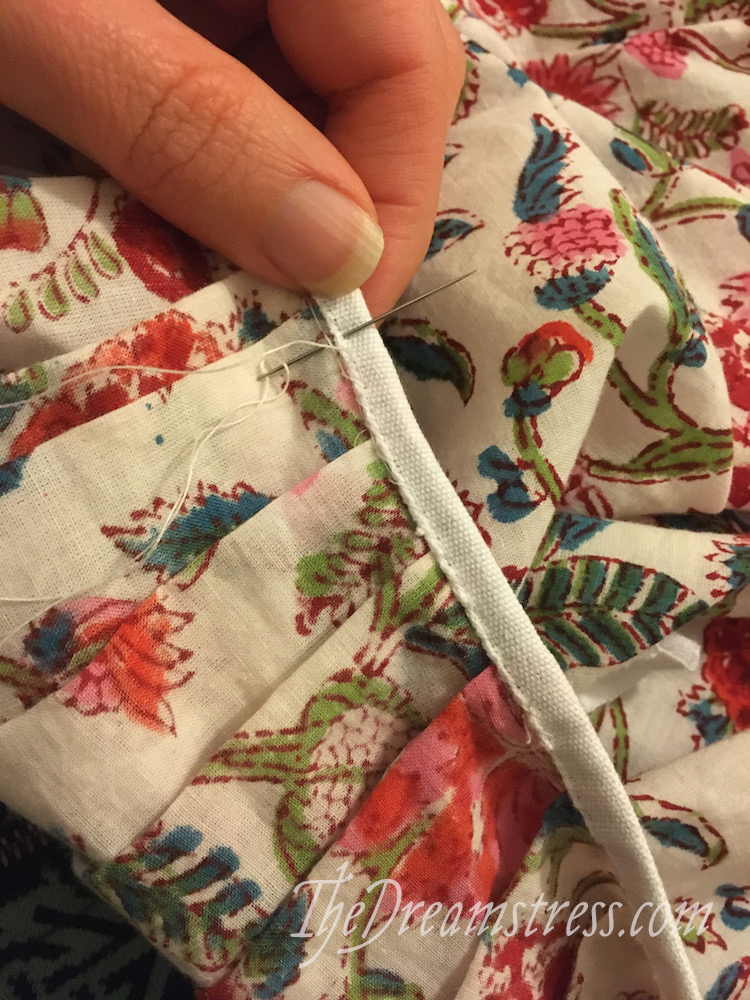
Final touch: hemming the tapes.
And done!
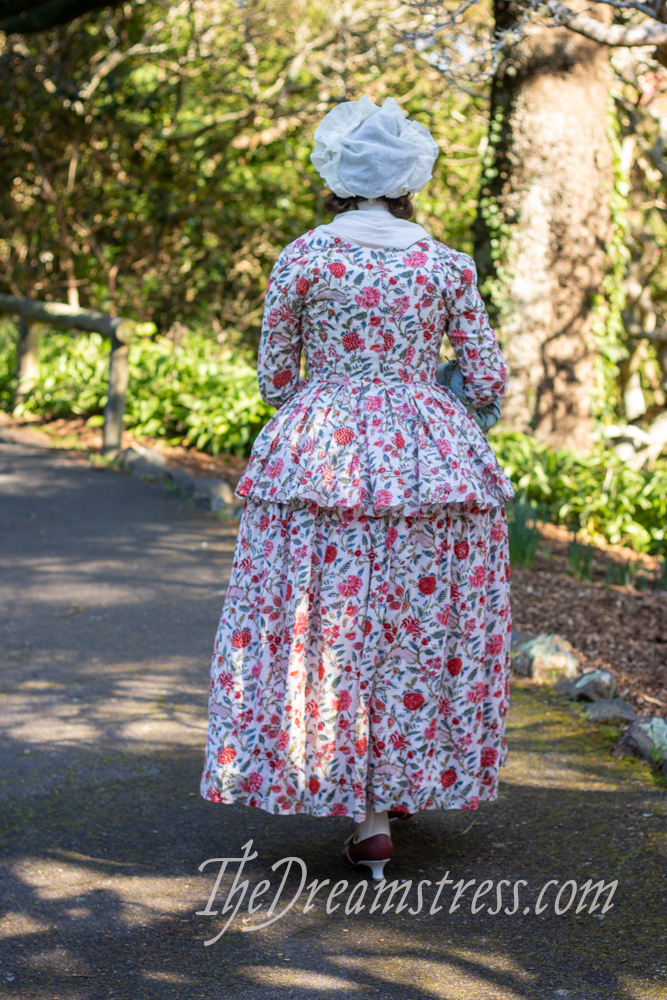
You’ve seen photos of me wearing it at our Georgian dinner, but here’s a sneak preview of a photoshoot featuring the Amalia jacket and late 18th century petticoat:
So very lovely!
Very pretty!
For hand sewing, I baste hems, felled seams, etc, instead of pinning – perfectly safe and probably a period method.
Beautiful, I see someone fluffy was trying to help too. Great to see the sewing and get close up views
i use safety pins a lot, too. the straight pins seem to migrate all over the place. possibly the cat sitting on things is not helpful, lol. she likes to claw at the colourful pin heads…
levelling the hem that way makes so much sense.
it is such a beautiful and exuberant ensemble.
It’s so wonderfully cheerful!
A beautiful outfit! And a lovely fabric. If I could find (and afford) such a fabric, I’d make a similar outfit–even though I have no place to wear 18th century attire. (I could find a place, I suppose. American Revolutionary War reenactment groups are pretty common here. But money is a bit scarce right now, and reenactment often demands expenses other than clothing.)
Where did you get your fabric?
Miss Felicity was elegantly stretched as an 18th century lady might be on her fauteuil…
Love the diagonal basting stitches: brilliant idea. I baste everything and your version is much more effective for pleats than my spaced giant backstitches, one per pleat.
What a charming outfit, so cheerful and there is an air of the South Pacific to it, somehow.
Very best,
Natalie in KY
This is 100% PERFECT! The colors are really great, and it’s so much fun to wear so much pattern from head to toe. The 18th-century is swell like that. (As are fuzzy assistants)
love love love it! I want one. or two?
B