Previously on The Cassandra Stays Sew Along:
- Choosing Material for the Cassandra Stays
- Making Linen Buckram
- Making your Mock-Up
- Fitting
- How to alter the Cassandra Stays pattern to be front-laced only
- Cutting Out & Basting
You’re you’ve got all your Cassandra Stays pattern pieces cut out, basted together, and you’re ready to start sewing!
Or are you…
Testing
Before you begin sewing, I recommend testing.
Test:
- Thread colour
- Stitch length
- Boning channel width
It’s far easier to check all of these on a small sample than to sew boning channels, realise they aren’t right, and have to unpick!
Test all of these things in scraps of ALL of your fabric layers assembled. This will show you exactly what the final result will look like. It will also let you get an accurate gage of what boning channel width is needed in your exact fabrics.
Testing with your assembled layers also gives you one final chance to make sure that your chosen fabrics are the right strength. If they feel too weak at this point you can always add one more layer of buckram or interlining before sewing the boning channels. It’s very hard to add an extra layer that provides any strength once the channels are sewn!
Testing thread colour:
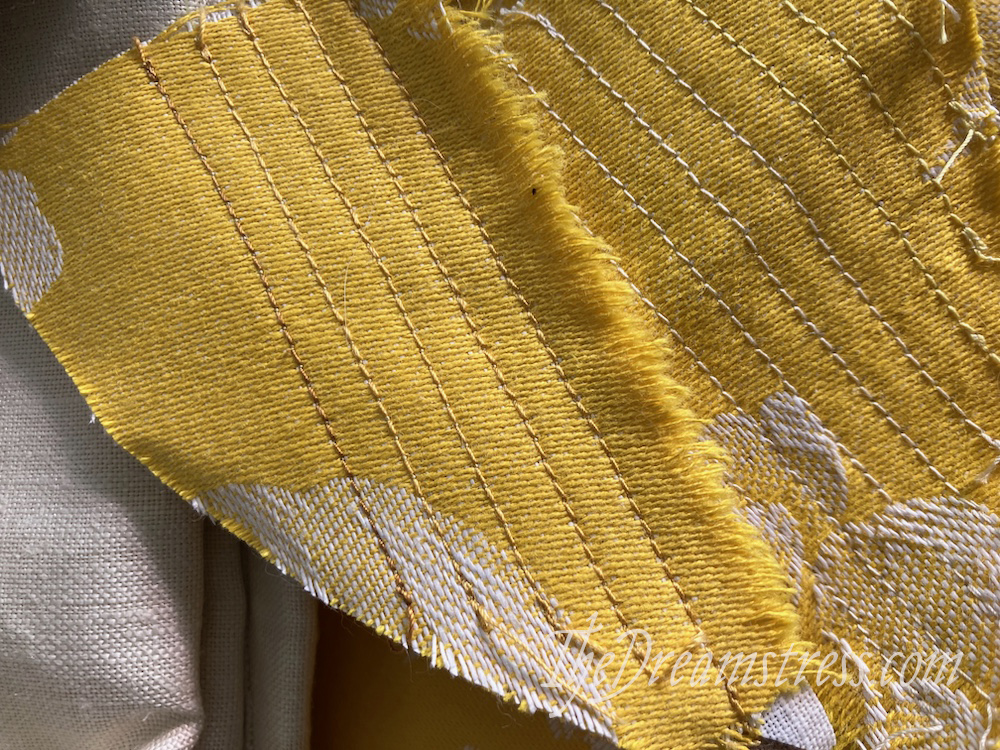
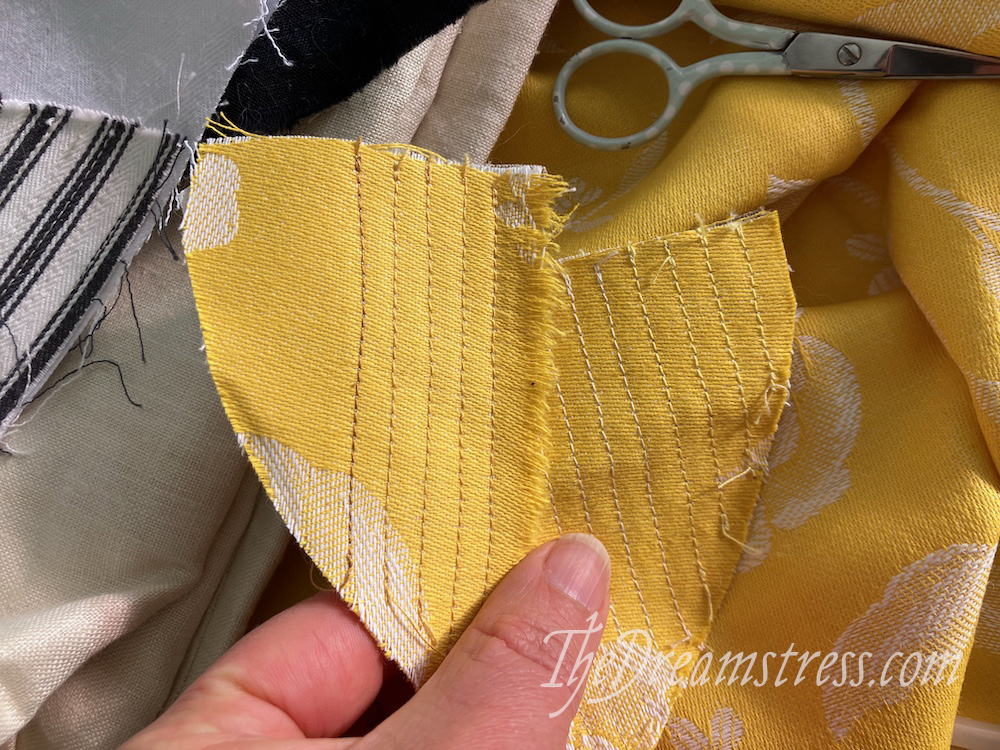
I originally thought that a dark ochre yellow (far left line of stitching) would be a lovely colour on my stays. It looked great laid on the thread fabric, but once sewn it was too dark in person. Then I tried a golden yellow that perfectly matched the stays fabric (four lines of stitching on the right of the left-hand piece), but it was boring sewn up. Then I tried white (first five lines of stitching on the left of the right hand piece), to match the damask roses, and rather liked that, but wasn’t sure. So just to check I tried a pale yellow thread, but still liked the white much better.
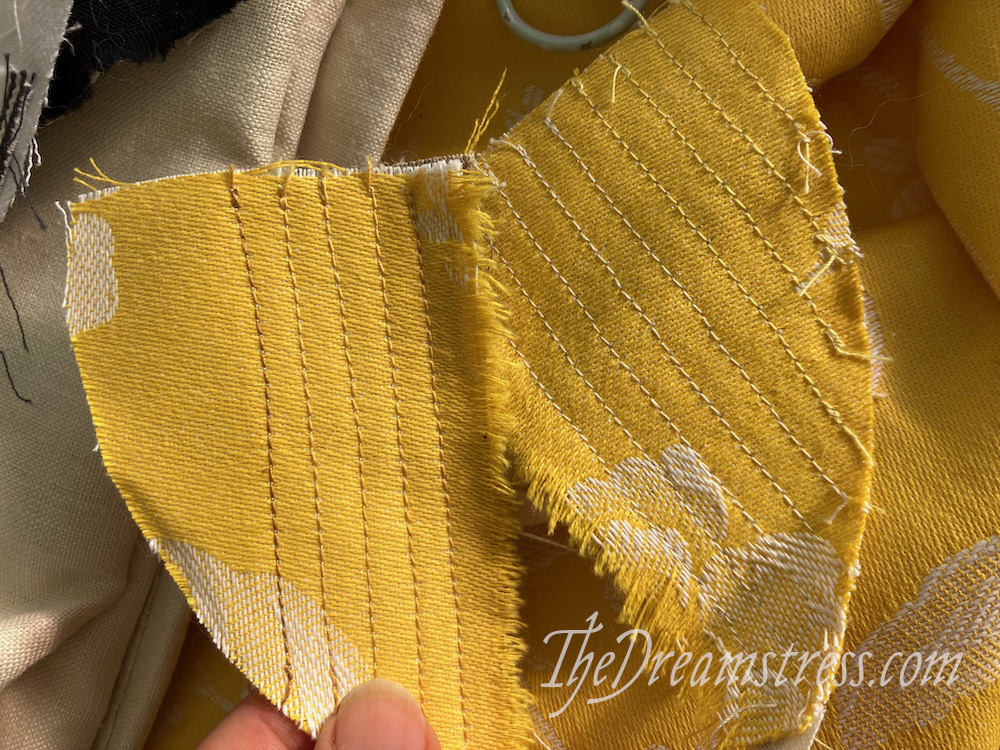
I’m so glad I tried all these colours, because it helped me to land on something I really love!
Testing stitch length:
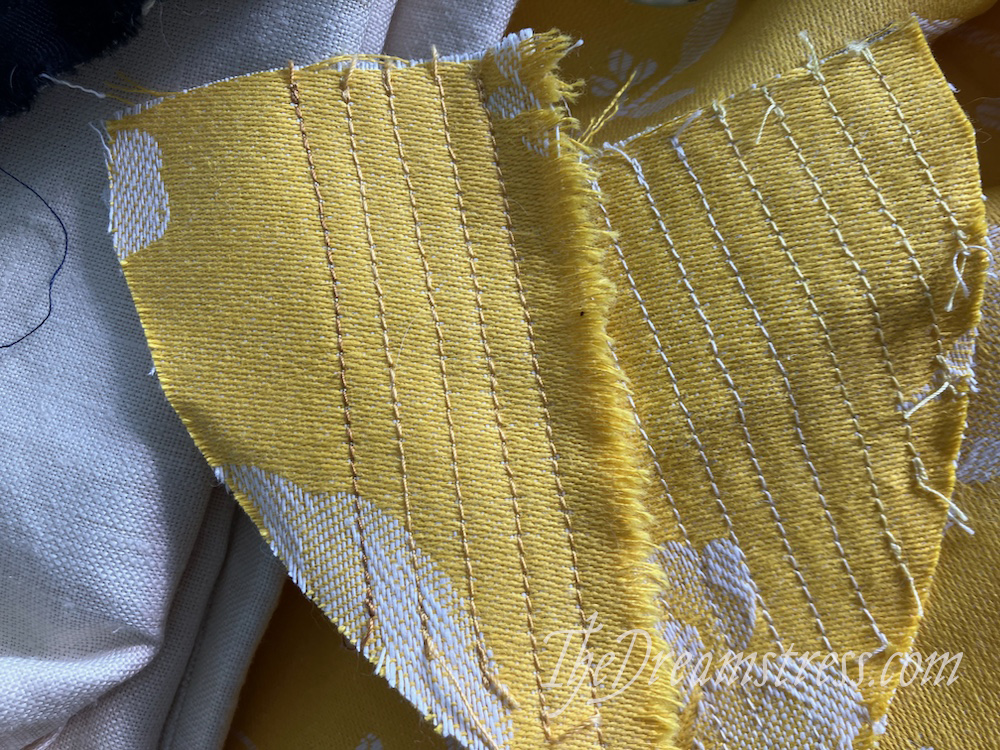
If you look very, very, very closely there are actually four very slightly different stitch lengths in the samples above. I was pretty happy with my first try, but refined it just a little bit as I tested. I ended up going with the shortest length, shown on the left three channels (the first one is almost entirely hidden under the upper testing scrap in the channels below) of white stitching.
Testing channel widths
The exact width your boning channels need can vary a few mm depending on how thick your fabrics are, how much give they have, and due to slight differences in the two different types of boning sold as synthetic whalebone. You may also find that you need a very slightly wider boning channel for the very curved boning channels.
Test channel widths for straight channels, and for curved channels, to know exactly what width you need for a secure, but not too snug, fit.
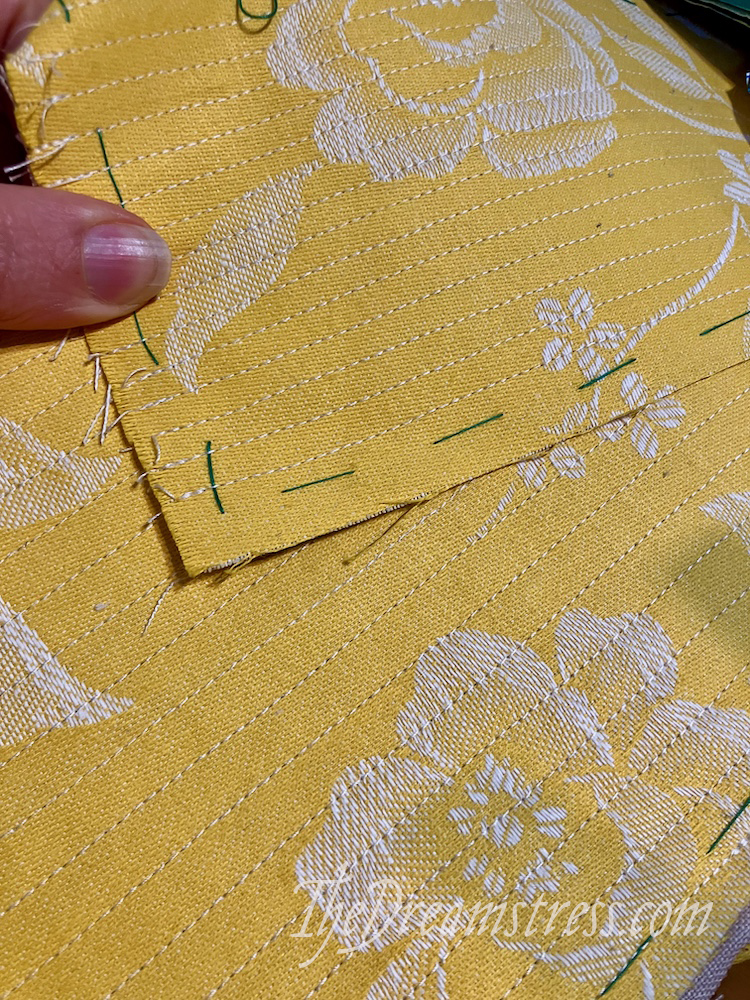
Test channels for both widths of boning. The Cassandra Stays have wider bones framing the lacing channels and on the Stomacher for View B, and narrower bones throughout the body
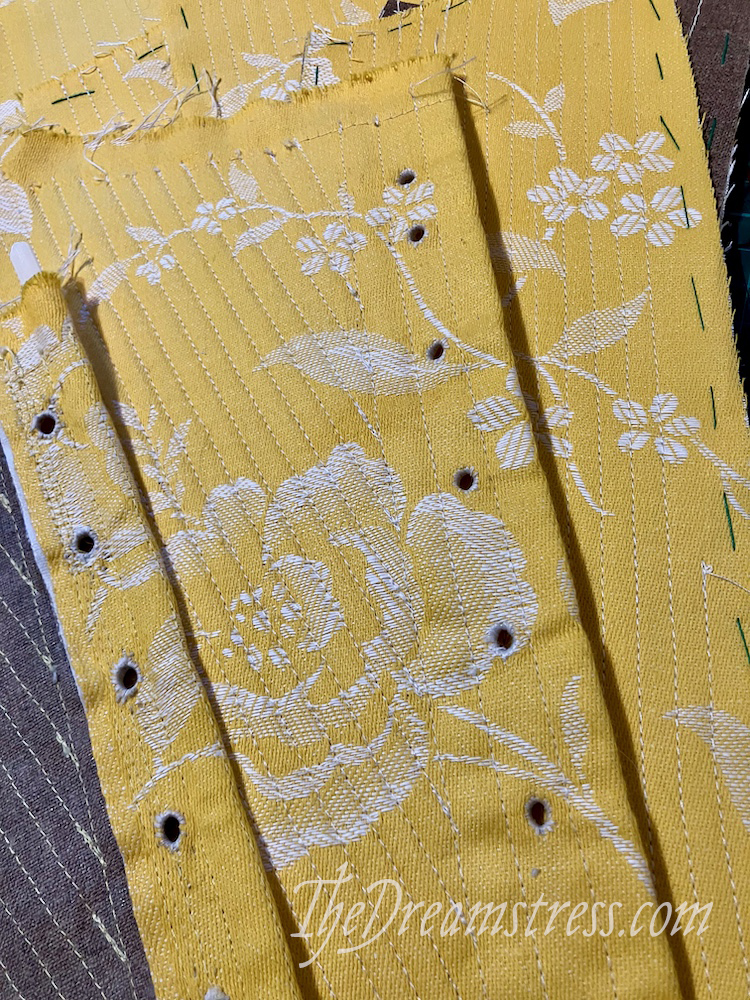
You can see my narrower boning channels vs my wider stomacher channels here:
And the wider channels on either side of the eyelets:
Other things you can test:
In addition to testing before I sew my channels, I sometimes test which fabrics I want to use before I even start cutting out.
Our original pick for Jenni’s goth-y Sleepy-Hollow striped stays was the black and blue striped linen on the right here:
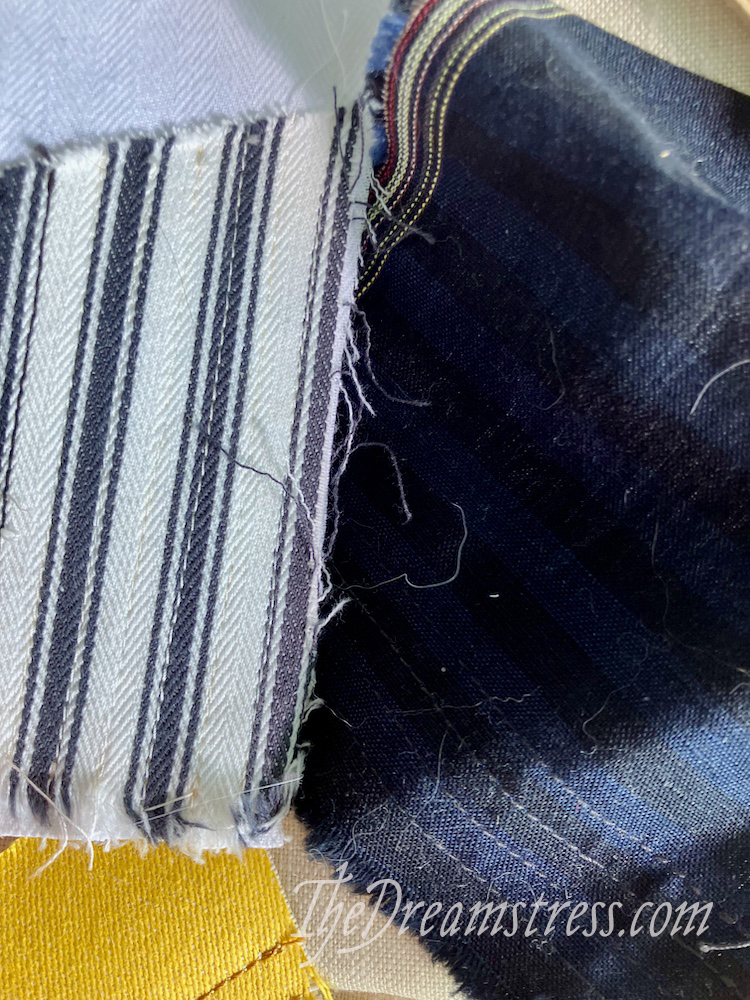
Unfortunately when I tested channels on it the way the channels would not line up with the width of the stripes really annoyed me. I was fine with it on the black and white ticking, because the channels are much more subtle.
I also found that the linen was slightly too light, and warped and wrinkled a bit. Not ideal!
So we went with Jenni’s second choice, the ticking, and we’re both very pleased with how the final stays turned out:

When you get to it, I also recommend testing your binding, both to get the technique right and to make sure you like your choice.
Next up…sewing all those boning channels!

I have never seen how stays are made, and I’m strangely but pleasantly anxious about this project. How very interesting!
I like your choice of white thread, to merge a bit with the flowers but emerge a bit on that marvelous yellow. It’ll be so pretty!
Thank you! I thought it would be interesting for people to see how they go together, even if they won’t ever be making them 🙂