In the previous Otari Hoodie Sew Alongs I covered:
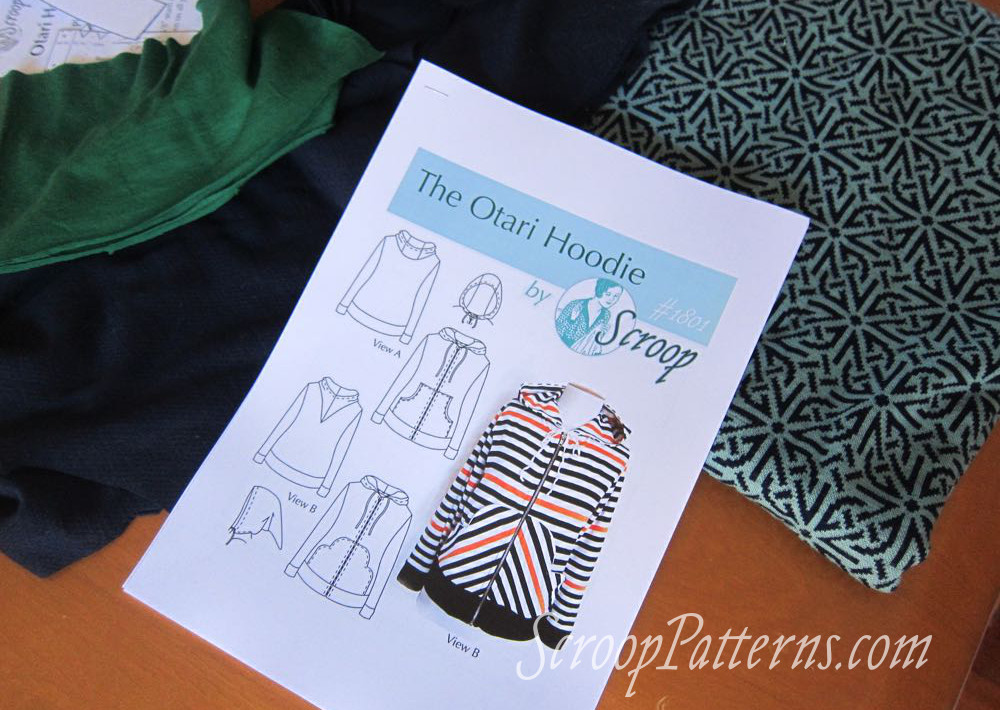
Want to join in?
Buy the Otari Hoodie Pattern Here
And don’t forget that all Scroop Patterns are on sale until the end of October with the code:
IPM2018
Today’s Sew Along post is a quick and easy one: sewing prep!
Interfacing:
First you’ve got some interfacing to do:
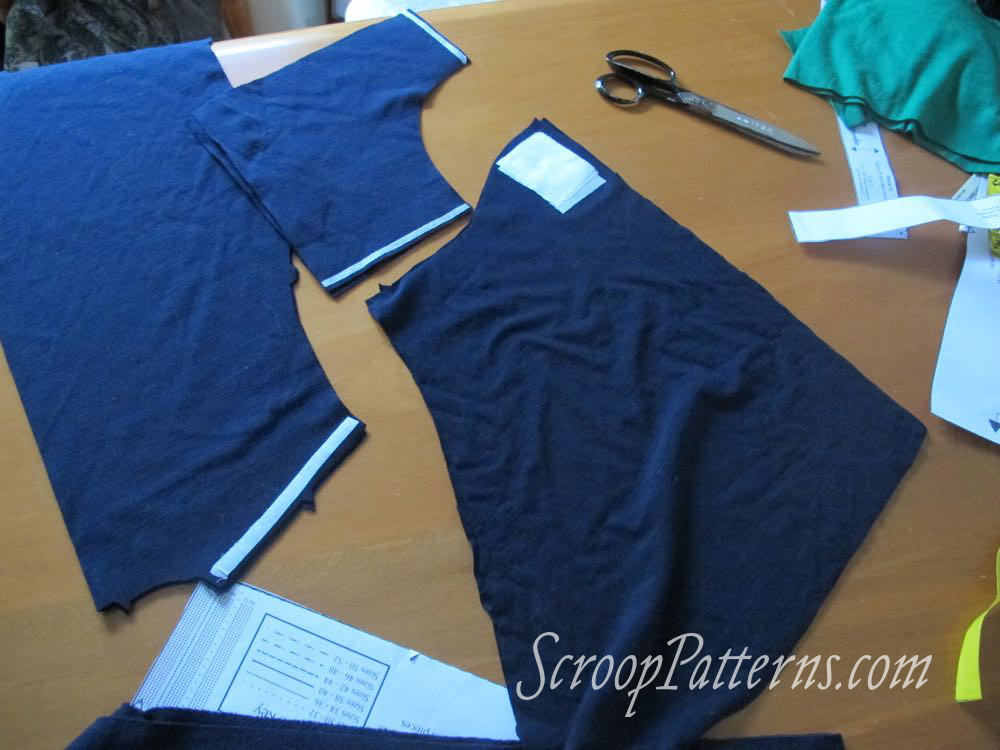
View A Body, View B hood interfacing
Interface all the areas shown on your pattern. DO NOT interface the front of the Hoodie, where the zip will go.
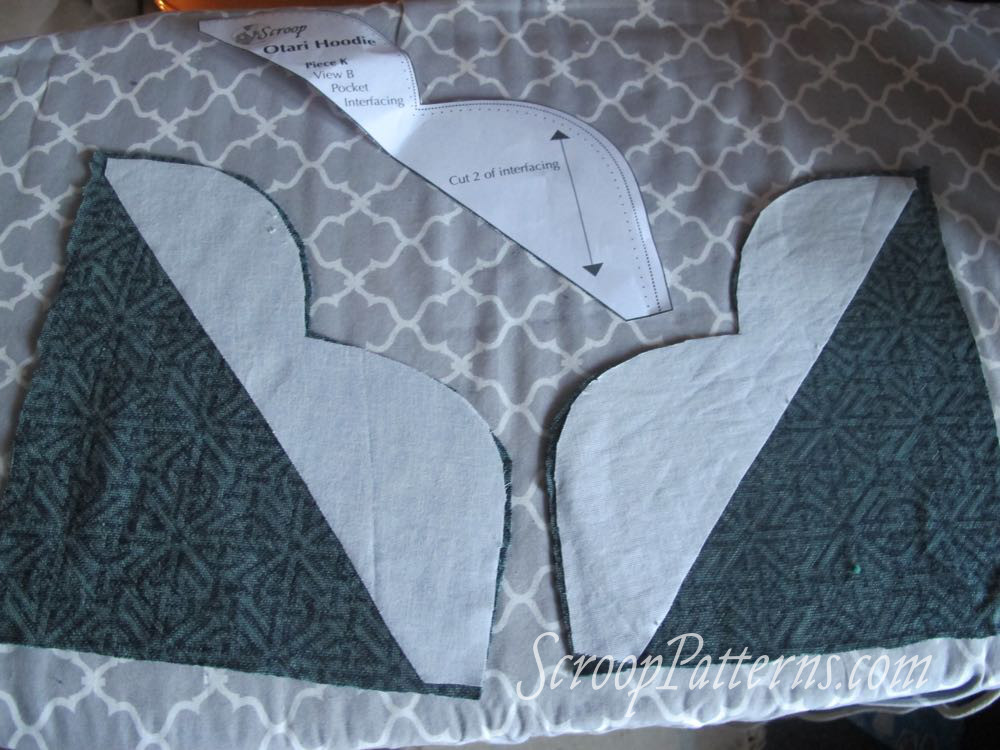
View B Pocket Interfacing
I prefer a lighter weight woven interfacing on a cotton base (the kind I use is sold here in NZ under the name gyclee) but knit interfacings are also a good choice.
I do not recommend non-woven or knit interfacings: they don’t move with the fabric over time, so end up pulling away from your fashion fabric over time, creating unattractive bubbling.
A tip:
If your hood fabric is fairly lightweight, you may need multiple layers of interfacing to help reinforce the area around the grommet.
Cut each layer of interfacing slightly smaller than the previous one, so that there isn’t a bulky, heavy edge at the end of your interfacing:
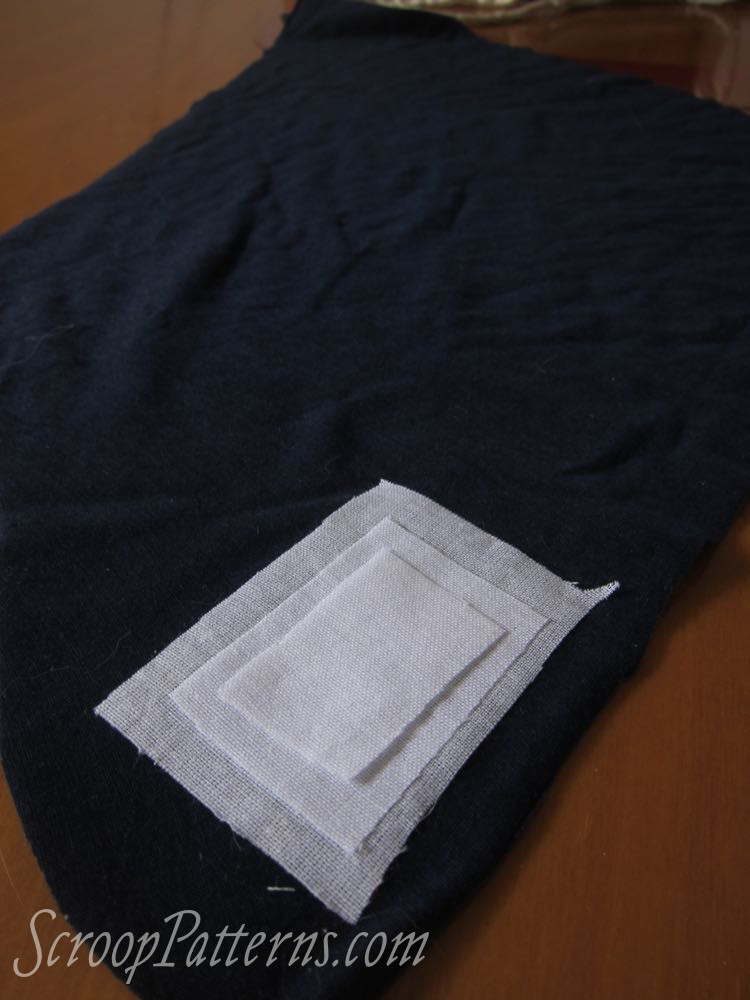
The navy blue merino I’m using for my navy & kelly green hoodie definitely needed this treatment.
Once everything is interfaced, you’re almost ready to sew: you just need to set up your machine, and choose your stitches.
Sewing machine setup:
Put in a nice fresh jersey needle:

I use a size 70/10 needle for lighter hoodie-weight knits, like my navy & kelly green merino, and a size 80/12 for heavier hoodie-weight knits, like my patterned double-knit.
And thread up your machine with quality polyester thread:
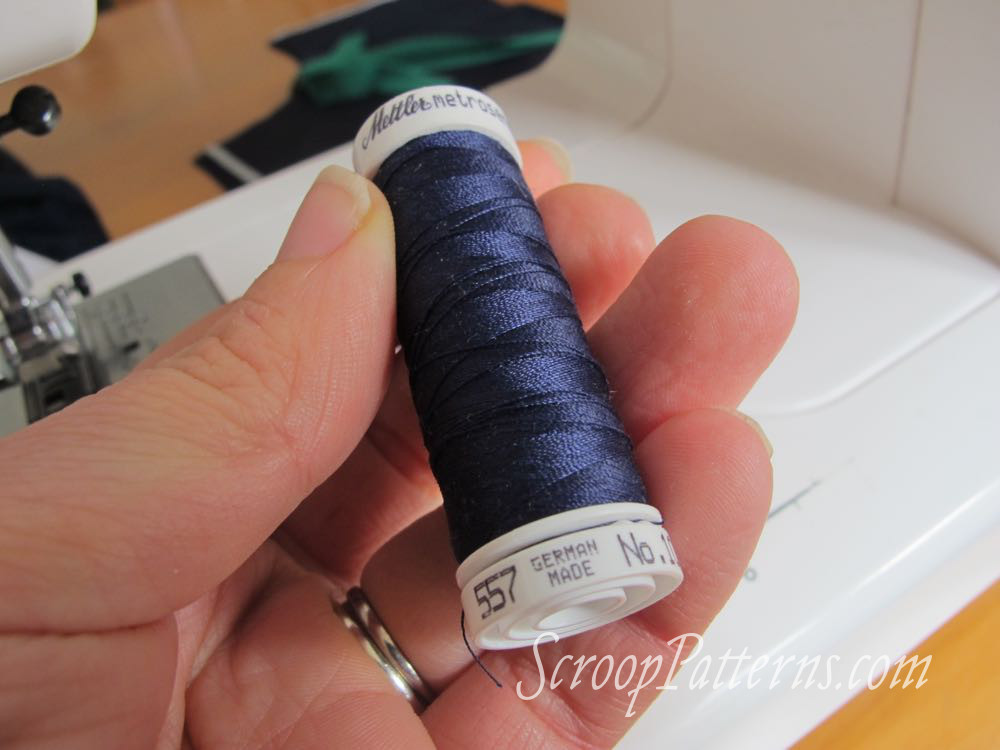
I used to prefer Mettler thread, but their quality has been very inconsistent since they moved some of their production to China, so now I primarily use Gutterman (except when I have Mettler in the right colour in my thread stash). If you are using Mettler I recommend making sure it’s German made.
Now, choose your stitches. The pattern switches between Stretch Stitches (zig-zag, lightening, stretch-as-you-sew or overlocker/serger stitches), marked on the pattern with SS, and Non-Stretch straight stitches, marked on the pattern with NS.
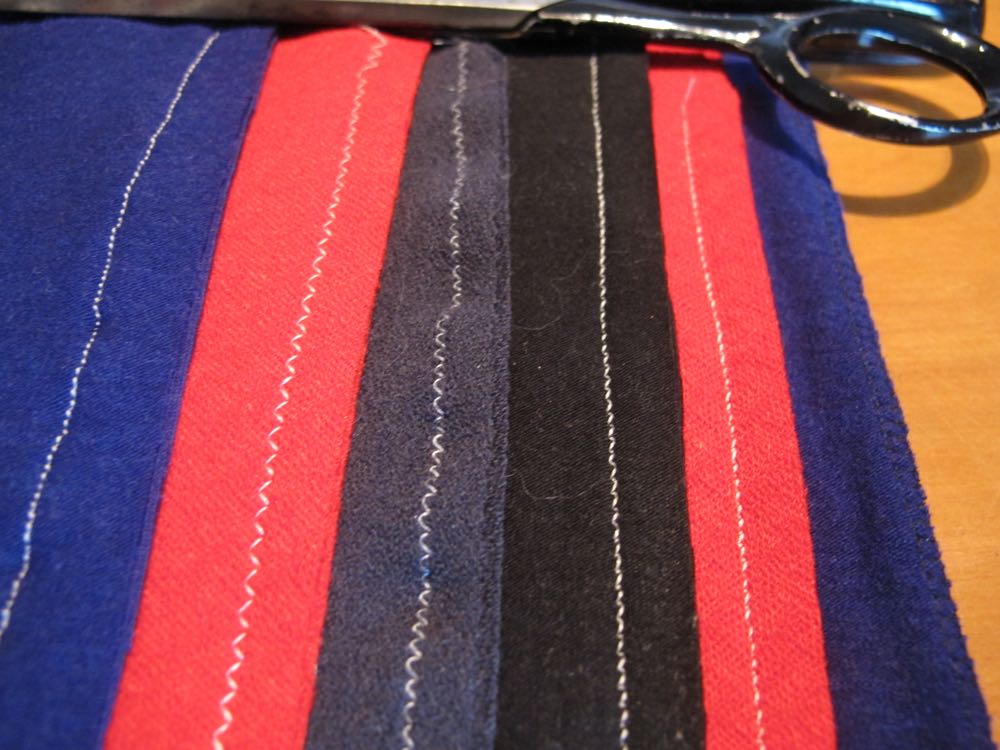
You might find this post on sewing knit fabrics, and the pros and cons of the four most common options, helpful in choosing which stitch to use.
With every pattern I sew I like to write down the exact stitches I’ve chosen for seams and topstitching, so that I can keep track of them as I sew.
And now you’re ready to go!
In the next Sew Along post:
Sewing the View A Pockets
Want to join in? Buy your Otari Hoodie Pattern Here

