There’s a slightly funny story to this post. I finished my St Birgitta’s cap back at the end of January, photographed it, and wrote most of my post.
And then my Costume History students at Toi Whakaari picked their topics for their first research paper, and I remembered that I’d given them a picture of a St Birgitta’s cap as a research option – and it had been chosen.
Ooops…
So obviously I couldn’t publish a blog post (even a fairly lightweight one using only the most obvious basic internet references) about making a St Birgitta’s cap until the student had turned in their paper.
But the paper was submitted this afternoon, so here’s the blog post! (and I haven’t read the paper yet, so I’m not cheating off it either…).
I’d always put St Birgitta’s caps in the ‘too hard and time consuming’ basket, but then Hvitr made one and wore it to our 2019 Historical Sew & Eat Retreat.
Now, Hvitr is infinitely more patient and precise than me, and makes notoriously crazy and impressive stuff. So I had no illusions that I’d be able to do something as perfect as her, but there is still something about seeing a thing in person that makes you think “yeah, I could give that a go!”
And having a lovely cap to keep my hair all tidy when wearing Medieval was awfully tempting. And I had a fair bit of hand-sewing time on my way to Hawai’i and back to spend time with my parents.
I used these as my primary references:
- Katafalk’s St Birgitta’s cap tutorial for the general shape of my cap
- The Maniacal Medievalist’s post for further reference (it’s full of amazing links)
- Elisa’s Endeavors for beautiful drawings on how to do the interweaving, only I messed up and accidentally ended up doing it the way shown in…
- Sarah’s Hand Embroidery tutorials (note, avoid my mistake. This is not the stitch used in the original, and if you want an authentic one you shouldn’t follow this tutorial!)
And, also looked at:
- The Sinister Spinter’s cap tutorial
- Medieval Silkwork’s post on St Birgitta’s cap.
- Clothing the Past’s post on St Birgitta’s cap
My fabric is the very sheer linen I made my Medieval veil and the now-missing wimple I made just before Christmas out of. My goal was to have a full matching set of headgear. I used a linen thread for all the hand-sewing, and cotton tatting cord for my interweaving.
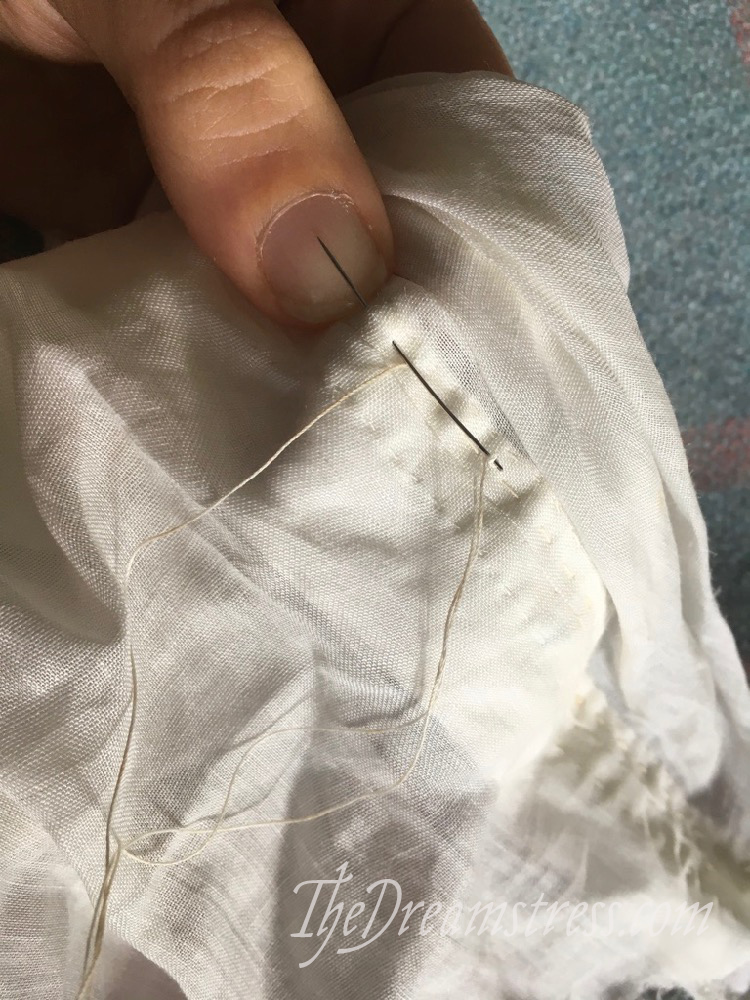
I cut my two main cap pieces, basted them together along the centre seam, and then felled down each seam allowance:
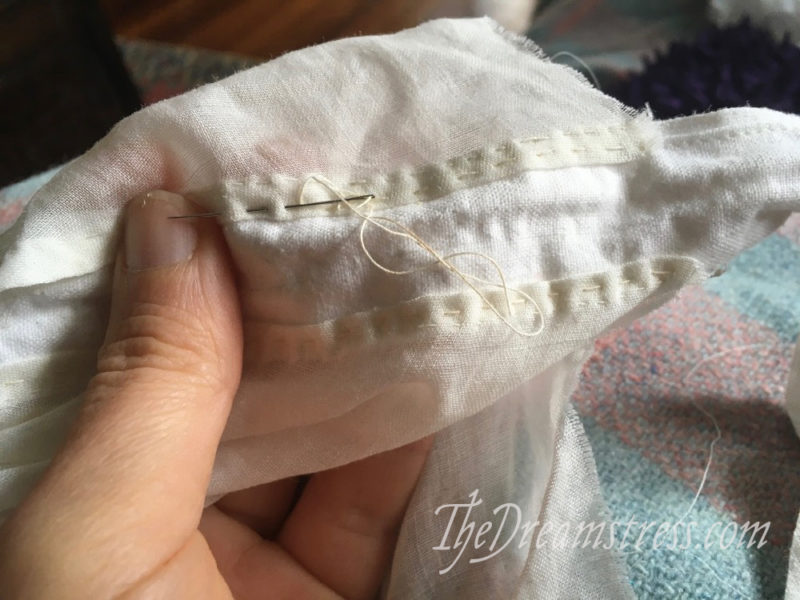
Then I unpicked the basting, and basted each hemmed edge to a strip of fabric (an old waistband unpicked from some project, as it happens) to hold my cap all tidy while I created the interlocking. I thought I was being very clever and innovative, and then it turns out that Elisa (who’s album I hadn’t discovered yet) did exactly the same thing. There’s never any truly new ideas in costuming!
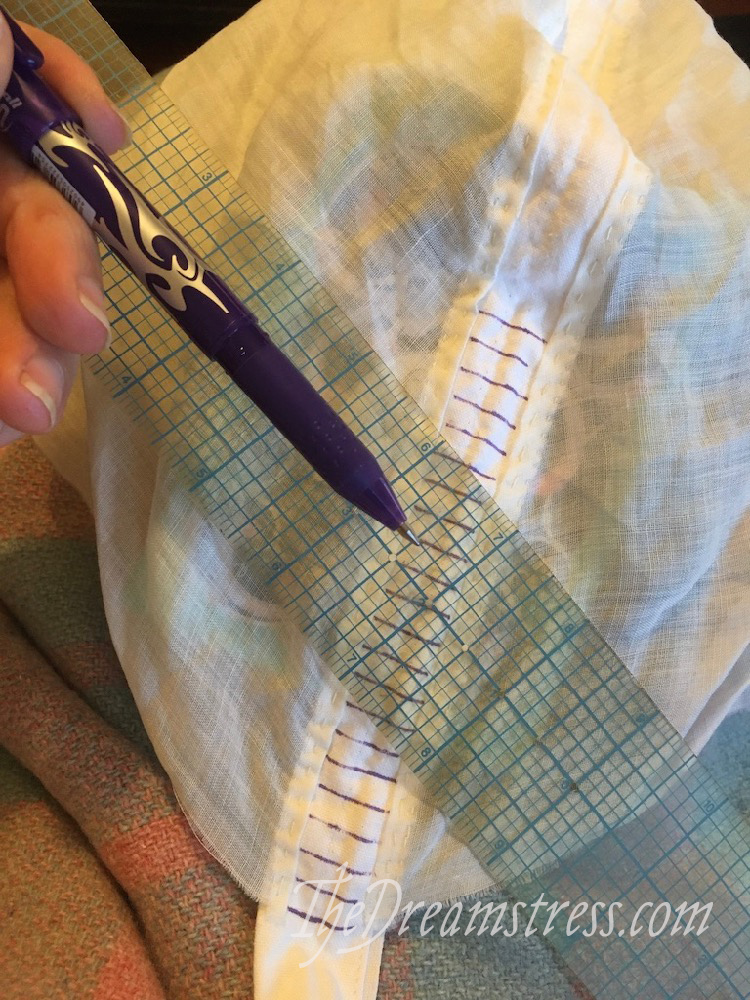
I then marked lines as a guide for my interlacing pattern. If I did this again I’d mark the lines before sewing in my centre strip, and mark them in permanent pen, rather than heat reactive pens.
At this point I thought I knew how to do a double-interlacing herringbone stitch, so dove in to it:
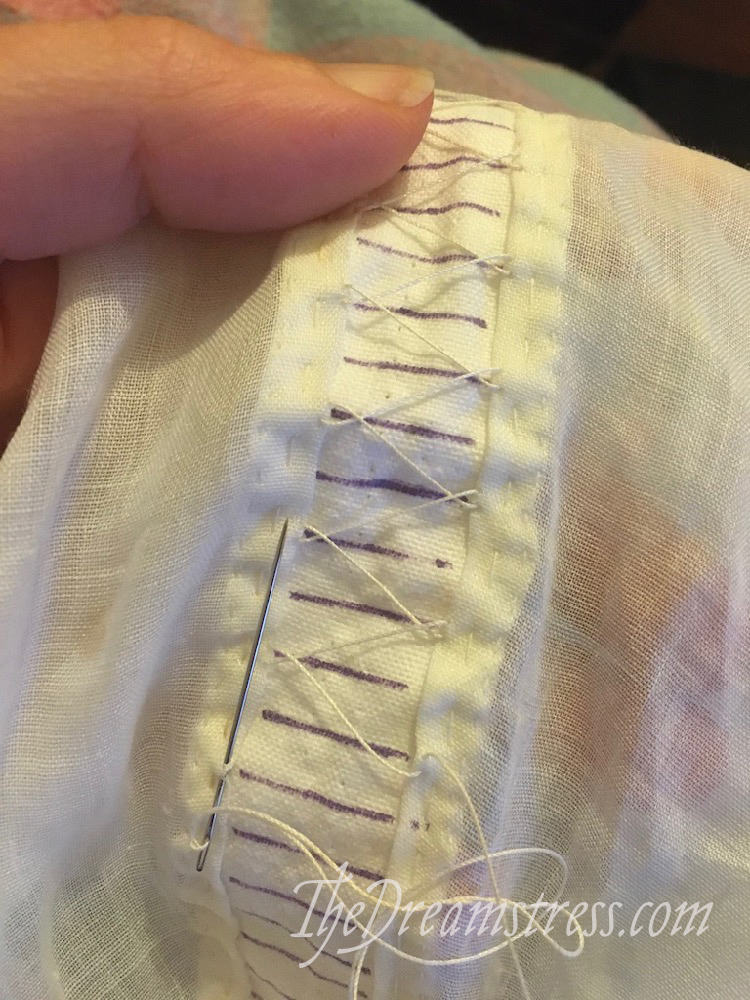
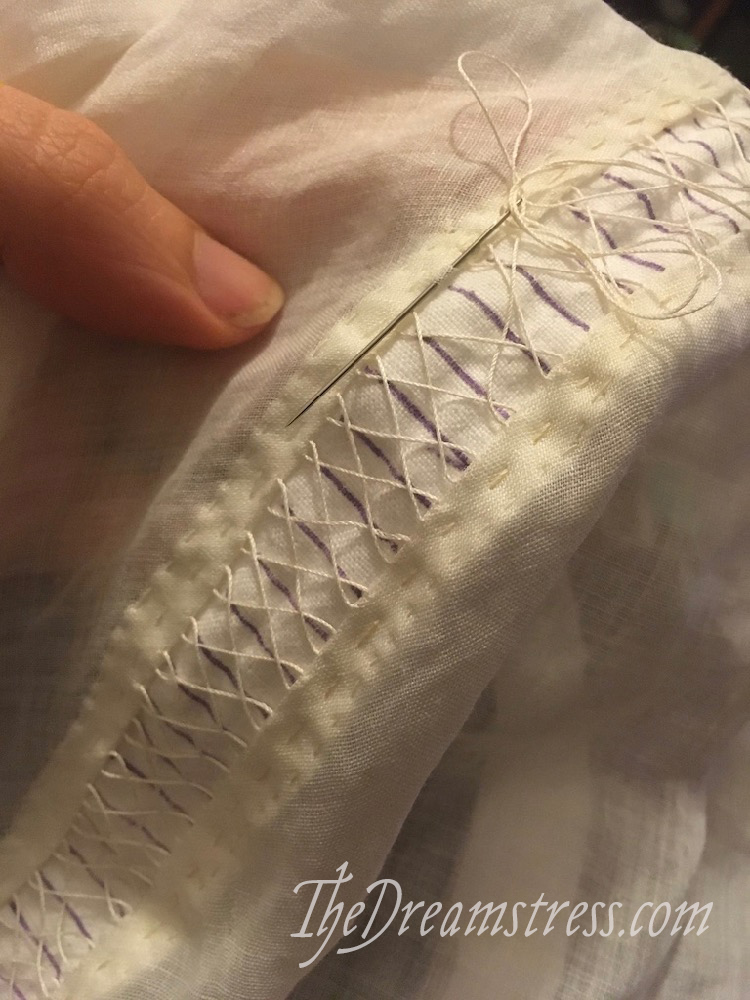
And at some point I got nervous that I might not be doing it right, checked other people’s posts, and ended up on Sarah’s Hand Embroidery tutorials, and freaked out because I was clearly doing it wrong, so I undid all the work I’d done, and re-did it following her tutorial.
And then I realised that Sarah’s method with a double herringbone only allows for a double-interlock, and I wanted to do a quadruple-interlock, and there was no way to change it from a double to a quadruple without unpicking and re-doing everything I’d done. Of course, the way I’d originally started doing it was the right way to do it after all…
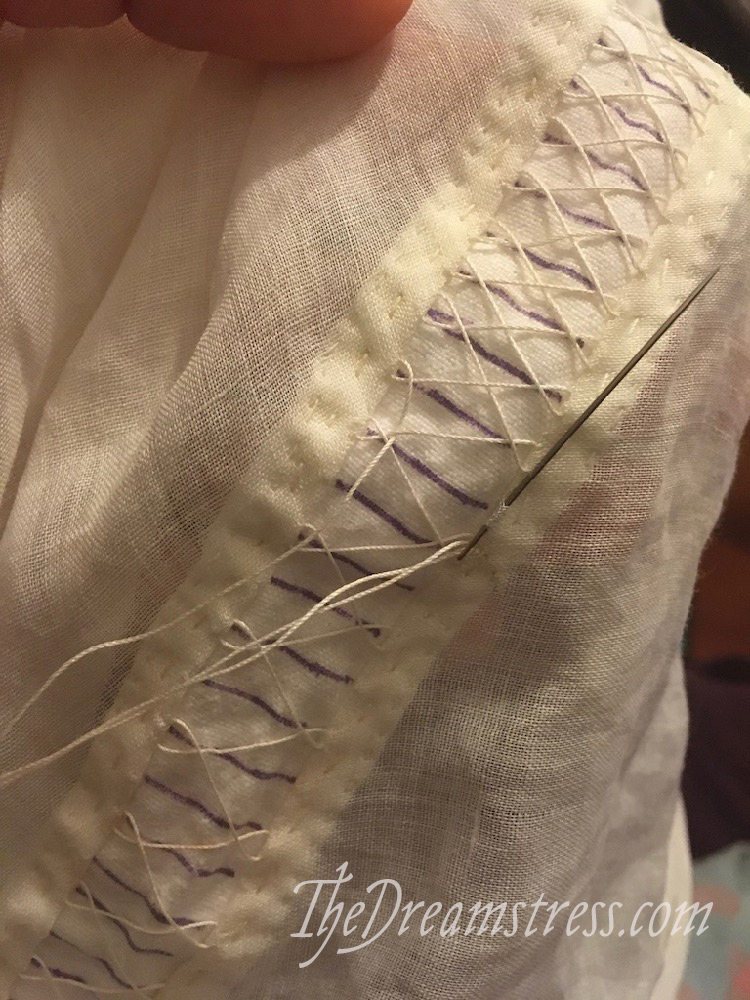
I decided I couldn’t risk unpicking and re-doing it a further time, because the linen voile I was working with was so delicate. I was simply going to have to go with a double interlock – and a much more lacey, open, delicate look than the original cap.
So, on to the first interlock of my double herringbone!
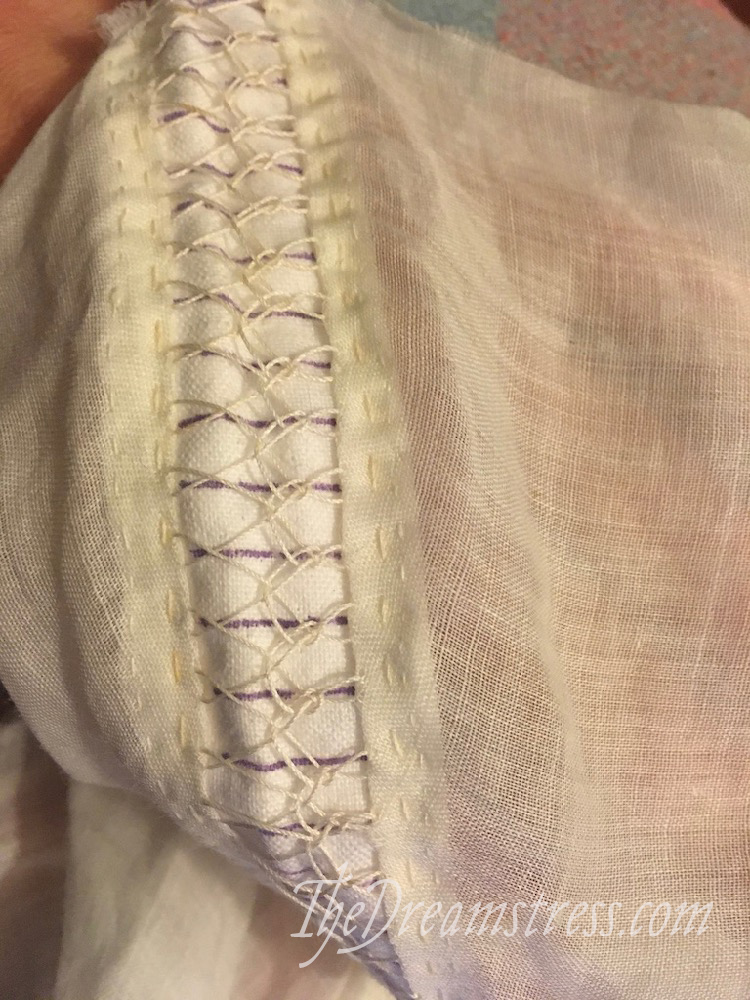
And then the second:
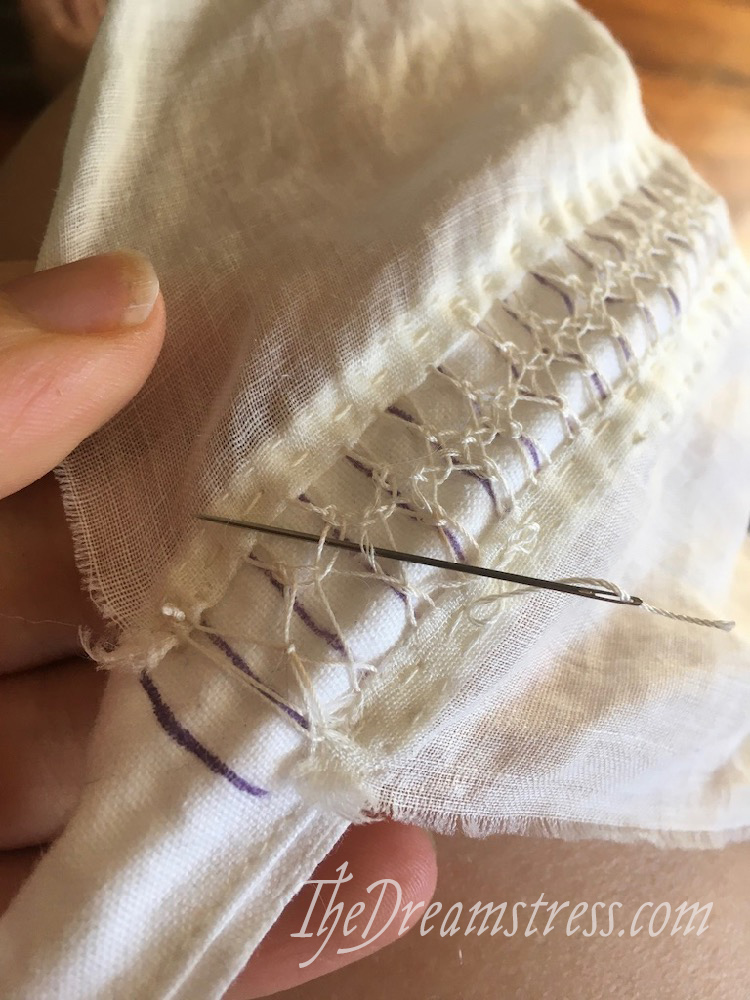
I really enjoyed this part of the cap: the double herringbone and the interlock were really meditative, and rather addictive. I desperately want to do the proper quad interlock now!
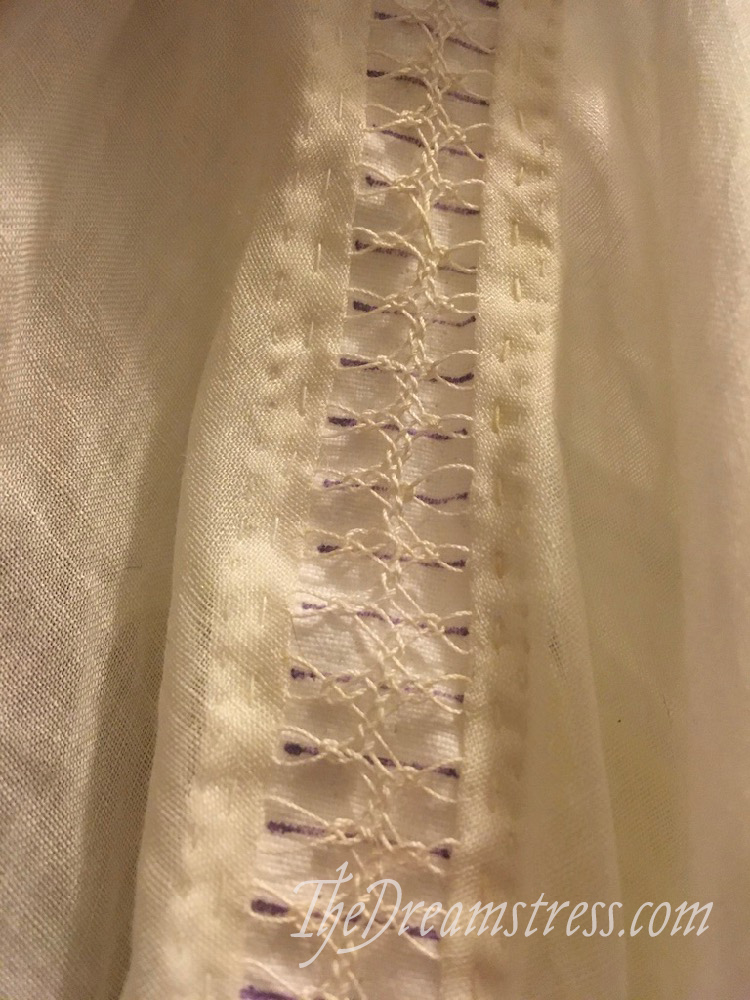
I was extremely pleased that I had exactly the right amount of thread, until I remembered that I was meant to have ended the interlacing a couple of inches before the end of the cap, to give me room to add a band and tie the cap on…
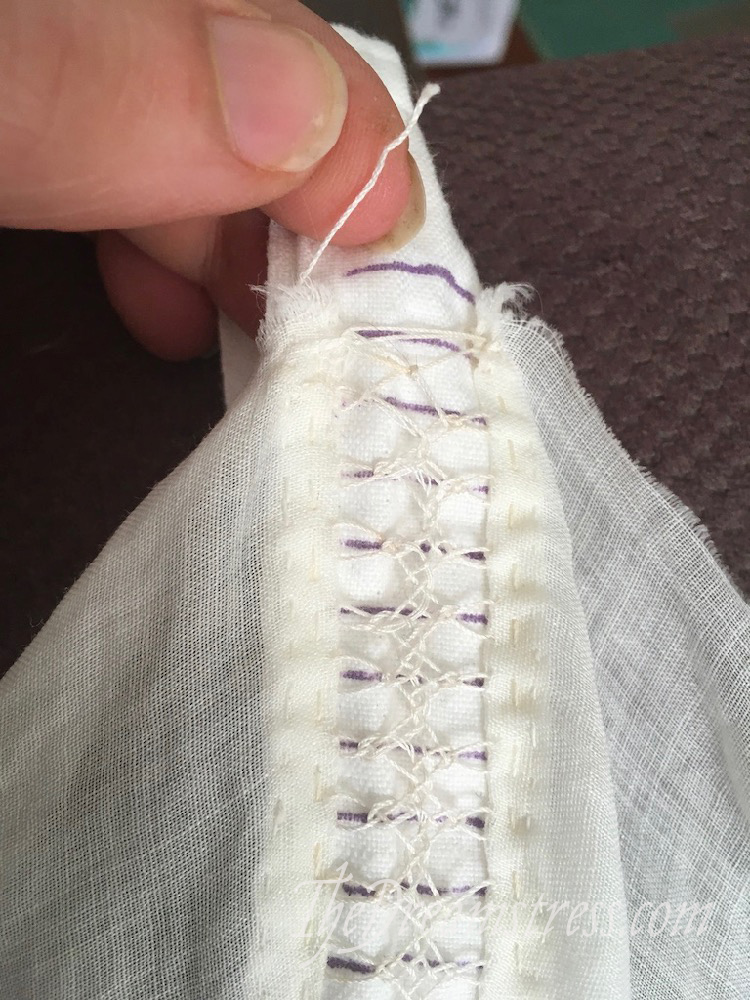
Oops! So I had to unpick some of my weave pattern at the end, and simply knot it off. Not the prettiest, but this was clearly a learning experience.
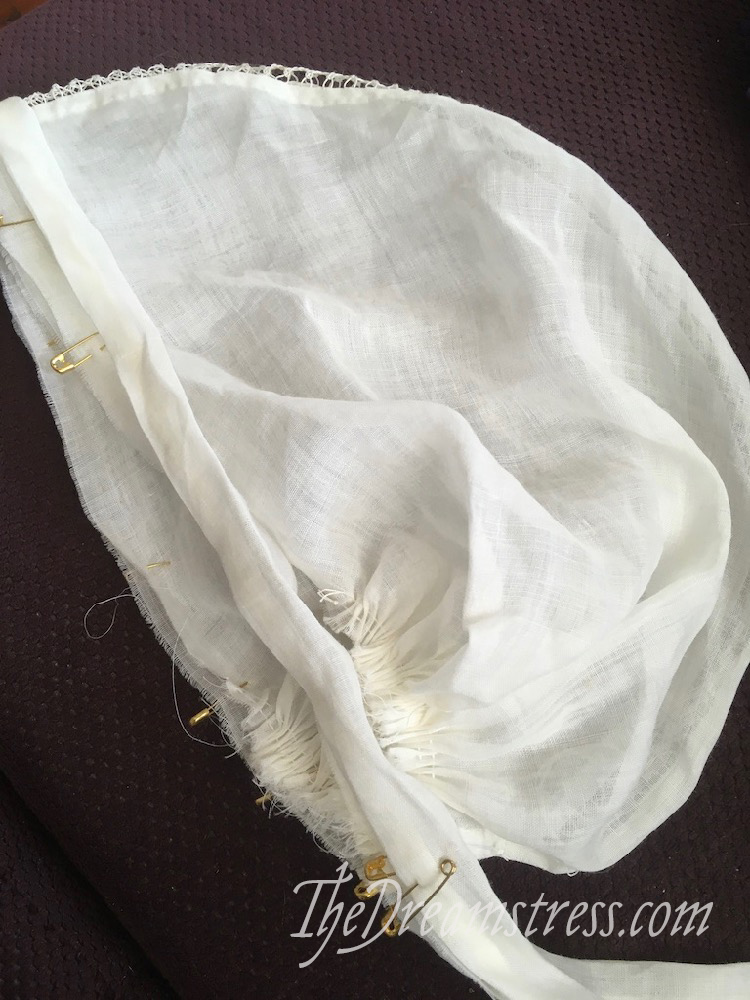
Next I got to unpick my basted-on marker band, and start on the band that finishes the cap and holds it on to my head.
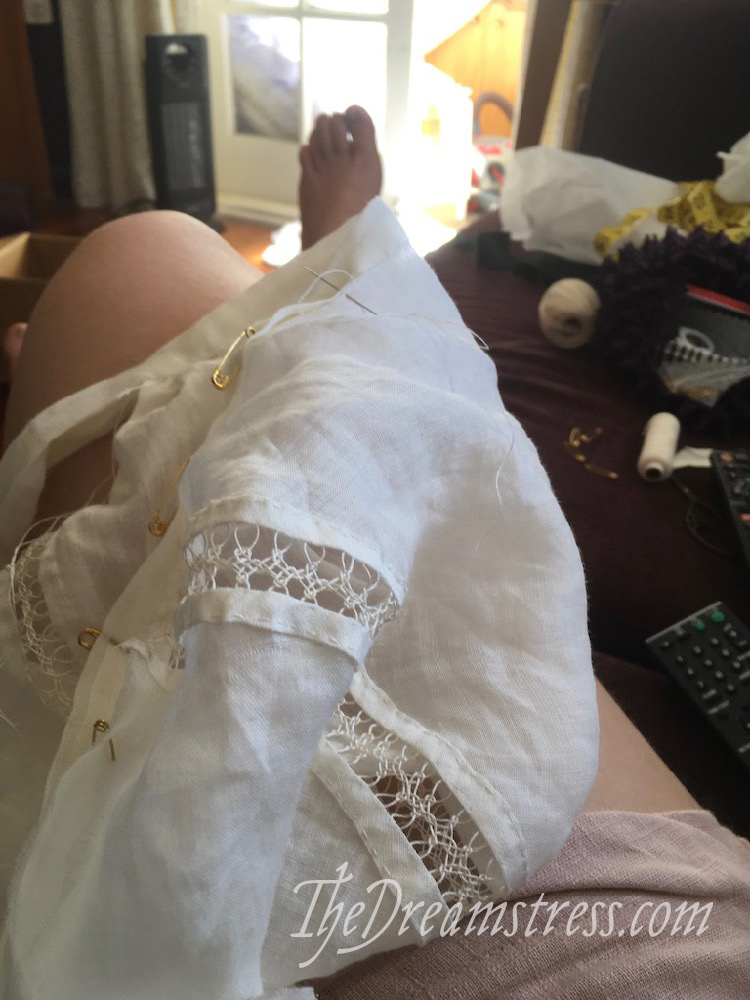
Tiny safety pins may not be Medieval accurate, but they certainly made that part much easier!
So did some nice un-stressful background TV (can you tell what I’m watching?)
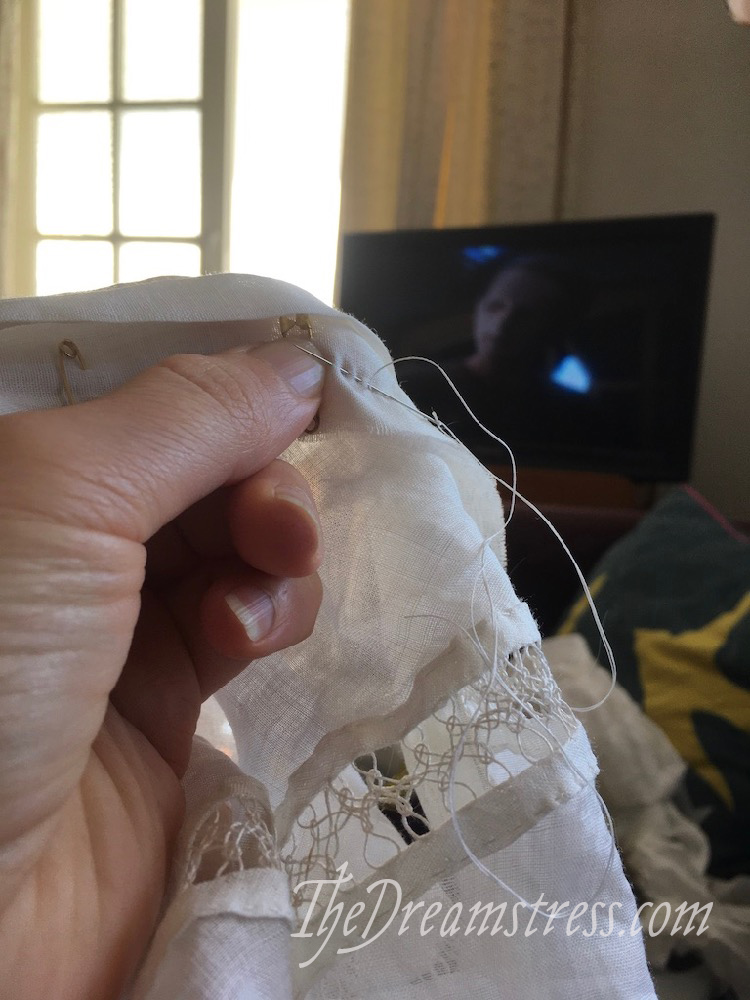
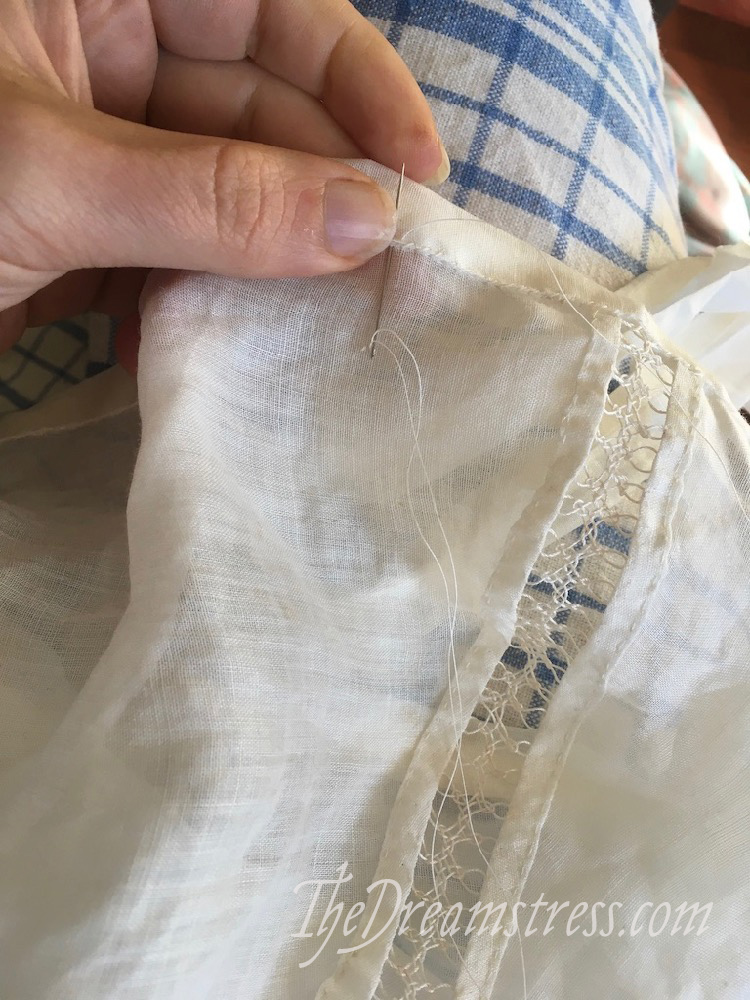
And then it was on to the final finishing seam:
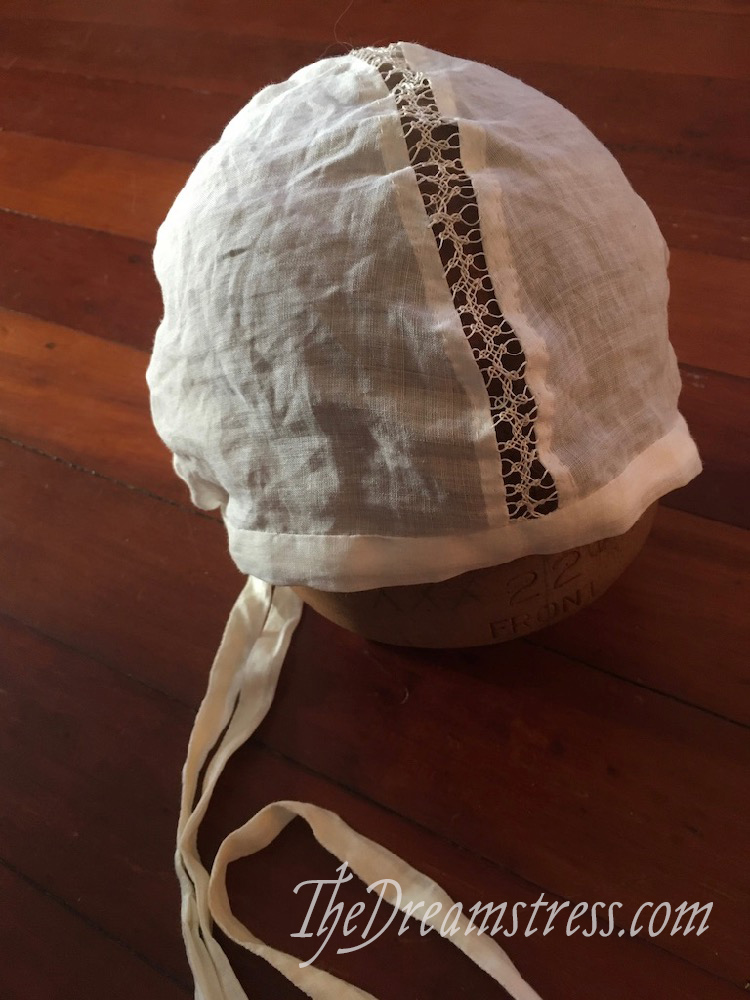
And the cap is done! It fits nicely, but I haven’t had an excuse to wear it properly.
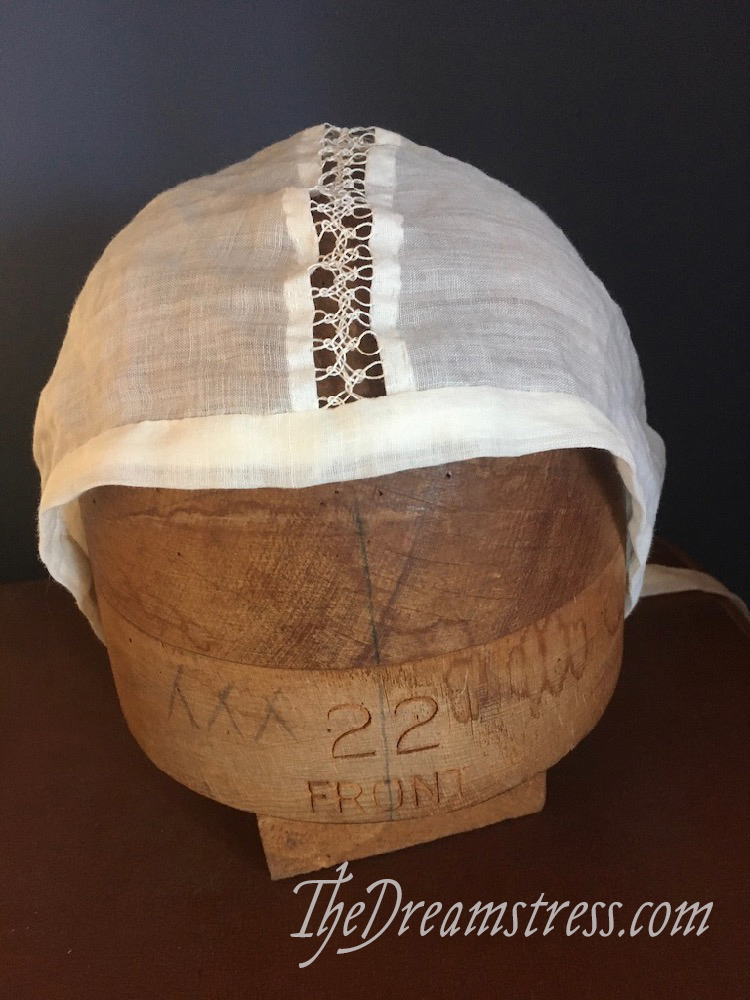
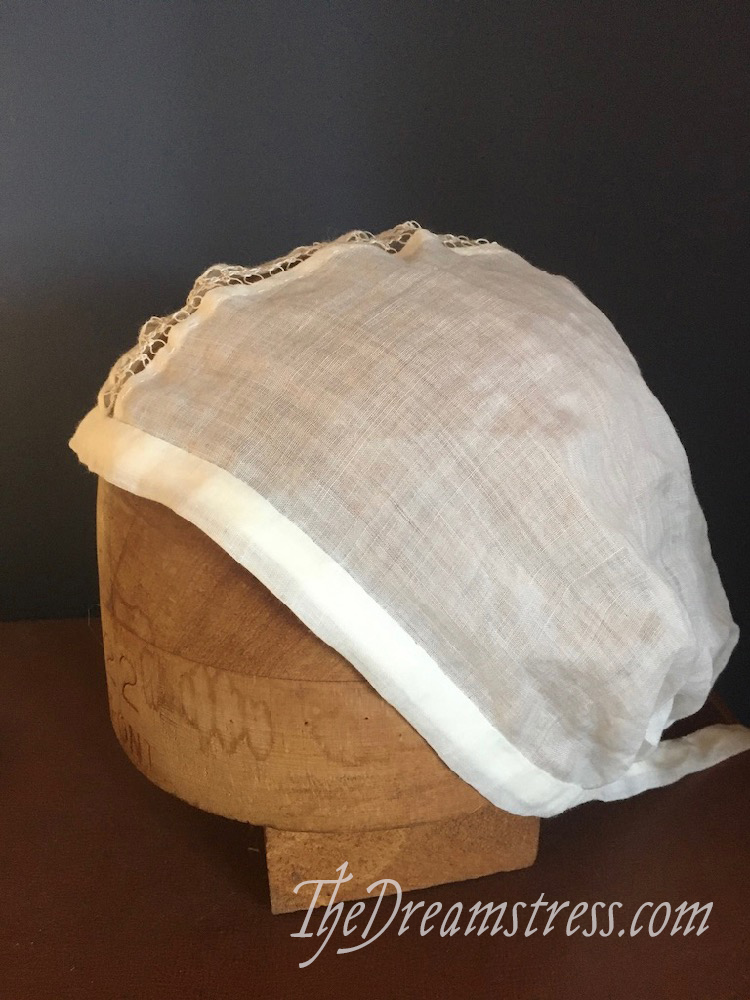
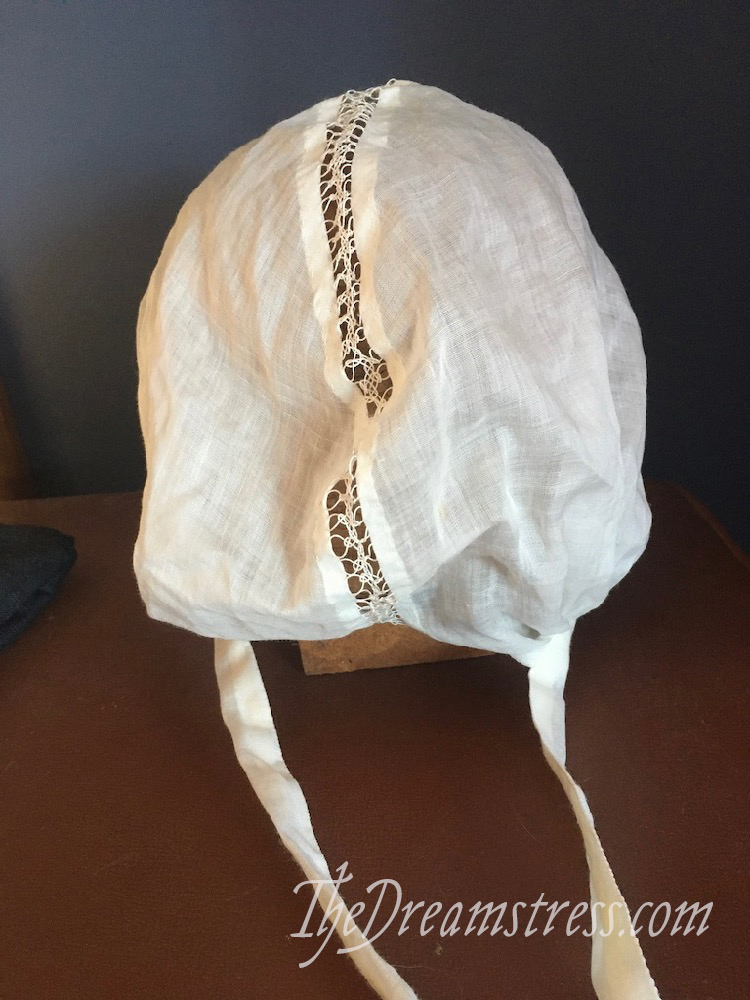
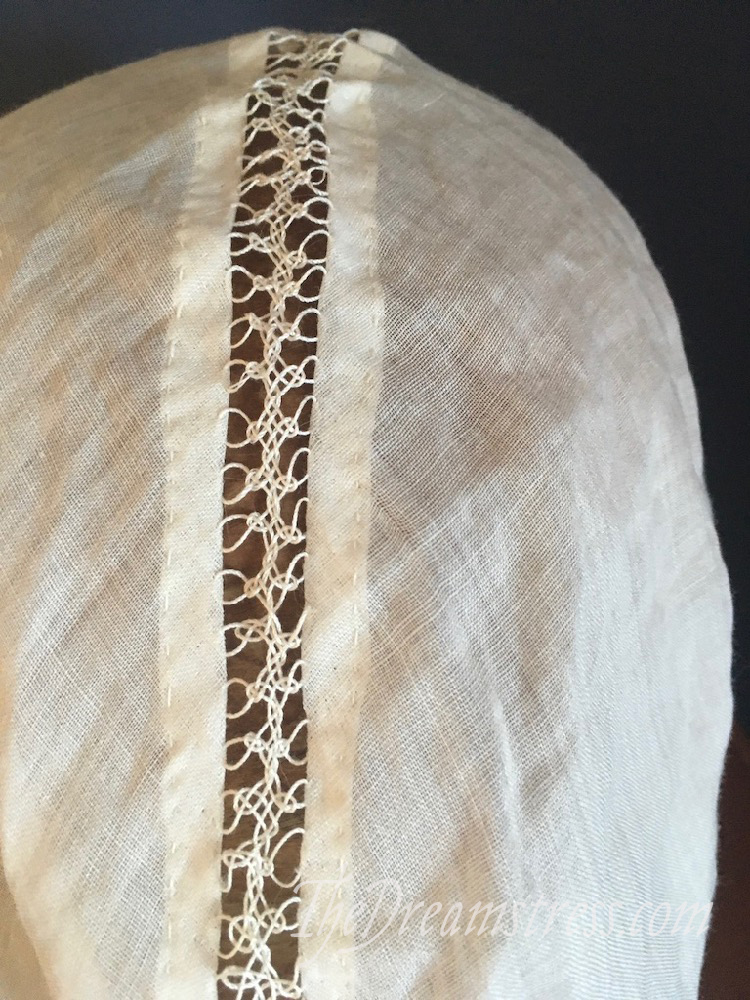
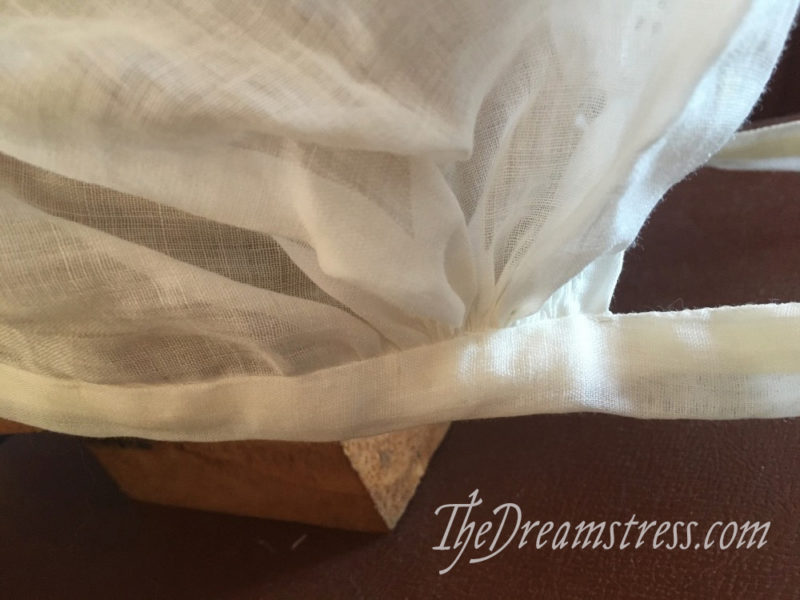
It’s certainly not as beautifully precise as Hvirt’s, and I’d love to have the time to make a better (more HA) one someday, but for now I’m pretty pleased!
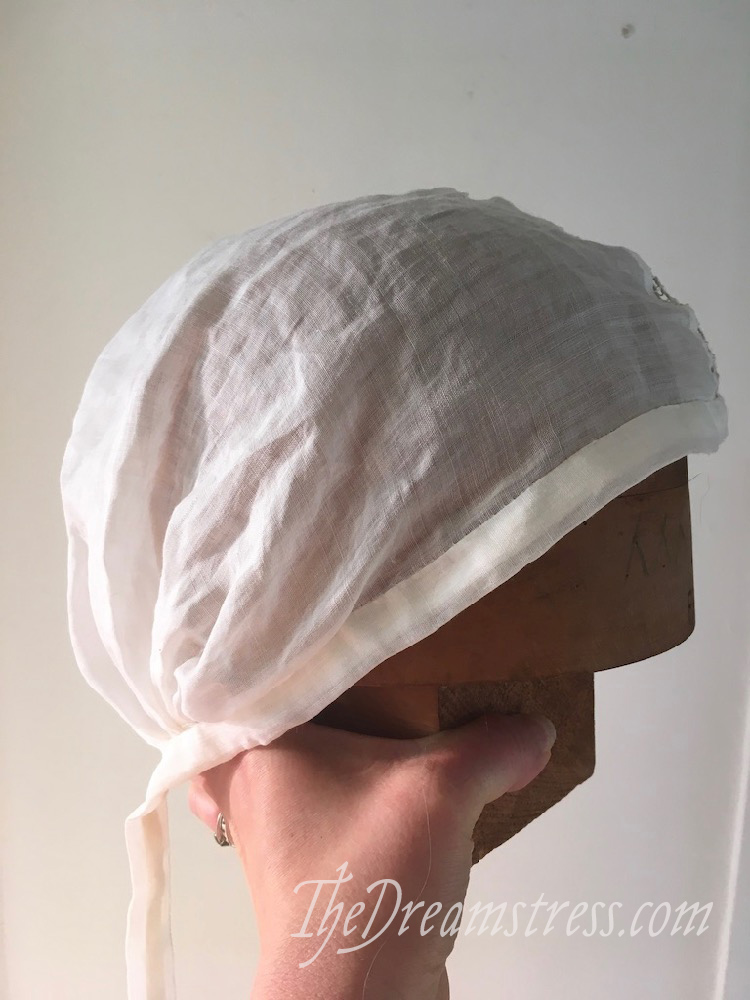
And, since we’re doing the 2020 Historical Sew Monthly in any order that we like, I think this would fit nicely into October’s challenge: Get Crafty.
What the item is: A 14th century ‘St Birgitta’s Cap’
How it fits the challenge: The double-herringbone interweave was definitely a new craft for me! It’s almost like making your own lace.
Material: linen voile
Pattern: Katafalk’s St Birgitta’s cap tutorial for the general shape of my cap
Year: 14th century
Notions: linen thread, cotton tatting cord.
How historically accurate is it? I don’t know if linen of this weight was used for caps in the 14th century, and my interlacing definitely varies from the extant original, both in material and weave. 50% maybe
Hours to complete: about 20
First worn: Not yet. We were planning to do an autumn ramble ‘back in time’ in Zealandia, but Covid-19 has probably made that an impossibility.
Total cost: $10 or less

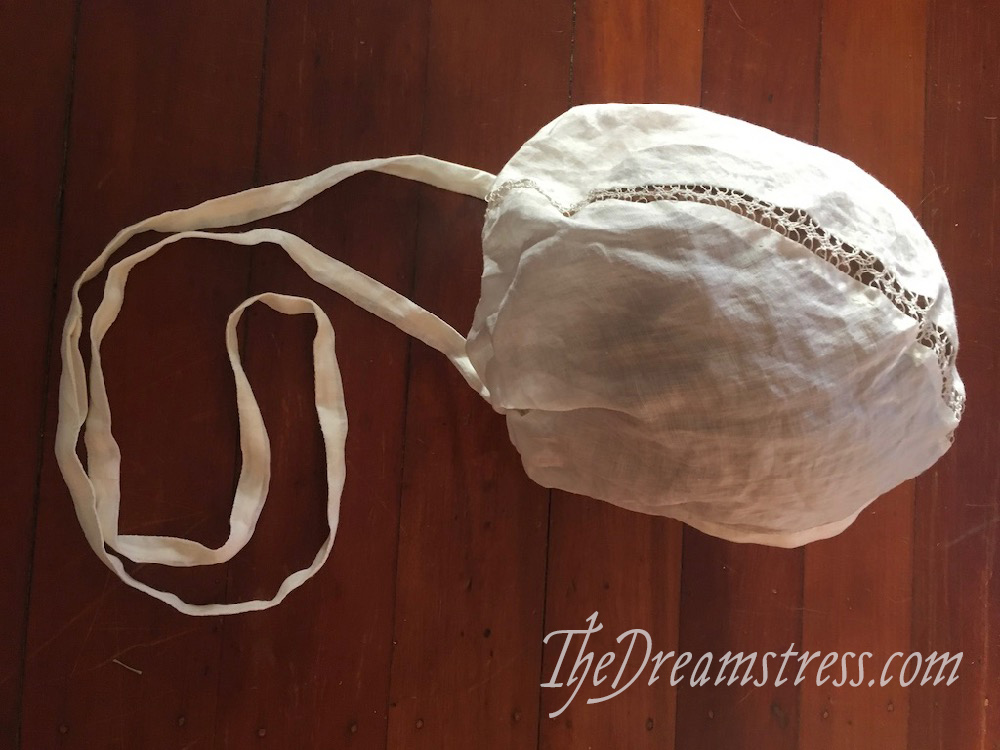
Accurate or not, it’s pretty! And whoa on that technique, regardless!
(I think I see Odo in the background.)
Oh well done on spotting Odo!
And thank you <3
i am mildly obsessed with pre-modern clothing in general, and medieval in particular, and this is one of the prettiest birgitta’s caps i have seen floating about the interwebs. (hvitr’s is a marvel also…just gorgeous.) yours has such a delicate, almost lacy look to it. i like the fine, sheer linen you used, and i believe it to be as historically accurate as anything else. women certainly had more utilitarian head-gear, including sturdier coifs; but they also had “sunday best” outfits, and a fine, delicate coif like this would make perfect sense for that.
also, never in this lifetime will i set a row of stitches that are straight and even and minute, like yours. clearly i was meant to be a purchaser (or sigher after) of other people’s exquisite skills…
Awww, thank you! I do really like the effect I got, I’m just not confident enough in my 14th c research and knowledge to say “yes, this type of fabric was used.” I appreciate the vote of confidence!
And thank you for the compliments on my stitching. I’ve been enjoying working on getting more even and precise.
You say “no new ideas”, and I say, “great minds think alike.”
Really, this is lovely, and looks to be really useful in modern day as well.
ODO!
That looks wonderful. Now I want one.
Beautiful work!
Fabulous post! And just because she did the technique before you doesn’t mean you aren’t just as clever in also devising it. Bravo.