Previously on The Cassandra Stays Sew Along:
- Choosing Material for the Cassandra Stays
- Making Linen Buckram
- Making your Mock-Up
- Fitting
- How to alter the Cassandra Stays pattern to be front-laced only
- Cutting Out & Basting
- Testing techniques
- Sewing the Boning Channels
- Making the View B Stomacher using historical materials
- Marking & Sewing Eyelets
In this instalment of the Cassandra Stays Sew Along your Cassandra Stays are finally going to start looking like a pair of stays. That’s right: we’re sewing the panels together and adding bones!
Assembling the Panels
This isn’t the final sewing-together of panels: this is just a quick assembly so you can do a final fitting before the final assembly of the stays. You’ll need to either re-sew the seams with stronger stitching if you’re using the Theatrical construction methods, or whip the channels together if you’re using the Historical constructions methods.
You have two options when adding bones and sewing the panels together. You can either bone the panels first, and then sew the panels together, or sew the panels together, and then add bones.
If I’m sewing the seams by machine, I prefer to bone the panels after I’ve sewn them together. This method doesn’t work with all styles of stays, because some boning layouts don’t allow you to add bones after sewing the seams. However it works well for the Cassandra Stays.
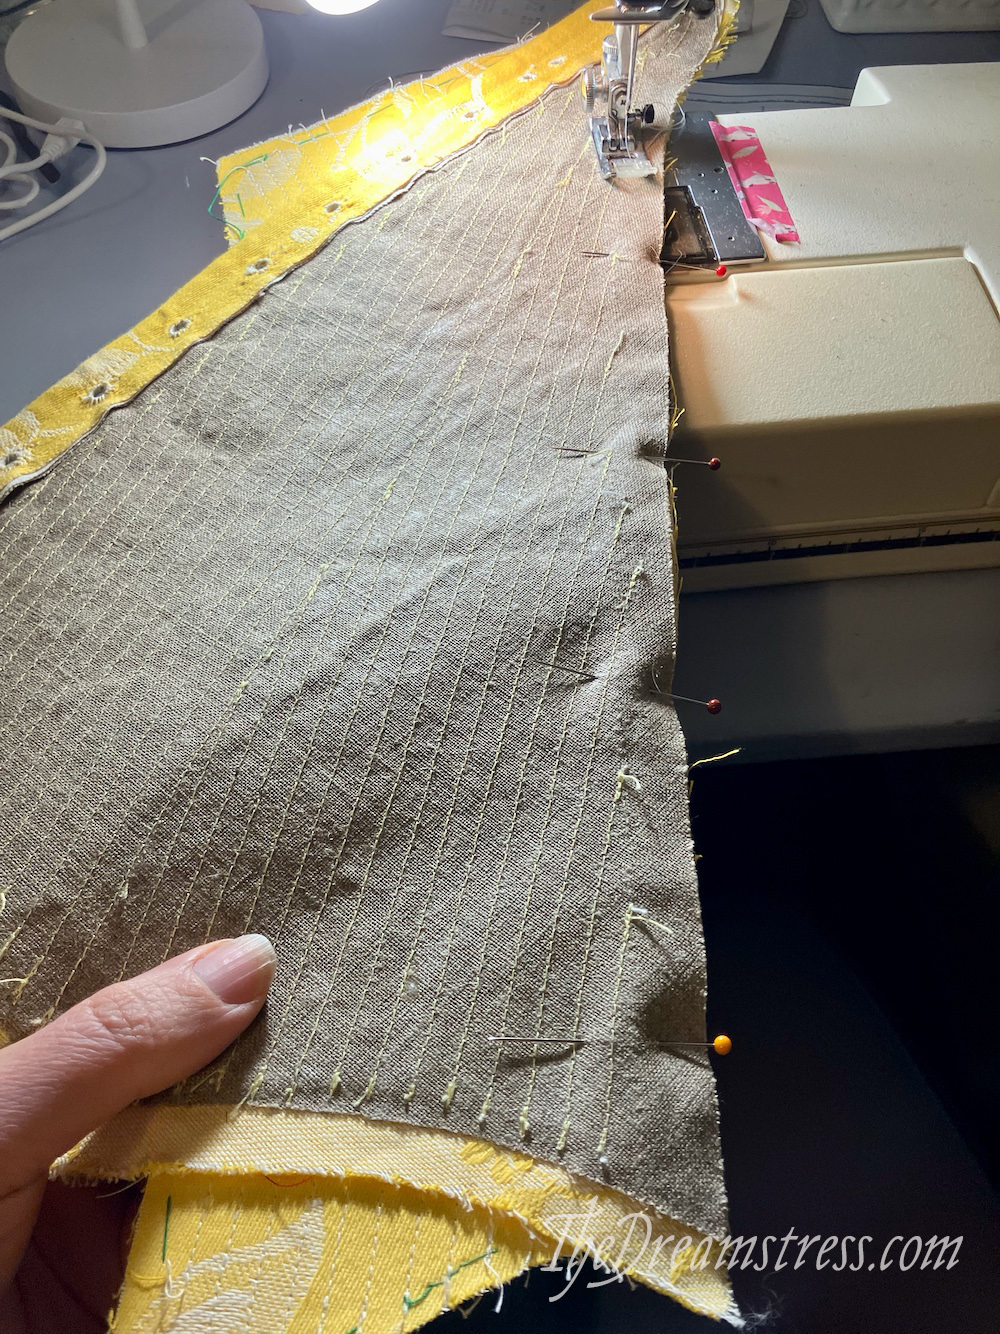
I’ll be sewing the final seam-joins by hand using the historical instructions. For the purpose of fitting, I’m speeding things up and using a machine.
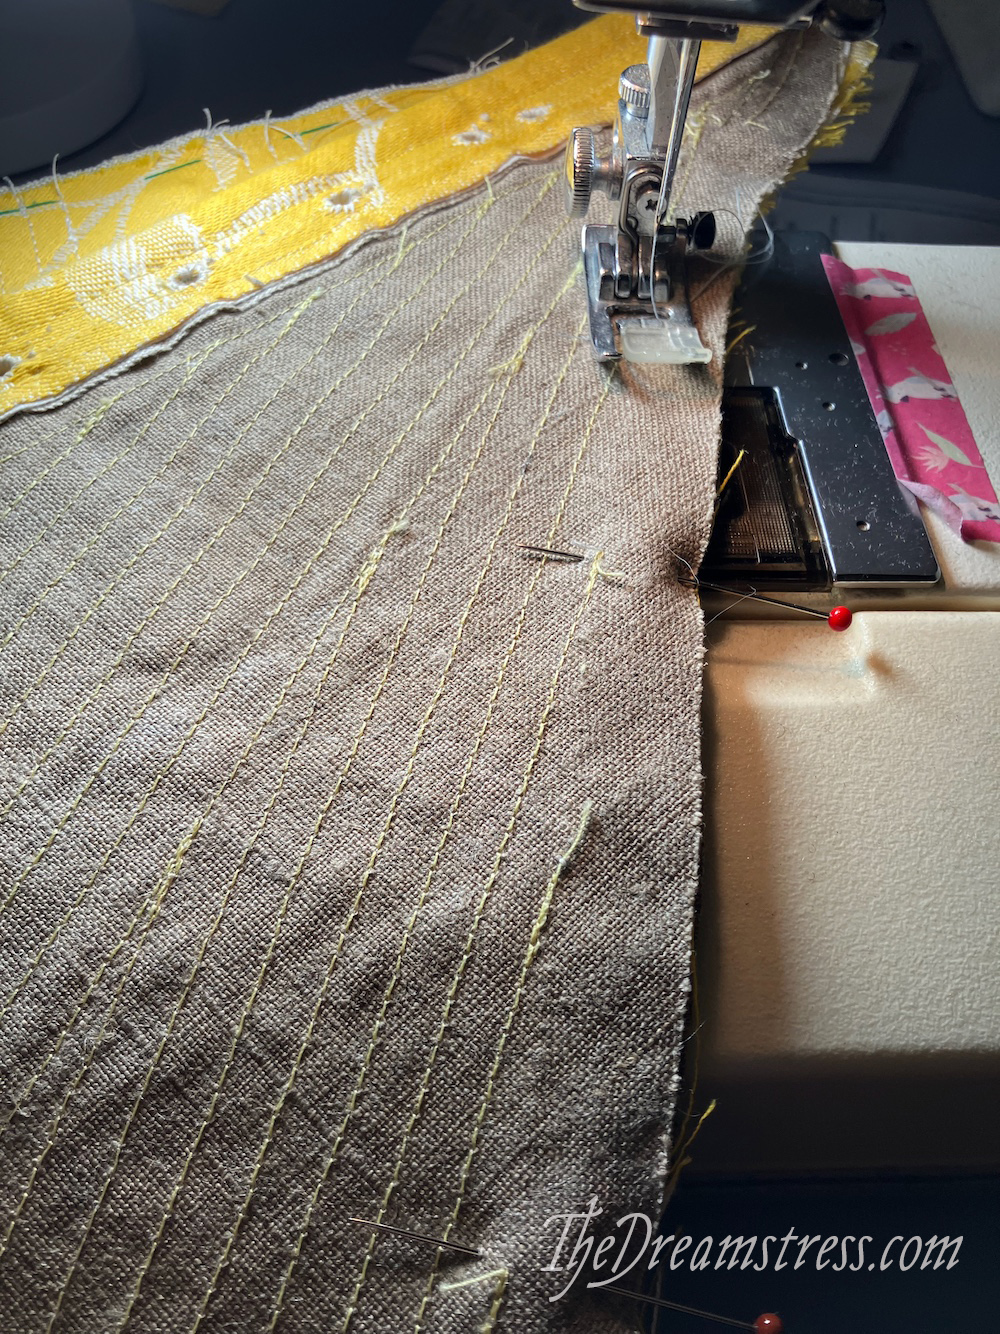
I sew all the panels together:
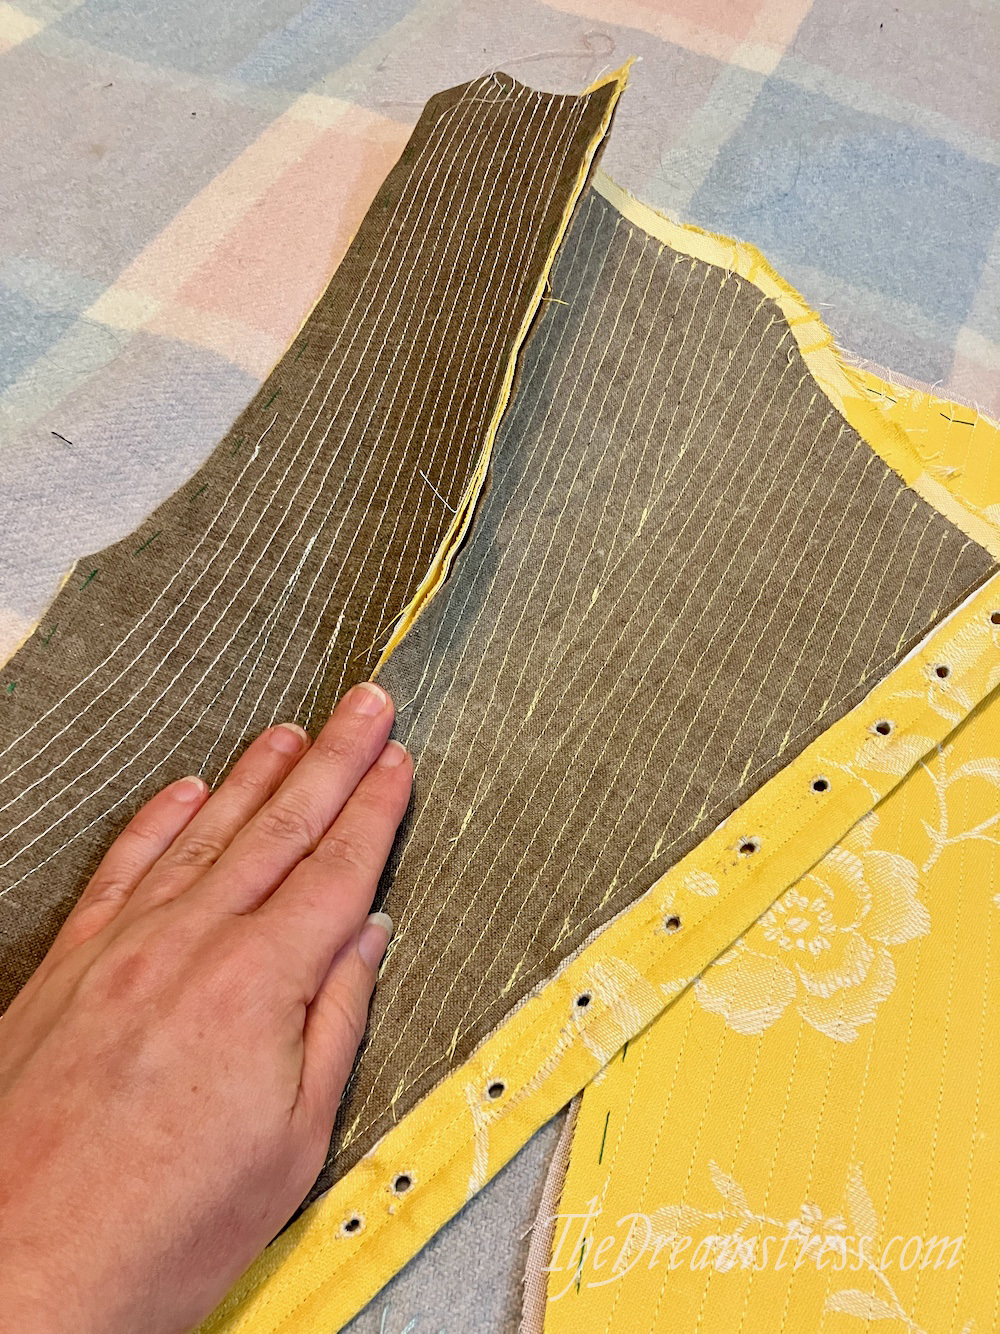
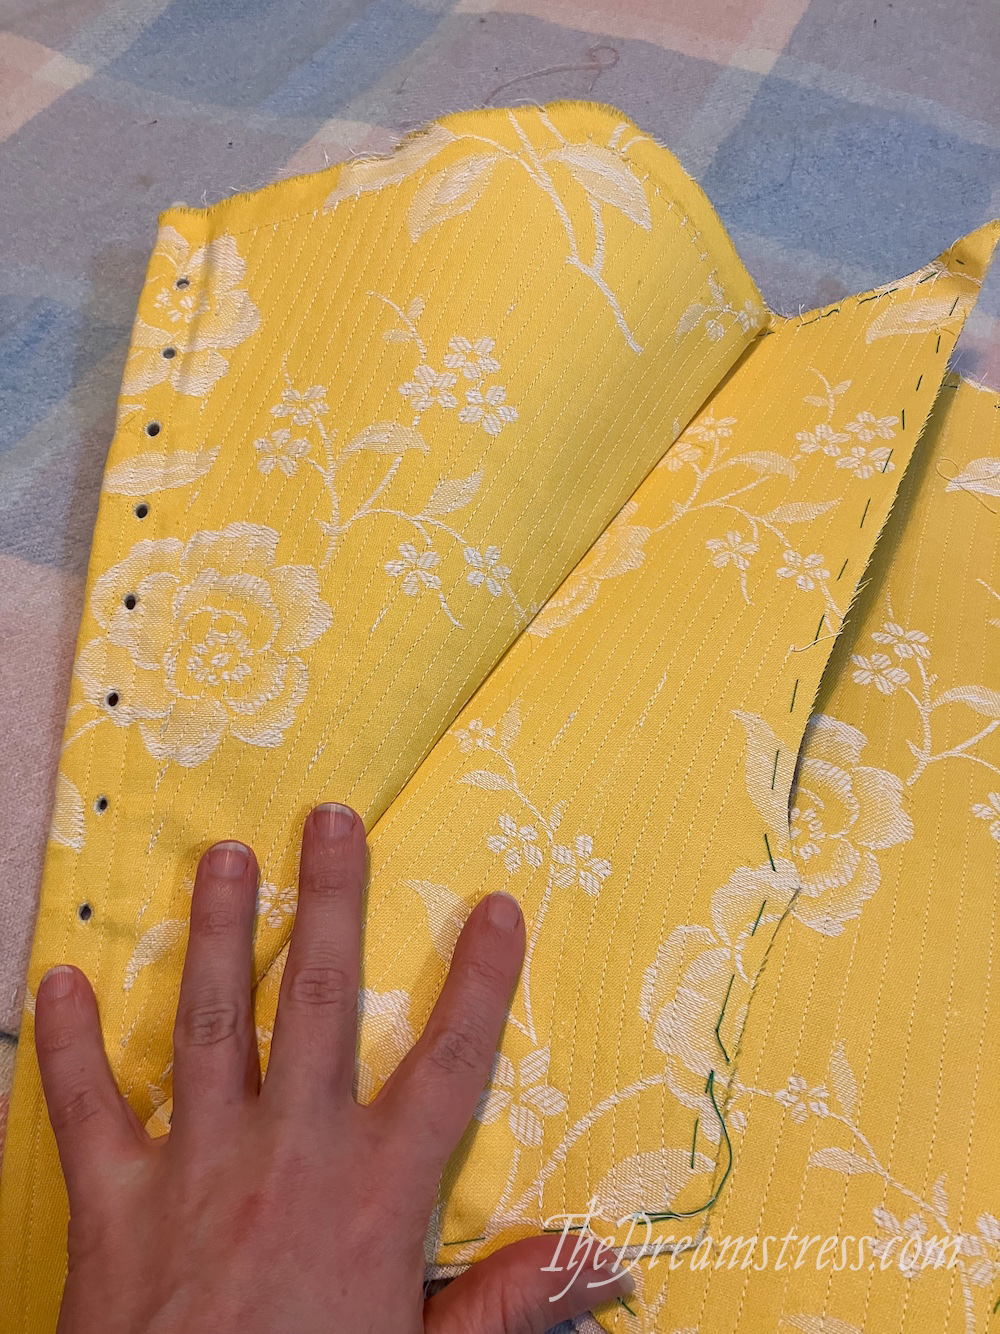
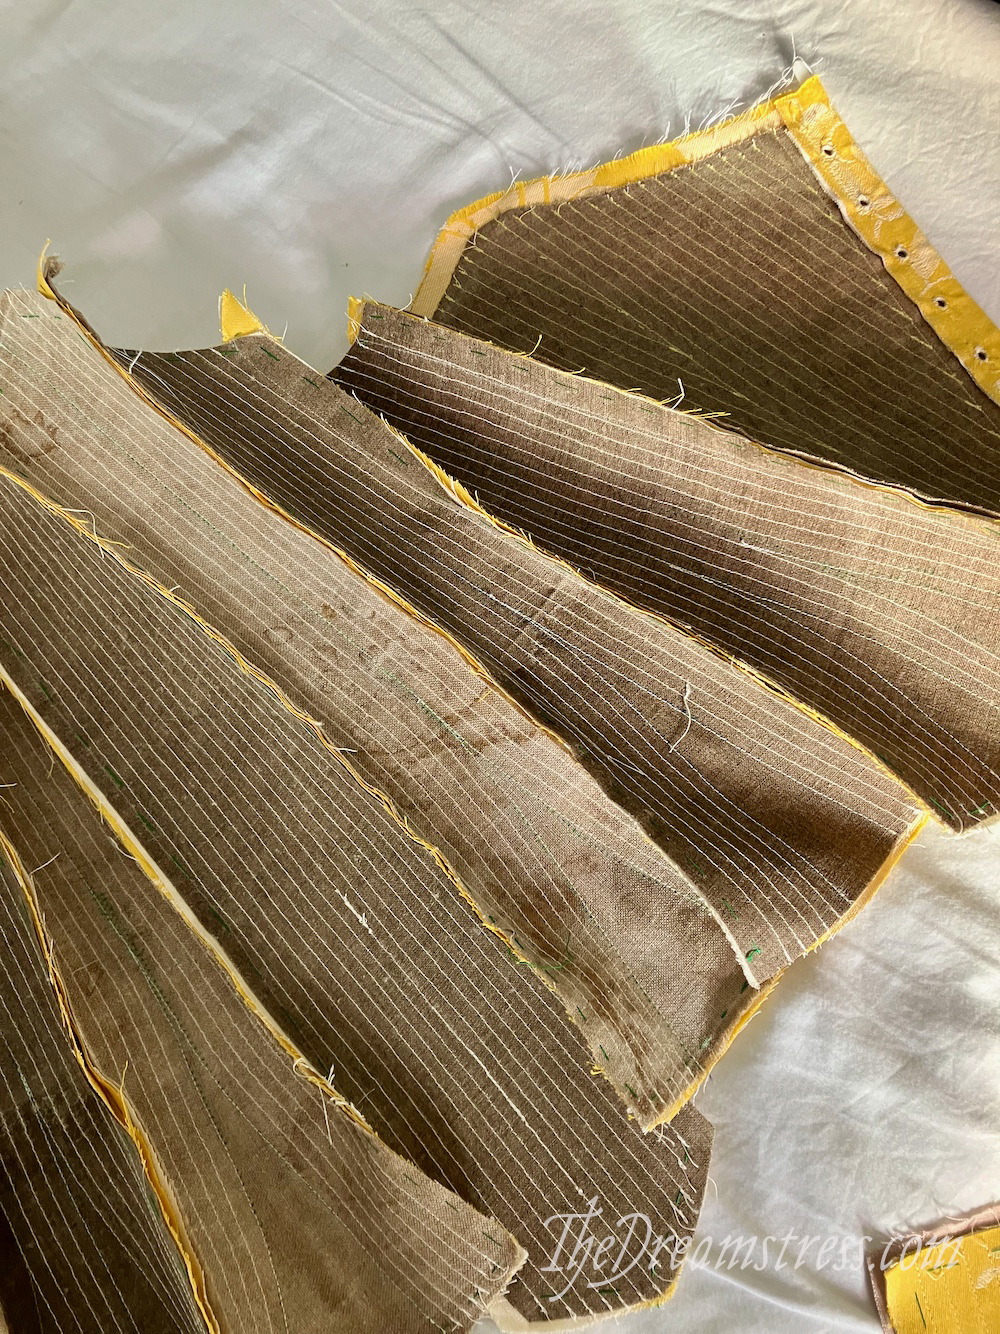
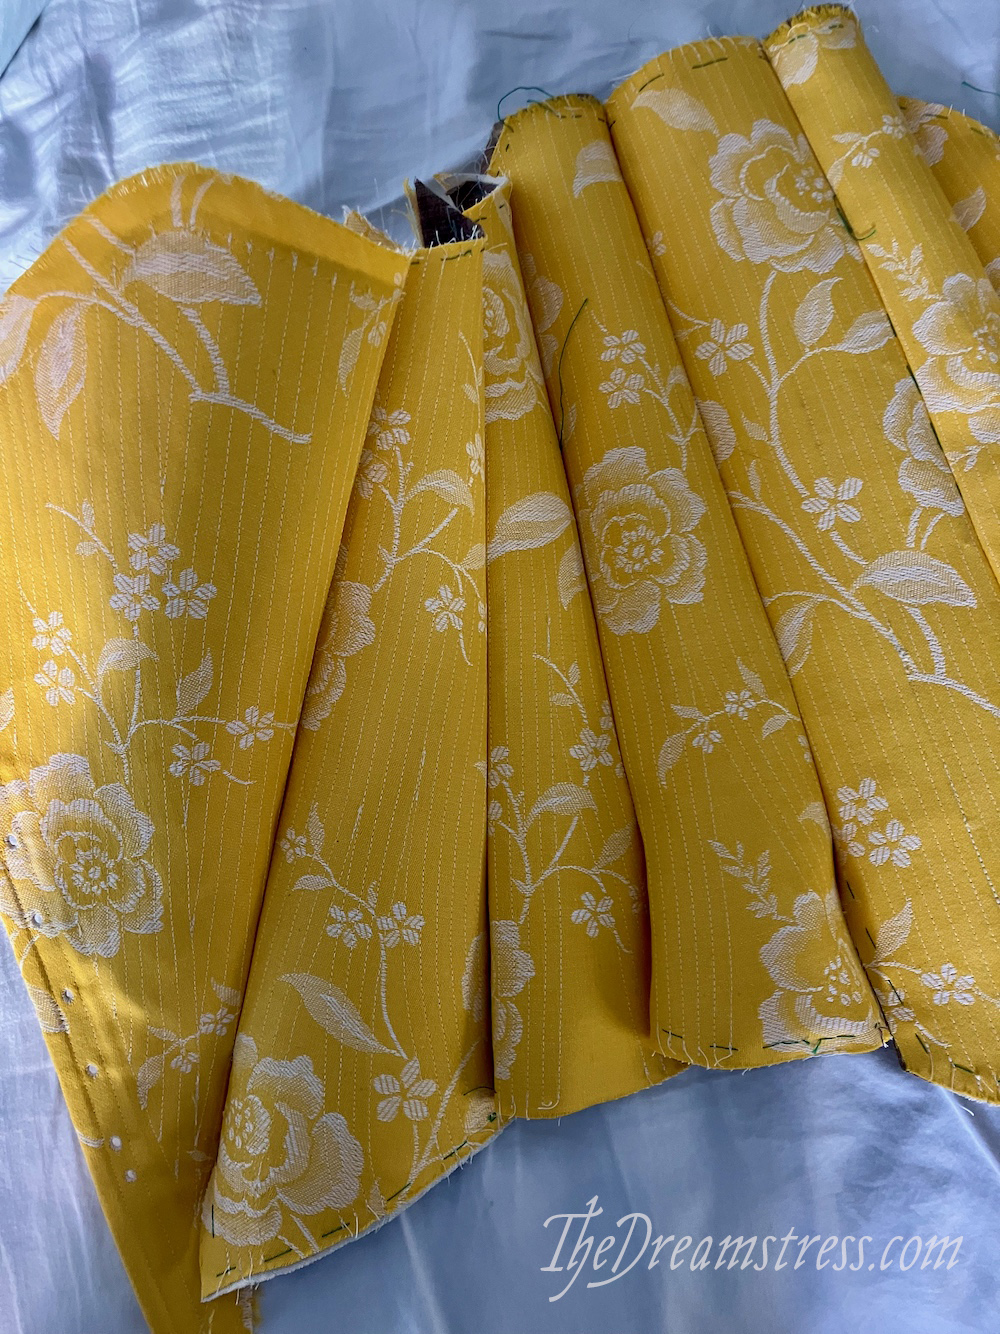
And then I press the heck out of all the seams:
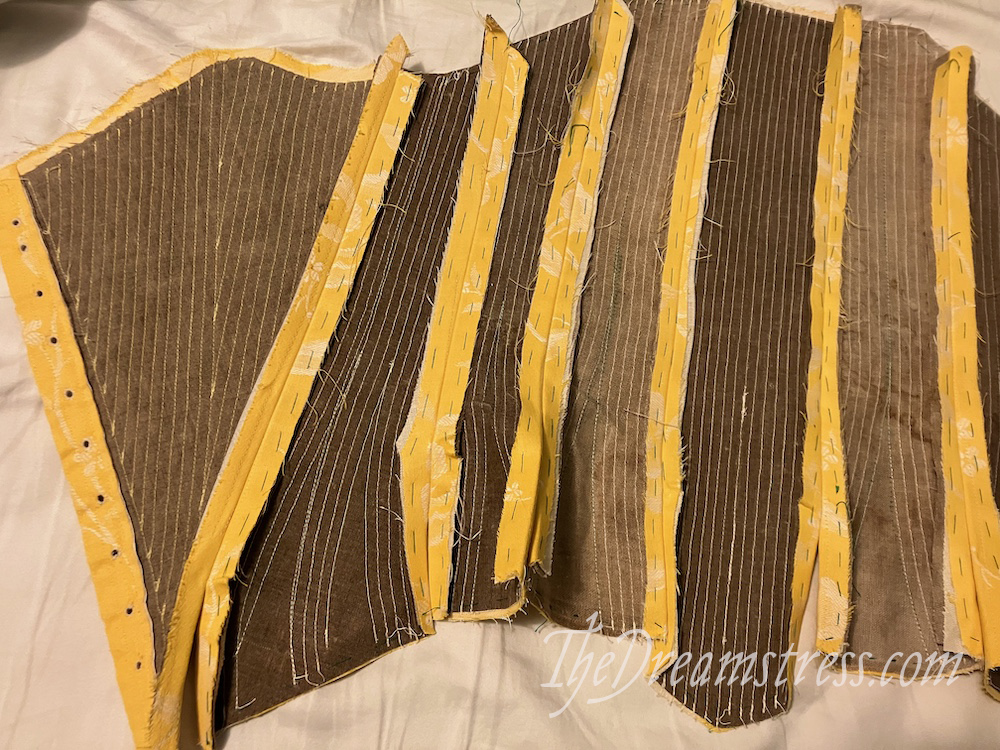
(never trust a sewist who doesn’t press more than they sew!)
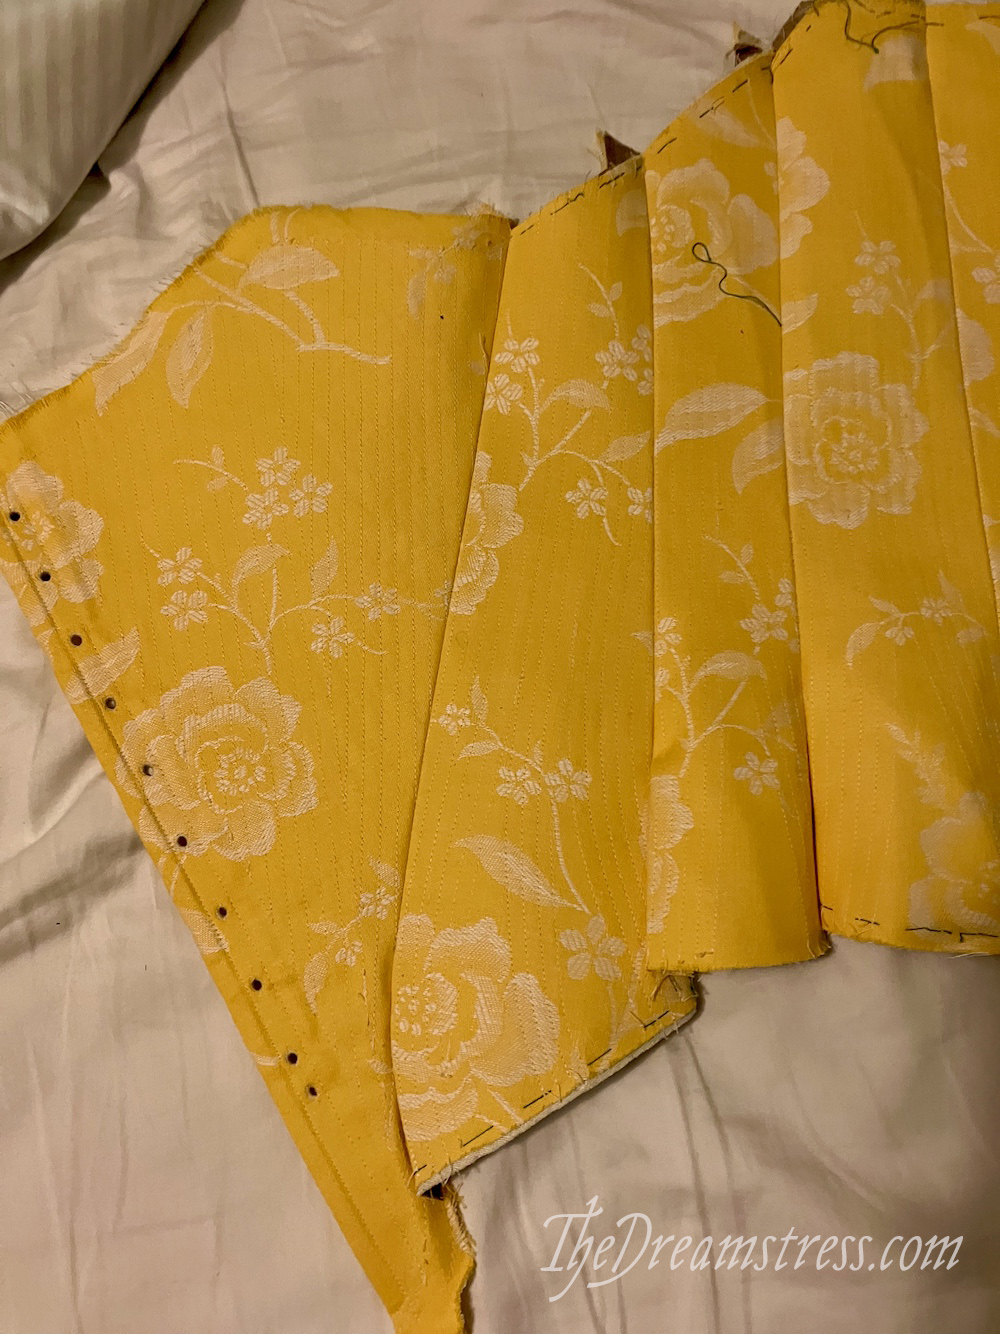
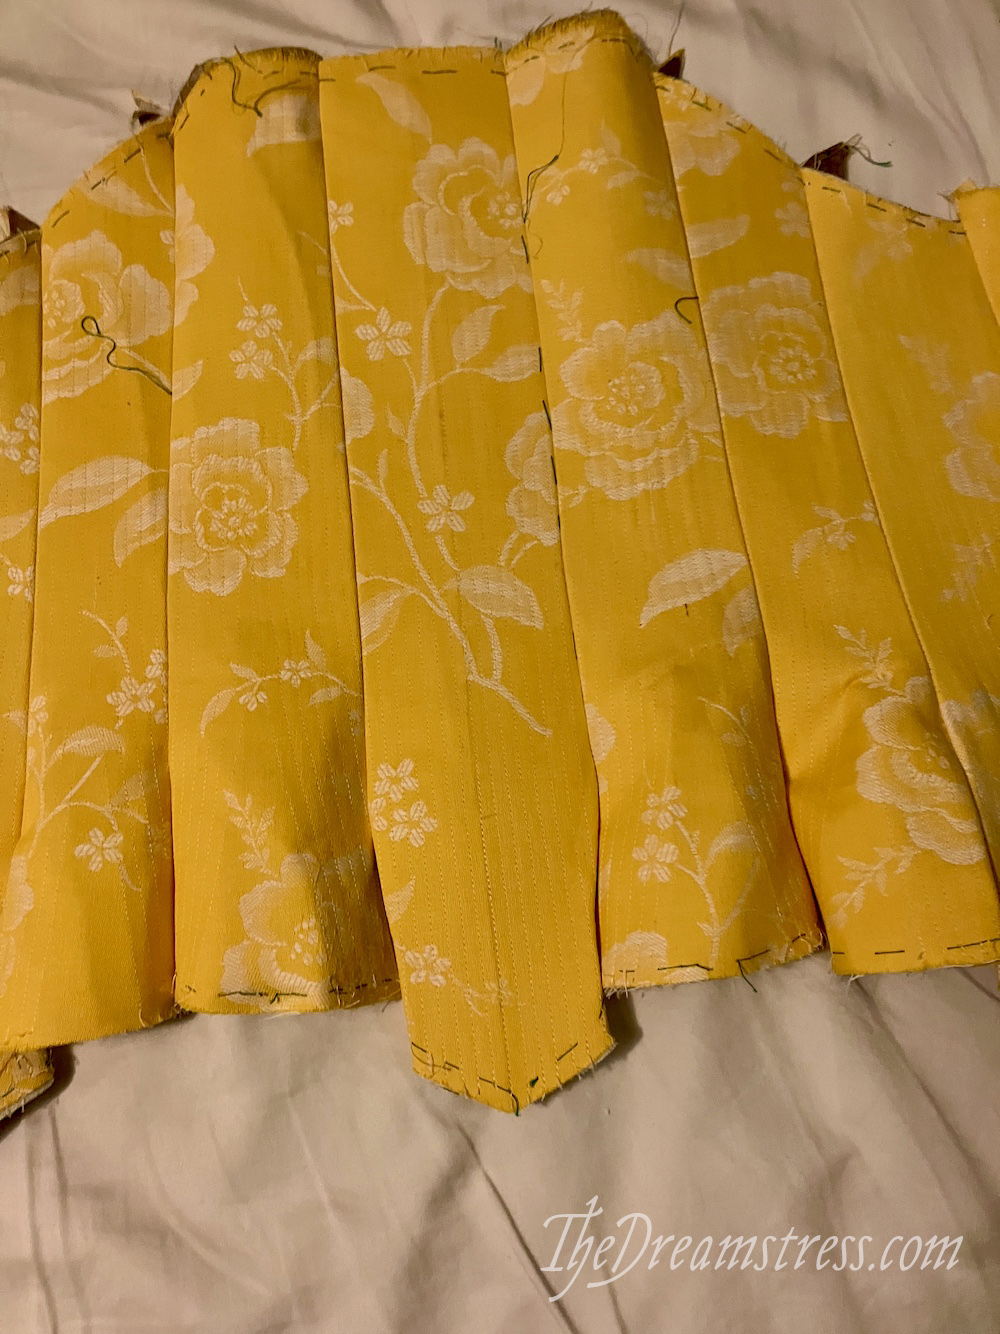
And now that I have assembled stays, I can add bones!
Boning the Stays
When boning the stays I just re-use the bones from my fully boned toile:
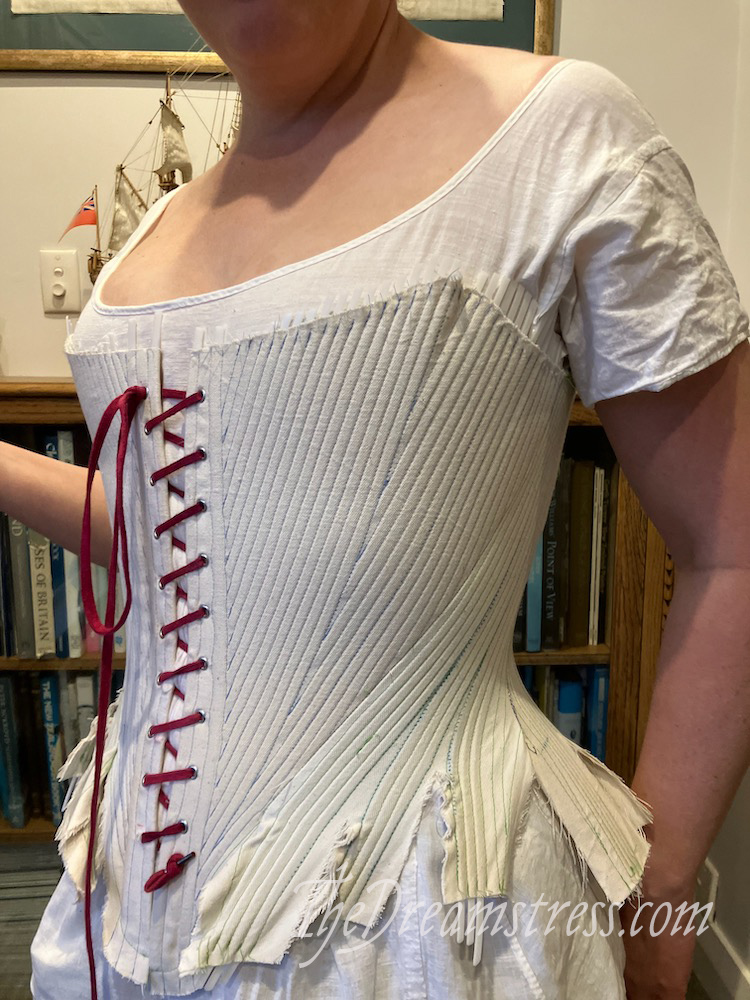
Some of my bones are longer than the boning channels. I’m keeping that extra length, just in case I decide I want to keep the seam allowance length for my final stays:
Since I’m keeping the length, and will need to do a final trim and shorten of my bones, I’m just cutting down and sanding one end of the bones to be smooth:
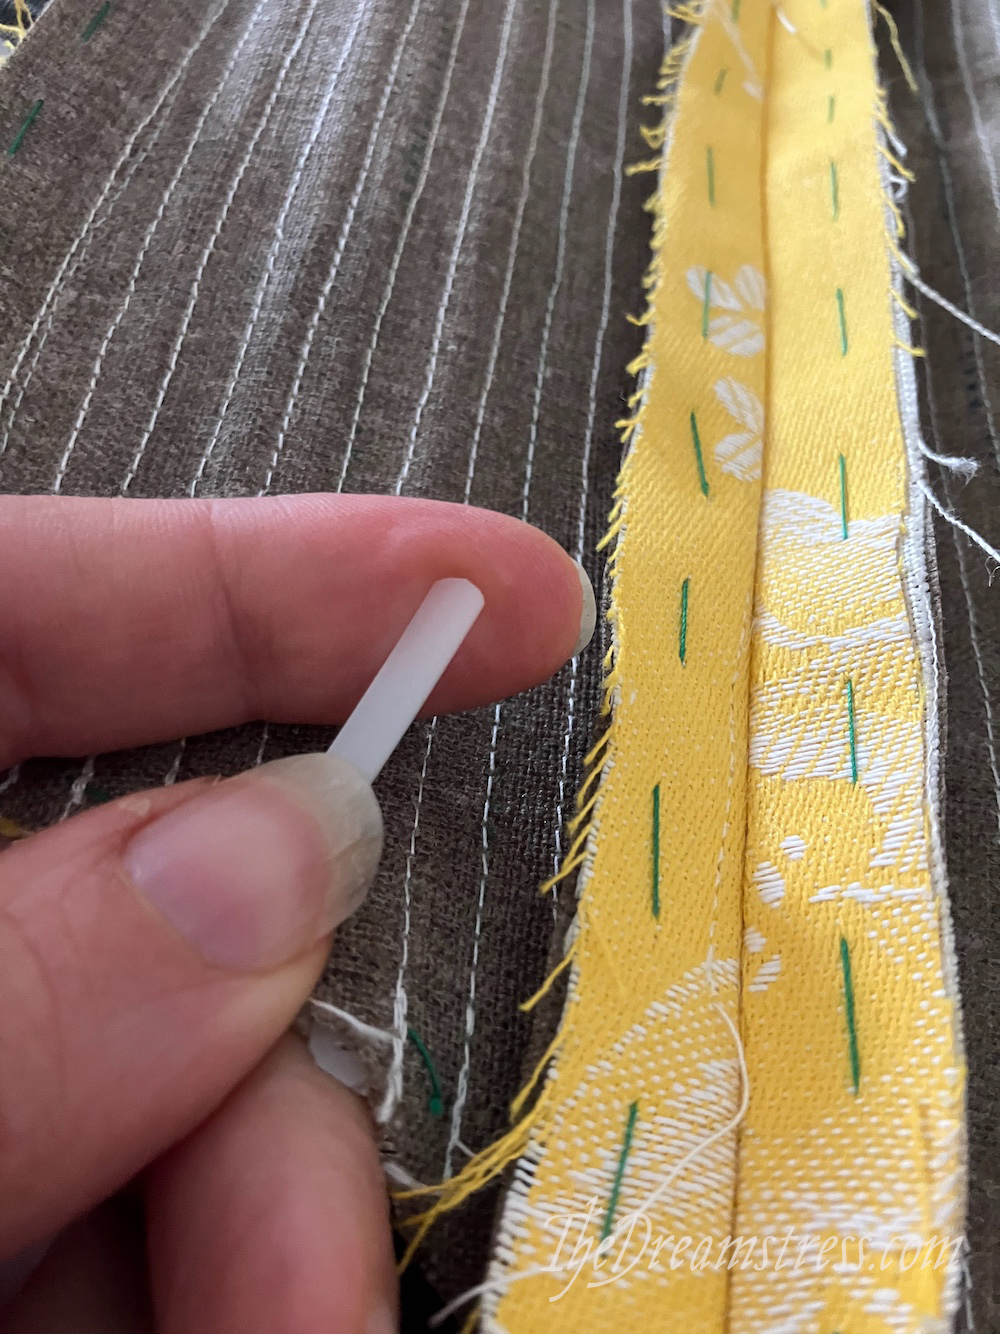
If you find that it’s very difficult to insert the bones into the channels, use a pair of pliers:
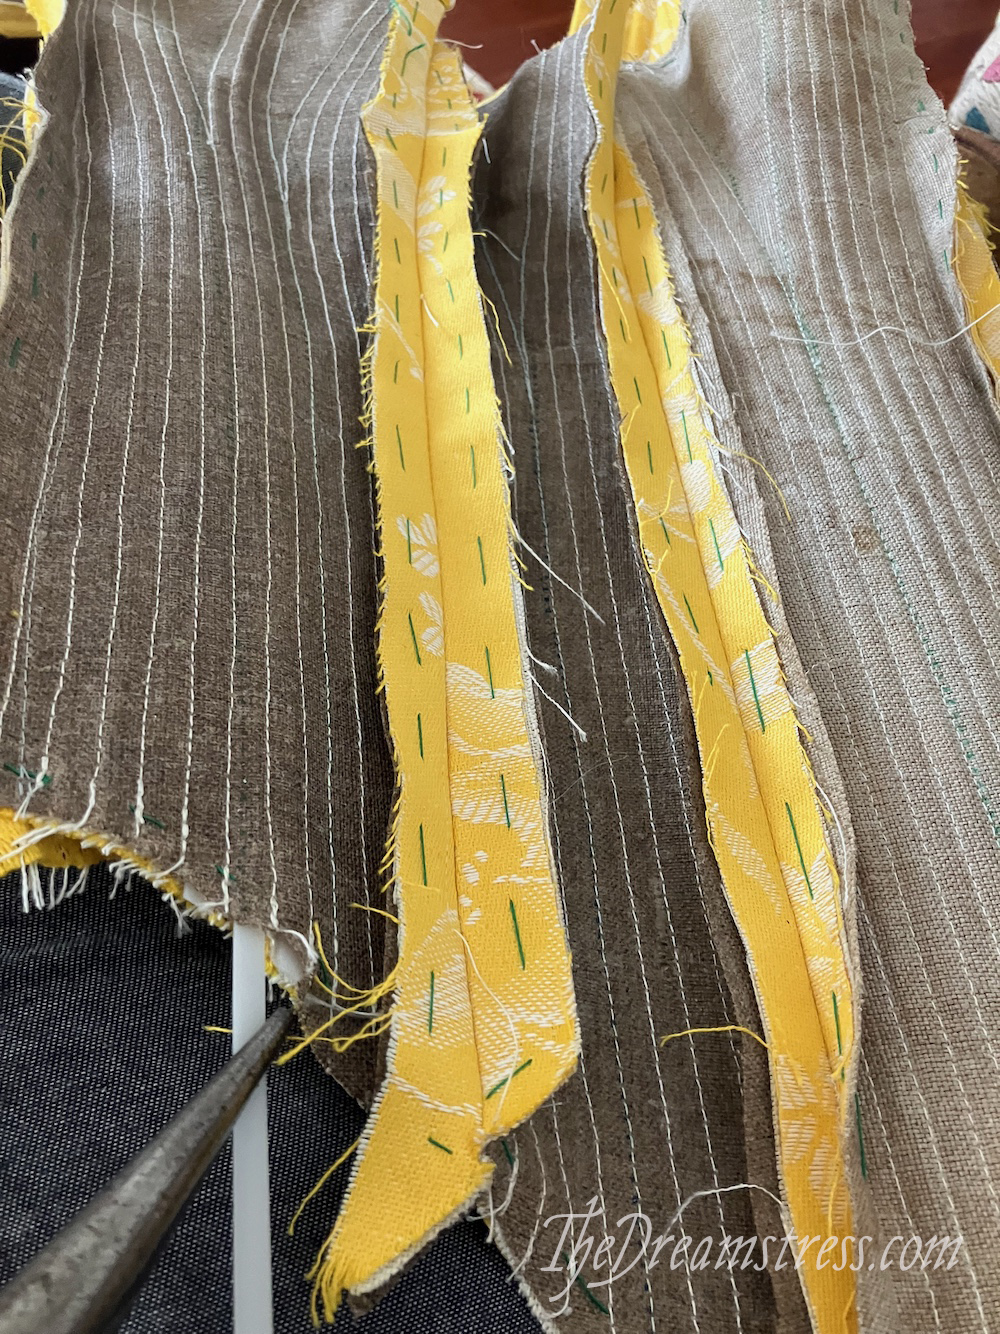
Hopefully you were careful in measuring your boning channels and don’t need to do that!
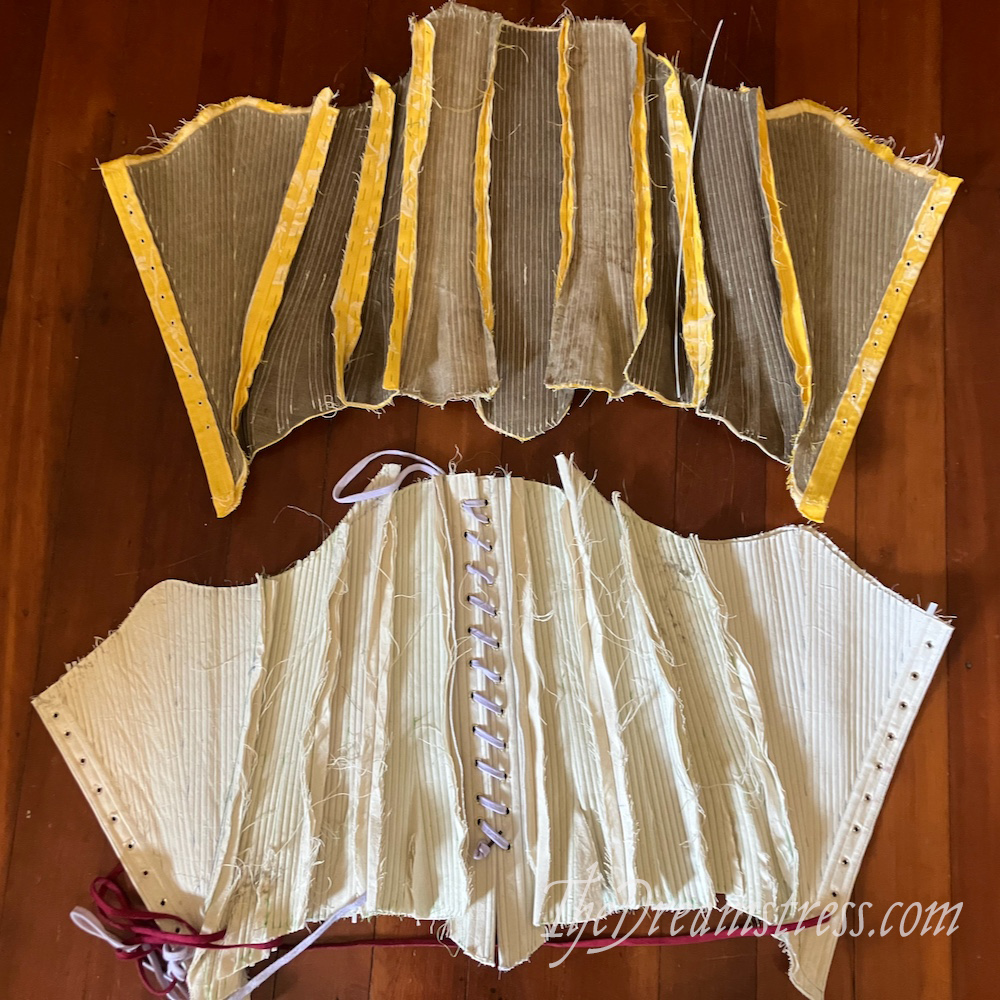
And here’s my toile, all limp and de-boned, and my nice stiff fully-boned stays, ready for a final try-on
