Latest Posts

Otari Hoodie Sew Along thedreamstress.com

The Otari Hoodie Sew Along #2: Pattern Alterations & Cutting

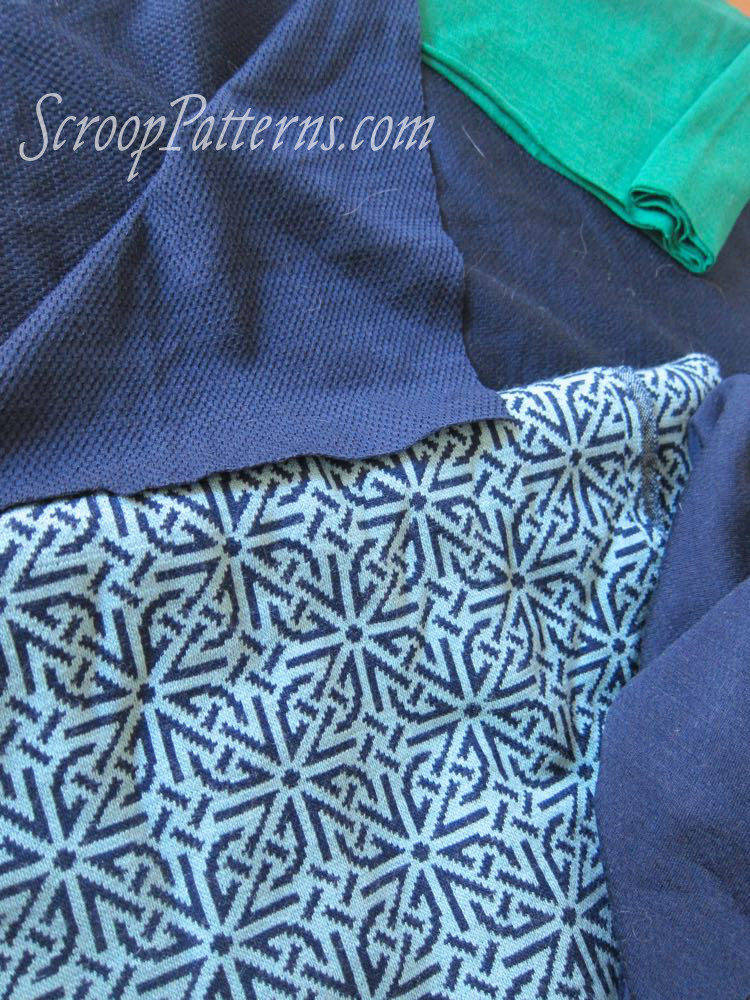
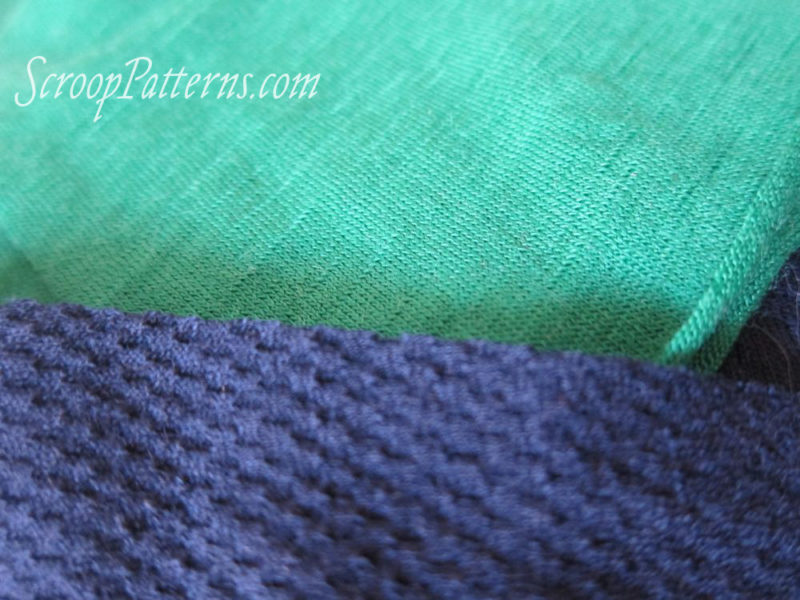
In the last Otari Hoodie Sew Along post I covered choosing fabric.

Otari Hoodie Sew Along - Alterations & cutting out scrooppatterns.com

Now that you have your fabric, it’s time to do any pattern alterations you need to get the fit you want.

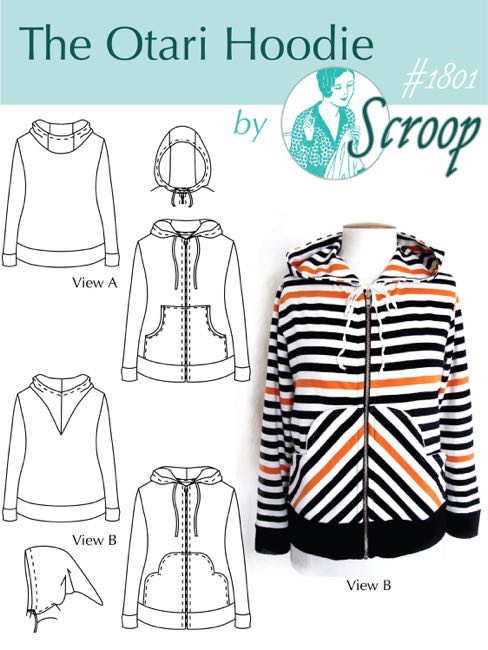
Buy the Otari Hoodie Pattern Here  

Choosing your size

First, you need to pick your general size.  I recommend choosing your size for the Otari based on your bust size, grading out or in to your hip size.

Otari Hoodie Sew Along - Alterations & cutting out scrooppatterns.com

I’m a 38″ bust, so I’ll be making a size 38.

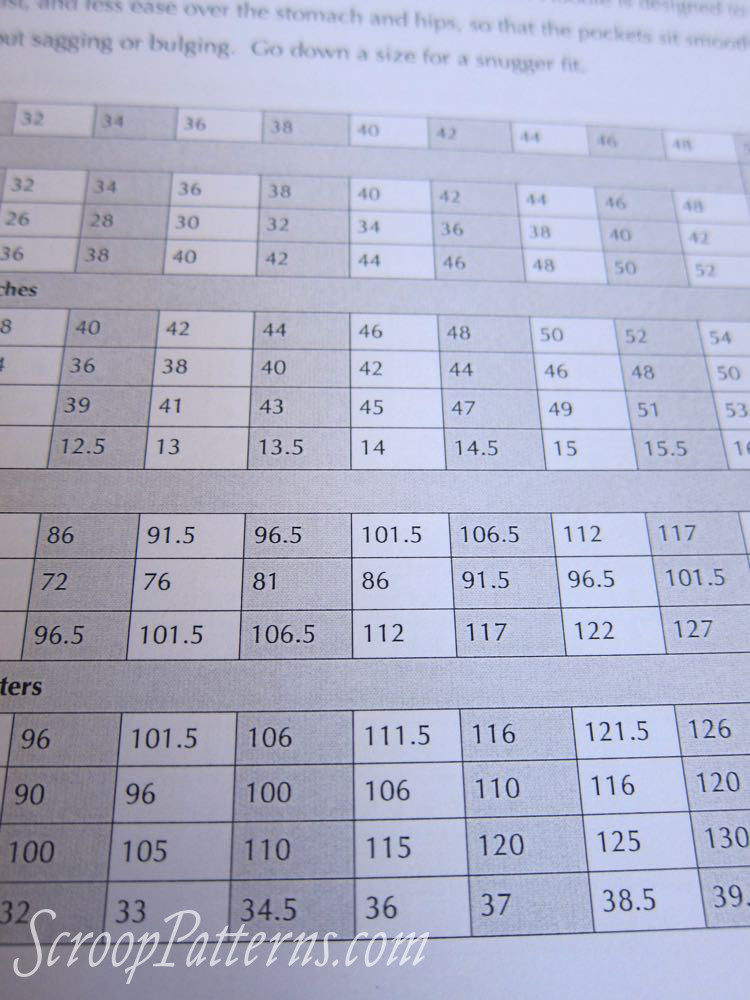
You also want to check the Finished Garment Measurements (the second and last columns in the image above).

You can see from these that the Otari is cut with lot of ease in the bust and waist, (the finished bust measurement for a size 38″ is 44″), and a tiny bit of easy in the hips (finished measures of 43″ for 42″ hips).  This provides a garment that allows a lot of movement in the shoulders, chest and arms, and that floats over the waist, and sits fairly smoothly over the hips and stomach.

Some knits patterns are cut with negative ease (where the finished garment is smaller than you, and relies on the stretch of the fabric to stretch around you).  The Otari still has ease, because it’s an outer garment and is meant to be wearable over layers of clothes.

Drawing between sizes:

OK, so you chose your size based on your bust, but what if your waist or hip measures are quite different than the standard pattern sizes?

In that case, you’ll want to draw between sizes (sometimes called grading between sizes).   Drawing between sizes is just what it sounds like – moving between sizes in a pattern, to get the fit you really need.

For example, if you have slim hips in comparison to your bust, you can go down a size or two in the hips in the pattern.

Here I am using a french curve to draw a nice smooth line from the original patterns waist, to a smaller hip size:

Otari Hoodie Sew Along - Alterations & cutting out scrooppatterns.com

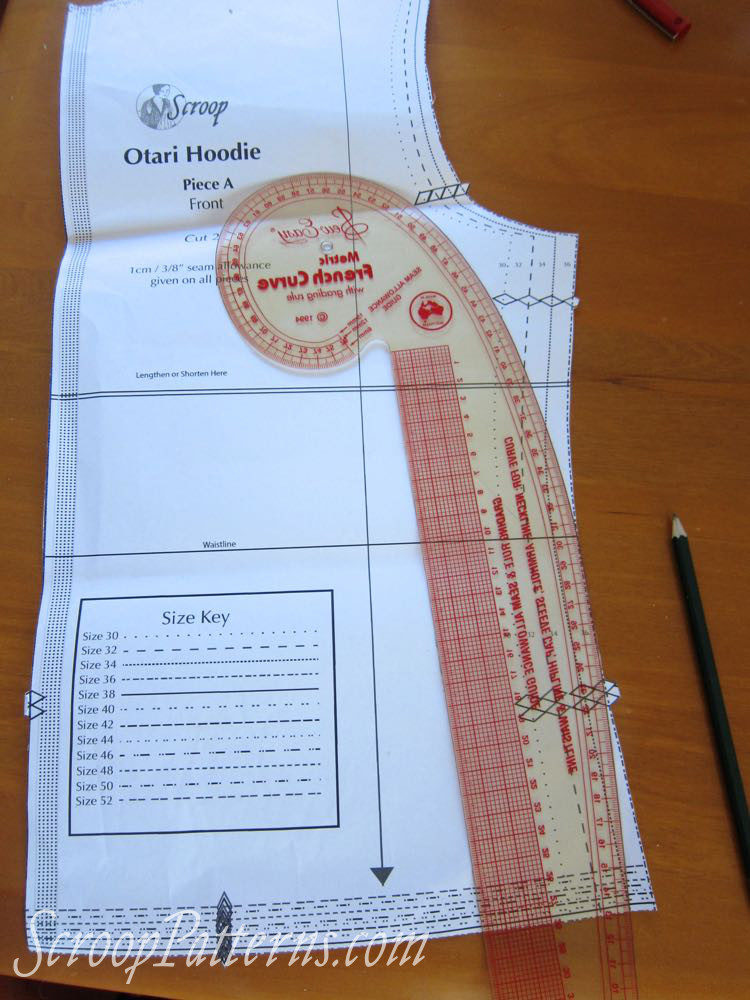
You can now cut your pattern on the new line, and have the Hoodie sit closer to your hips.

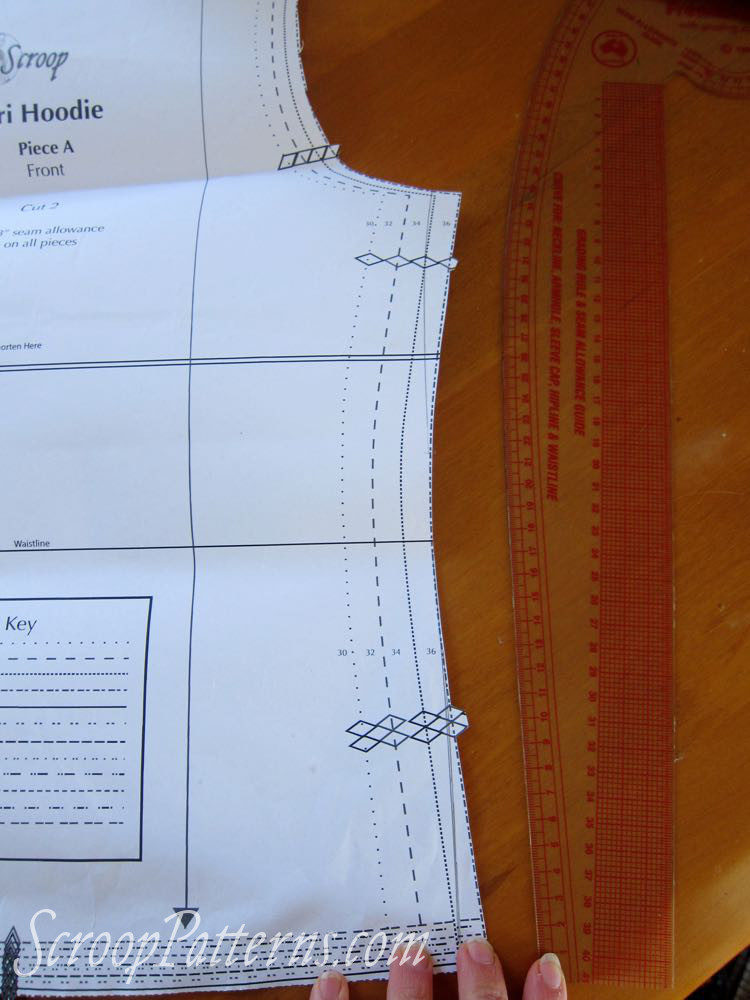
If you have a very straight body, with wider shoulders, you might want to draw in at both the hips and the bust, as shown below.  This will give you a very straight pattern, with wider shoulders

Otari Hoodie Sew Along - Alterations & cutting out scrooppatterns.com

Fit Comparison:

Because the Otari is made of stretch fabric, and cut as a looser fitting garment, you have a bit of leeway in choosing sizing.  If you want a really roomy Hoodie, you could just go up a size or two.

If you want a slimmer fit, you can go down a size, particularly if you are using a fabric with reasonable stretch.

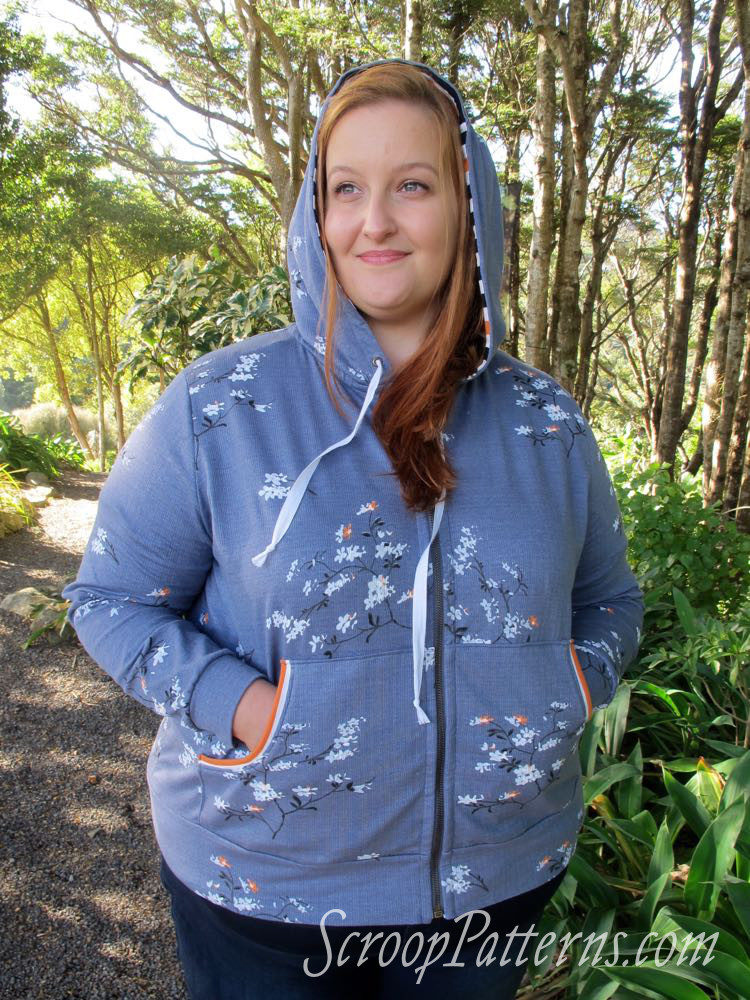
Here is what Jenni, size 36, looks like in her size 36 Hoodie:

Otari Hoodie Sew Along - Alterations & cutting out scrooppatterns.com

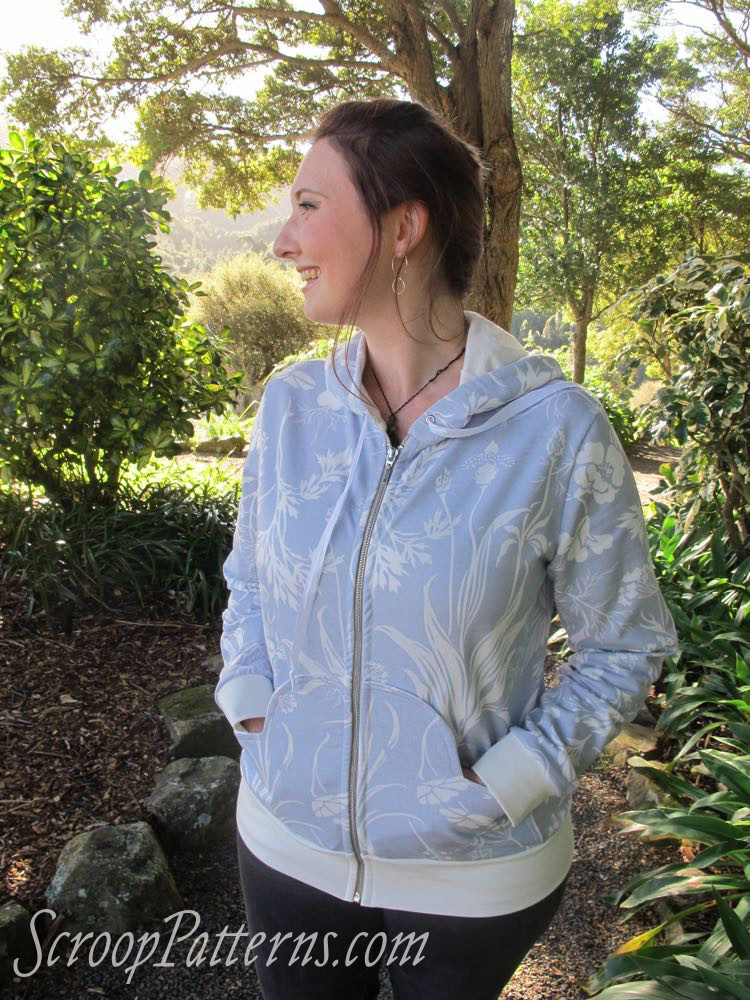
And here is size 38 me in her hoodie:

Otari Hoodie Sew Along - Alterations & cutting out scrooppatterns.com

You can see it’s a little snugger over the bust and hips, but definitely still fits reasonably.

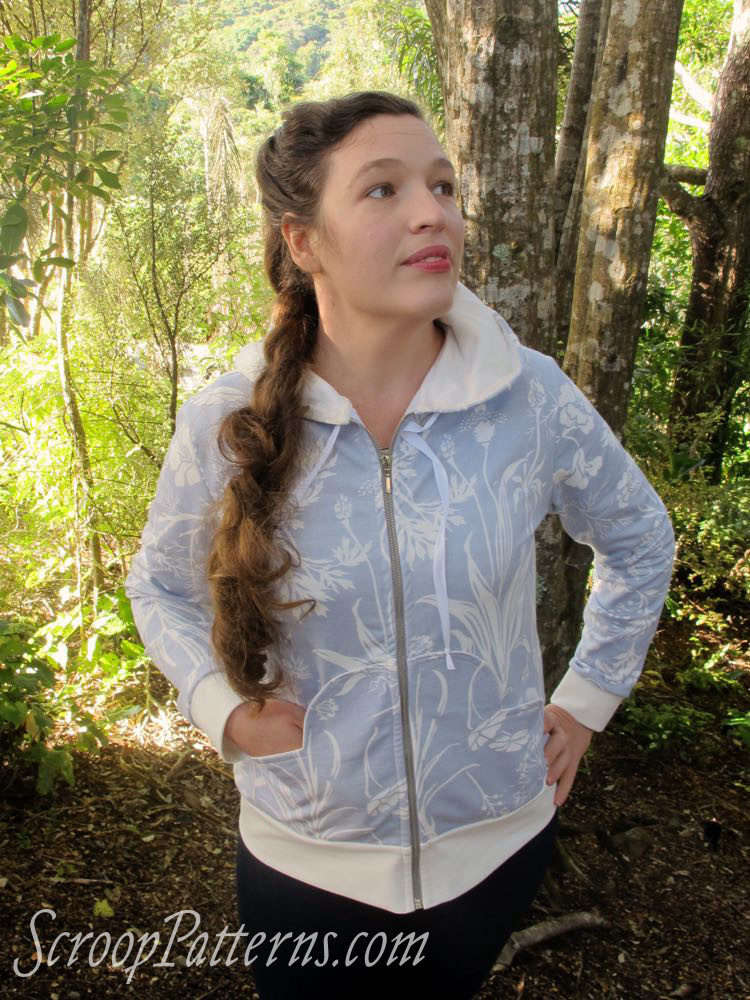
Here is size 34 Priscilla, in her size 34 hoodie:

Otari Hoodie Sew Along - Alterations & cutting out scrooppatterns.com

And size 38″ me:

Otari Hoodie Sew Along - Alterations & cutting out scrooppatterns.com

You can see that it is very snug in the bust and body, and a tight in the arms – but I can still put it on.

It’s also too short in the arms and body, and that’s because I did length adjustments on the pattern, to fit Priscilla’s petite body.

Length Adjustments:

It’s easy to shorten and lengthen the Otari Hoodie.

First, you want to figure out where you need to shorten and lengthen the Hoodie.

Measure from your shoulder to your waist, and from the pattern’s shoulder to waist:

Otari Hoodie Sew Along - Alterations & cutting out scrooppatterns.com

Be sure remember to discount the 1cm seam allowance in the shoulder seam.

Open the hoodie pattern along the Lengthen/Shorten seam, and add or subtract whatever you need to make the waistline measure match yours.

Measure the length of the sleeves, and compare to your arm measure, and add or subtract as needed, along the lengthen/shorten line.  Remember that the sleeves will have a 2″ cuff.

If the waist is the right level, but the pattern is still longer or shorter than you want, you can lengthen or shorten at the hem.

Otari Hoodie Sew Along - Alterations & cutting out scrooppatterns.com

I want my double-knit Otari to be a little bit longer, so I’m adding 2″ at the hem, like so:

Otari Hoodie Sew Along - Alterations & cutting out scrooppatterns.com

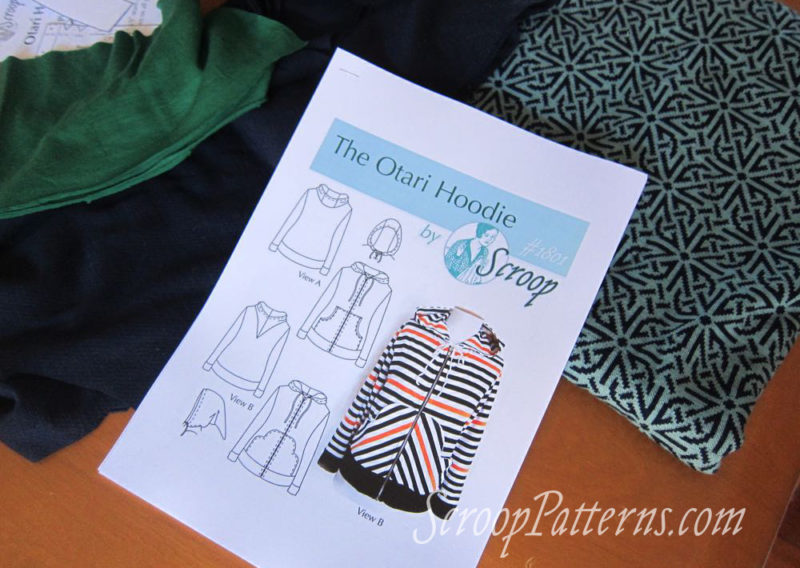
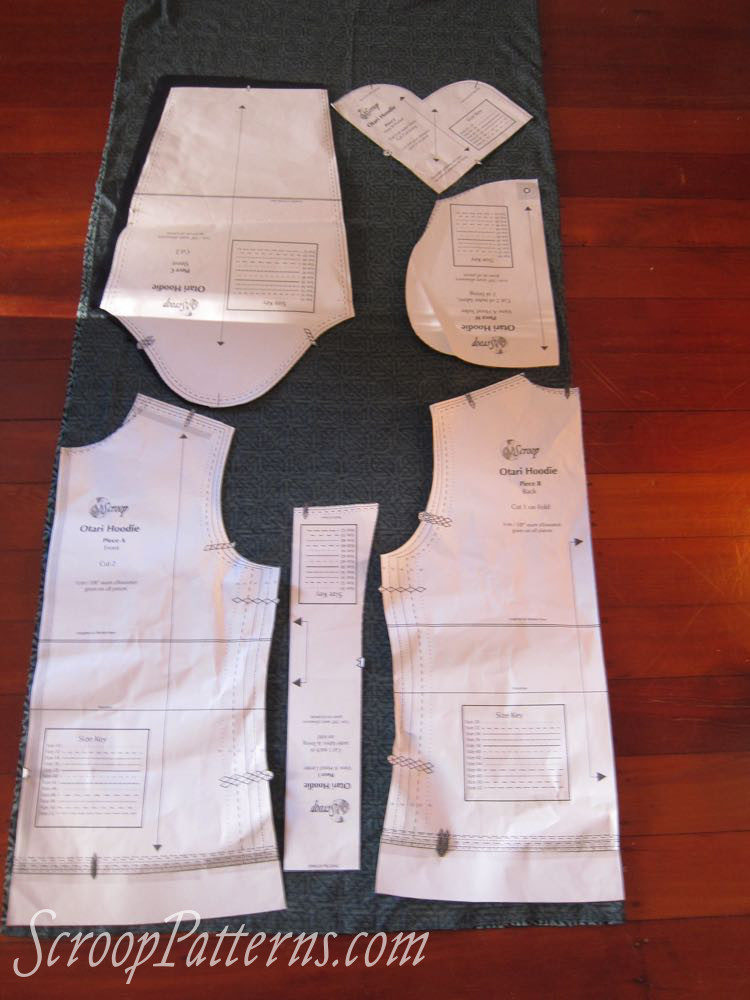
And here are my pattern pieces:

Otari Hoodie Sew Along - Alterations & cutting out scrooppatterns.com

Cutting Out:

And now you’re ready to cut out!

Pay attention to the grainlines on your pattern.  You can cut the View B pocket piece on the bias or the straight grain.

Notice the major mistake I’m about to make in my layout below?  Don’t make that mistake!

Otari Hoodie Sew Along - Alterations & cutting out scrooppatterns.com

(don’t worry, I moved my hood piece so it would be cut on the fold before I cut it).

Happy cutting!

In the next Sew Along post:

Sewing Preparation

Want to join in?  Buy your Otari Hoodie Pattern Here  

Otari Hoodie Sew Along thedreamstress.com

The Otari Hoodie Sew Along #1: Choosing fabric

As a sewing teacher I feel that choosing the right fabric can make or break a project, so it makes sense to start the Otari Hoodie Sew-Along at the very beginning: choosing fabric.

The Otari Hoodie by Scroop Patterns scrooppatterns.com


The goal with any project is to think about what characteristics you want the finished garment to have (drape, warmth, structure, weight), and then choose fabrics that when combined, will have all those characteristics.  A garment that depends on drape needs an outer and lining that are equally drapey.  A structured garment needs stiffer fabric, or the addition of interfacing or flat lining to a softer, less structured fabric.  Etc. Etc.

With the Otari Hoodie, you want enough stretch in all your fabrics that the hoodie moves with you.  The main body can have a bit less stretch, but it’s important that the cuff and hem band have lots.  The cuff, pocket binding, and hem band also need good recovery, so that the shape of the hoodie stays crisp over many wears.

You also want to make sure that the combination of fabrics at any given point isn’t too thick.  If you’re using a heavier body fabric, it’s important to use a very light lining fabric, and a lighter pocket binding fabric, so that the hoodie isn’t too bulky where the pocket joins the zip.

1 Otari Hoodie - Choosing Fabric thedreamstress.com

Recommended Fabrics:

Body: Midweight knit fabrics such as: midweight cotton sweatshirting, waffle knits, heavier merino knits, etc. with 20%-40% stretch across the width.

Cuff, Pocket Binding & Hem Band: Midweight jersey or ribbed knit with added spandex for good recovery and 30-40% stretch across the width.

Pocket & Hood linings: Lightweight knit fabric with 20%-40% stretch across the width. View B pocket lining fabric should have added spandex for good recovery – this is important because it helps the pocket to hold its shape with wear and use.

For the Sew Along I’m going to be making two hoodies:

Hoodie 1:  View A (possibly with View B pockets)

1 Otari Hoodie - Choosing Fabric thedreamstress.com

I’ll be making this one in a fancy teal & navy jacquard woven merino double-knit, with navy merino bindings.

The double-knit body fabric is 100% merino and has 30% stretch across the width, and just under 10% stretch along the length.

The contrast binding fabric is 96% merino, 4% elastane (spandex) and  has 40% stretch across the width, and 10% stretch along the length.

The contrast fabric is quite thin, to balance the thick, fluffy double-knit, but has excellent recovery, so is strong enough to hold its shape as bindings.

Hoodie 2: View B with View A Pockets

1 Otari Hoodie - Choosing Fabric thedreamstress.com

I’ll be making this one in navy blue merino waffle knit, with kelly green merino knit contrast.

The waffle knit body fabric is 100% merino and has 30% stretch across the width, and just under 10% stretch along the length.  It is lighter weight than the merino double-knit.

The contrast binding fabric is 96% merino, 4% elastane (spandex) and  has 40% stretch across the width, and 10% stretch along the length.  It’s the same fabric as the navy blue I’m using in Hoodie 1, just a different colour.

I’ll also be using some of the navy contrast from Hoodie 1 for my hood lining, and pocket linings.

All of my fabrics were purchases at The Fabric Store New Zealand.

Sample Otari Hoodies:

I thought you might find it helpful to look at the three Otari Hoodies I made as samples, and what fabrics I chose for them as well (especially since I’ll be using the first two to demonstrate some steps in the Sew Along).

The Otari Hoodie by Scroop Patterns scrooppatterns.com

Jenni’s Otari Hoodie is made up in powder blue floral midweight 100% cotton sweatshirting, with 20% stretch across the length and width.

The cuffs & hem band are in midweight cotton-spandex ponte, with 35% stretch across the length and width, and excellent recovery.

The hood & pocket are lined in lightweight silk-viscose-spandex.

The blue sweatshirting has the absolute minimum recommended stretch, and was near the top end of a weight I’d recommend.  Thus it was very important that the cuffs and hem band have excellent stretch and recovery, and that the linings were as lightweight as possible.

The Otari Hoodie by Scroop Patterns scrooppatterns.com

Priscilla’s Otari Hoodie is made up in black, ivory & orange striped midweight 100% cotton ribbed knit, with 25% stretch across the width, and 20% stretch along the length.

The cuffs & hem band are in midweight cotton-spandex with 35% stretch across the length and width, and excellent recovery.

The hood is in the same fabric as the body, and the pockets are lined in ivory  midweight cotton-spandex with 35% stretch across the length and width.

I actually found this fabric at an op-shop – 10m for $8!  Hard to pass up.  I started using it just as toile fabric to test Otari techniques, and liked it so much I managed to make three real Otaris out of the remaining length – one for me, one for Priscilla, and one that went to another friend.

The striped cotton is a slightly tricky fabric in that it has very little recovery, so, like the sweatshirting above, needed pocket and binding fabrics that were going to add as much support as possible.  The black banding fabric is actually just barely above T-shirt weight, but it has enough spandex to give it a lot of strength.

The Otari Hoodie by Scroop Patterns scrooppatterns.com

Danielle’s Otari Hoodie  is made up in denim blue floral lightweight cotton-spandex textured sweatshirting, with 30% stretch across the width and 25% stretch along the length.

The  pockets, cuff & hem bands of the same fabric.  The hood and pocket are lined and bound with 100% cotton ribbed knit.

The added spandex in this fabric made it very easy to work with: its robust enough to use as the cuff and hem band fabric, and to support itself as pockets, so I could use fabric with little recovery as the pocket binding.  I could have made the whole Hoodie out of the blue fabric – but a contrast is more fun!

Can’t wait to see what fabrics you pick for your Hoodies!

In the next Sew Along post:

Pattern alterations and cutting out!

Scroop IPM 2018 scrooppatterns.com

Scroop Patterns are on sale + get ready for the Otari Hoodie Sew-Along!

It’s all go for Scroop Patterns for the rest of October!

Not only is Scroop Patterns an Indie Pattern Month sponsor, but we’re having a sale to go with it!

From now until the end of October get 20% off all digital Scroop Patterns with the code:

IPM2018

IPM2018 Sale Scrooppatterns.com

But wait, there’s more…

Join me for an Otari Hoodie Sew-Along!  Starting tomorrow I’ll be covering every step of making an awesome Otari Hoodie, from choosing your fabric, to some pattern hacks, to all the finishing details.

Otari Hoodie Sew Along thedreamstress.com

Detailed posts will be here on thedreamstress.com, and you can follow along on Instagram with @scrooppatterns, and share your own progress with the tag #otarioctober

Hope to see you sewing with us!