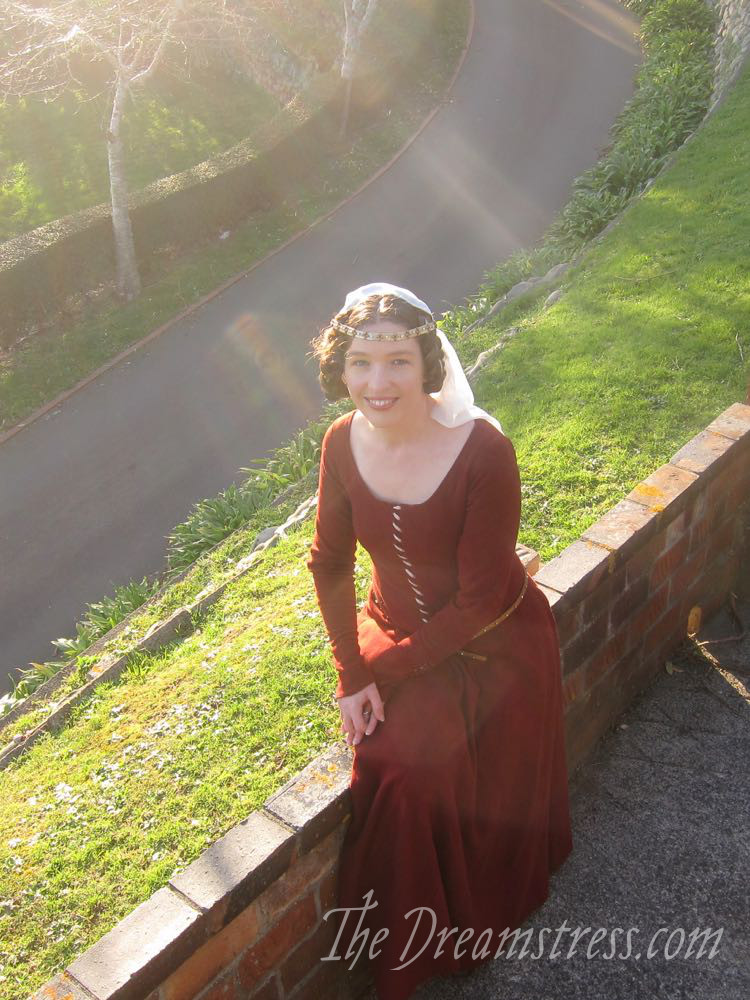
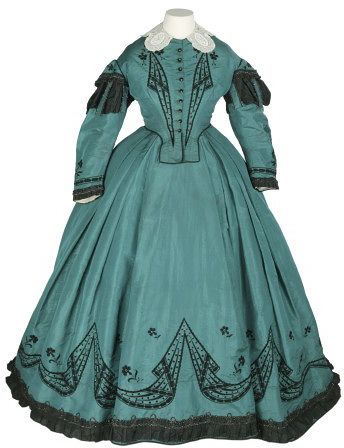
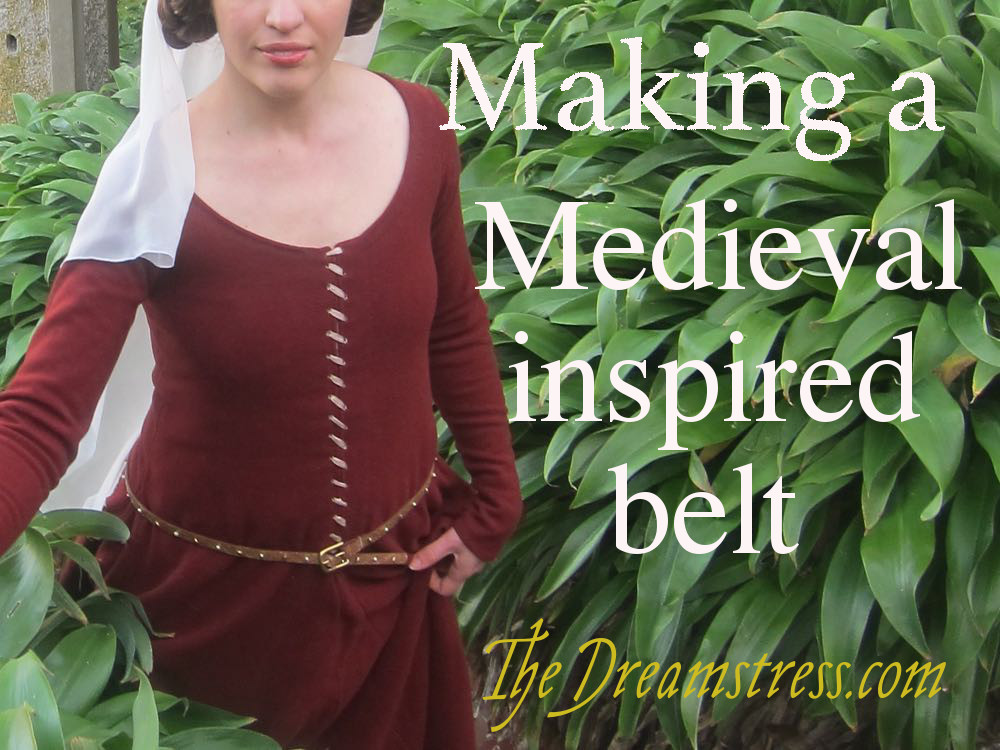
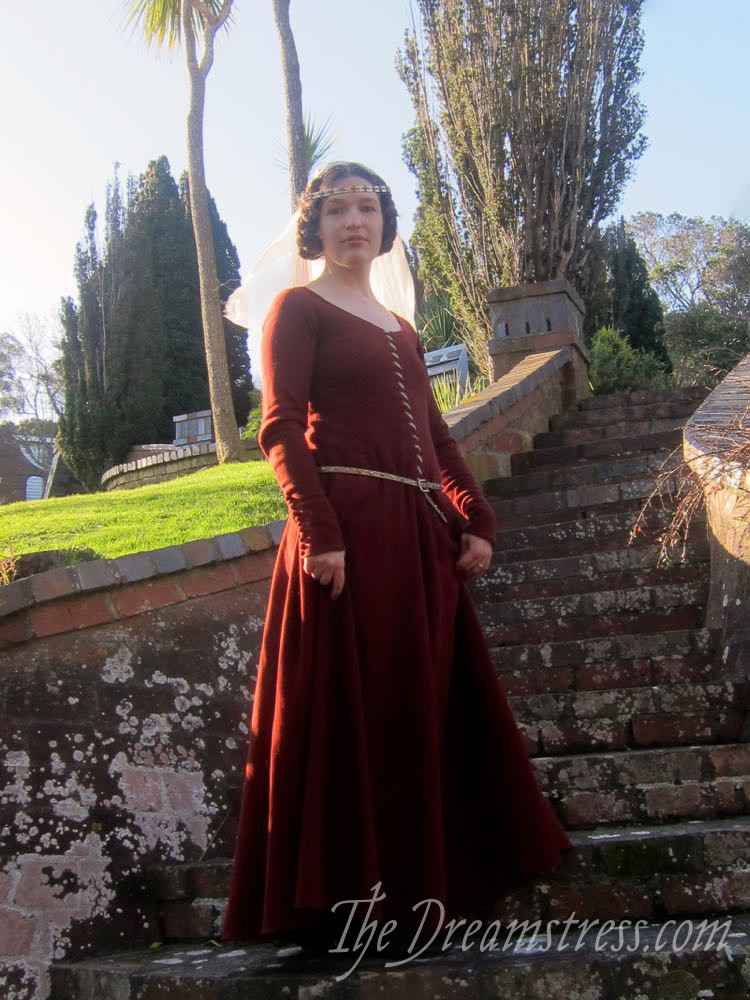
I first wore my ca. 1369 medieval dress to a historical banquet, so I felt it needed fancier, glitzier accessories than I will usually wear it with.
Enter the silk veil, gold circlet, and embellished gold leather belt:
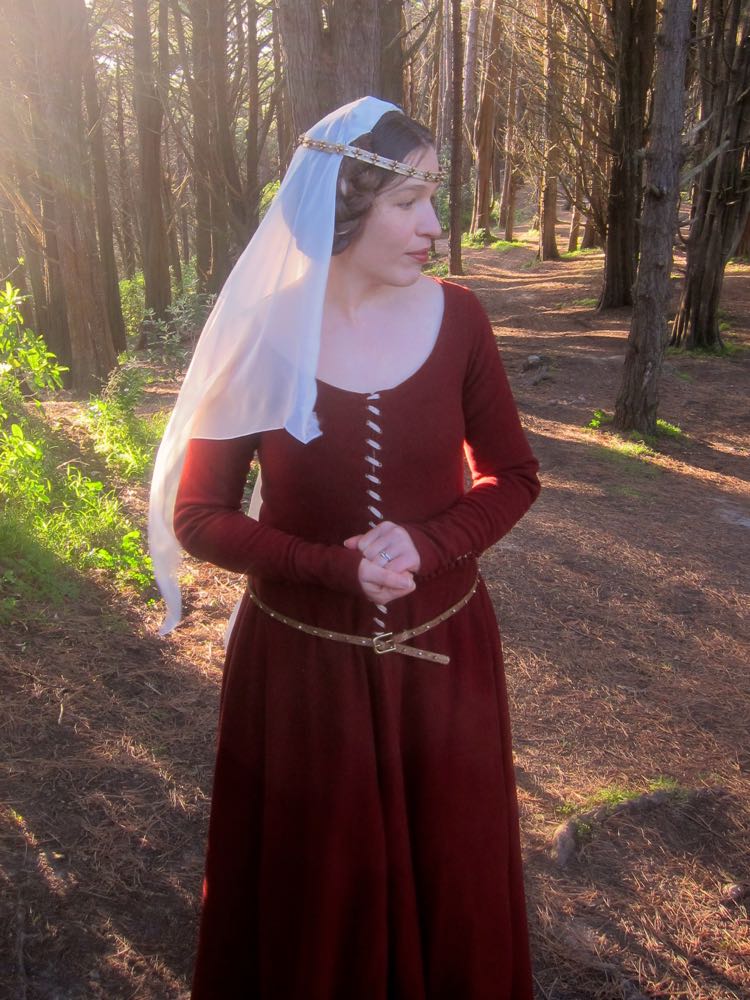
My belt was primarily inspired by the effigy of Katherine, Countess of Warwick. Her narrow belt sits at the hips, fastens at the front with a small buckle, features raised floral motifs, and has no hanging end.
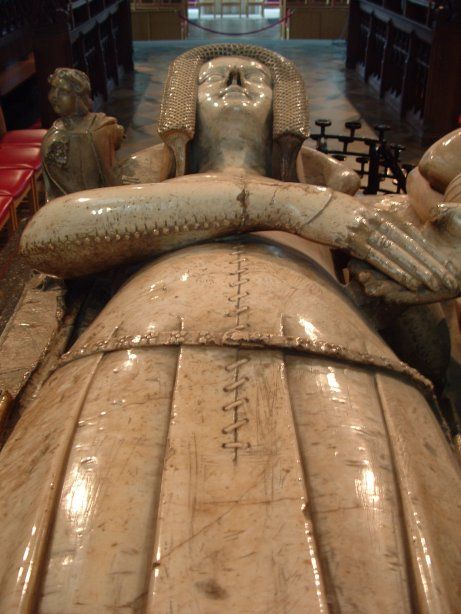
Effigy of Katherine, Countess of Warwick, died 1369
The belt I ended up with isn’t historically accurate, but it’s attractive, gives the effect, and was quick, cheap, easy and fun to make!
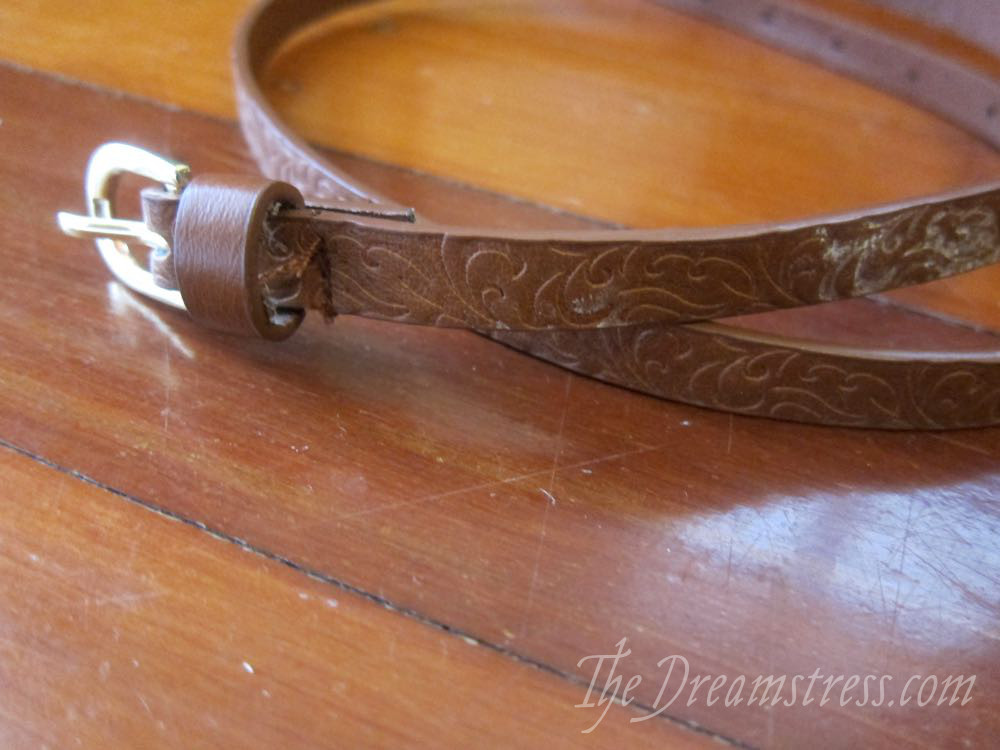
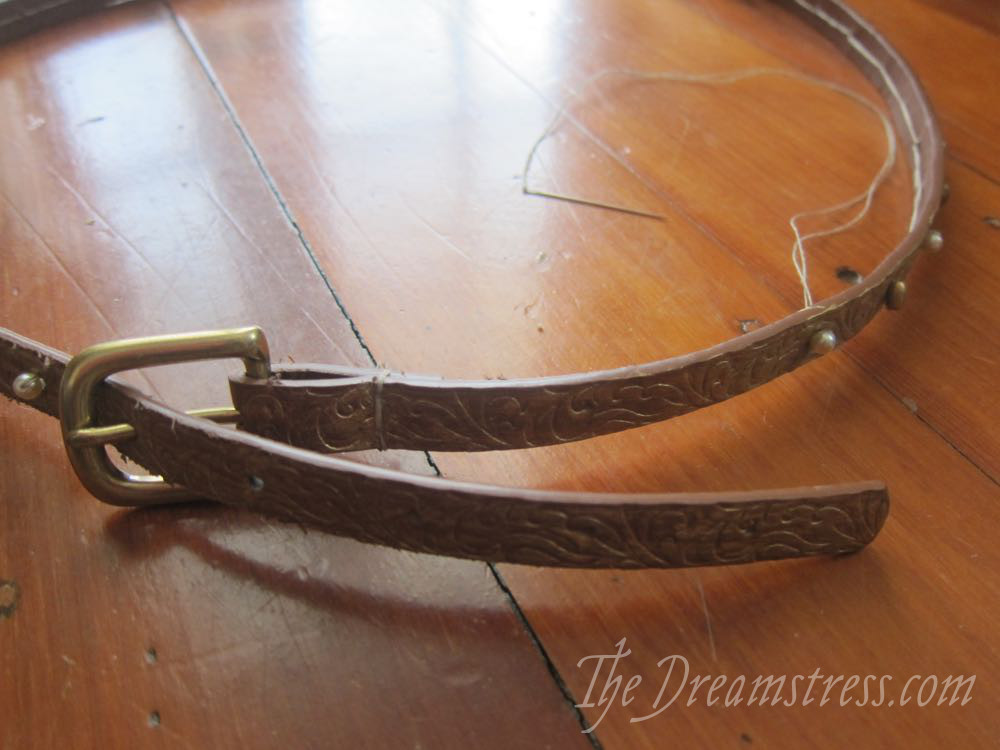
To make my costume take on Katherine’s belt, I started with a cheap belt with an embossed floral pattern:
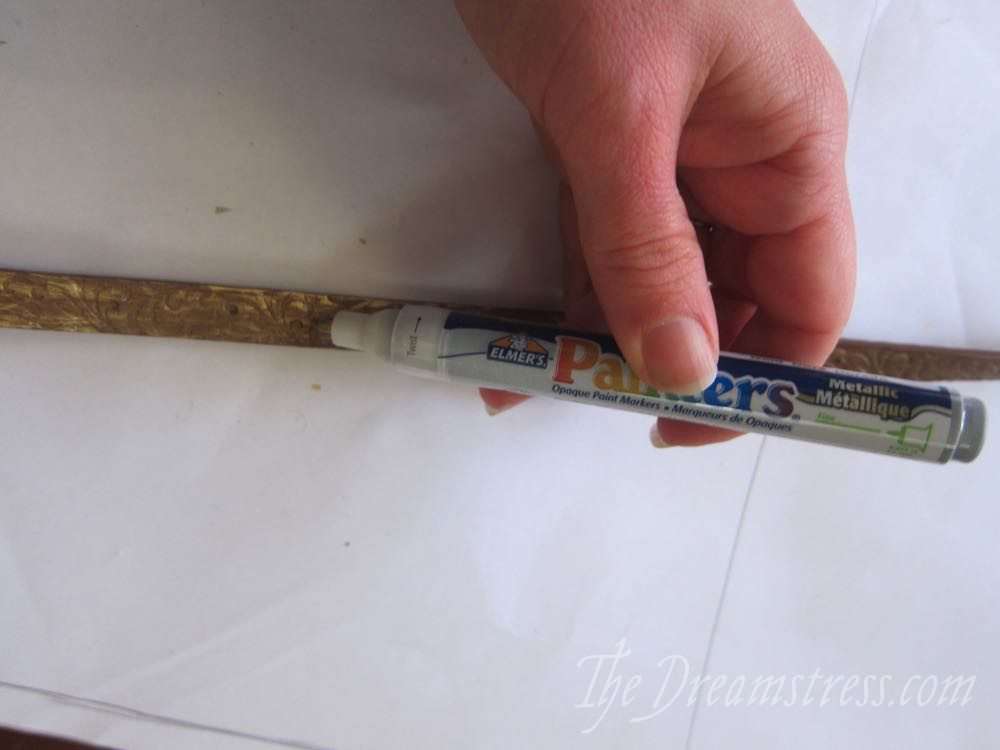
Using an Elmers Painters Metallic pen, I coloured it gold. The TRG the One Colour Dye & Preparer I recommend for my dyeing leather shoes and bags tutorial comes in gold and works even better, but I didn’t have the right shade on hand when I did this belt. I didn’t worry too much about getting my colour even, because I just wanted a hint of gold.
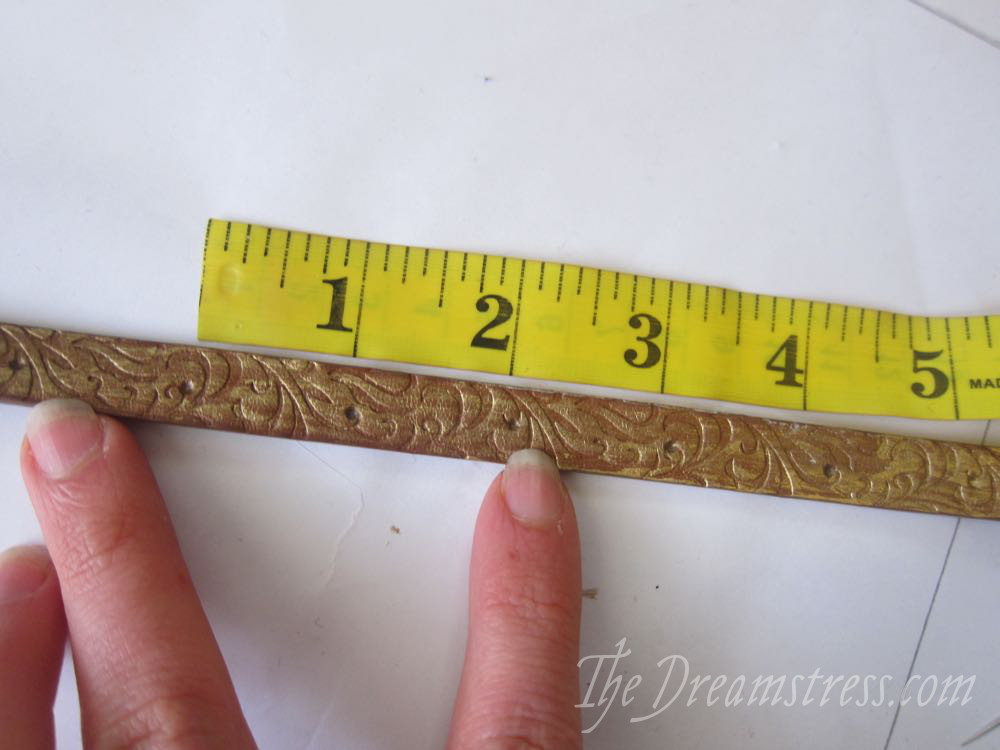
Then I measured the belt holes that were already punched in the belt, and marked spots for holes the same distance apart (it happened to be 1″, which is standard for belts) along the whole length of the belt.
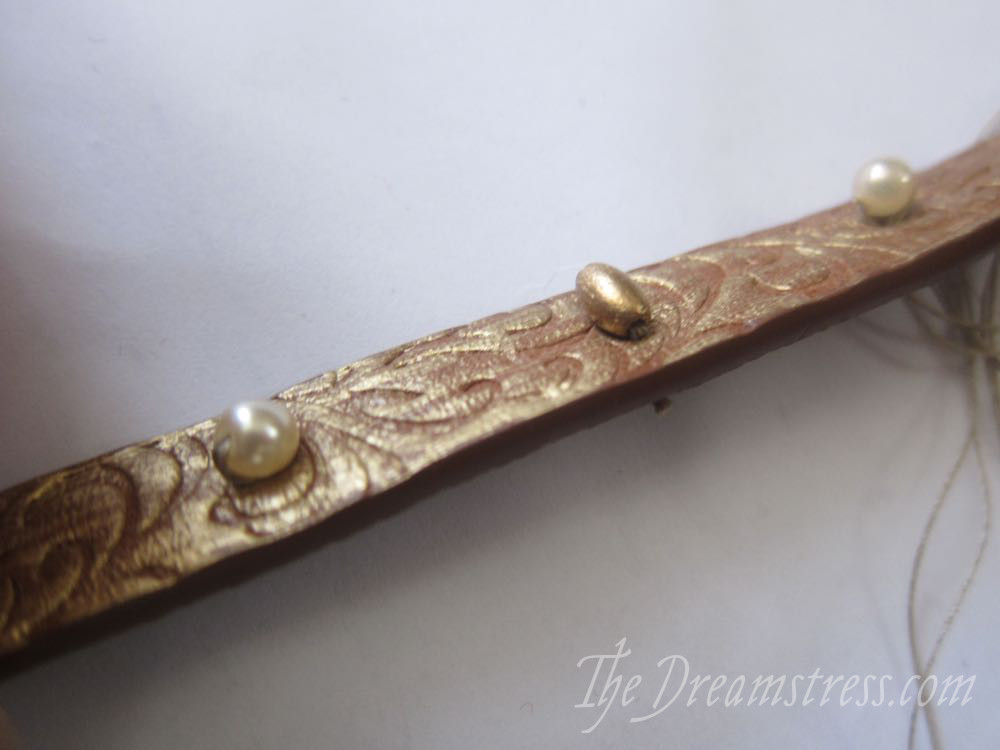
I decided on a embellishment pattern of one gold bead, one pearl:
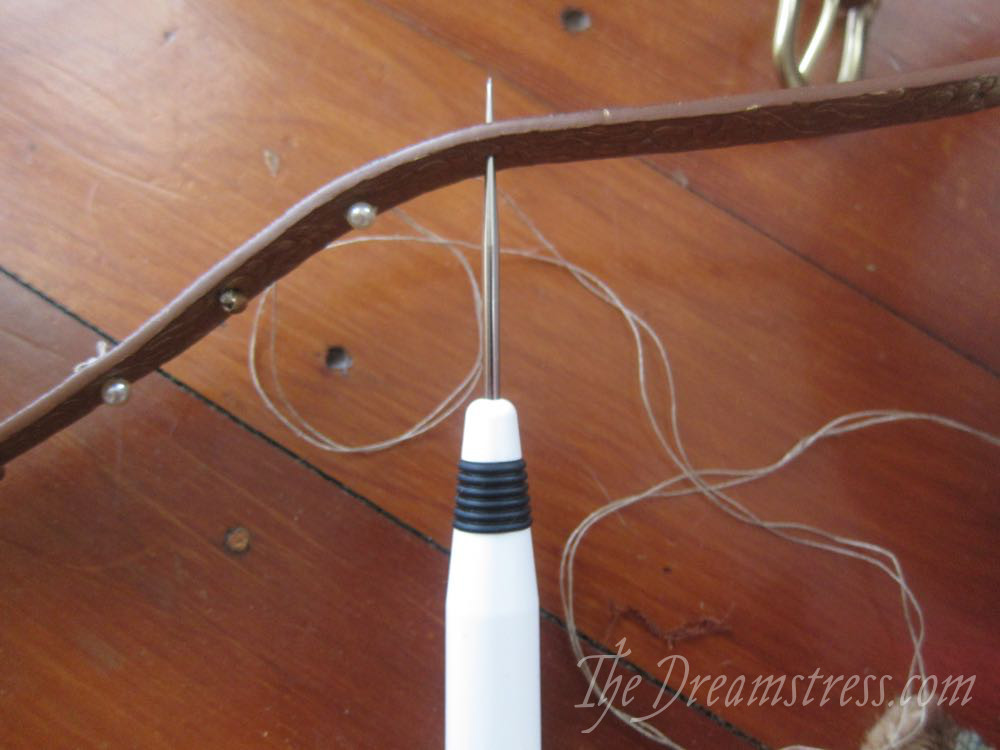
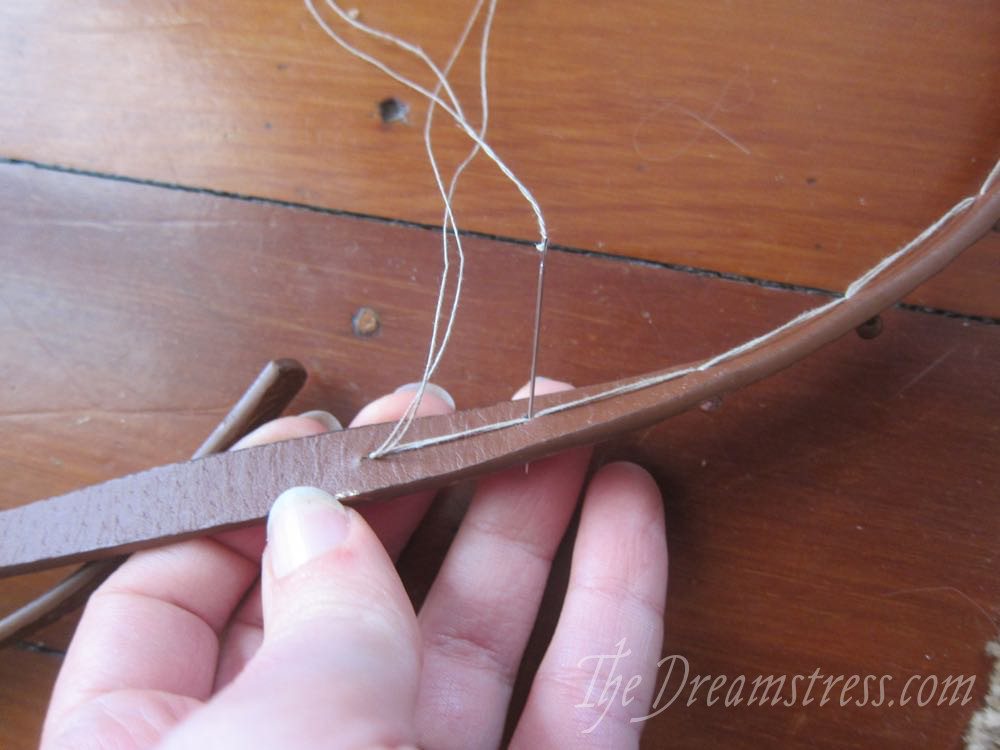
I poked a hole in my first mark on the belt using an awl.
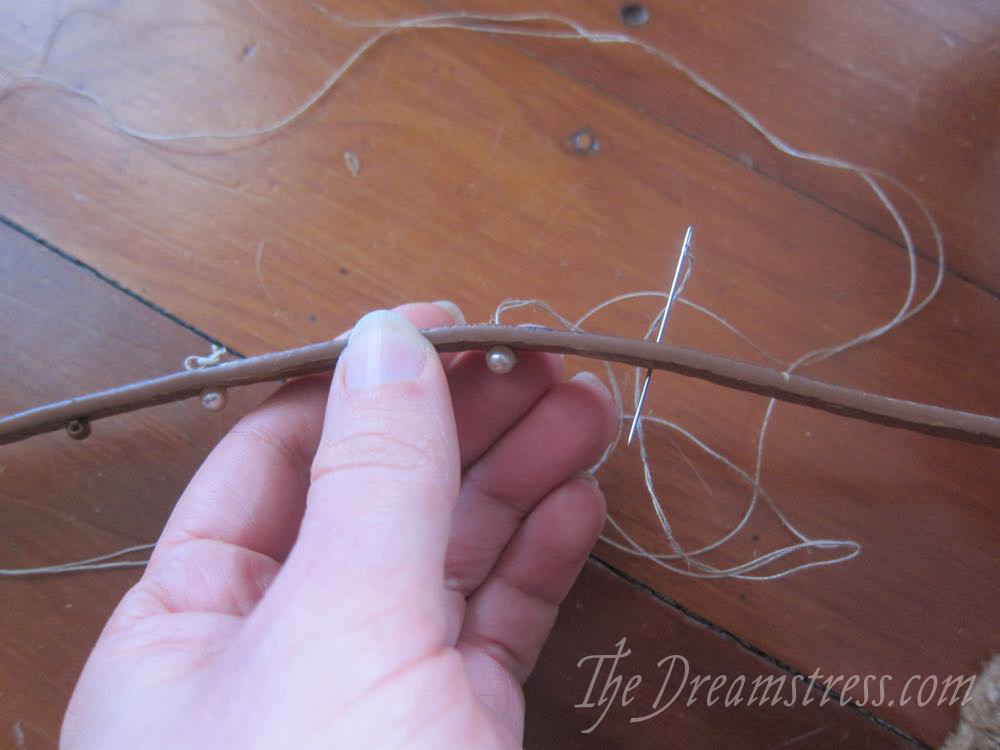
Using strong linen thread in the smallest needle that would carry it, I tied a large knot in one end, and threaded the needle through the first hole, and then through a pearl bead, and then back down through the hole
Up through the next hole and a gold bead, back down again, and so forth, until my thread got short-ish, or I reached the end of my marks, and needed to tie off my thread.
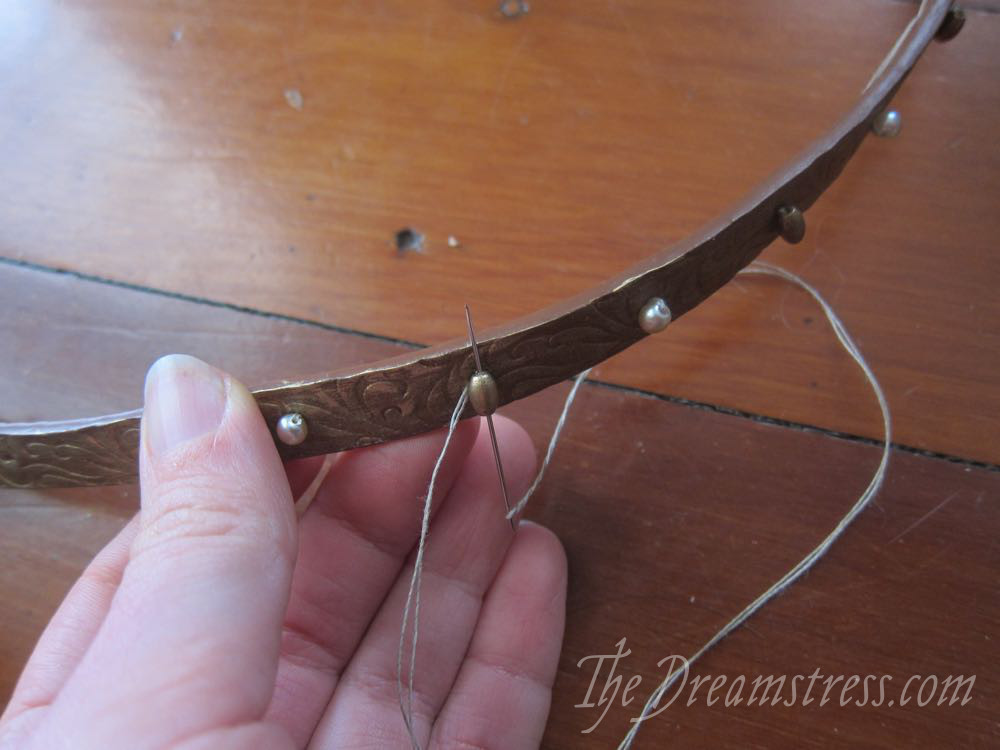
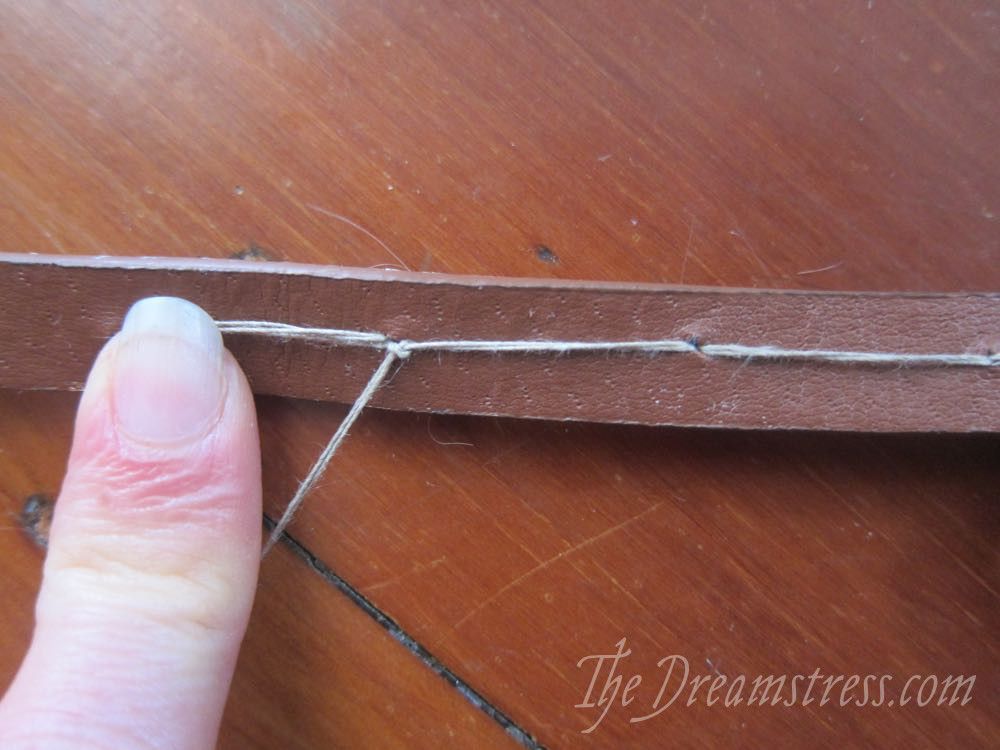
To do this I carried the thread back to the last hole, and through it:
Then I poked my needle through the bead at that hole, and back through to the wrong side of my belt:
I carried the thread under and through the thread:
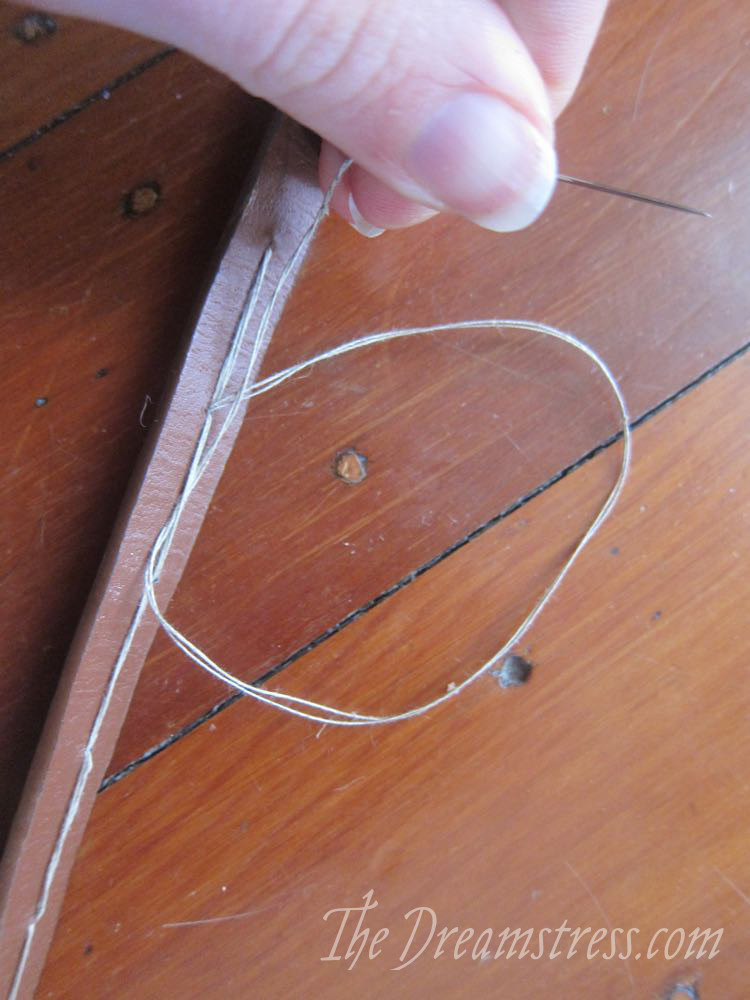
Forming a knot, which I pulled tight to secure the thread:
Simple, basic, easy, not period, but effective!

For a more elaborate effect, and to be even closer to Katherine’s belt, you could even sew in a rosette pattern, which is what I did for my circlet. The circlet is made from a strip of soft leather, coloured gold with the TRG leather dye, and decorated using the same technique.

Enjoy!