I’ve always been wildly envious of costumers who post about historical retreat events that include opportunities to swan about in glamorous undress. Whether it’s 18th century banyans, Victorian tea gowns, or Edwardian wrappers, there’s something so delicious about actually wearing historical deshabille for the purpose it would have been worn for in period.
So when we planned our 2021 historical retreat I suggested that we should definitely include early 20th century undress in our dress planning. It would be really easy, because we all at the very least had gorgeous vintage kimono thanks to the kimono shop that used to be in Wellington.
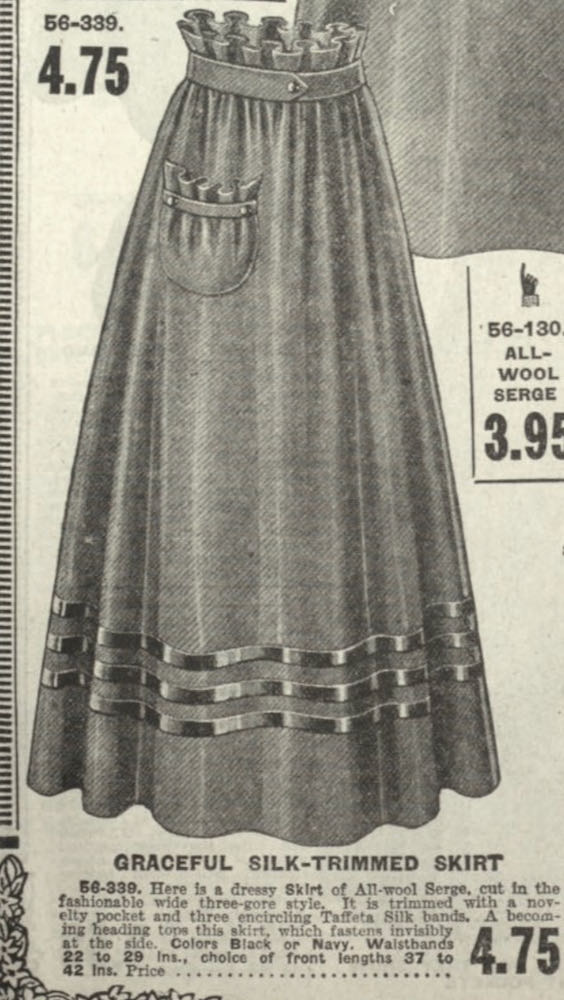
I had slightly more ambitious plans. I have this fabulous 1908 wrapper pattern in my stash:
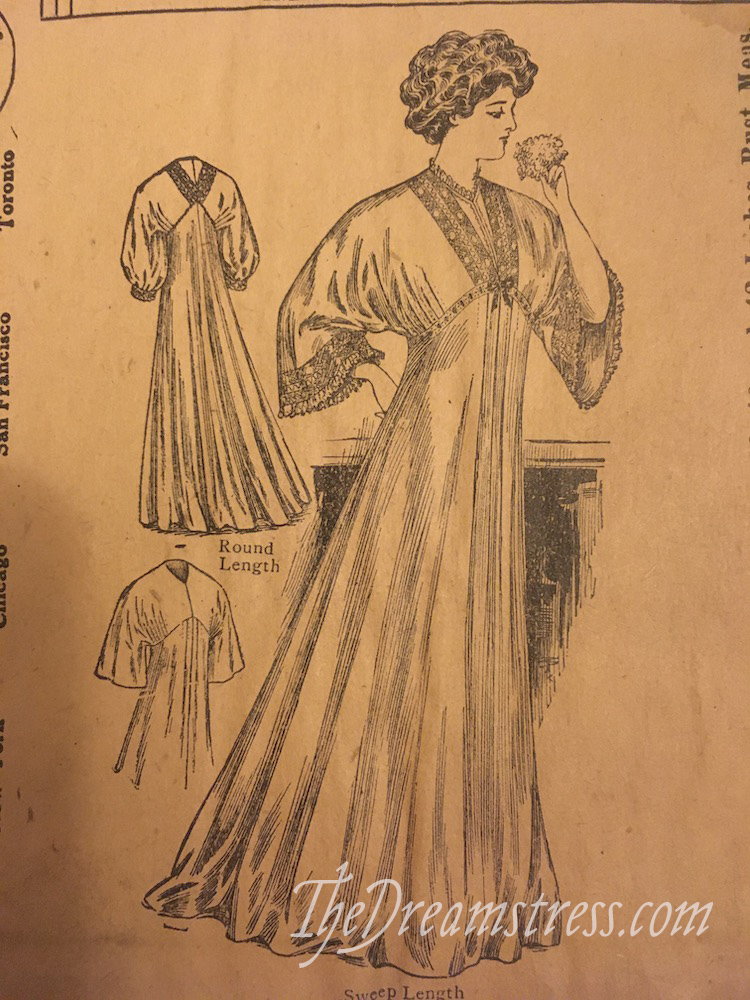
The perfect excuse to make it!
What is a Wrapper?
Wrappers were looser, more informal dresses that women wore in their own home, either to relax or do housework. They would be acceptable attire for an invalid, or for the lady of the house to wear to breakfast or dinner with family and very close friends.
In elegant fabrics they overlapped with tea gowns in use and social status (I have an 1890s sewing pattern for a ‘wrapper or tea gown’). In simple fabrics they were ‘scrub’ attire, for housecleaning.
Wrappers were a definite step up in formality from a bathrobe or kimono, but weren’t generally meant to be worn outside the house. Miss Cornelia wears a ‘chocolate brown wrapper scattered with huge pink roses’ on her first visit to Anne in ‘Anne’s House of Dreams’. Mongomery makes it clear this is highly unusual, highlighting that Anne instantly likes her, despite ‘certain oddities of attire’ and that ‘nobody but Miss Cornelia would have come to make a call’ in such a garment.
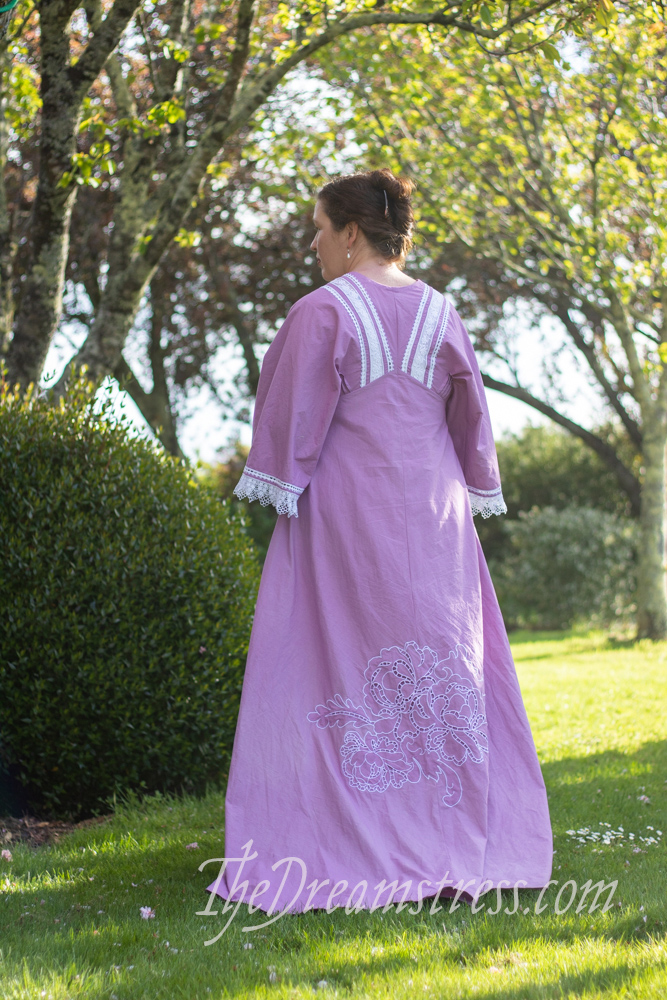
The extravagant design of my wrapper, ‘in empire line’, with its wide sleeves and full skirt, means it wouldn’t really be practical as anything but a very elegant garment.
Wrappers could be worn with or without a corset, depending on the formality of the occasion (I’m sure Miss Cornelia was wearing one with hers!
The Fabric and Construction:
What to make my wrapper out of? Sometimes I know exactly what fabric to pair with what pattern, and sometimes I’m totally at a loss.
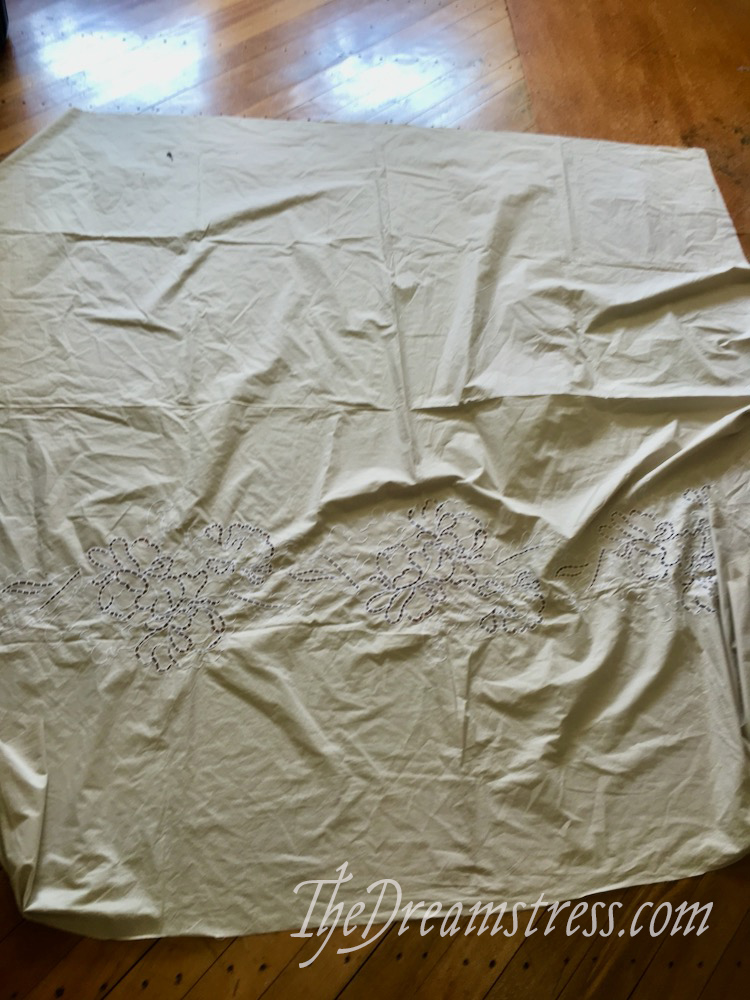
I had a rummage through my stash, and decided I definitely didn’t feel like trying a pattern out for the first time in silk charmeuse. I was a bit stumped, and then remembered this fabric:
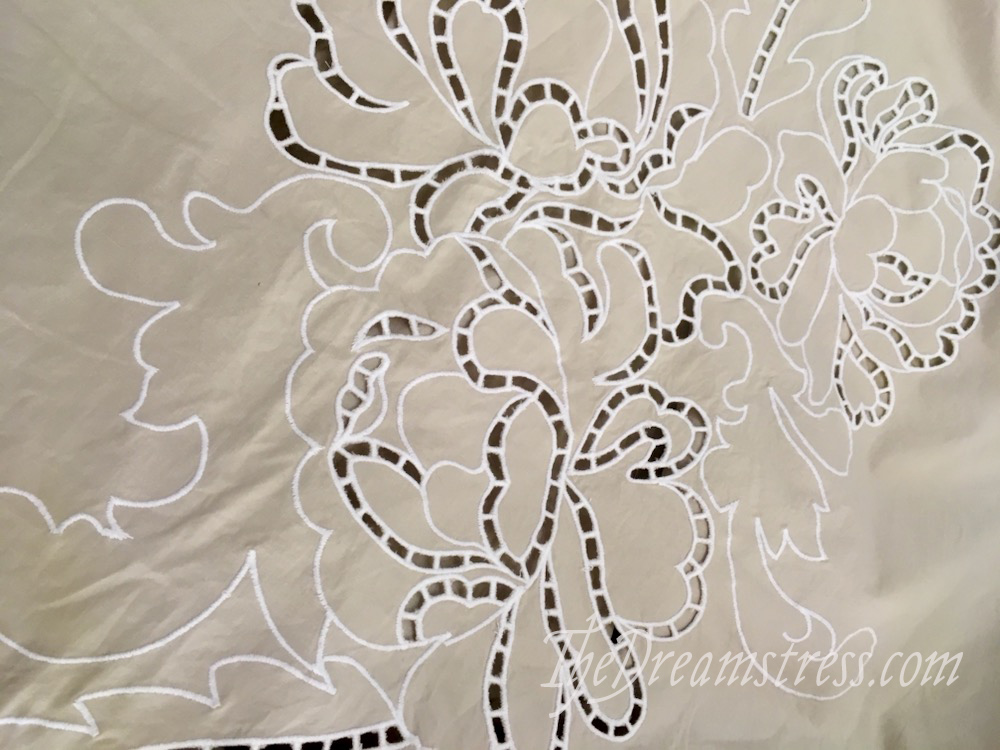
It’s a weird piece of cotton sheeting with three large embroidered cutwork motifs at one end. I’d picked it up at Fabric-a-Brac Wellington, thinking it was embroidered all over, and then discovered how strange it was. As far as I can guess it was meant to be a duvet cover:
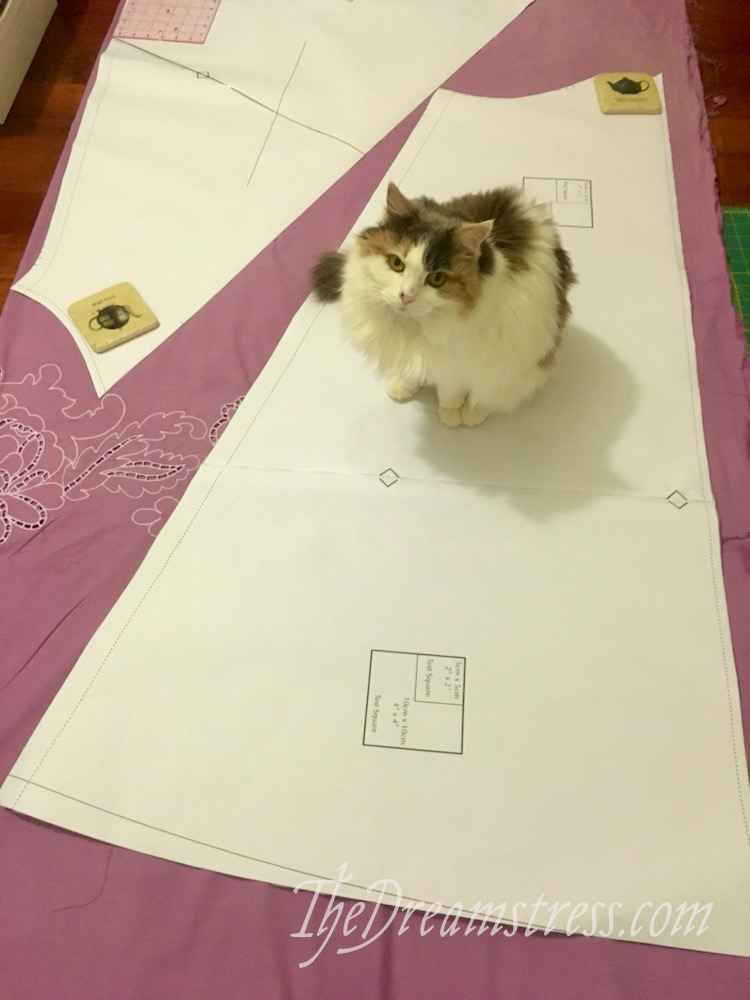
I had a play with the pattern pieces, and they just fit perfectly. It was meant to be! But what a dull, uninspiring colour…
Well, I can fix that!
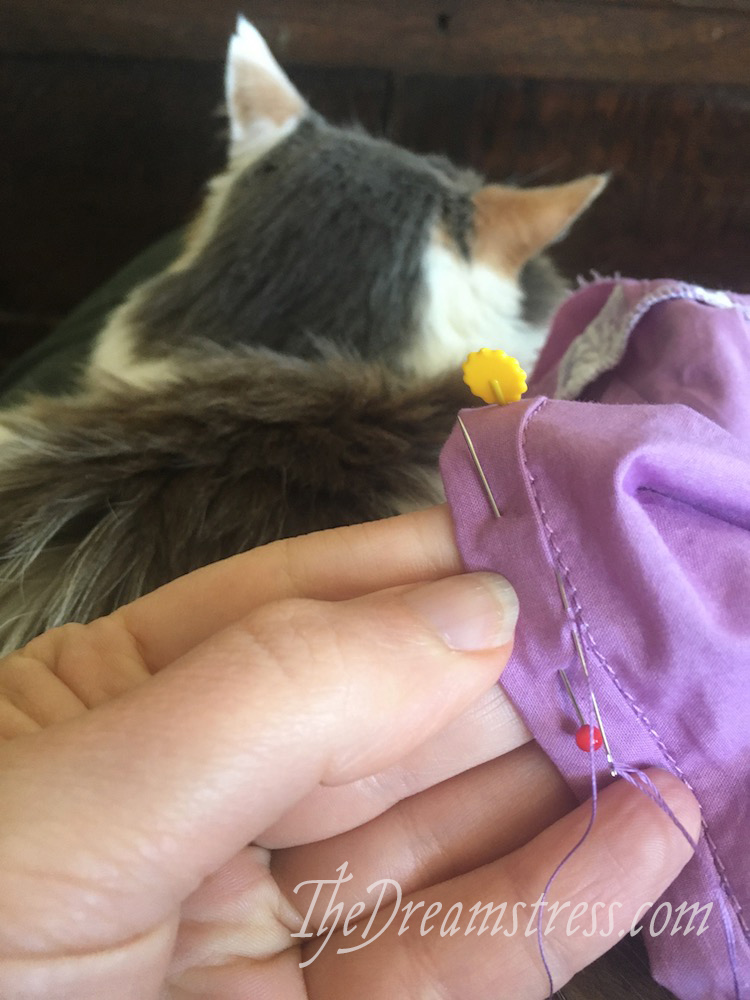
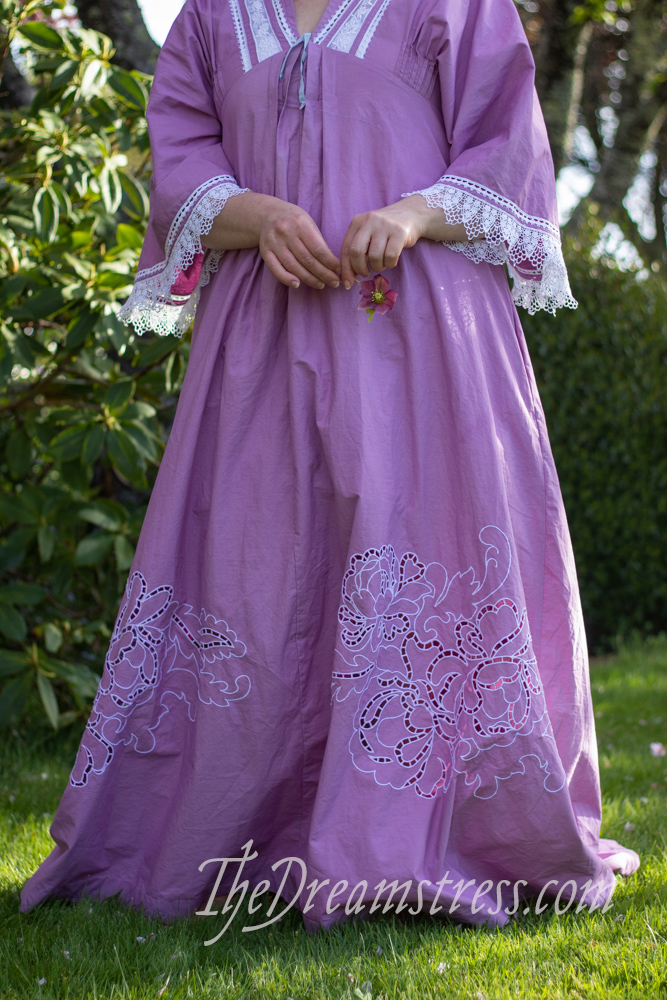
Definitely not dull and inspiring any more! I was aiming for a very soft, muted pink-purple, but sometimes you get vivid orchid when you want dusty mauve…
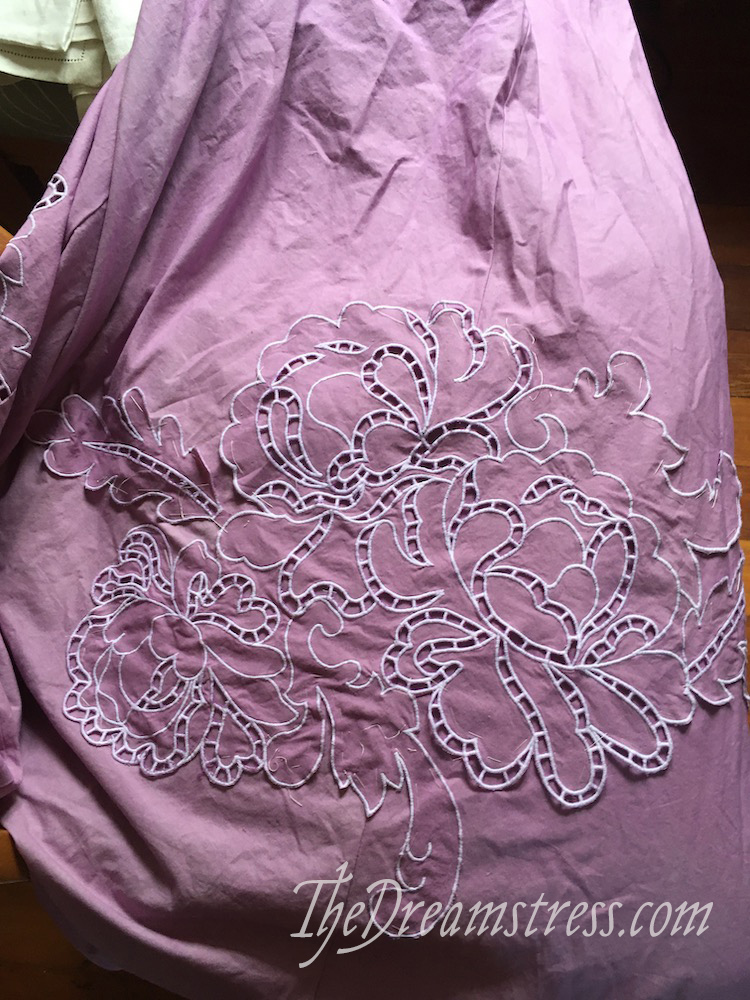
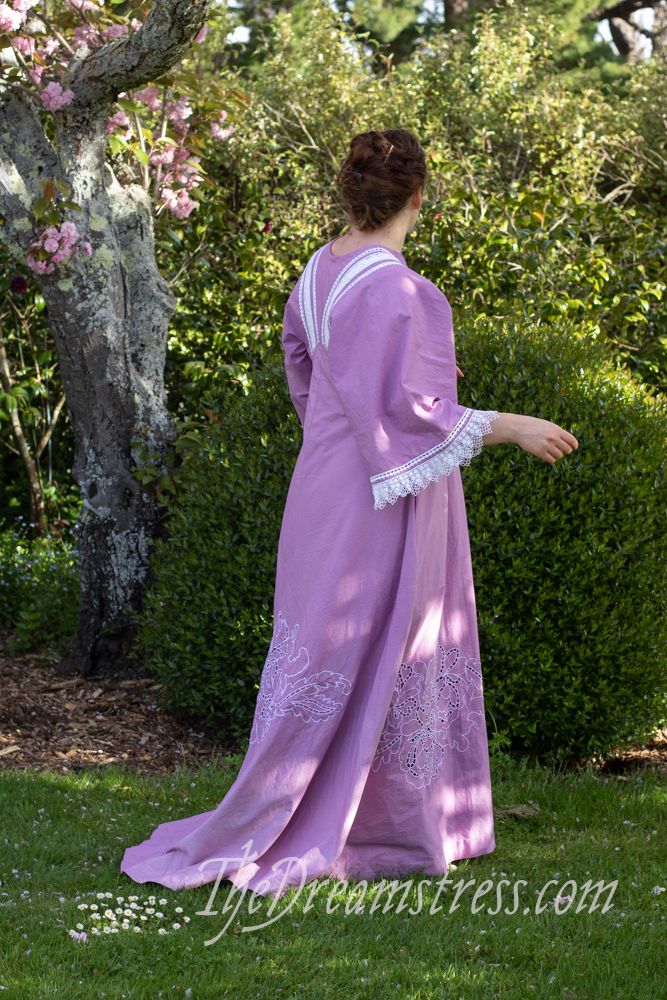
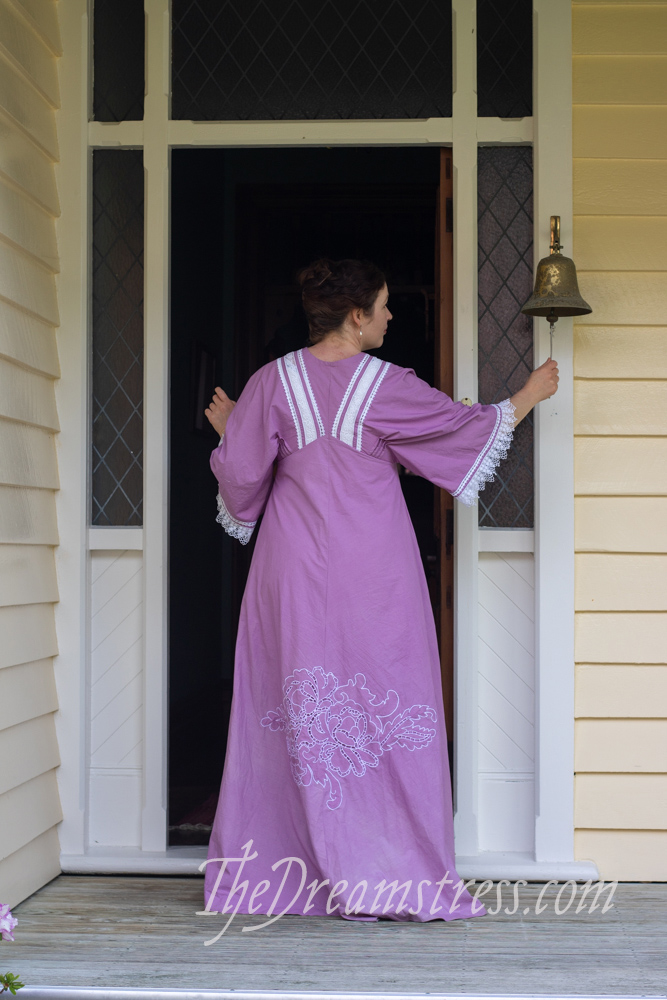
With very careful cutting I was able to get two large motifs on the front of the skirt. I cut out the third large motif, and appliqued it to the back sweep of the skirt:
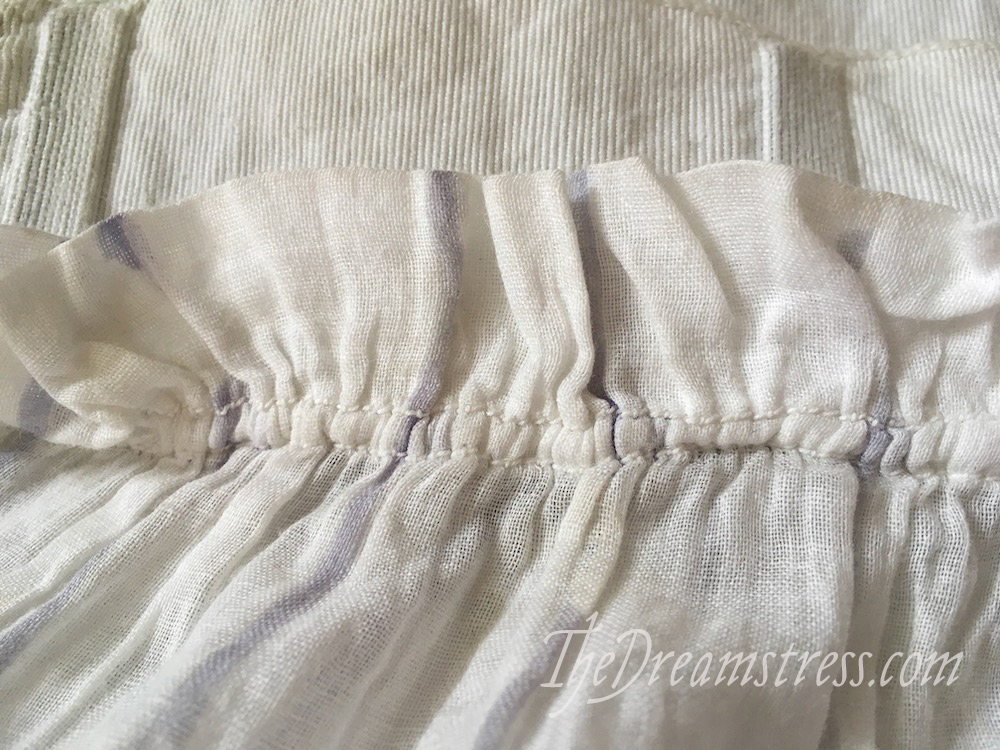
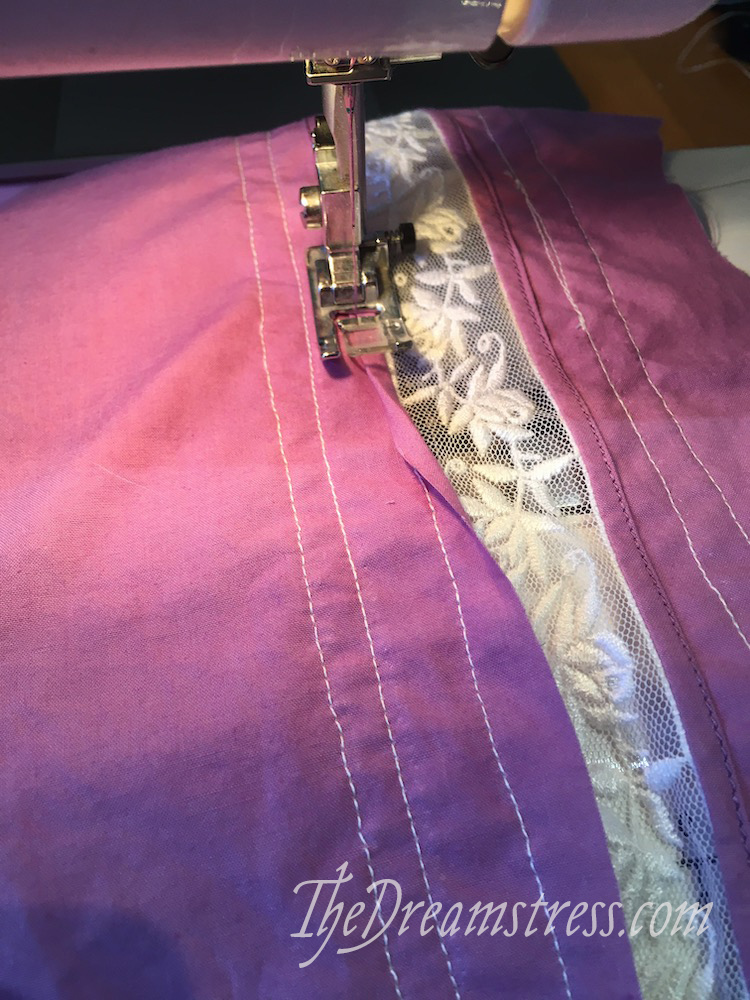
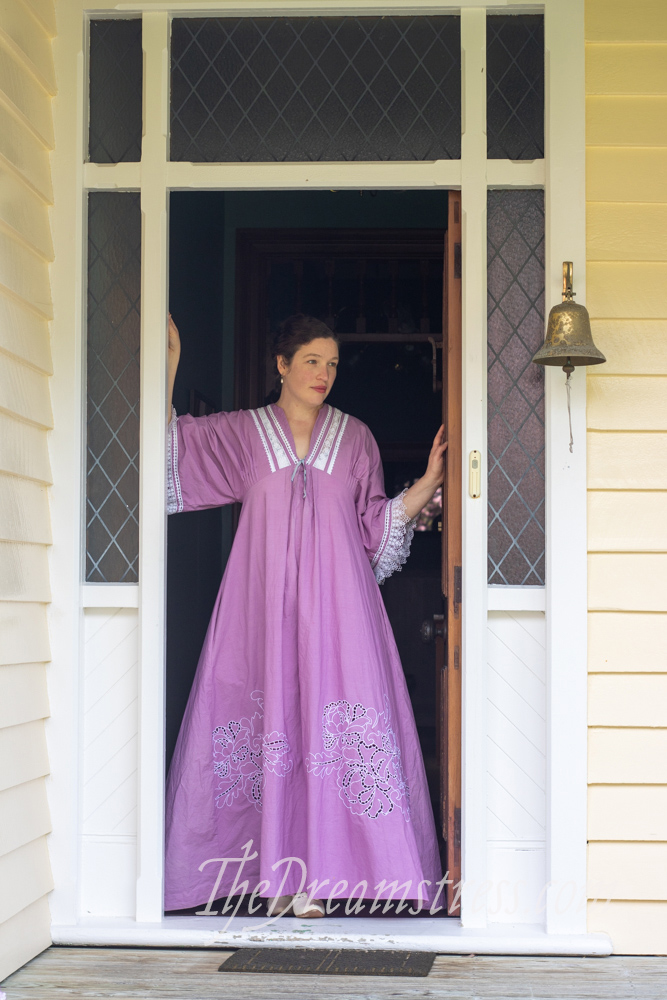
I got slightly carried away on the bodice and sleeves, and just kept inserting lace, using all the lace techniques that are covered in the Scroop Patterns Ettie Petticoat pattern.

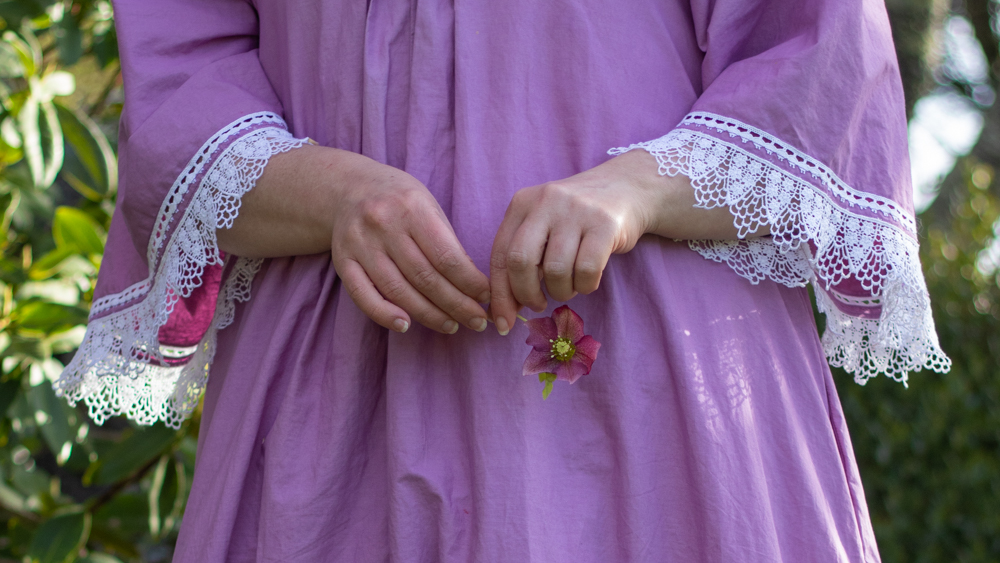
And the end result?
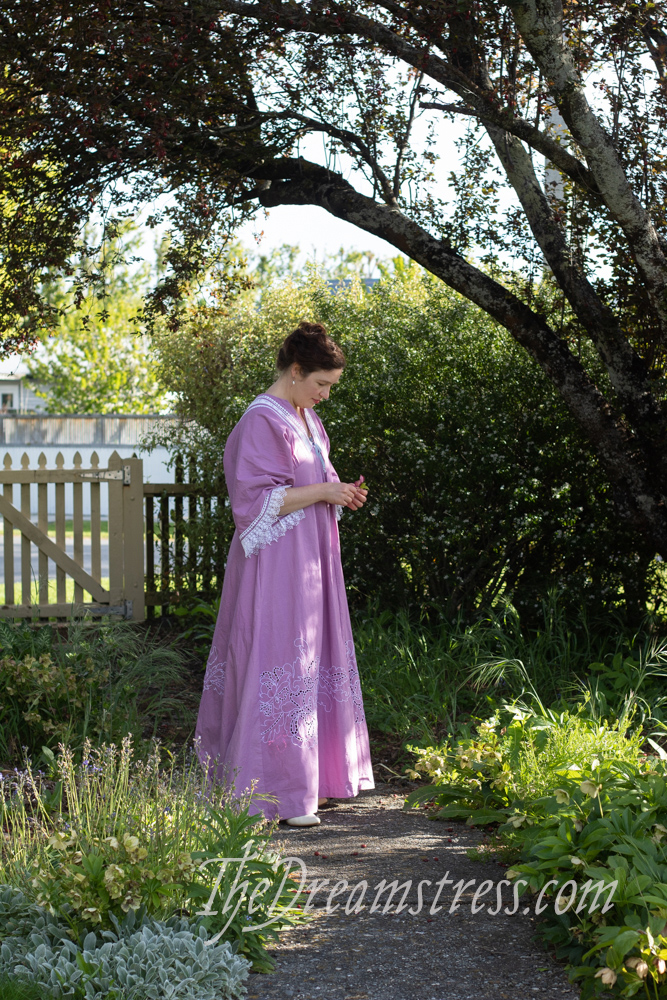
So worth it! I’m ecstatic about the end result!
So comfortable! So swooshy!
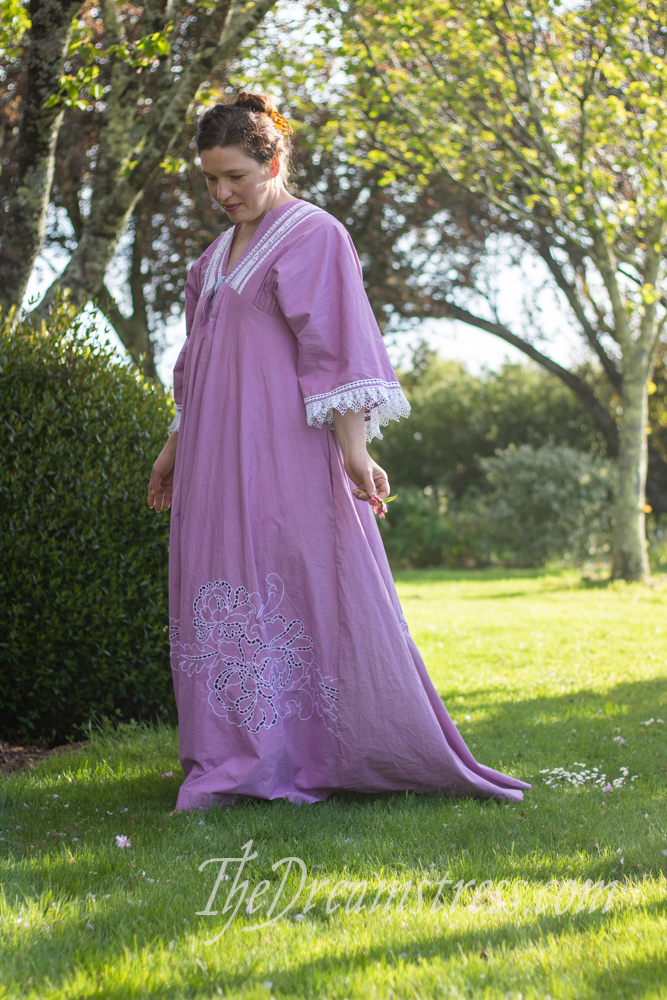
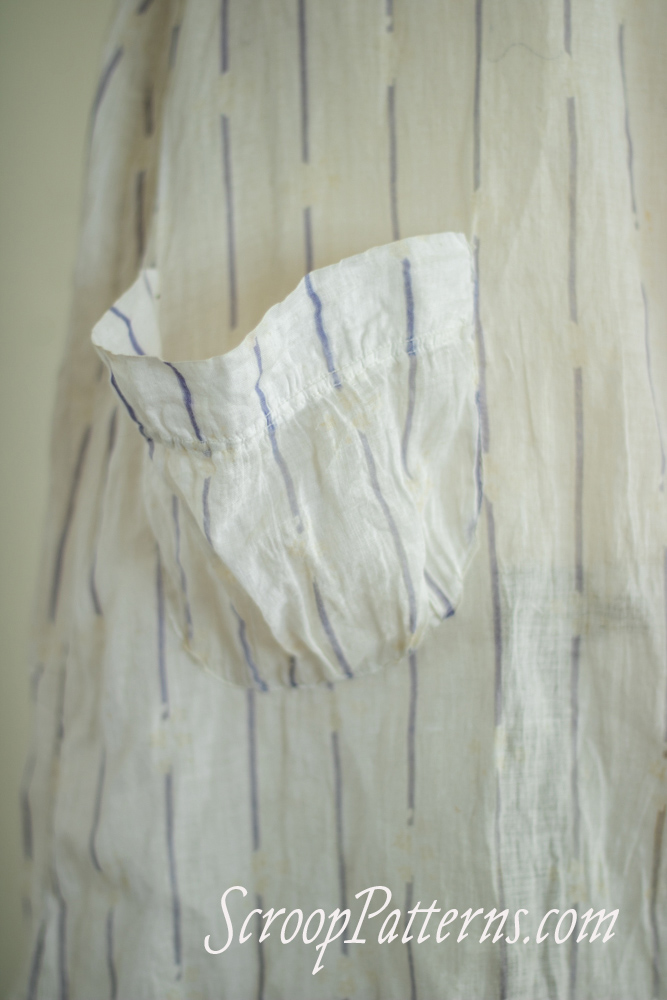
And the best part? If you look very closely at the side seams, you can see it has pockets!
I wore this basically every day of the retreat. Swan into breakfast in it, change into it for a lazy afternoon, put it on after dinner to hang out. It’s the ideal garment!
It can even be worn with or without a corset.
It was the only properly new make for the historical weekend, but I think it’s the perfect one.
It also fits the Historical Sew Monthly 2021 ‘Purple’ challenge (obviously!)
The Challenge: Purple (May): Make something in any shade of purple.
Material: A 2m x 2m piece of cotton sheeting
Pattern: An original 1907-8 pattern
Year: 1907-8
Notions: Insertion lace, dye, thread.
How historically accurate is it? The fabric isn’t 100% accurate, but it’s not terribly inaccurate, and the construction techniques are spot on.
Hours to complete: 6ish hours.
First worn: For our historical retreate, October 2021
Total cost: Fabric was $6, dye was $2 (an op shop bargain), lace would probably have been around $7, so $15 all up.
Cute story to wrap this post up. (haha).
I showed my parents these photos in our weekly video chat, and explained to my dad what a ‘wrapper’ was.
He thought about it for a while, and then said “well, if you made a wrapper….what’s your rap name?’
Me: Ummm…I don’t know! Maybe ‘Lil Stitch’?
Him (triumphantly): Lil Stitch? Obviously you’d be Scroop Dog!
🤣