UPDATE: Applications for testers are now closed.
I’ve been burning the midnight oil working on not one, but TWO new patterns for Scroop Patterns and its time to see who wants to help test them!
These patterns are a response to some of the requests I got in the Scroop Patterns Survey I did earlier this year.
There were a lot of different requests, but some that came up over and over again were: wearable everyday historical items, skirts with elasticised/flexible waistbands, and more 1910s – particularly more blouses (working on that!), and a 1910s skirt that could be used as a more basic template for other designs.
Also, things with pockets. (ALWAYS!)
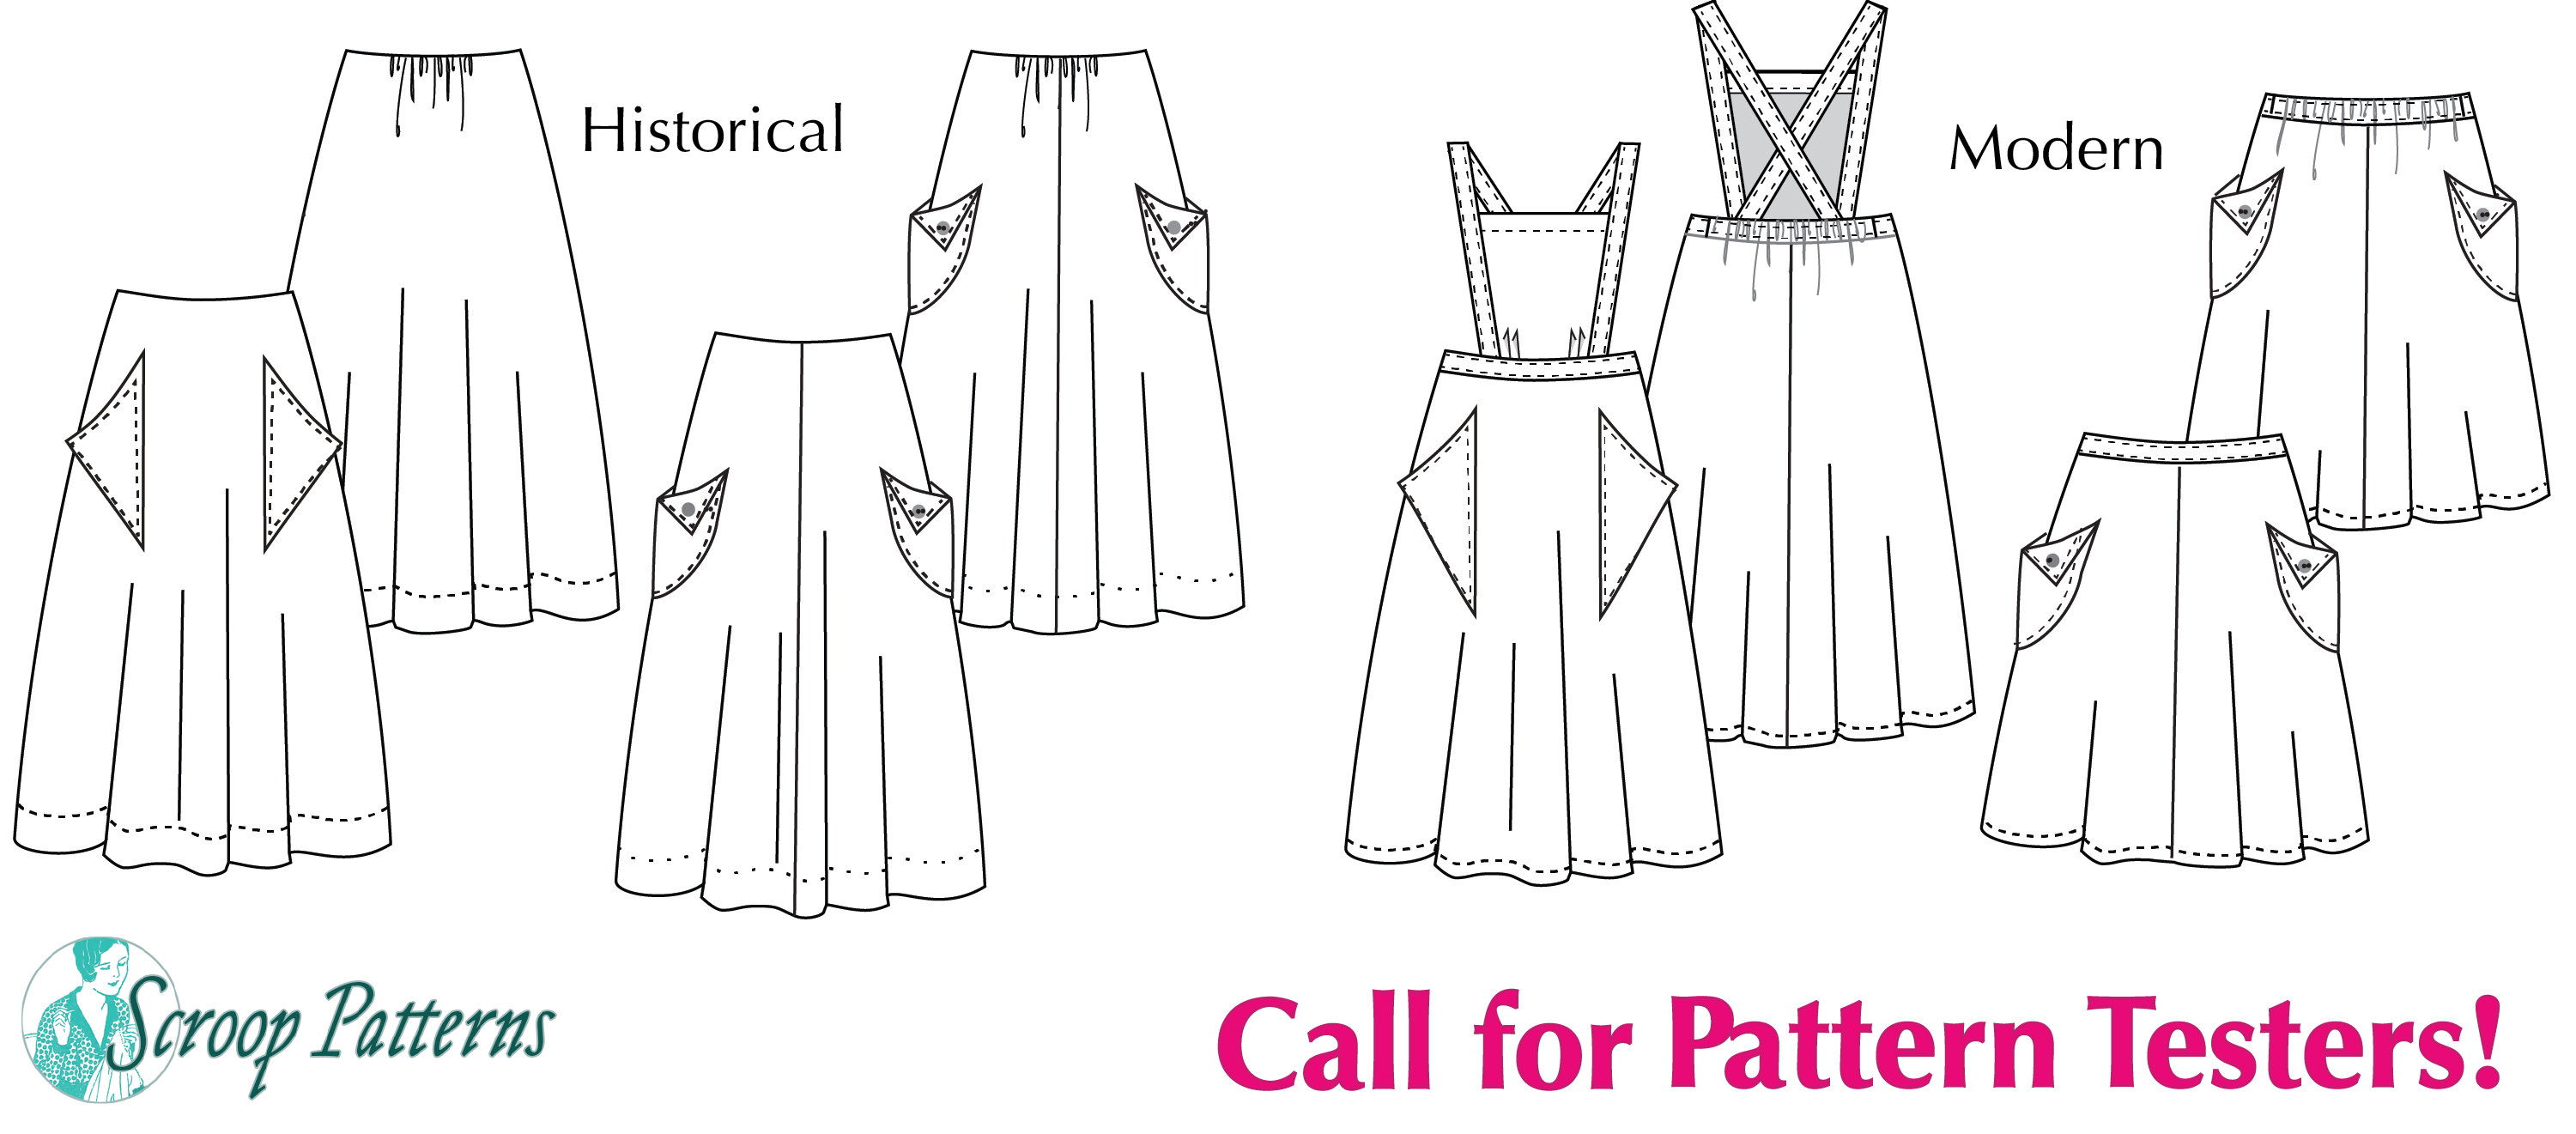
So, hope you’re excited about this pattern duo: a 1910s A-line skirt with two fabulous pocket options, and its sister pattern: a modern skirt/pinafore with elastic back waist and the same fabulous pockets.
If you’d like to apply to help test one of the patterns, keep reading to learn more, and how to apply…
The Patterns:
There are two patterns. Testers will only be testing one pattern, but will get the final pattern for both patterns.
The application will ask you if you want to apply to test one pattern, or either.
The Historical Pattern:
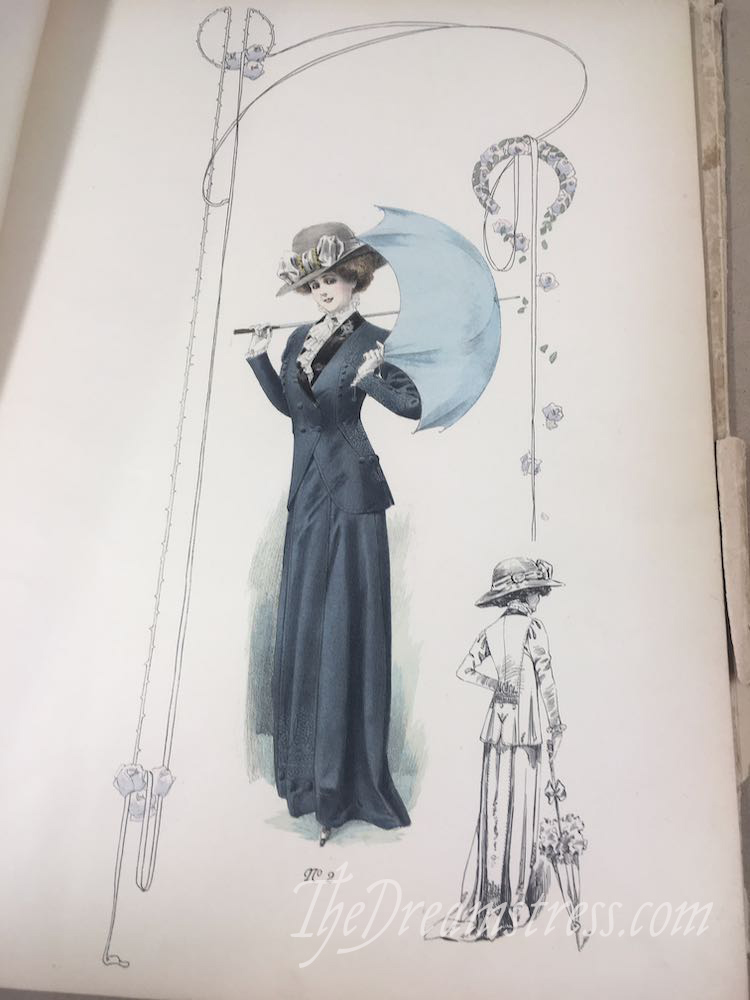
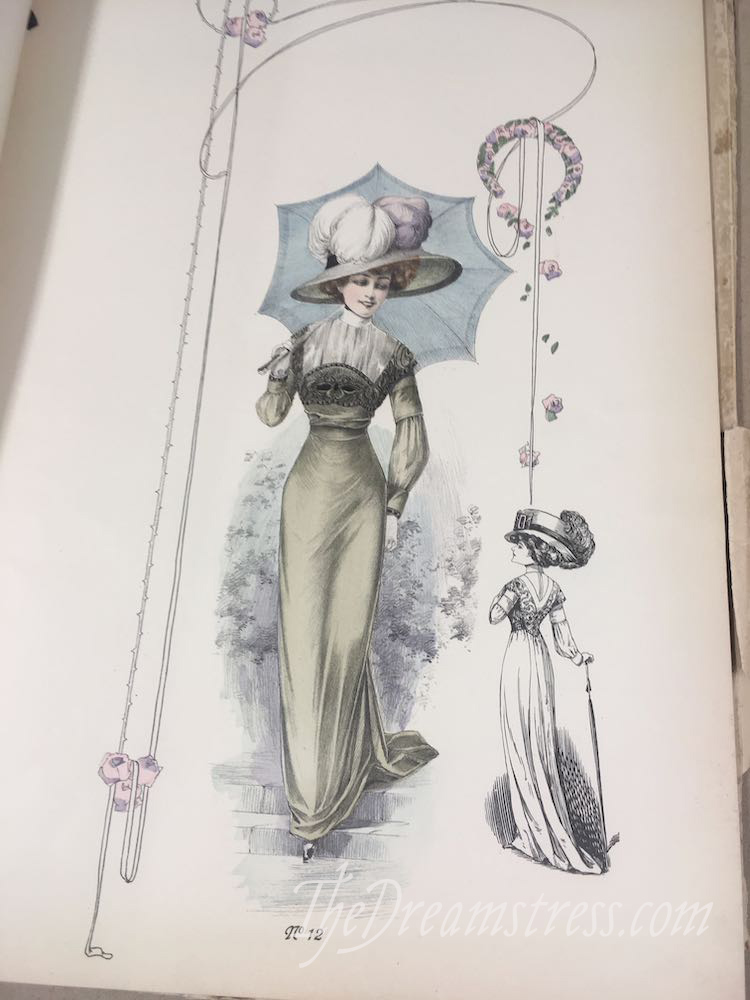
A classic A-line skirt based on original garments and patterns from between 1915-1918. It has a boned internal waistband and a faced hem. View A is cut on the fold with no center front or back seams. It has triangular bucket pockets placed on the front of the skirt. View B has center front and back seams and shield-shaped bucket pockets placed on the side seams over the hips.
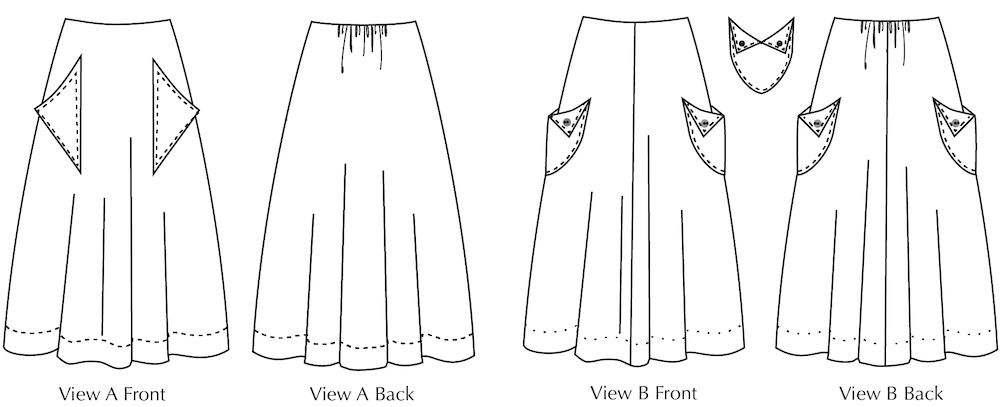
The pattern will be available in waist sizes 24”-50” / 61-127cm.
It takes me approximately 4.5 hours to make this skirt from start (cutting out) to finish (hemming).
The skirt takes between 2y/1.7m (60”/152cm wide fabric, smallest sizes) and 3 1/8y /2.7m (45”/112cm wide fabric, largest sizes) of fabric, depending on fabric width and pattern size.
The Modern Pattern:
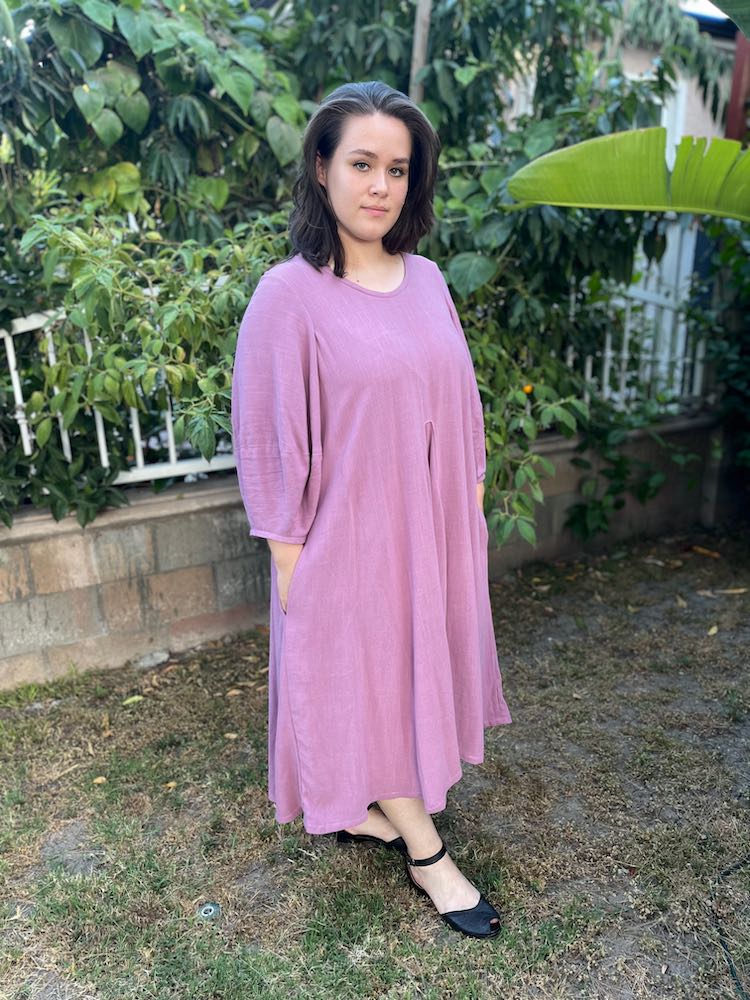
The Skirt & Pinafore pattern is the modern sister to the historical Skirt pattern. It takes the classic A-line shape and fun pockets of its historical inspiration and gives them an easy-to-wear 21st century update, with shorter lengths, a comfortable elasticised back waistband, modern sewing techniques and notions, and a pinafore option.
View A has a pinafore bodice based on Edwardian apron bodices, triangular sail-shaped bucket pockets placed on the front of the skirt, a center back seam, no center front seam, and is designed to end at mid calf. View B has center front and back seams and shield-shaped bucket pockets placed on the side seams over the hips. Both the skirt body and the pockets can be cut on the straight grain or the bias, so you can play with stripes and patterns for a range of looks.
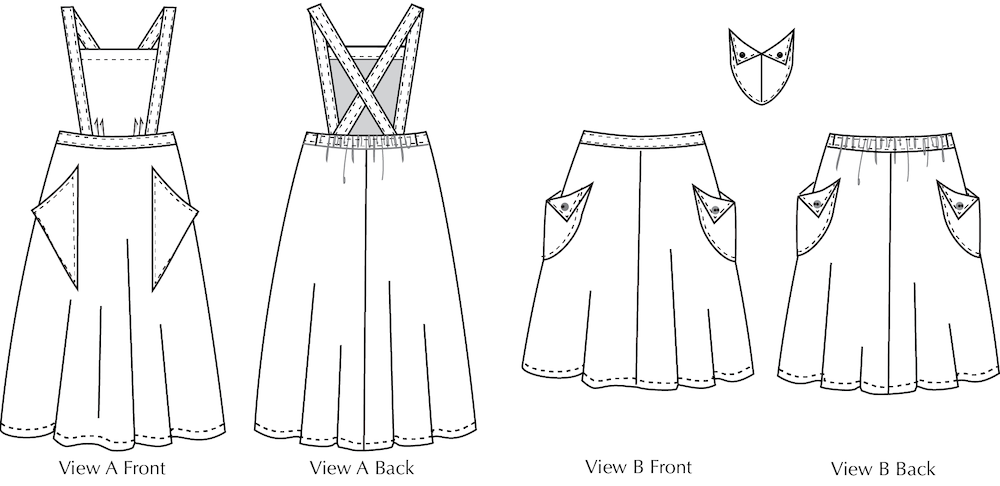
The pattern will be available in waist sizes 24”-50” / 61-127cm.
It takes me approximately 3.5 hours to make the skirt from start (cutting out) to finish (hemming), and 4 to make the pinafore.
The mid-calf length pinafore takes between 1 1/2y/1.4m (60”/152cm wide fabric, smallest sizes) and 3y /2.7m (45”/112cm wide fabric, largest sizes) of fabric, depending on fabric width and pattern size.
The just-below-knee length skirt takes between 1 1/4y/1.2m (60”/152cm wide fabric, smallest sizes, on straight grain) and 3y /2.7m (45”/112cm wide fabric, largest sizes, cut on bias) of fabric, depending on fabric width and pattern size.
Testers:
For this test I am looking for testers who are low-intermediate or higher level sewists. The pockets & placket (historical skirt only) can be fiddly, but other than that this is an easy make. Testers for the historical skirt will need to have a 1910s corset to wear with the skirt.
To be a tester you will need to:
- Be able to print patterns in A4, A0, US Letter or US full sized Copyshop paper sizes
- If you are applying to test the historical skirt you will need to have a 1910s corset to wear the skirt over, and provide a link to yourself in that corset as part of your application.
- Have the time to sew up the skirt. You’ll have two weeks to make the skirt, and provide feedback, and a further four days to provide photos.
- Be able to photograph your make being worn, and be willing for us to share your photos on this blog and instagram.
- Be over 18 years old.
- Provide clear feedback
- Agree to a confidentially agreement regarding the pattern
I would hugely appreciate it if testers would share their finished make once the pattern launches, but this is not mandatory. I’m asking for TESTERS, not marketers.
As always I’m looking for a range of testers. I need a spread of geographical location, body type, sewing experience, and personal style.
Based on previous calls for testers, there will be 30+ applicants in each of the most common size ranges (34-42 bust), so if you aren’t chosen, it’s not that you weren’t fabulous, it’s that there were so many applicants.
Social Media
Having a social media presence helps your chances of being chosen as a tester, but isn’t necessarily a requirement. I’m significantly more likely to choose testers who have an online social media presence, as that means I can really see and analyse their sewing, and how they think about sewing, when I’m choosing testers. I do occasionally choose testers who don’t have social media, especially if they fill a less common demographic.
The Timeline:
Applications to test the dress are open from now until 10pm Tue 17 Sept, NZ Time (unless I receive so many applications I won’t be able to consider them all properly, in which case I’ll close applications early)
Materials:
If you’re selected to test I’ll let you know and send you the materials requirements, line drawings, and the full pattern description by 10pm NZ time on Thur the 19th of Sept. This is Wed the 18th for most of the rest of the world.
Patterns:
I will send out a digital copy of the pattern to testers before 10pm NZ time on Friday the 27th of Sept.
Testing & Reviewing:
Testing will go for two weeks, with a further four days to provide finished photos..
Testers will have until 10pm NZ time on Fri the 11th of Oct to finish their skirt and provide feedback.
They will have a further weekend, until 10pm NZ time on Tue the 15th, to provide photos
What you get:
Pattern testers will get a digital copy of the final pattern, lots of thanks, and features on my blog and IG.
Testing also offers testers an opportunity to get group and 1-1 feedback, assistance, and sewing tutorials. I’m modelling our testing process after an online class, albeit one you don’t pay for, because you’re letting me beta test the pattern on you. There’s an online group that testers can join as they wish. I’m committed to making testing as beneficial to testers as it is to me, and to improve my testing process with every pattern I do.

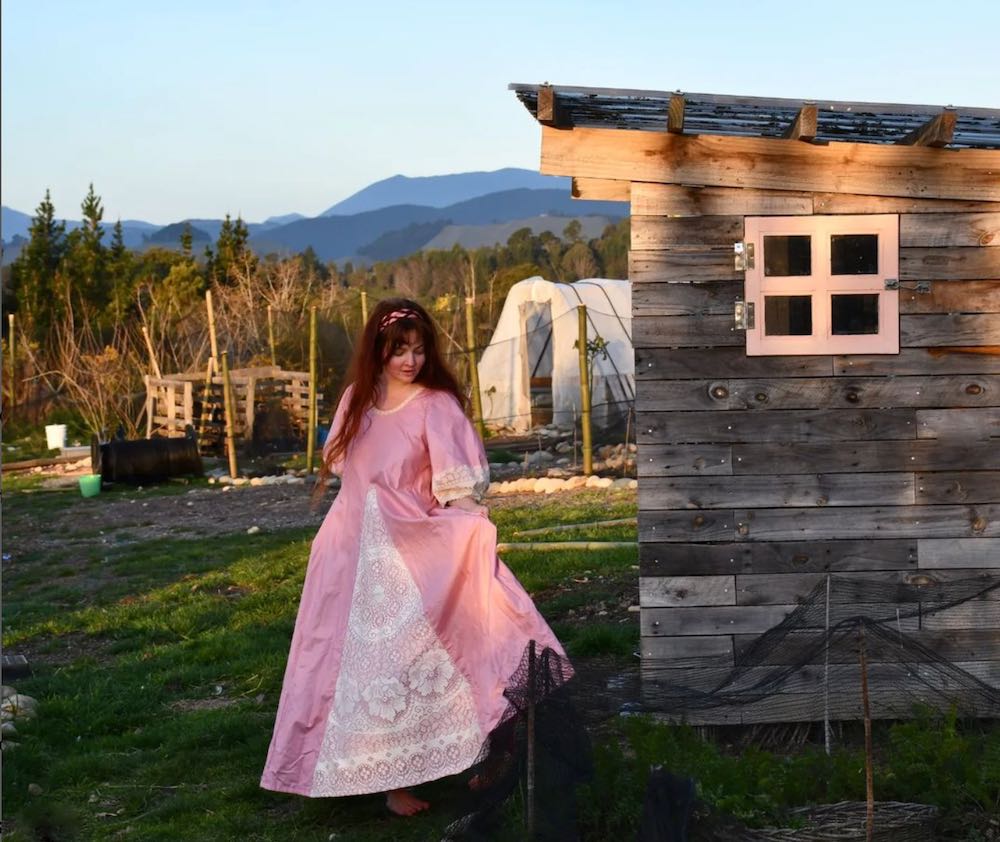
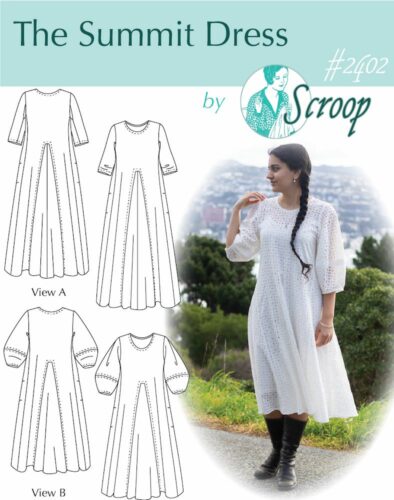
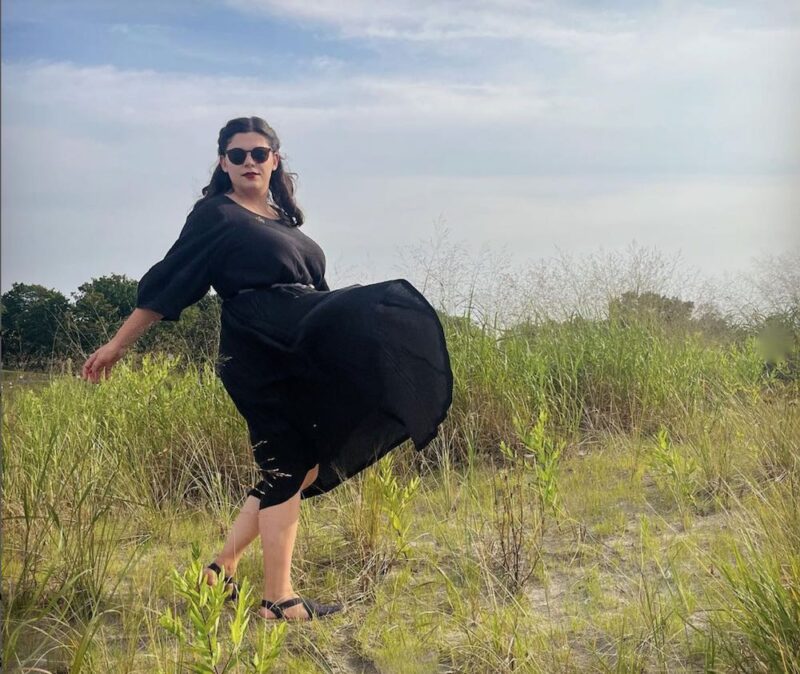
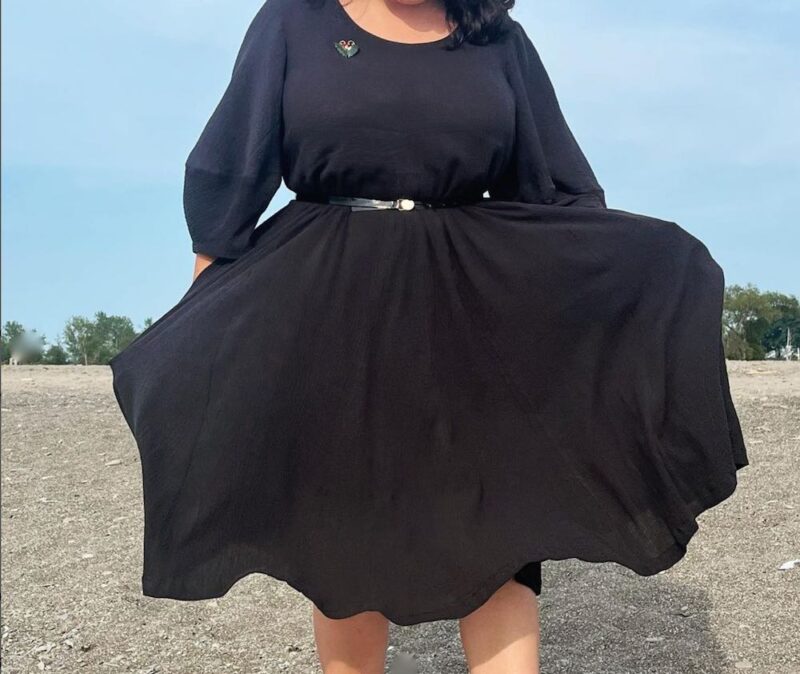
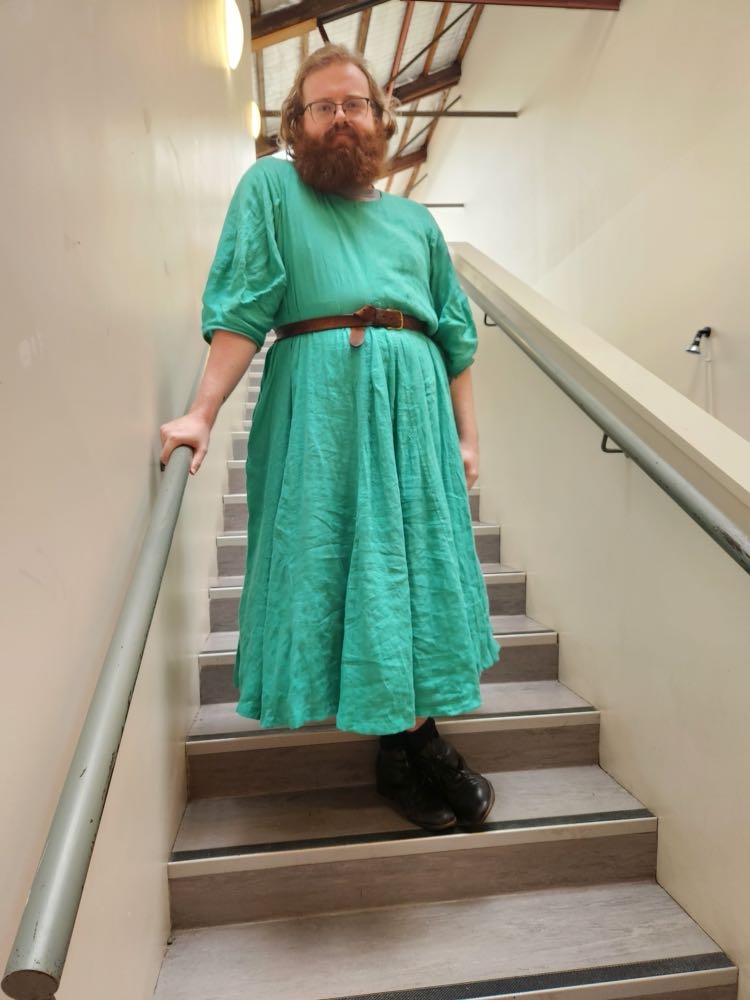
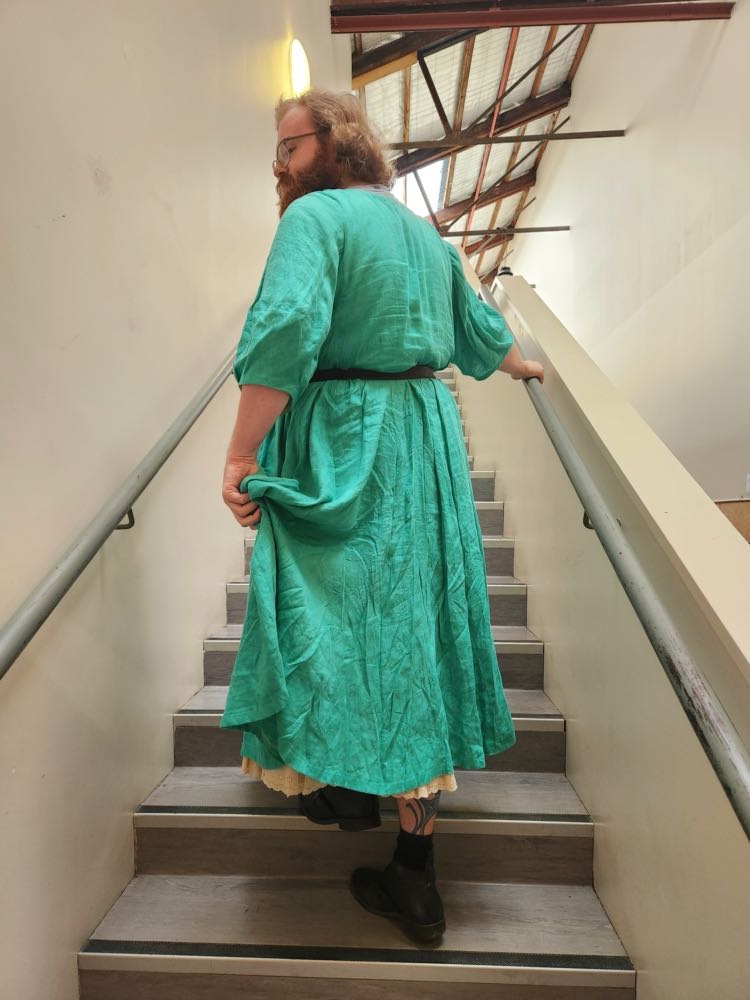
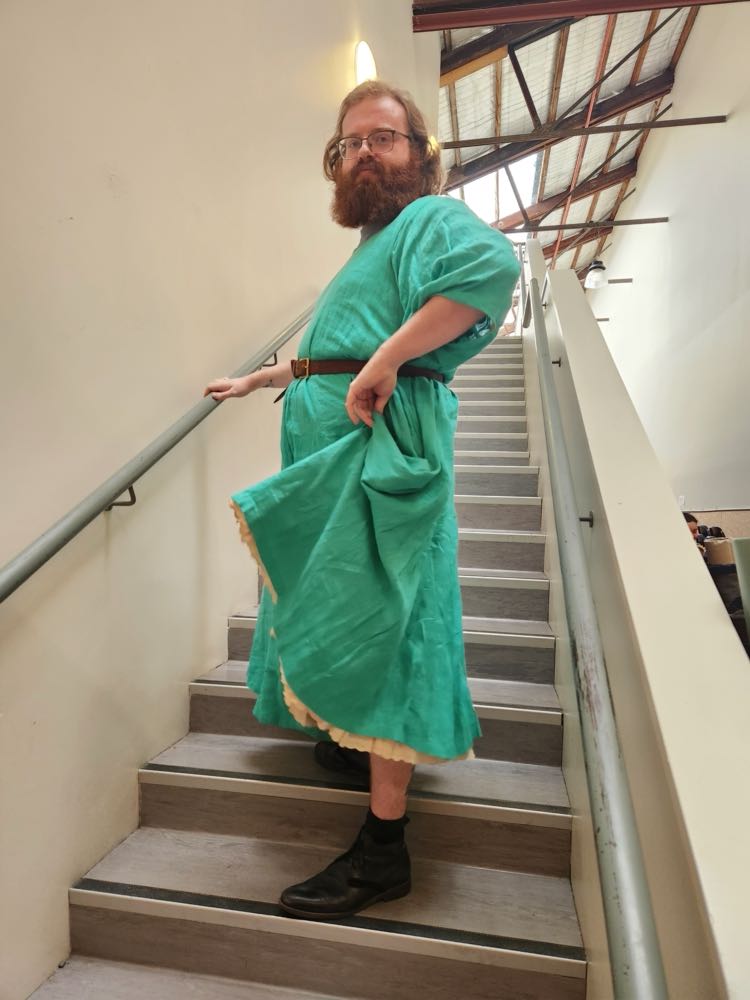
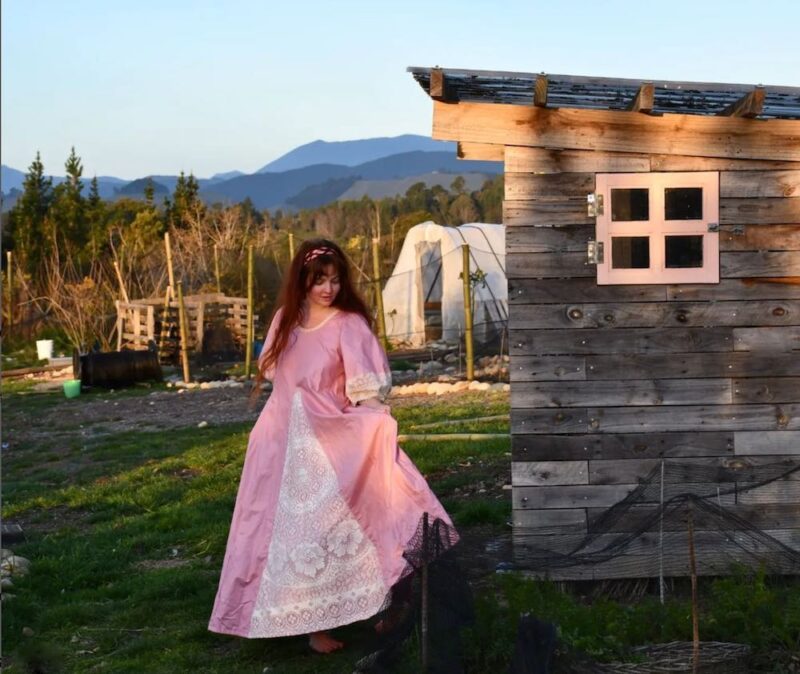
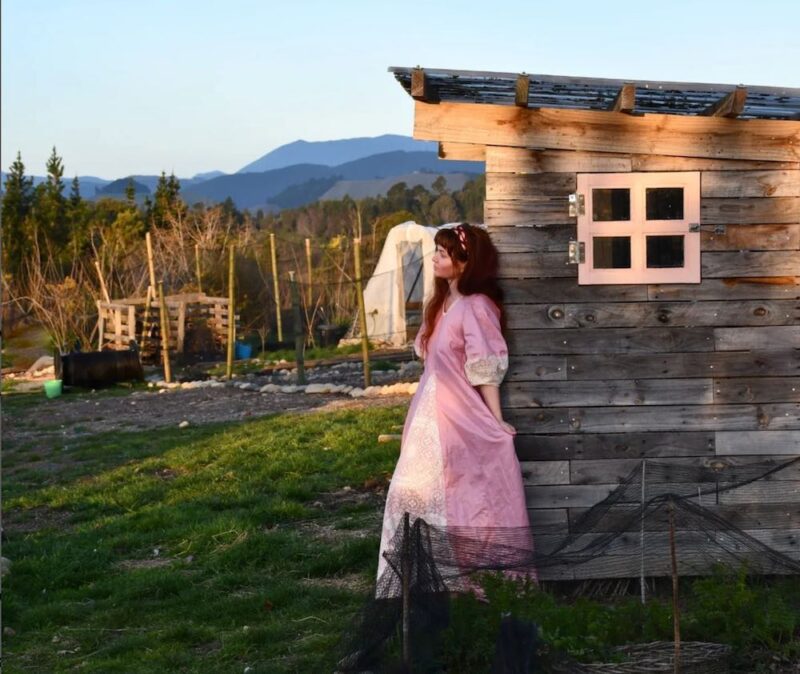
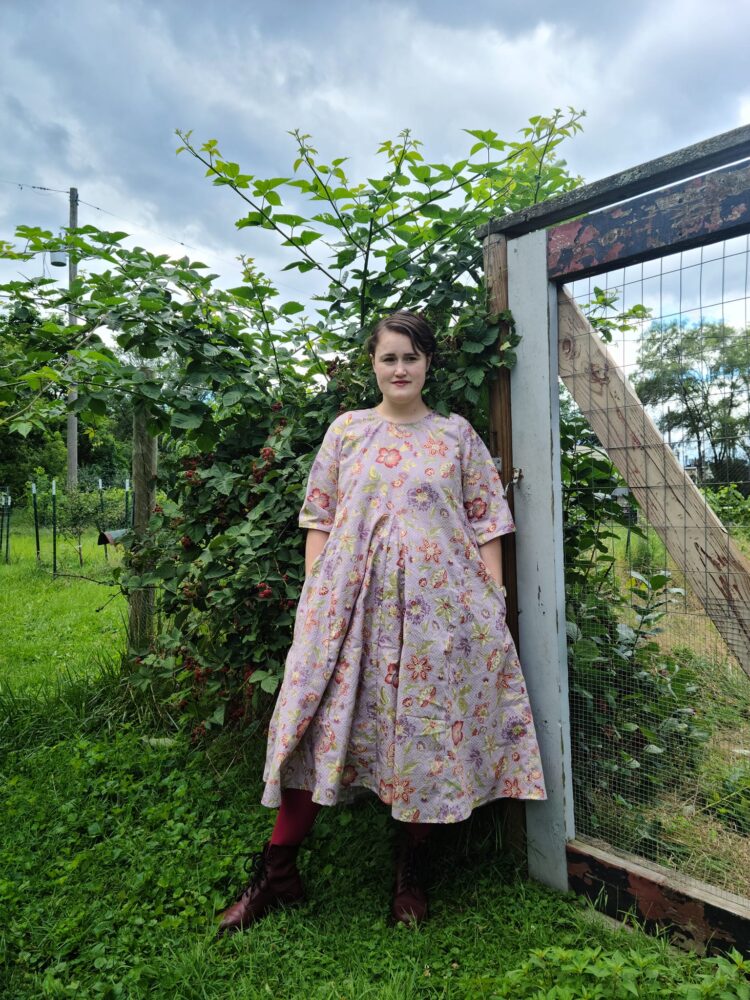
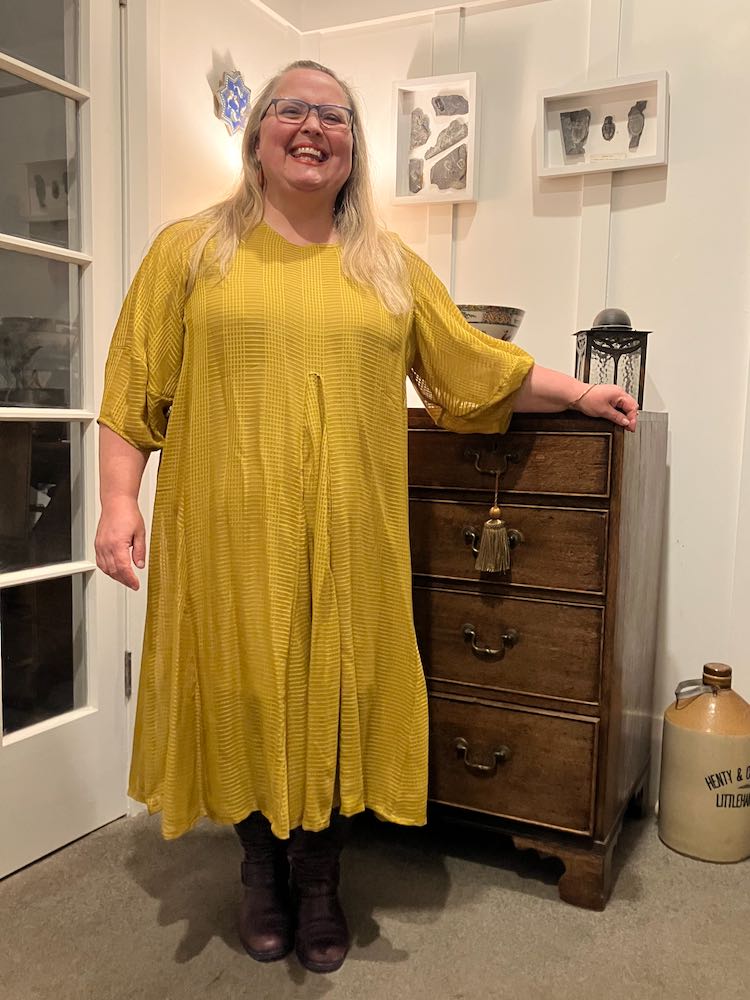
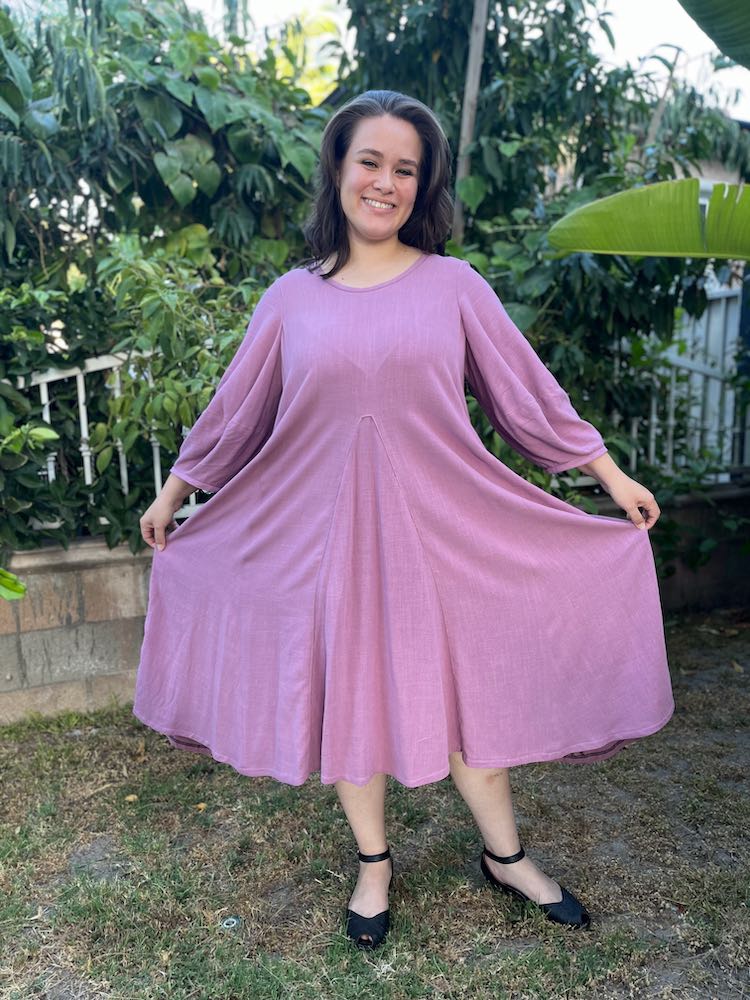 I can attest that it’s also rather nice for chilly Wellington winters with a turtleneck underneath, but I do prefer the breezy summer look of Alexa’s ensemble!