I’ve had a very busy week, with teaching and patternmaking and talking, which is why there have been no posts between last week’s Rate the Dress and today’s post. Luckily I had this week’s garment for rating all picked out! I hope you enjoy studying it as much as last week’s wedding dress.
P. S. Welcome to new raters! PLEASE read the note at the bottom of this post.
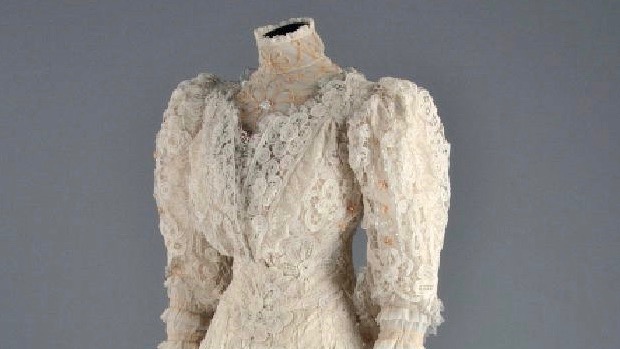
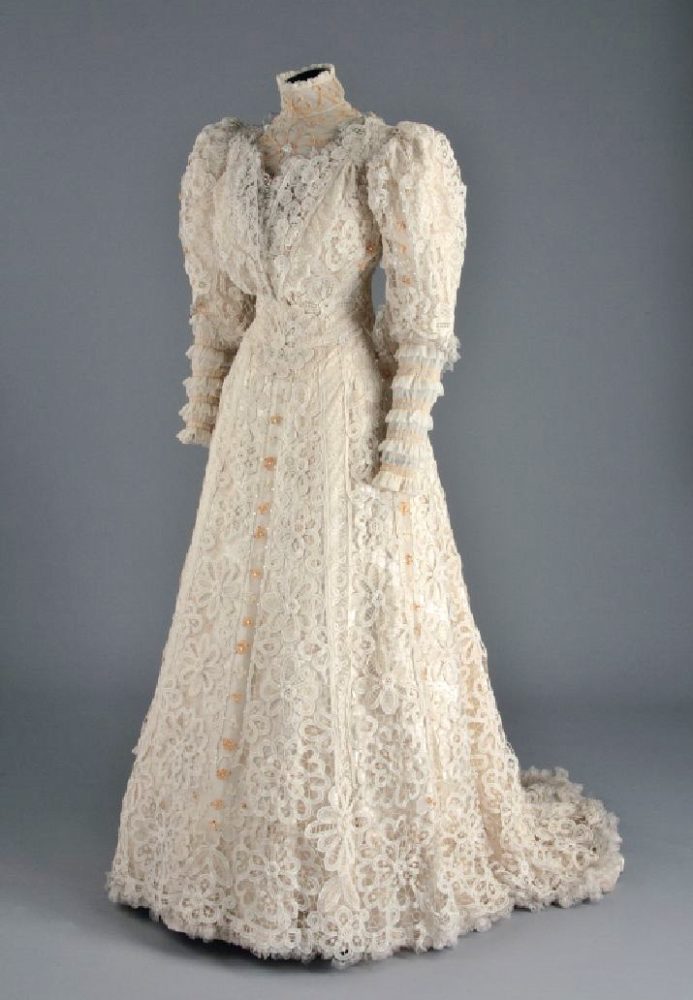
Last Week: an all-lace Edwardian wedding dress
Last week’s frock should probably get a bonus point for breaking the 50 comment mark! If nothing else, you certainly found it interesting.
There were three distinct comment groups: 9s, 7s, & 4s. And only one person rated it a 10! With so many unimpressed raters, the total came in at…
The Total: 6.4 out of 10
Not a popular choice with many!
This week: an Empire era spencer & petticoat
This week’s Rate the Dress continues last week’s white and lacy theme for the bottom half, with a petticoat trimmed with linen net and appliqued lace, and goes dark on the upper half with a military and historically inspired spencer jacket.

LACMA and I are calling this a petticoat, but frothy and lacy as it is that doesn’t mean it’s an undergarment: petticoat was the term for any skirt (whether it was worn as the outer layer, or an under-layer) in the 17th, 18th, and early 19th century. It’s because what you wear on the lower part of your body is a petti (small or lower) coat (garment).

This particular petticoat is trimmed with rows of insertion and ruffles made of appliqueing floral and leaf motifs on net to form a type of lace. The net is probably a machine bobbin-net, which was a new innovation which made net based lace affordable and wildly fashionable, but may have been a handmade (and wildly expensive and time consuming) net.

The petticoat is paired with a spencer jacket: the short jackets which ended at the high waist fashionable in the first quarter of the 18th century. The jacket features both military influence, in the buttoned front which imitates uniform jackets, and a nod to Renaissance fashions in the puffed over-sleeves. Both elements were common, and it’s not unusual to see them combined in one garment, as they are here.

While the net base of the skirt lace was probably machine made, the sewing machine was still half a century away, and every other element of this outfit would have been sewn by hand.

The Los Angeles County Museum of Art has even been kind enough to include an image of how the petticoat and spencer attach: with little holes worked in the waistband of the petticoat, and hooks on the jacket which slip through them.

How does this sit with you? Do you enjoy the mix of light froth, and more severe tailoring? Do you appreciate the way the outfit mixes a whole variety of elements: florals and new technologies, historicism and patriotism? Or would it have been better to stick with one theme.
Rate the Dress on a Scale of 1 to 10
A reminder about rating — feel free to be critical if you don’t like a thing, but make sure that your comments aren’t actually insulting to those who do like a garment. Phrase criticism as your opinion, rather than a flat fact. Our different tastes are what make Rate the Dress so interesting. It’s no fun when a comment implies that anyone who doesn’t agree with it, or who would wear a garment, is totally lacking in taste.
(as usual, nothing more complicated than a .5. I also hugely appreciate it if you only do one rating, and set it on a line at the very end of your comment


