So, Monday I told you about beginning Aline’s bonnet, and getting all the basic construction done. Here are the finishing details.
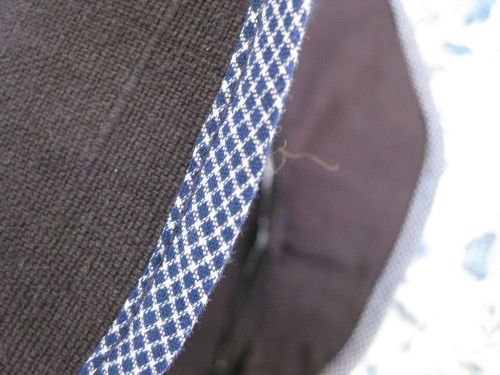
After cutting the brim down a lot, I bound it with blue and white tartan bias ribbon (from Nana, her stash is the gift that gives and gives!) that I folded into bias tape.
I like the way it works with Aline’s skirt fabric, without matching exactly. And it’s hard to find two tartans that work with each other!
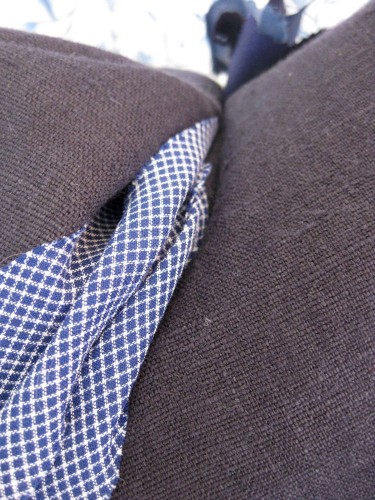
I sewed a piece of florists wire under the the bias tape around the upper brim of the bonnet, to help it hold the tight curve of Aline’s bonnet and my inspiration bonnet. First I zig-zagged on the wire, and then bound it with the bias tape. The tension of pulling the wire through the machine actually curved it into the perfect curve.
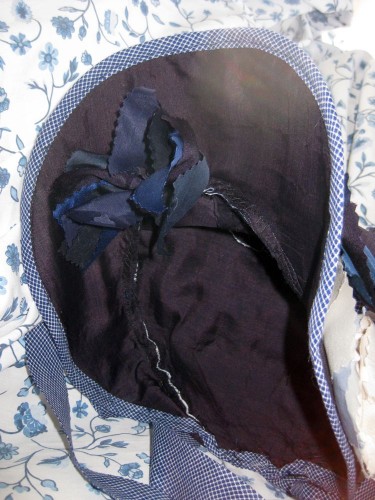
You can clearly see which parts are wired, and which aren't, in this photo. Also, doesn't it totally look like The Scream?
The brim didn’t hug the face enough once it was bound, so I ended up taking in little pleats where the brim meets the back of the hat and tacking them down under the back. Not as beautiful and tidy as my inspiration piece for sure, but I’m still working on my hatmaking skills!
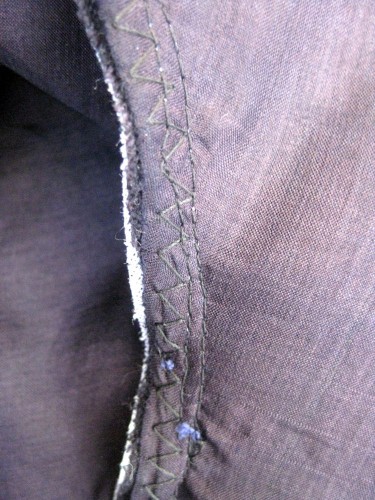
With the brim bound, the hat looked finished, but untrimmed, from the outside, so I decided to ignore the inside for a while and trim the bonnet. So as of now there are still raw zig-zagged edges inside the hat.
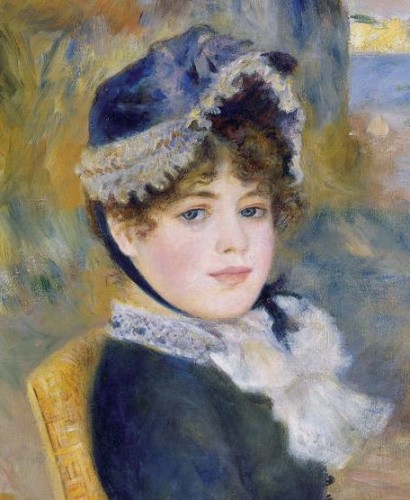
For my trimming, I took inspiration from Aline’s bonnet, but didn’t follow it exactly. I meant to, but I started messing around with other stuff, and it looked good, so I just went with it.
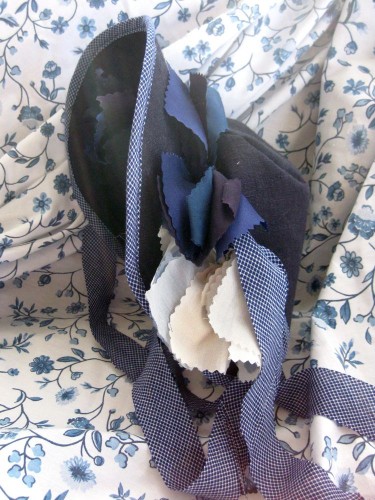
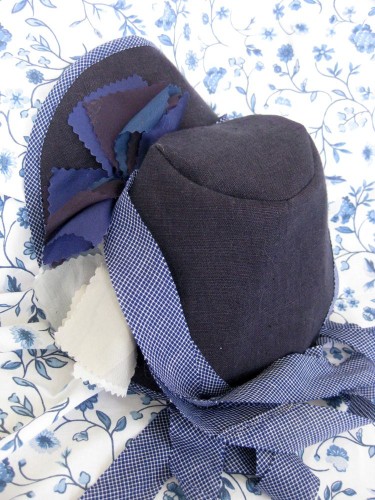
First I used extra blue tartan bias ribbons for ties to go under the chin. I realised they held the hat better if they wrapped under the chin, and up around the top of the hat and down again, and it looked cool on too. So the hat has lots of blue tartan ribbons!
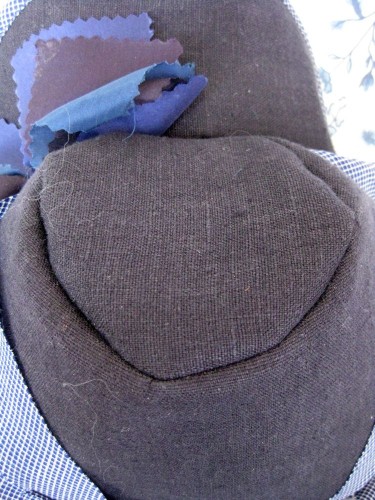
Then I felt that the crown stood up too high from the brim, so I folded it down a little, and tacked it to the seam of the brim. It gives it a bit of a military look, like early 1860s Confederate forage caps.
And then, of course, I noticed that the top of the crown is not at all perfect. I wonder if wire would have fixed that? Or if I could have found some way to iron it? Oh well, something to work on next time!
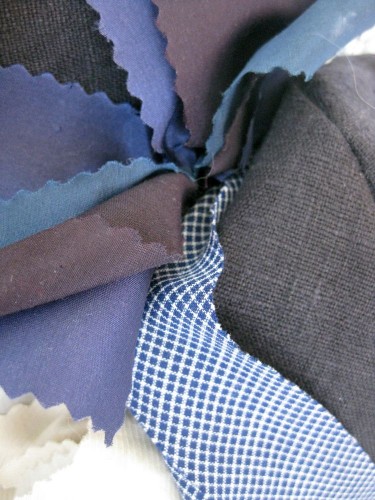
For trimming, I used a bunch of silk samples that I had in a dozen delicious shades of darkest blue: indigo, slate, midnight, prussian, inky, royal…
I bunched them into two rosettes, and tucked one under the brim of the hat, and one on the proper left side.
I felt the hat was getting a little too blue, so I did another bunch in pale blues and neutrals: alice and ecru, ivory and cream. This went below the first rosette on the outside
It looks fabulous in person, but unfortunately, it doesn’t photograph well:
This is among the (numerous) flaws of the hat. I’m not sure how I feel about this though. After all, ladies in 1882 didn’t usually choose their hats to photograph well! Still, I think that since that is a part of how I sew, I should re-do the trimmings, with the white lace of Alines around the brim, and a rosette with more contrast under the brim, so it shows up against the hair with the shadows.
So in a few weeks, or months, or hopefully not a few years, you’ll see me re-do this hat.
But for now, it’s done, and tomorrow you can see Madame O rocking it and the whole Aline outfit 🙂





Hatmaking is so much fun! I find the crown can be a bit tricky too, and to be honest I’ve found hand sewing works best, especially on the outer fabric. I machine sew the lining, hand sew the buckram crown pieces together, notching the top quite a lot to get a nice curve, then handstitch the outer fabric over the buckram. Fiddly and time consuming, but I get a good result every time.
Thanks for the tips. Especially the clipping! Duh! I can’t believe I forgot that!
Perhaps you can still get up in there and sneakily clip it? It might be a bit of a pain, but it’s such a gorgeous hat that it’s surely worth the effort.
I can’t wait to see it on a head! It’s a ‘love of a bonnet’ as John Brooke says. 🙂