I didn’t take a lot of construction photos while I made the 18th century man’s jacket, but I’ll do my best to explain how I made it.
I’m sure it is not a historically accurate technique, but it made a very sturdy garment, with no machine sewing showing on the outside.
I started with the two front chest pieces of the jacket
First, I sewed around the front edge, bottom edge, and the edge of the first pleat of the jacket, with the outer and lining fabric right sides together. This meant that when I turned the pieces right side out and pressed them, the front, hem, and pleat edge were all finished.
Then I sewed placed the back pieces with their lining fabrics, right sides together, and sewed down from the centre back pleat, along their hems, and up the side pleat. Then I turned them right sides out, and pressed the now-finished hem.
So basically, all the hemming on the jacket was done by bag-hemming.
With the back pieces hemmed, but still separate, I sandwiched the finished front piece between the back outer fabric and back lining fabric, with the right sides of each fabric facing each other. Then I sewed down the side seam. This meant I could turn back the back pieces, and have a finished side seam on both sides of the jacket (outer and lining). It was my way of approximating the sewed-down lining you find in lined 18th century garments.
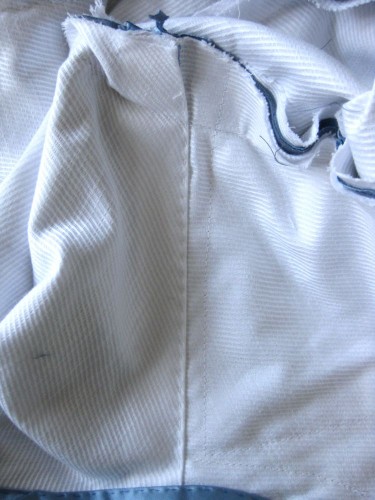
With each half of my jacket assembled, I sewed the centre back seam of my outer fabric, and the shoulder seams of the outer fabric. The neck and lining shoulder seams were still open, so this gave me enough room to maneuver the jacket around my machine to sew the centre back seam of the lining. fabric.
At this point I basted in one sleeve and did a fitting. I found out that the back needed to be a lot narrower than my original draft, and that I needed to cut my shoulders in, and my sleevehole bigger.

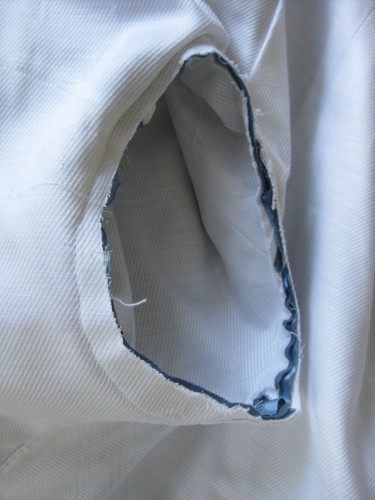
You can see the wider seam allowance where I took in the back and the side seams under the arms through the lining
I ended up taking in almost an inch of the back piece, and half an inch of the front under the arms, tapering it down to the original measurement where the pleats opened up.
I took most of the extra fabric out of the armscythes and shoulders by cutting it out, but I left a fairly big seam allowance – just in case!
With the fittings all done, I could do the last bits of construction: sew down the shoulder seams of the lining (I did this by hand), and set in the sleeves.
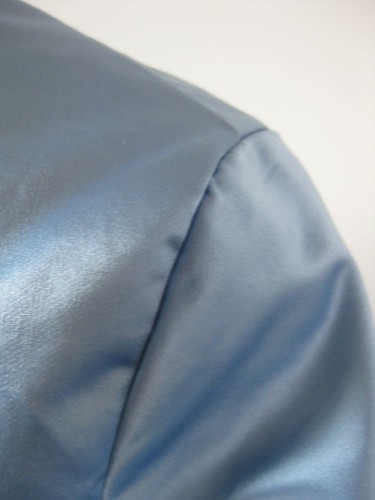
I’m really pleased out how the sleeve heads turned out. Perfect on the first try!
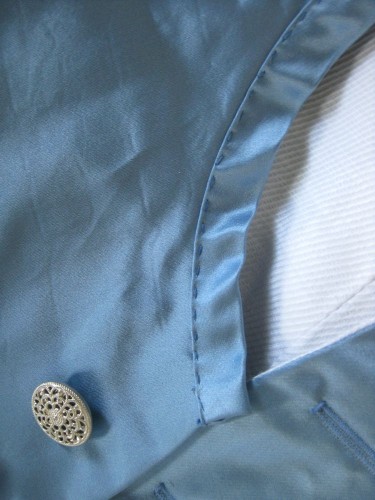
Then I hand-stitched on a binding for a collar. I did try to do a proper standing collar, but I couldn’t get one to sit right, and I was running out of fabric (really running out of fabric. I reduced the blue silk to pieces under 2″ long), so I settled for something that looked OK.
Finally it was on to finishing touches: tacking down the pleats, false buttonholes, buttons, etc. I’ll tell you about those in a few days!
I know this was word-heavy, picture light, but hopefully it makes sense, and (more importantly) is helpful for anyone else attempting this.

Did you use an interfacing or buckram for the body?
Hi Alan,
If you read through the whole portfolio I cover everything I use and do: https://thedreamstress.com/portfolio-a-1770s-mans-suit/