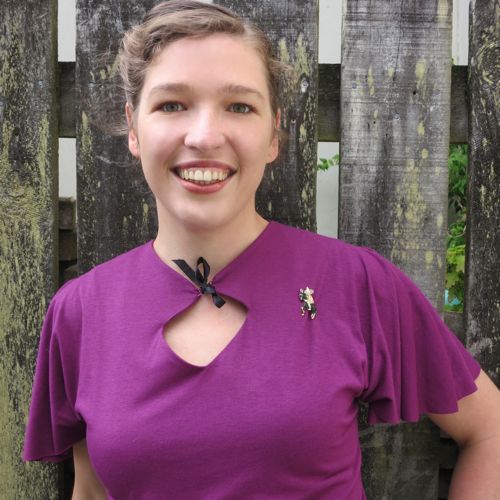
When I posted the Rodeo & Wrangle & Ramble in Style outfit last week, I promised to post instructions on my ‘hack’ of Steph’s Blank Canvas Tee pattern.
This is Part II — construction. Go here for information on drafting the pattern.
Please note that knits are not my forte (I’m a historical seamstress after all), so this is not necessarily the correct or best way to sew this — it’s just what I did, and it worked. (though writing this tutorial I realise how much I do know, and how much is coming back from sewing knit dance gear for a costume shop 10 years ago).
Unless otherwise stated, use a lightning stitch and a 1/2″ seam allowance.
Step 1: Stabilizing the shoulder seams
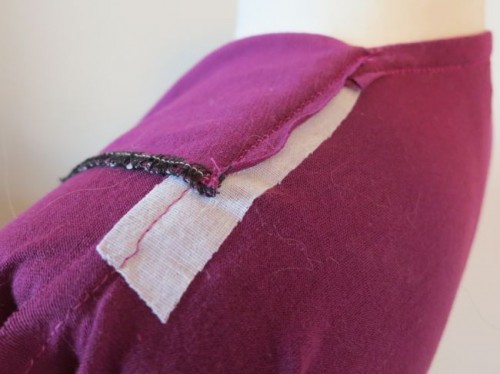
Cut a strip of interfacing 1.5cm wide and as long as your shoulder seam. Interface your shoulder seam to stablise it and keep it from wrinkling and warping. DO NOT interface past the turn of the shoulder seam, as this will affect the hang of your sleeve.
Step 2: Finishing the back neckline
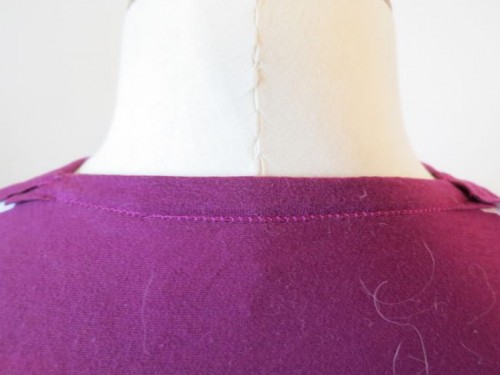
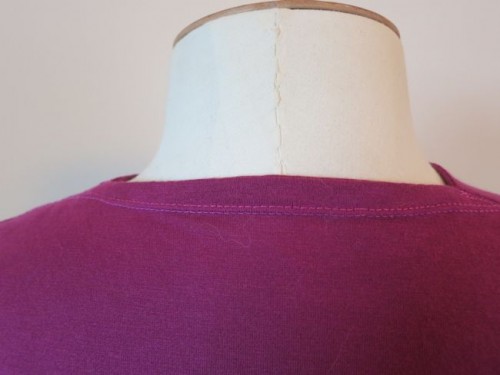
Cut a strip 3cm wide and just shorter than the back neckline. Right sides together, using a 1/2″ seam allowance and stretching slightly as you sew it, sew this to the back neckline. Turn and press it over, turning the raw end under to cover it, and sew it down with a double needle.
Step 3: Stabilizing the front yoke
You’ll need to interface your front yoke to stabilize it. It’s really important to use a woven or knit interfacing to stabilize knits – not a non-woven interfacing. The interfacing I used is a little too heavy for my fabric (I didn’t realise I was out of my light stuff, and didn’t want to make a trip to the shop), so it’s making the yoke curl a little.
Once the front yoke is stabilized, you can finish the round outside edge in any manner you wish (it will be fine if you leave it unfinished too).
Step 4: Sewing the front yoke
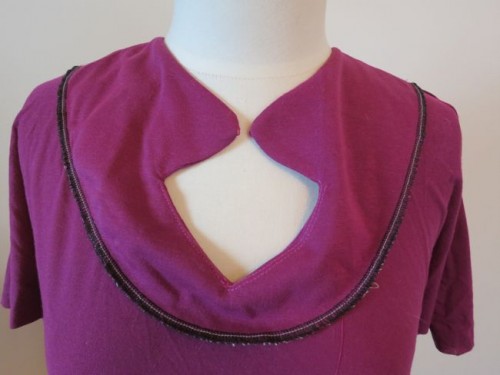
With right sides together, place the front yoke over the front of the T. Using a lightening stitch and the absolute minimal seam allowance (this will vary depending on your fabric, but I managed just over 1/8″), and starting exactly at the centre point of the keyhole cutout, sew up to the shoulder. Do not backstitch when you start, and make sure you leave enough thread to pull the thread through to one side and tie it off. Backstitching will create extra bulk and make it hard to turn the keyhole perfectly. Stitch the other side in the same way. Stitching symmetrically will keep the keyhole symmetrical.
With the yoke sew, turn and press it. You may need to clip into the corners. Topstitch through the yoke & seam allowances on only the lower portions of the keyhole cut out to keep it neatly held back.
Step 5: The shoulder seams
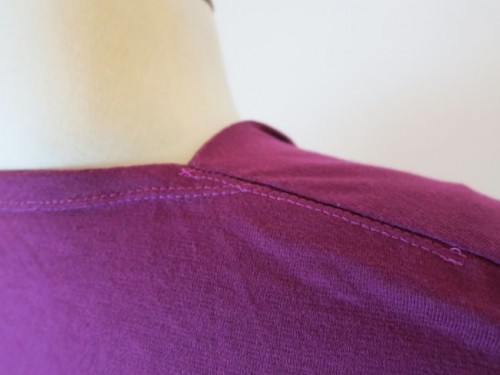
Without sewing through the yoke, carefully match the finished back neck edges to the seam at the turn of the yoke, and sew the back piece to the front piece at the shoulder/sleeve seam. Press the seam back, fold the yoke edge over it, and topstitch right along the shoulder seam using a double needle to hole the yoke down on the inside.
Step 6: Your side seams.
Sew your side seams from underarm to hem. Try on your shirt, and make any adjustments in sizing. I ended up using a french curve to create a curved size seam to eliminate bulk at my waist.
Step 7: hemming
Hem the shirt. I used a double-turn and a double needle.
Step 8: The keyhole loops.
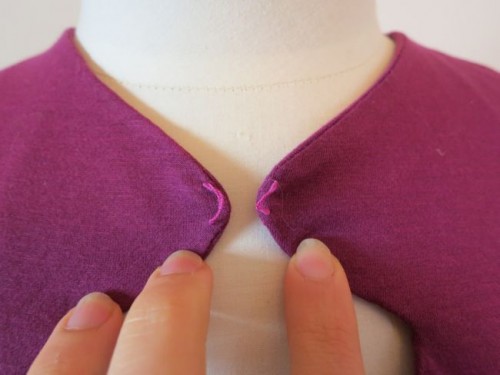
Using a buttonhole stitch, hand-work loops at the widest points of your keyhole neckline to slip a ribbon through to hold it closed. The shirt can also be worn with the flaps open as a faux-collar.
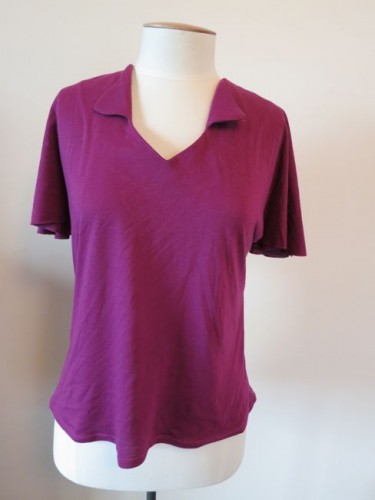
Ta da! It’s done! Feel free to make your own, adapt, improve.




Thank you for all of this open-sourcing. It’s wonderful of you to share.
Knits are not my forte either so this is all very interesting. I love this top, especially the swishy sleeves. I may well be inspired enough to experiment with knitted fabric myself.
I liked your work. You explained in a very simple way. The top suits you and looking gorgeous at you as the color is also adding more beauty.