
We’re more than halfway along in the Otari Hoodie Sew-Along! Today’s post covers adding the hem and sleeve bands, and then it’s on to zips.
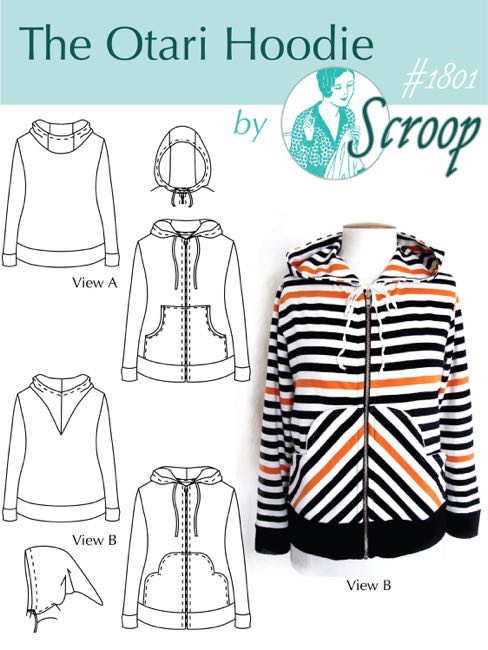
Buy the Otari Hoodie Pattern Here
In the previous Otari Hoodie Sew Along posts I covered:
- #1 Choosing fabric
- #2 Pattern alterations to get the perfect fit, & cutting out
- #3 Sewing Preparation: interfacing & choosing stitches
- #4 View A Pockets
- #5 View B Pockets — including a hack to add binding to them
- #6 Sleeves & Side Seams
For this part of the Sew Along I’m going to be using images taken when making the original sample Otari Hoodies for the pattern launch.
The numbering of the instructions in this post corresponds to the numbering of the pattern’s instructions.
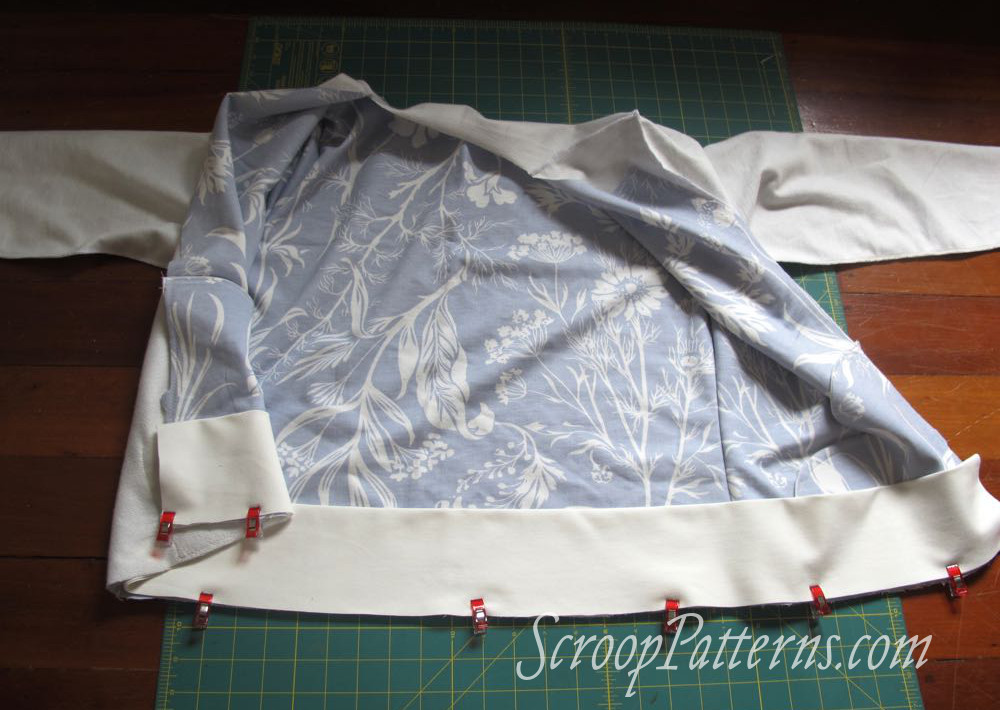
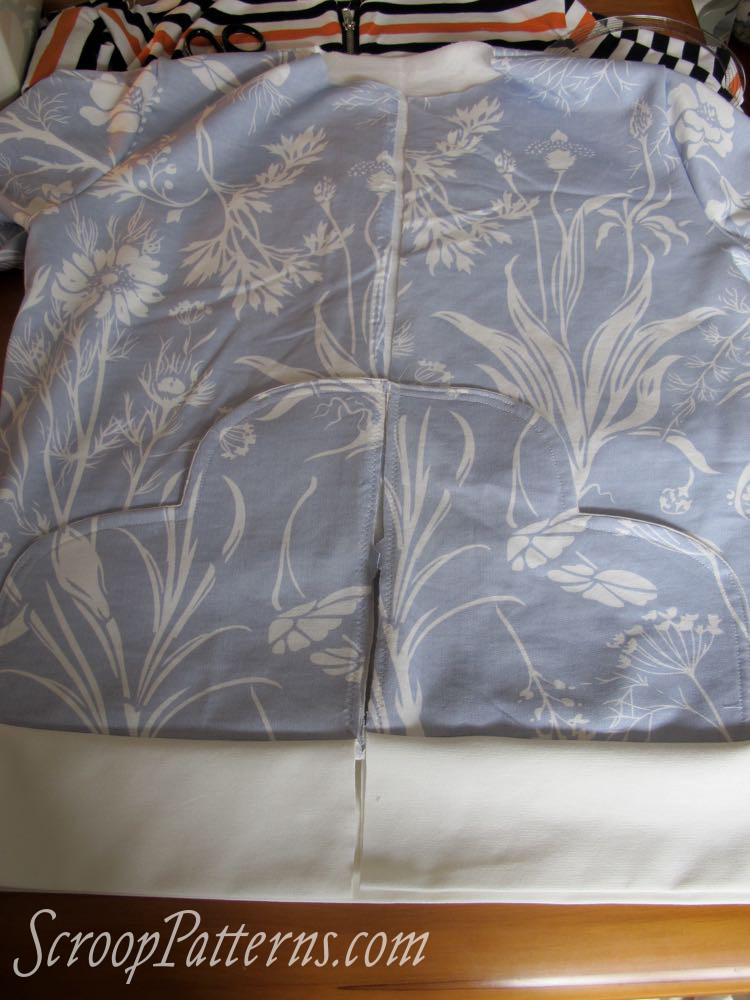
The Hem Band
15. Fold your hem band wrong sides together, lengthwise, so it forms a long narrow band, and press.
16. Right sides together, matching notches and front edges, pin/clip and sew your hem band to the bottom edge of the hoodie.
Tip>>>
You’ll need to stretch the hem band slightly to get it to fit: this will help the hoodie to sit nicely and smoothly around the body.
Tip>>>
You can sew with a stretch stitch on a sewing machine, or an overlocker. If using a stretch stitch on your machine, grade the seams once sewn, and then finish the edges with an overcast stitch (a zig zag will do just fine).

17. Press seam down towards band.
Tip>>>
It’s a really good idea to check that the right and left front of your hoodie are perfectly symmetrical at this point. You want the hem bands and tops of the pockets line up perfectly across the zip in the next big step.
The Sleeve Bands
18/19. Fold your sleeve bands wrong sides together, with long edges matching, and press.

18/19 Open up, and, right sides together, fold with short edges matching. Sew across the short edges to form a circle.
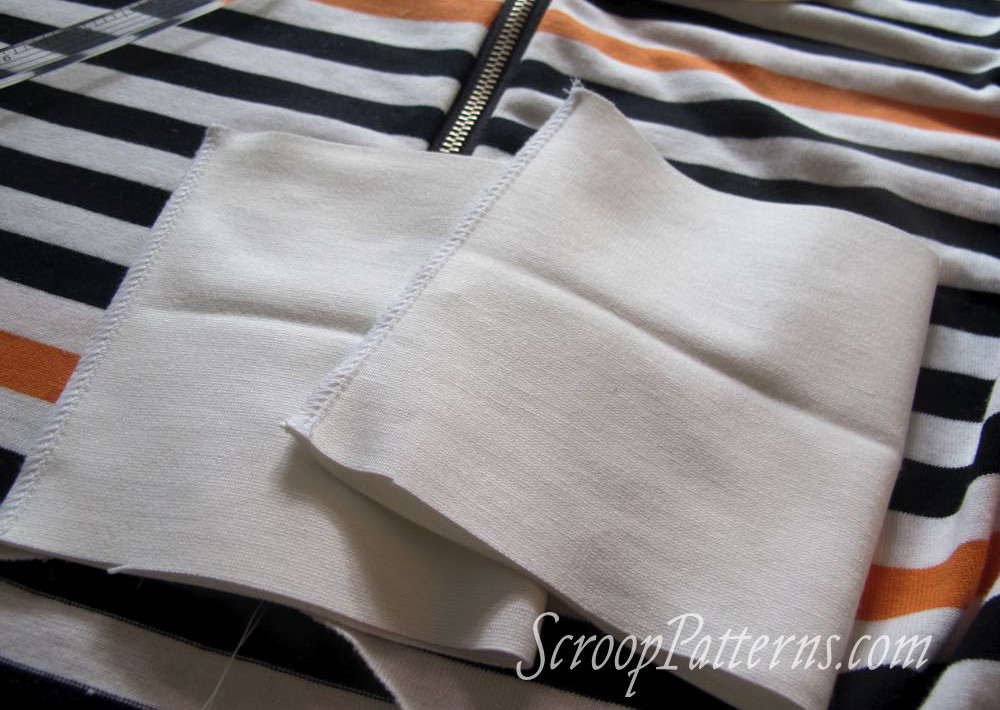
19. Re-fold the original pressed line, to form circular cuff bands with right sides facing out.
20. Right sides together, matching seams and notches, pin/clip your sleeve bands over your sleeve ends, and sew with a stretch stitch.

Tip>>>
You’ll need to stretch the sleeve bands slightly to get them to fit.
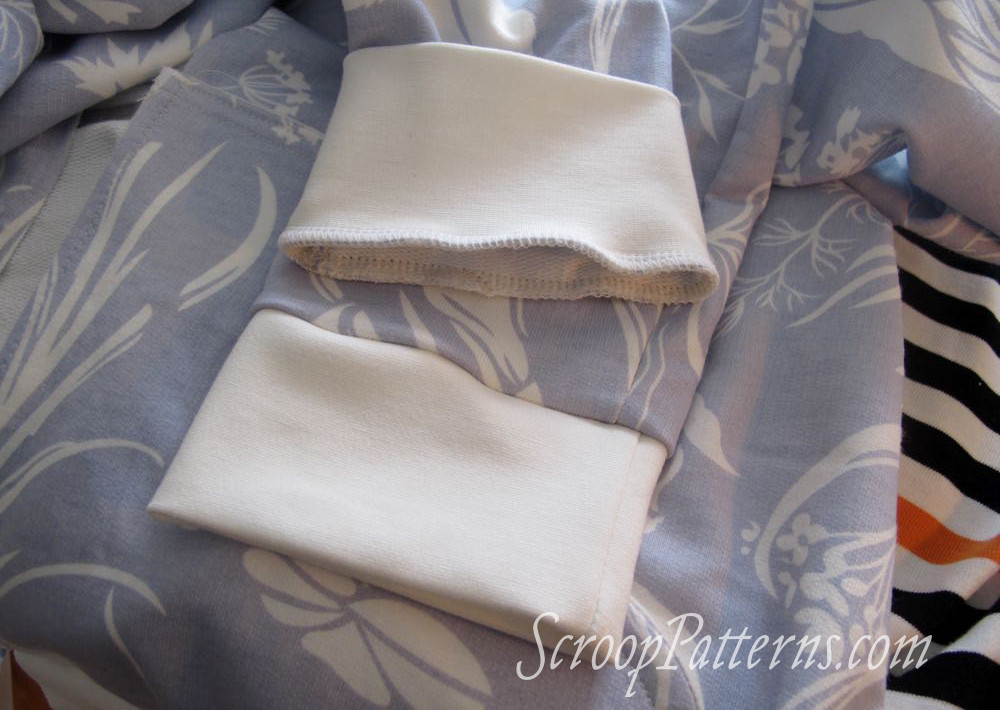
21. Press bands down, and press seams down towards band.
And there is your hoodie, bands attached!
In the next Sew Along post:
Zips – including that tricky fusing & easing step.
Want to join in? Buy your Otari Hoodie Pattern Here