Previously on The Cassandra Stays Sew Along:
- Choosing Material for the Cassandra Stays
- Making Linen Buckram
- Making your Mock-Up
- Fitting
- How to alter the Cassandra Stays pattern to be front-laced only
- Cutting Out & Basting
- Testing techniques
- Sewing the Boning Channels
- Making the View B Stomacher using historical materials
- Marking & Sewing Eyelets
- Assembling the Panels & Boning
- The Final Fitting – how to properly fit stays
Apologies for taking almost two months to get back to this! How time flew…
Luckily, this next step is a pretty easy one – definitely not one that requires perfect stitching.
Securing the Seam Allowances
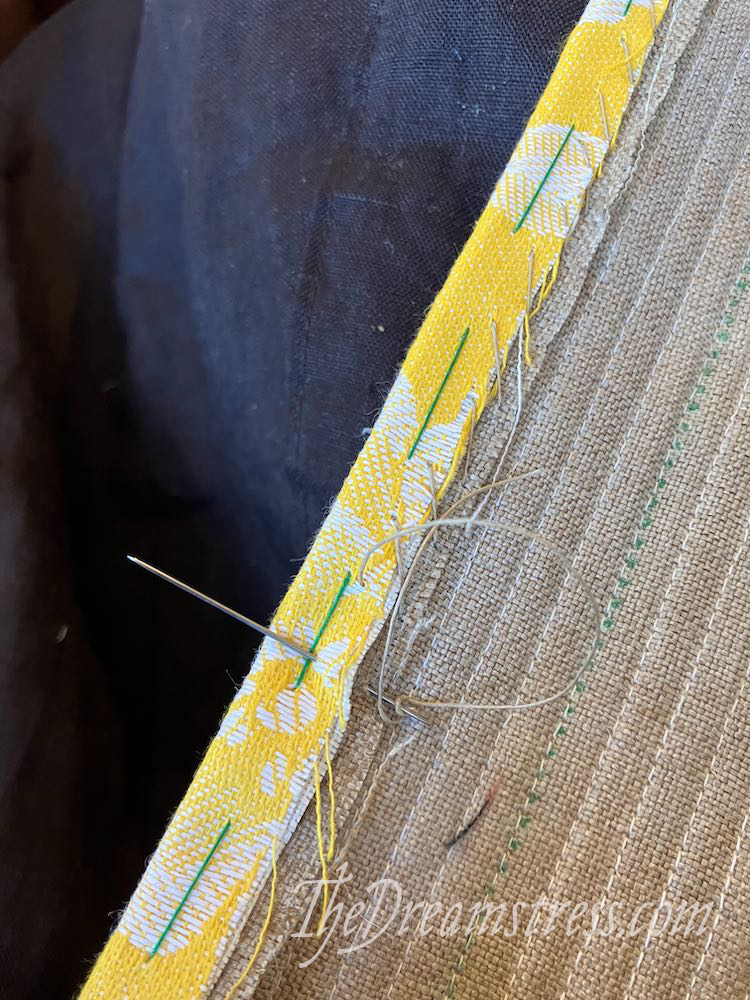
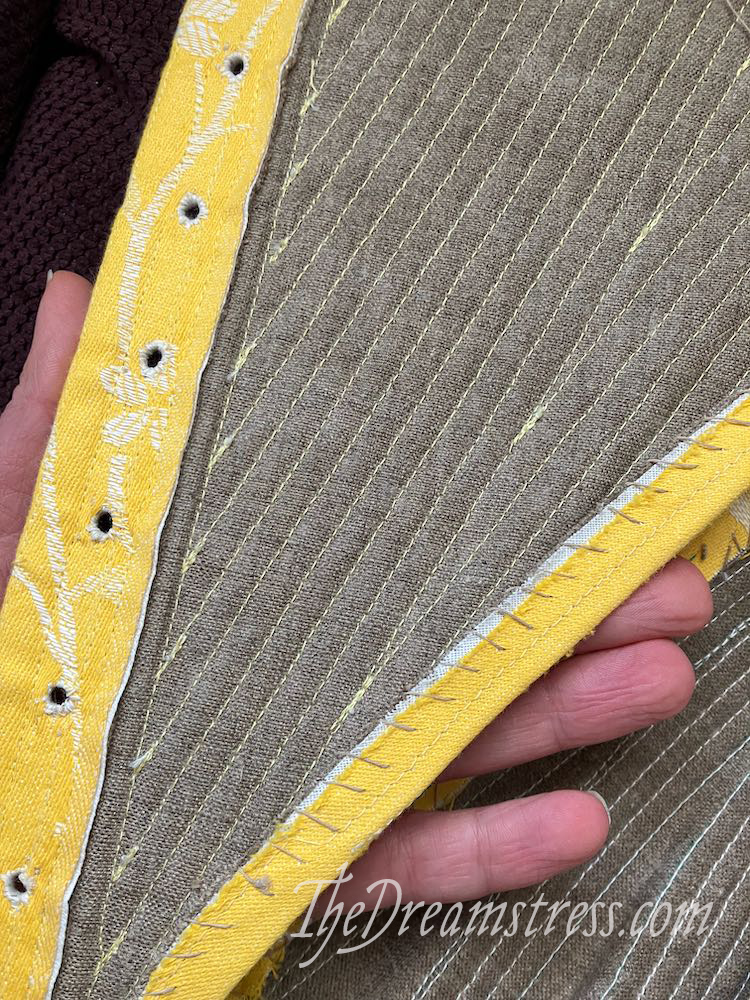
18th century stay construction is unusual to a modern sewist because you bone each panel, sew the seam allowances down, and THEN sew the panels together, rather than sewing the panels together and then pressing down the seam allowances.
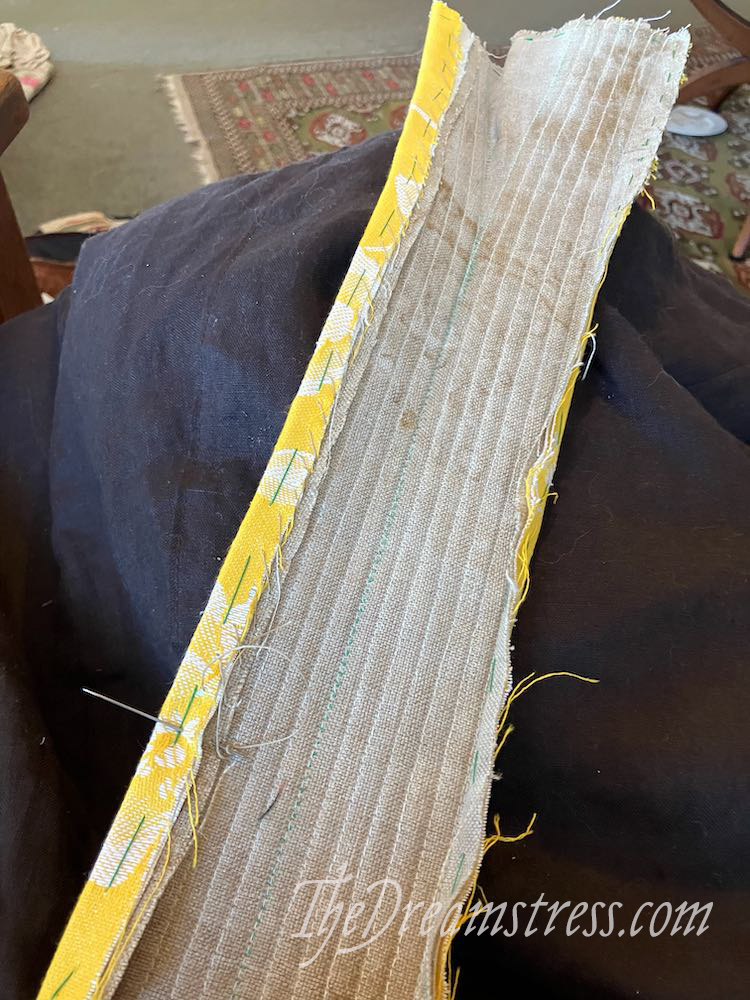
The advantage of the 18th century method is that it makes it easier to adjust the stays later – particularly if the adjustment you need is inserting a panel.
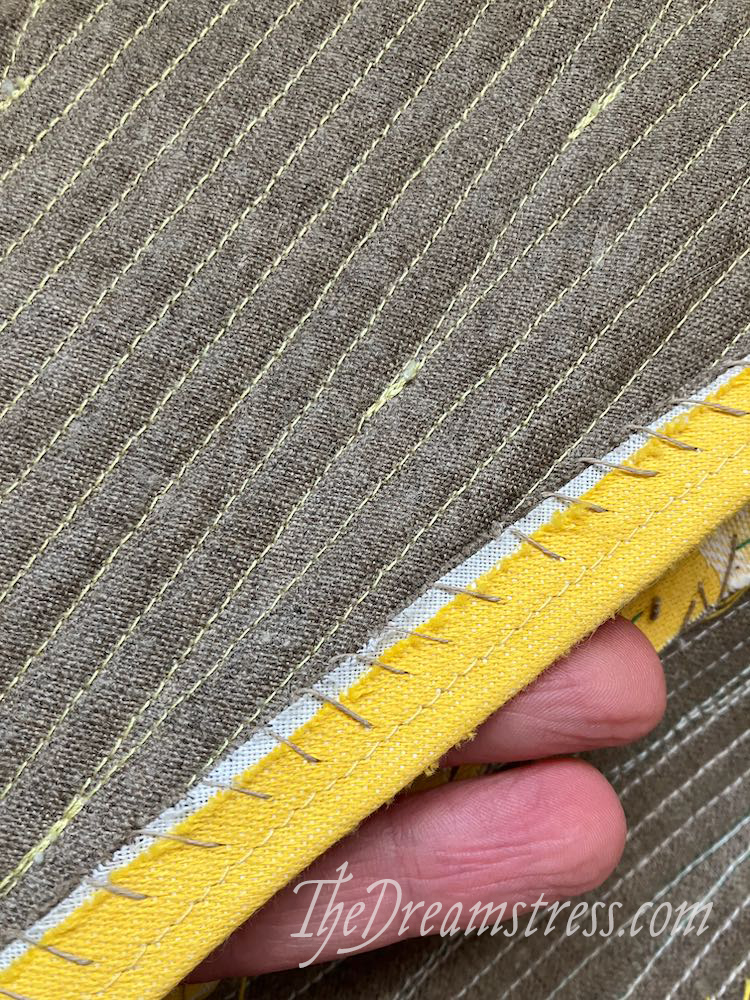
Because the stitches just need to hold the seam allowances in place, they don’t require a lot of strength, and can be quite large and rough.
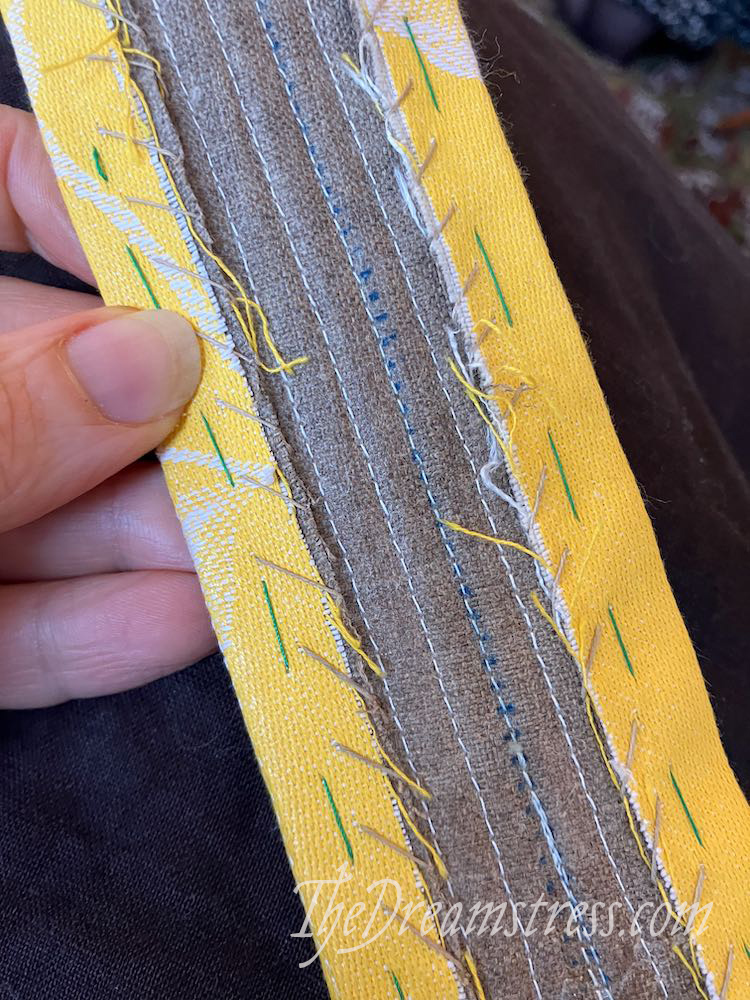
While your stitches themselves can be rough, there are a few things that will give you a better result at this step:
- Make sure you have basted around your pattern piece exactly on the line you want to press your seam allowances back on, so you press the same amount of seam allowance back on each piece mirrored.
- Press your seam allowances back with an iron so they are nice and flat
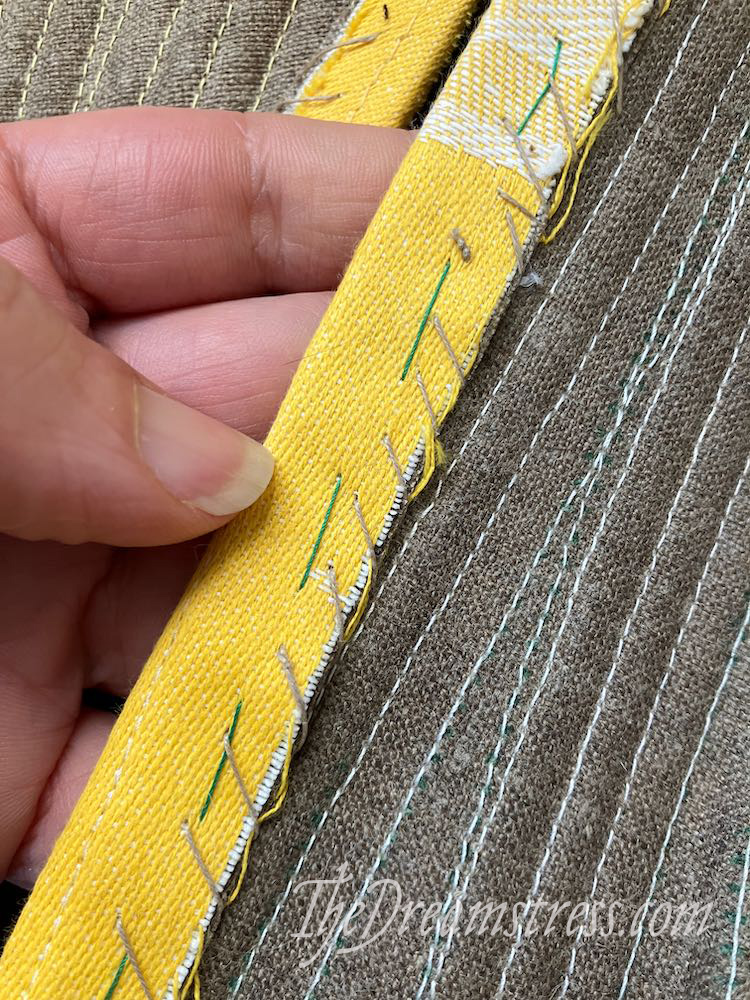
- Sew back the seam allowances for both the left and right panel, and then check them against each other to make sure they are perfectly symmetrical. This is particularly important at the front point: I press and sew both points at the same time, continuously checking to make sure the points end up even.
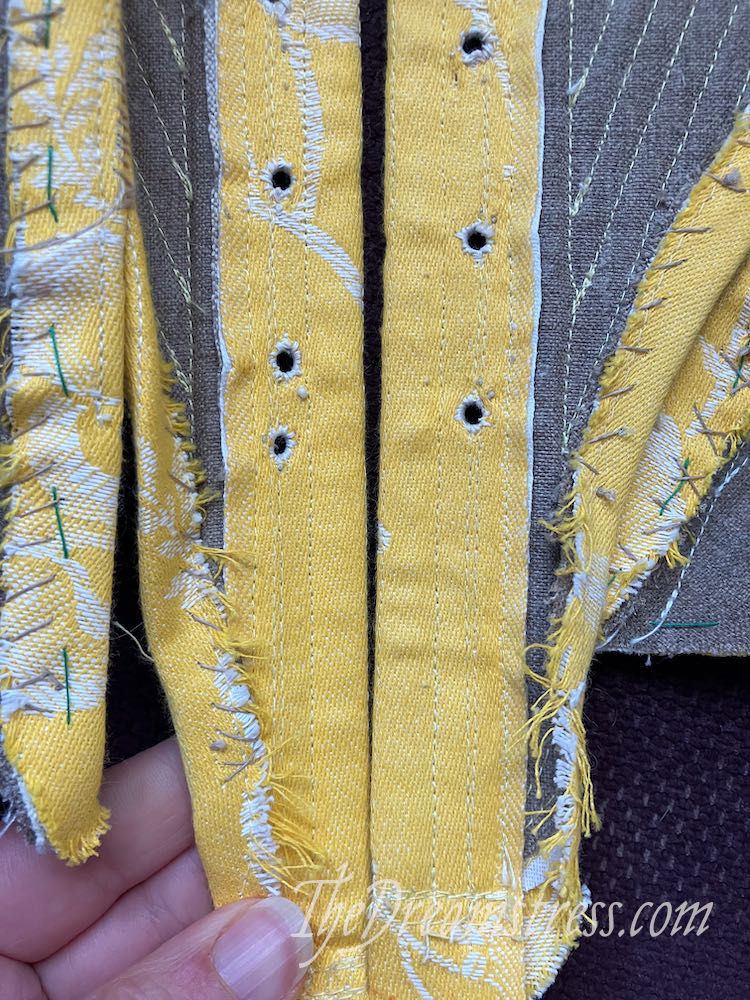
- Sew the seam allowances down all the way into the tabs – if there is a slight curve, distribute the ease of the seam allowance and then use the iron to press it flat:
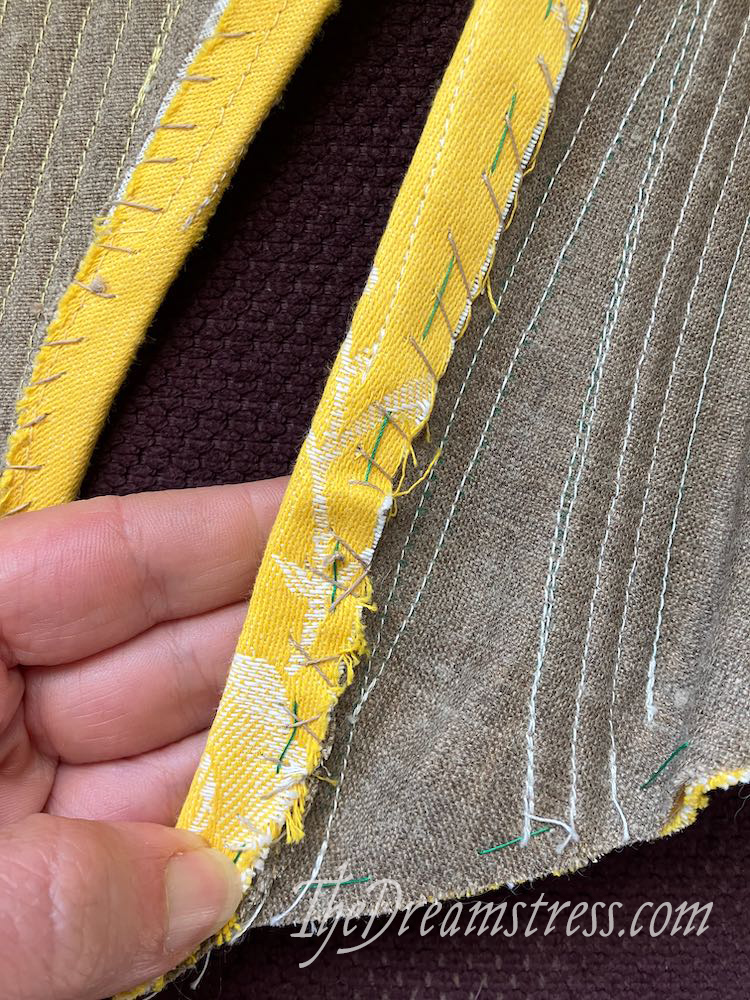
And that’s it!
Up next:
Whipping the panels together:
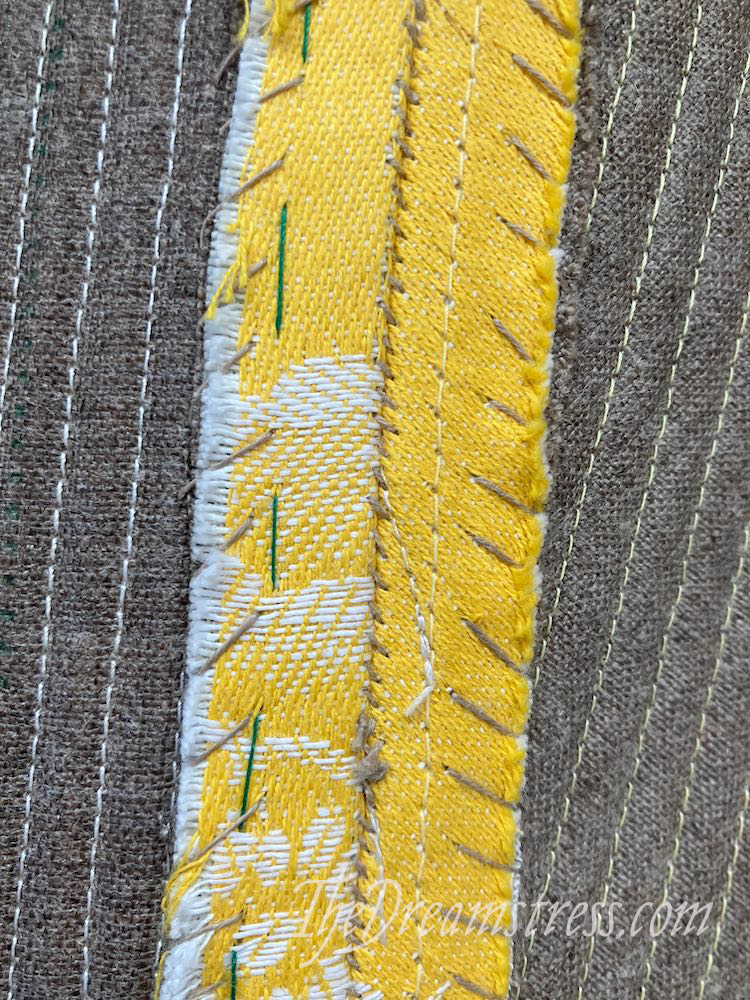
And then you’ll have assembled stays!
(and then you have the tricky parts, like seam tapes and binding…)

Hi! I’ve really enjoyed following along with these. I do have a quick question – if you’re not adding a lining, will tacking down the seam allowances like this withstand wear and tear over time? Is there a more secure, historically accurate way to cover the seam allowances/keep them from fraying? I’m not planning to wear mine often by any means, but the sight of a raw-ish seam makes my heart race a little
These will withstand fraying and wear and tear. This is the historically accurate way to do it! My Augusta Stays are still unlined, and have been worn multiple dozens of times and are still holding up well.
I’ll do a post with some examples of historical stays interiors.