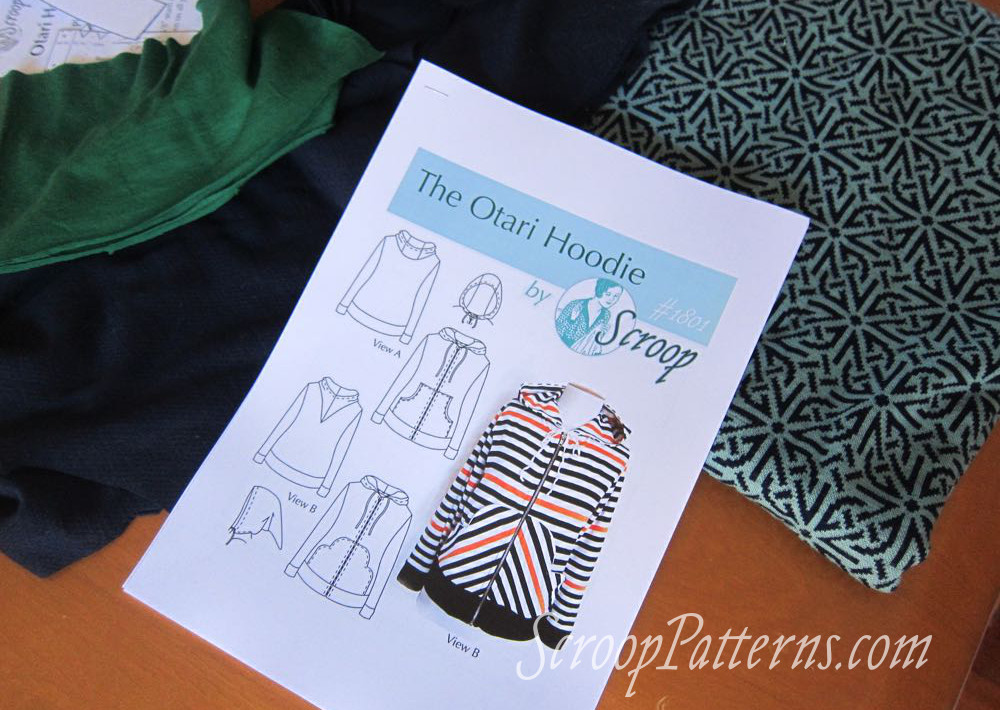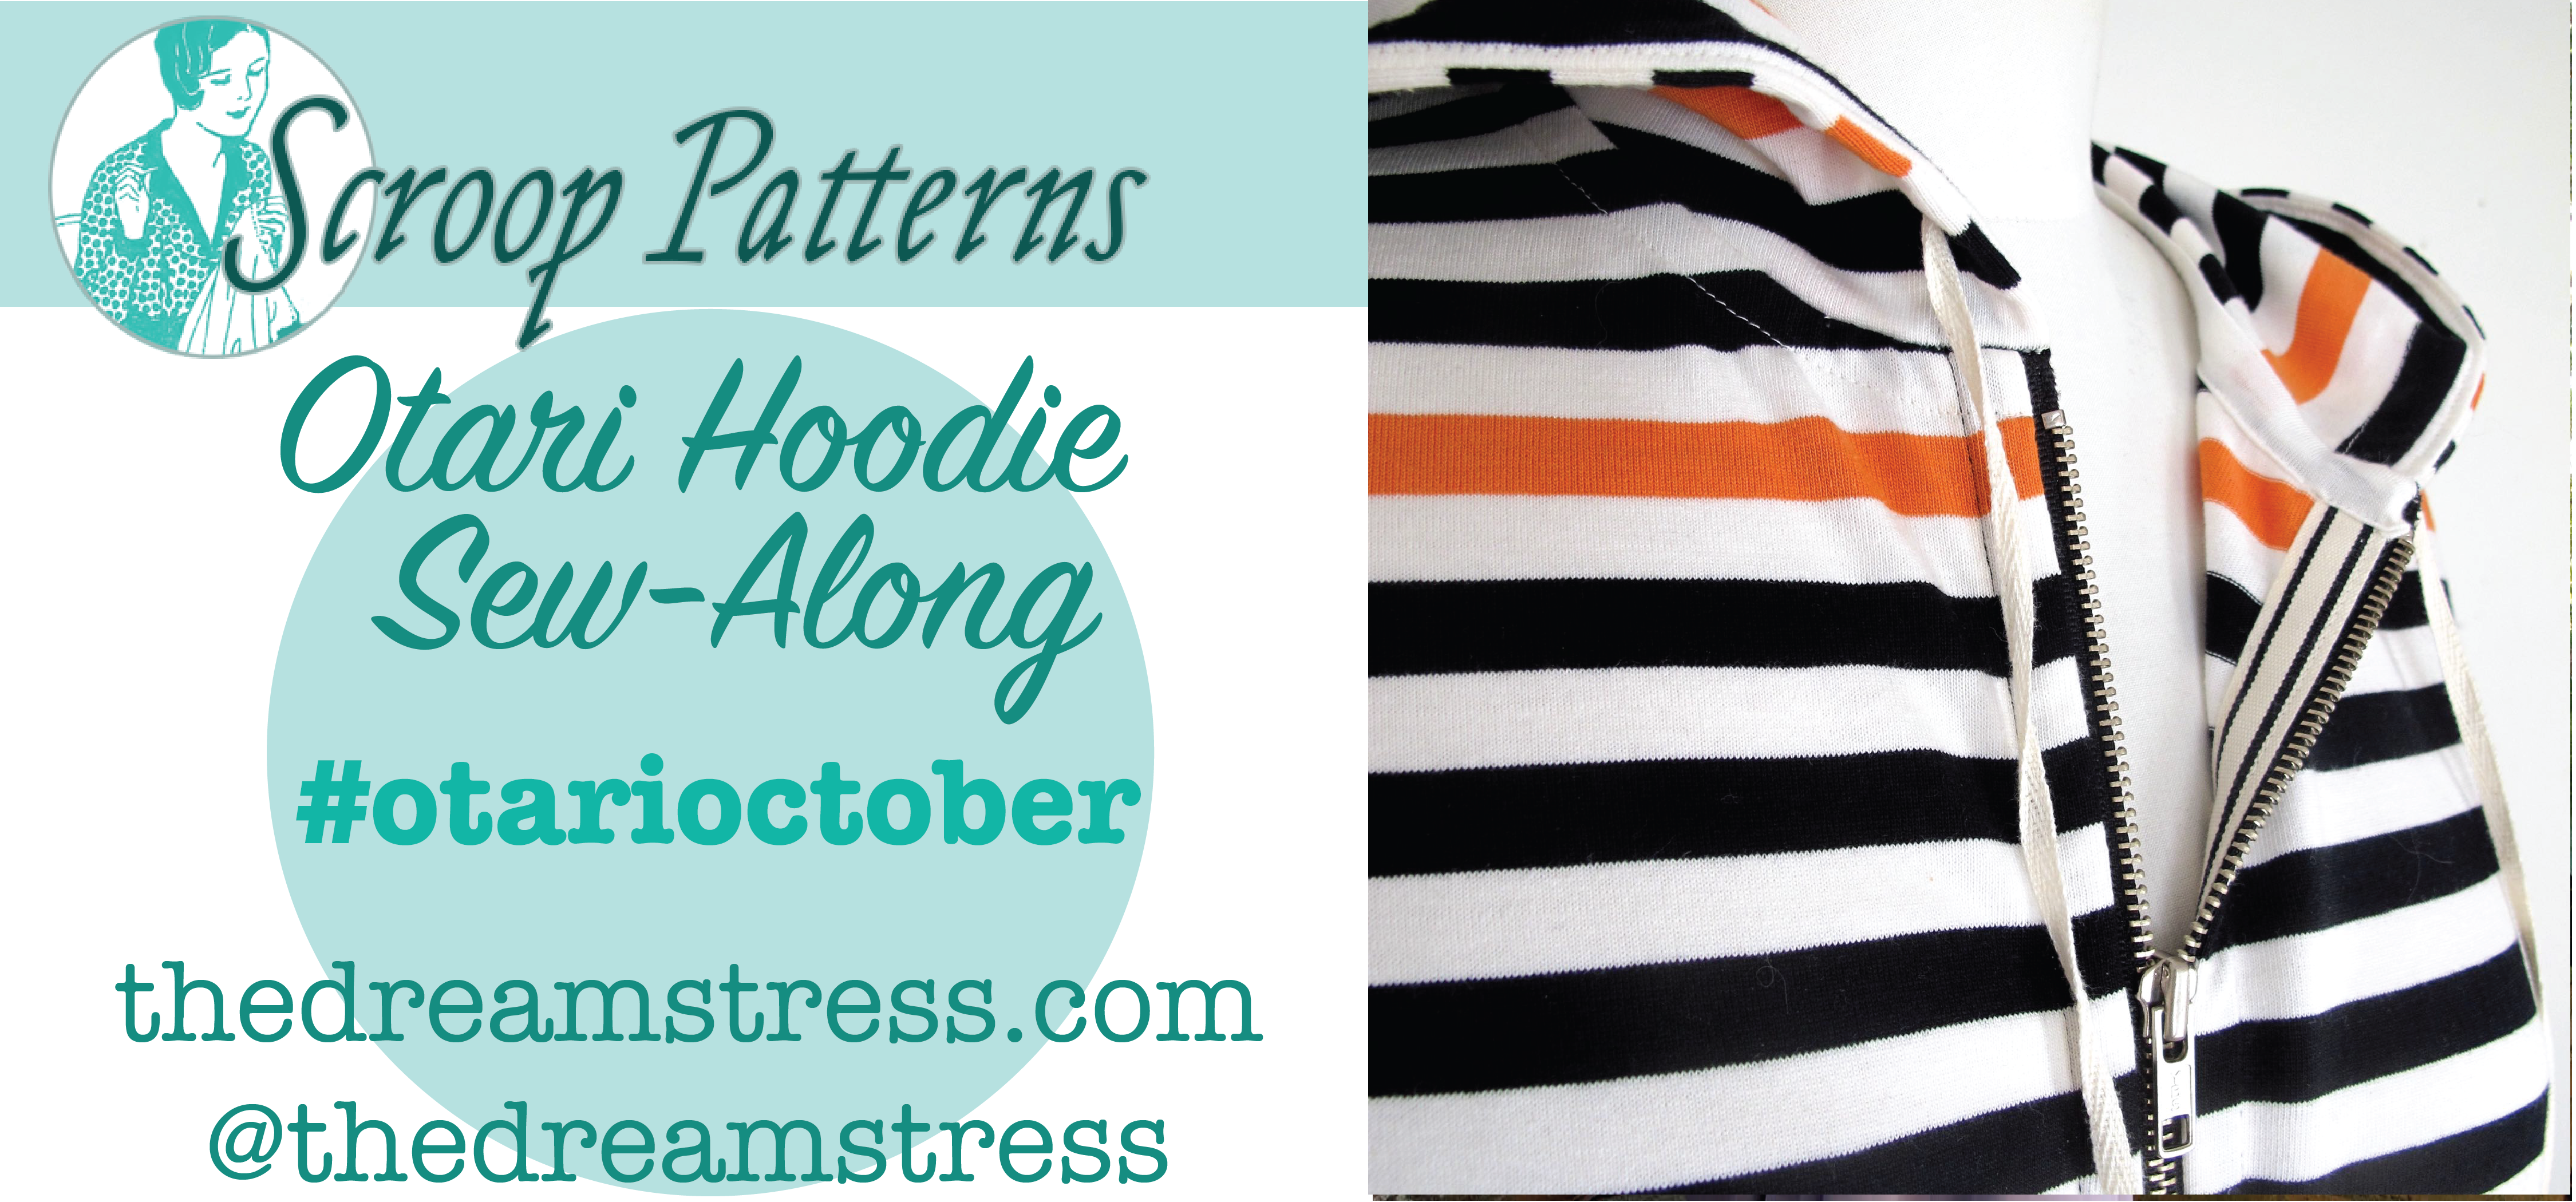
In this post I’ll be showing how I sew the classic banded pockets of the Otari Hoodie View A. I’ll be covering both the pocket construction method shown in the pattern, and an alternative method.
If you want to join in you’re not to late to catch up with the Sew-Along!
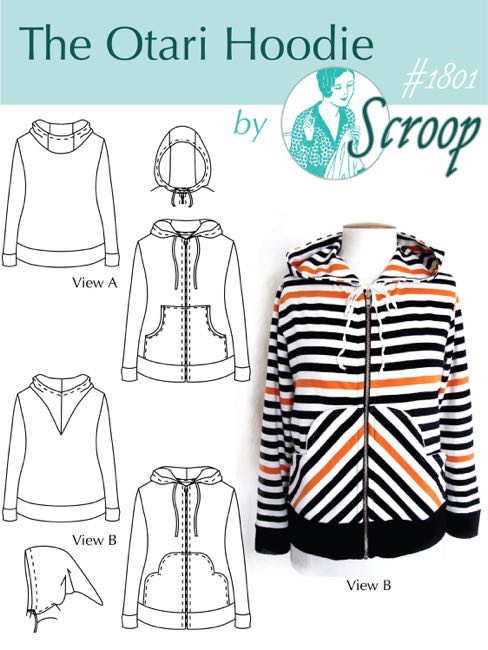
Buy the Otari Hoodie Pattern Here
And don’t forget that all Scroop Patterns are on sale until the end of October with the code:
IPM2018
In the previous Otari Hoodie Sew Along posts I covered:
- #1 Choosing fabric
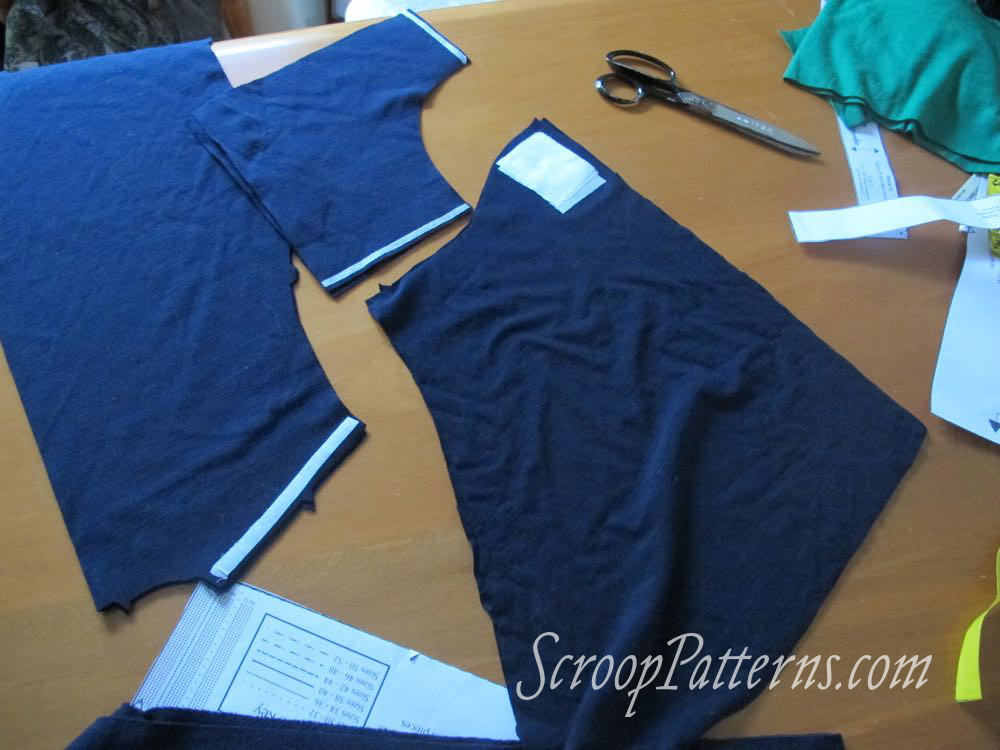
- #2 Pattern alterations to get the perfect fit, & cutting out
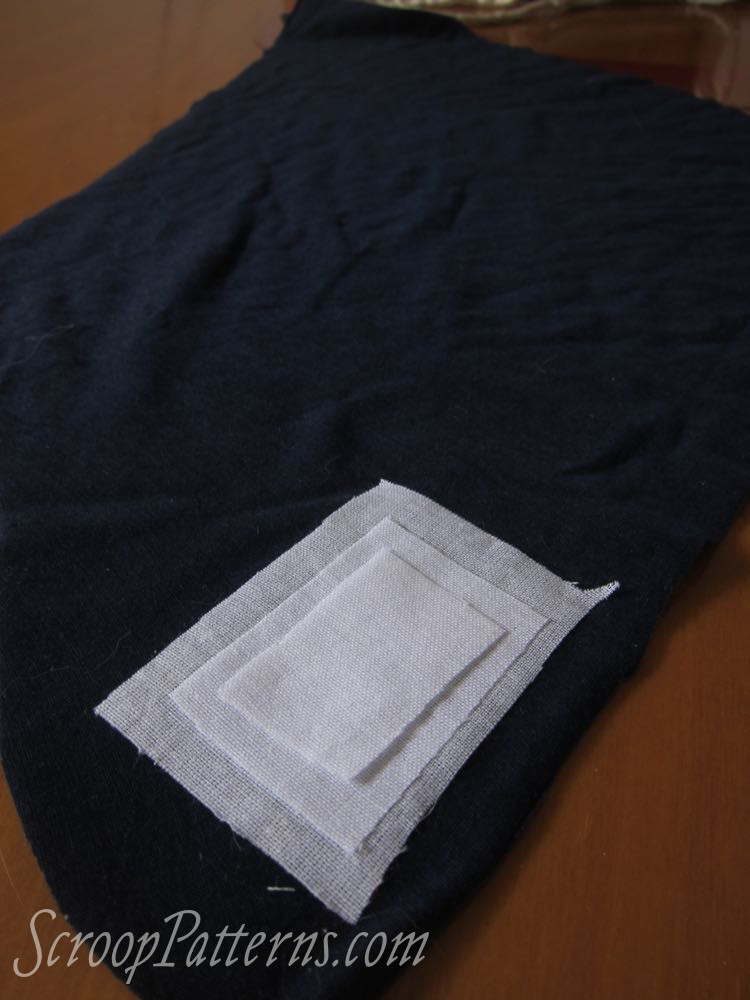
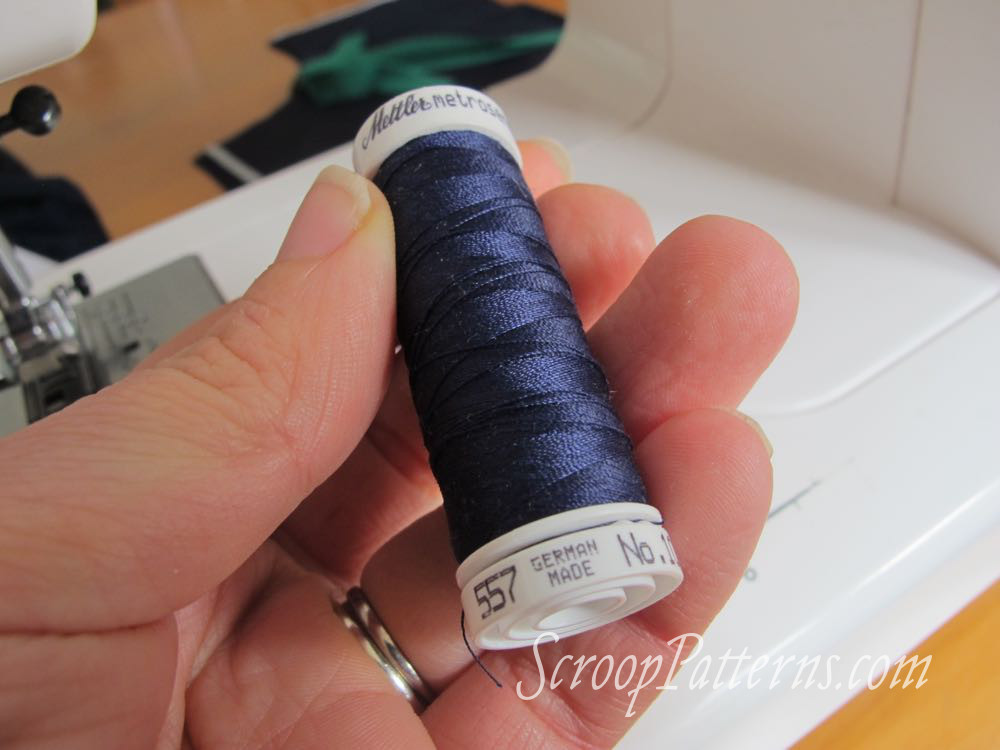
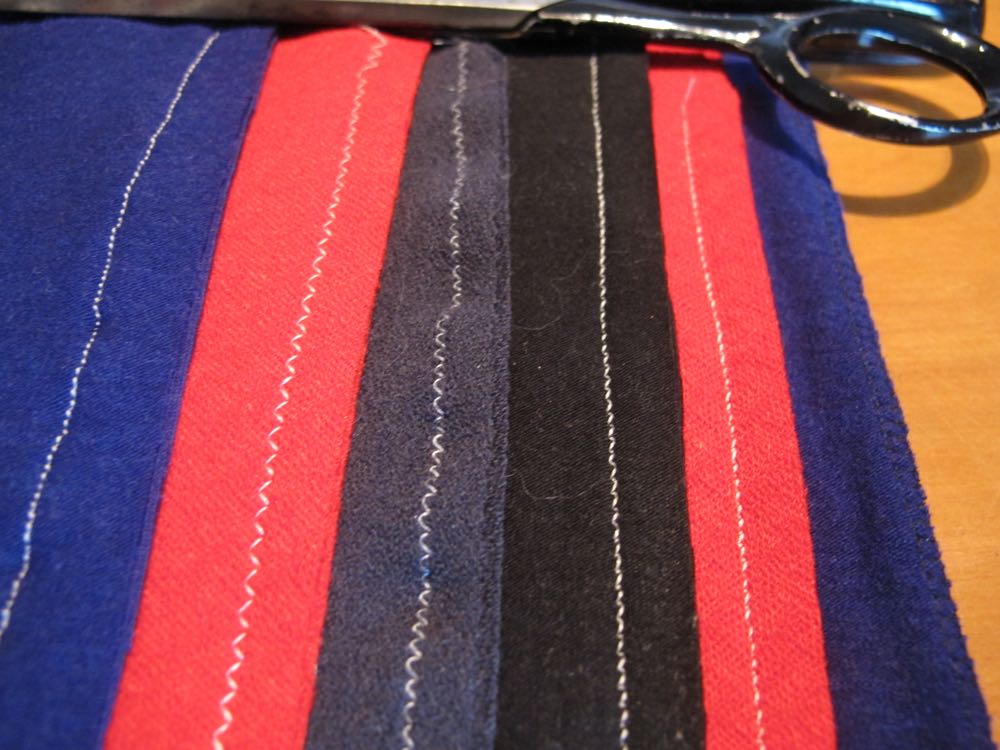
- #3 Sewing Preparation: interfacing & choosing stitches
Now it’s time to actually start sewing!
View A Pockets by the Pattern Method:
I absolutely hate the feel of raw edges inside hoodie pockets. They just feel so unfinished, and I continually find myself worrying them with my fingers. The sewing method I show in the Otari Hoodie pattern creates pockets that are fully lined and finished, with no raw edges at any point.
It is a little fussier and trickier to sew, but I think the end result is well worth it.
The numbering of the instructions in this post corresponds to the numbering of the patterns instructions.
1. Start with your Piece G pocket binding pieces. Fold the right sides together, lengthwise. Sew across each short end.
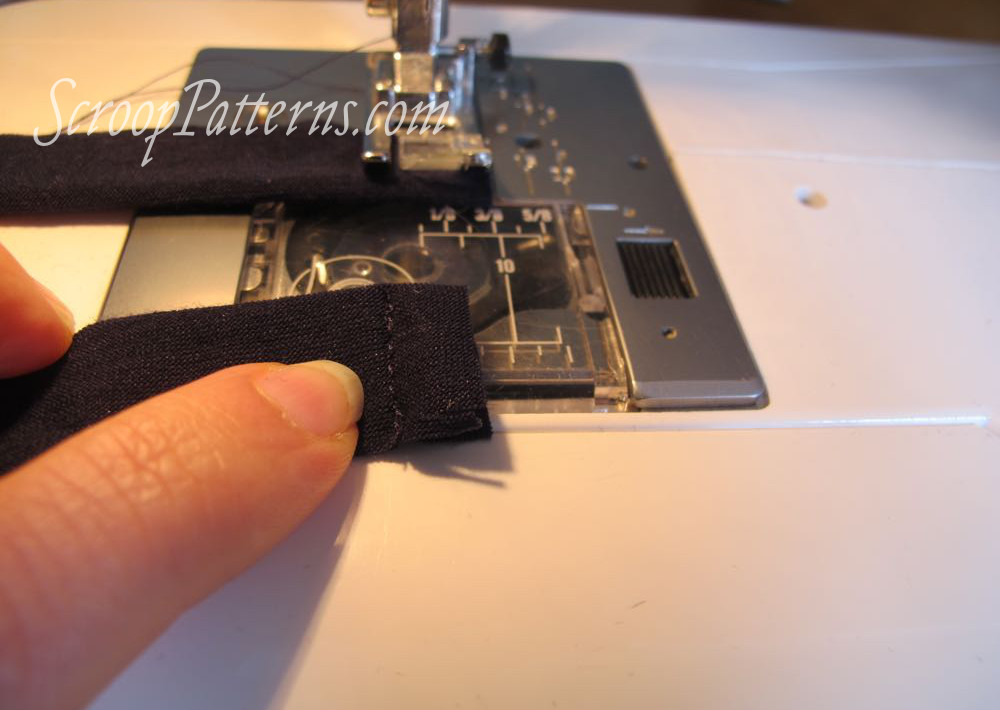
Clip your corners. Grade your seams if you are working with a bulky fabric (my merino is very lightweight, so I’m only trimming the corners).
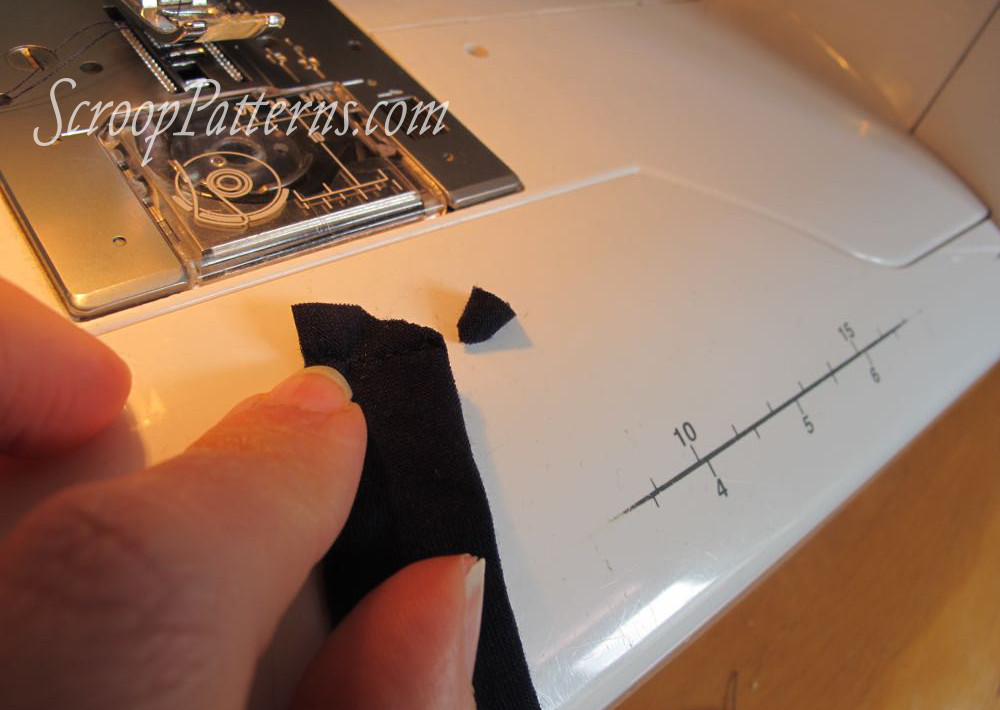
Turn your strips right side out, and press.

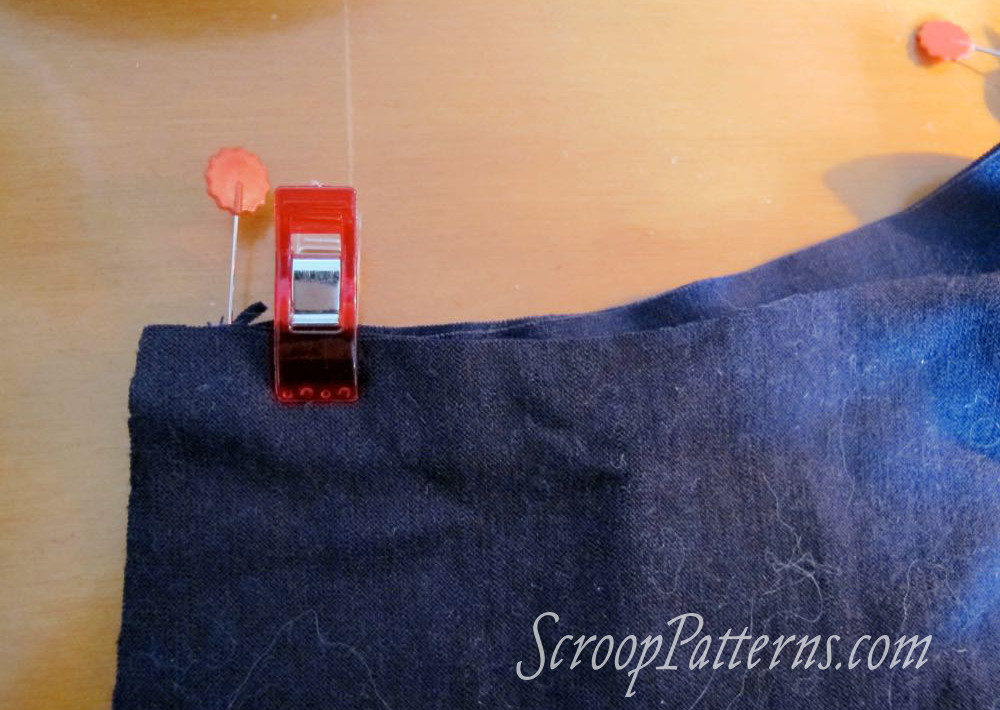
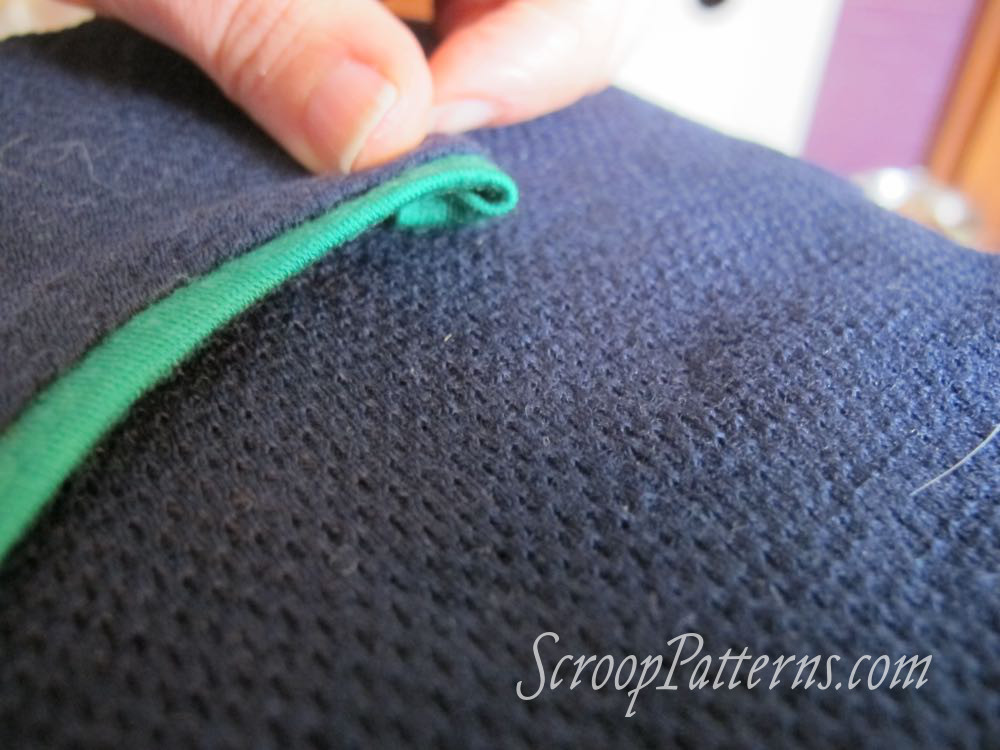
2. Place a pin at the absolute end of each strip, with the pin sitting firmly against the inner fold of Binding strip G.
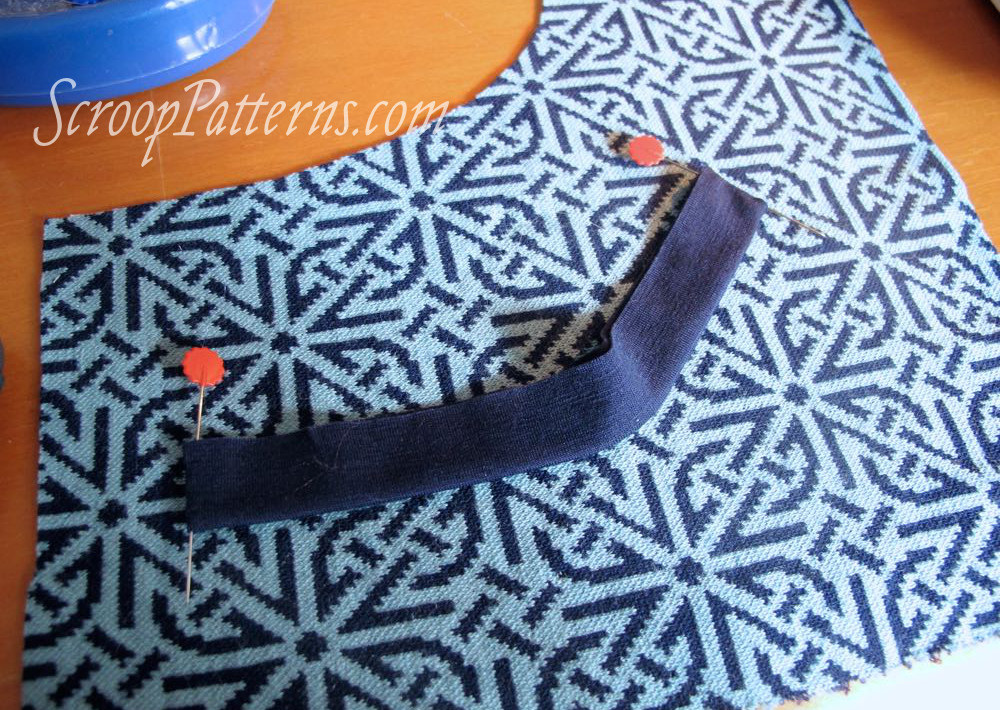
Pin the binding to the right side of Pocket Piece F outers, matching notches and placing the end of the binding strip exactly 3/8″/1cm from the end of each pocket.
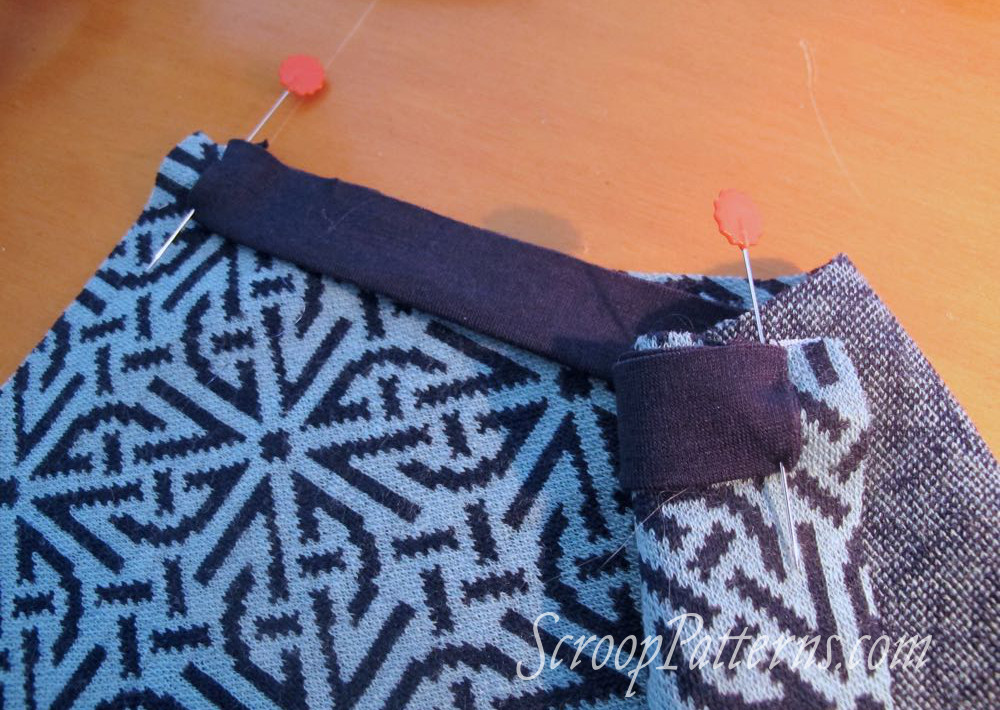
Place Piece F lining over the pocket and binding, right sides of Outer F & Lining F facing. Secure at each end of binding (I like to use clips for this step).
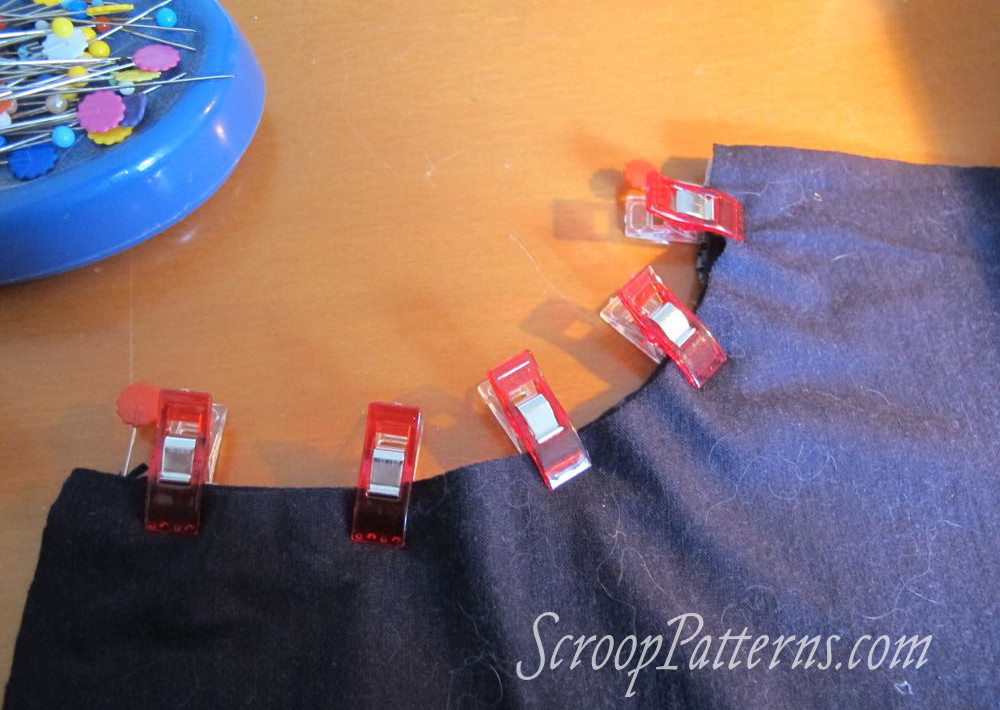
Stretch the binding to distribute it evenly across the curve of the pocket opening, and clip in place.
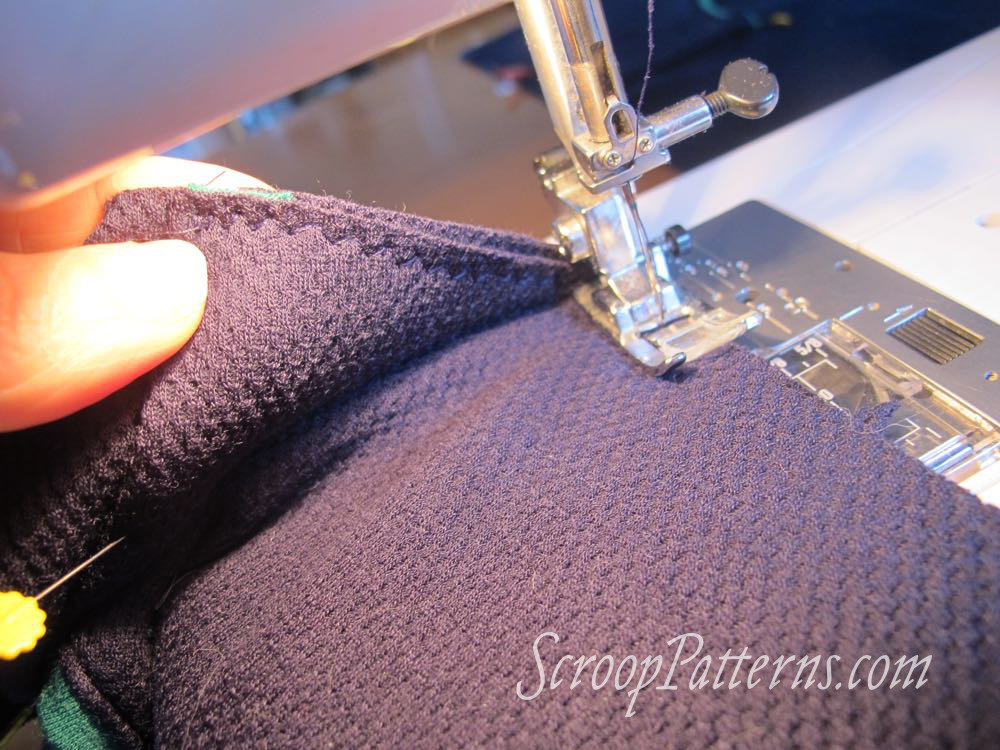
3. Using a stretch stitch, sew along the short straight edges and long curved edge of your pockets. I’m using a stretch-as-you-sew straight stitch.
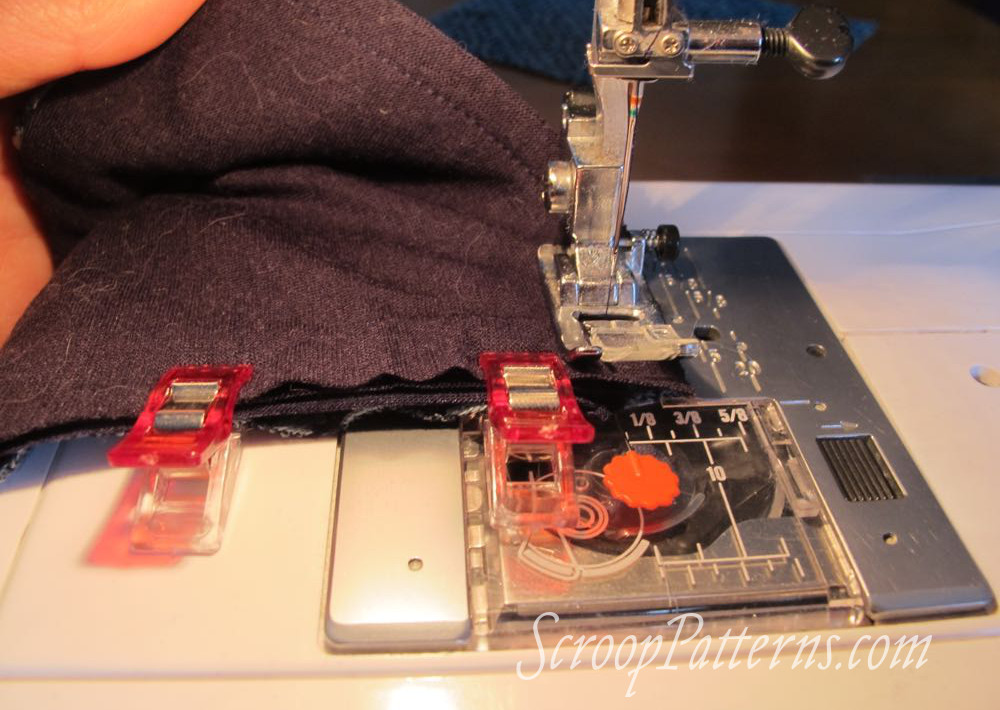
Sink and turn your needle at the corners, taking care not to catch your binding ends in your stitching at the corners.

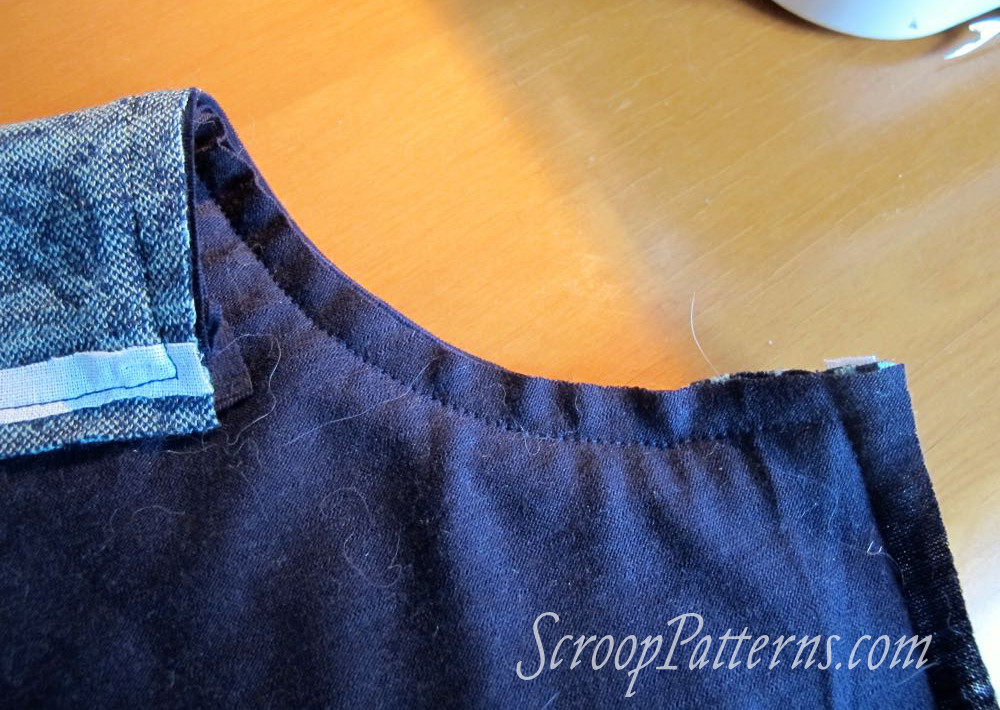
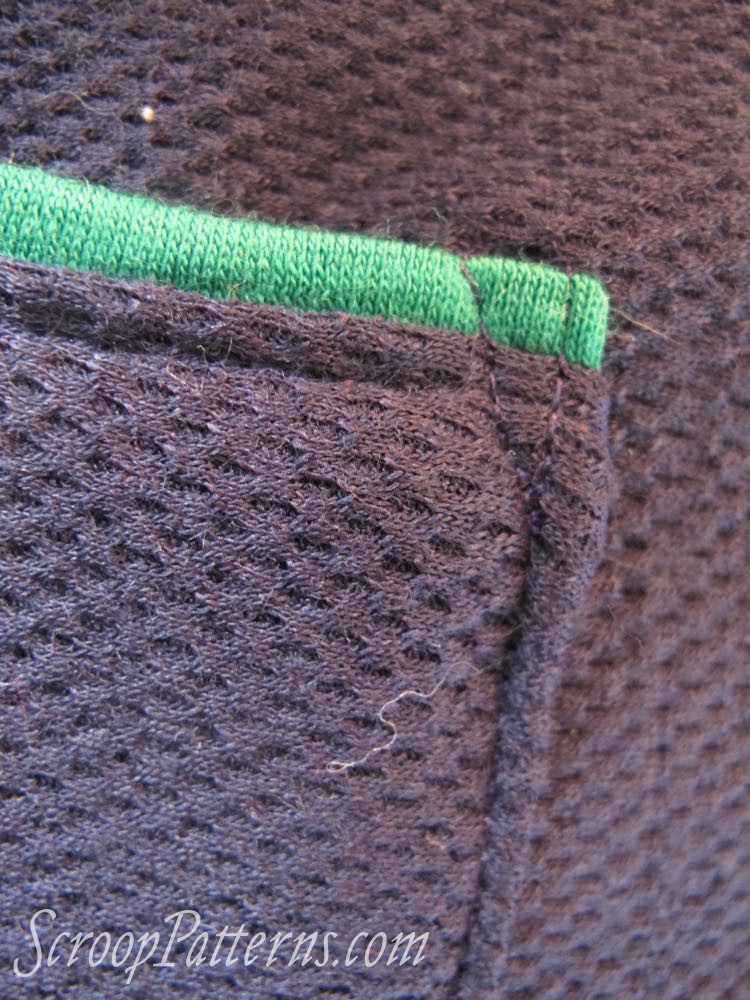
And here is what the stitching should look like:
4. Clip corners and grade seams as needed, and then turn the pockets right side out and press:
5. Using a stretch as you sew straight stitch, topstitch along the curved edge of the pocket 1/8″/3mm from binding.
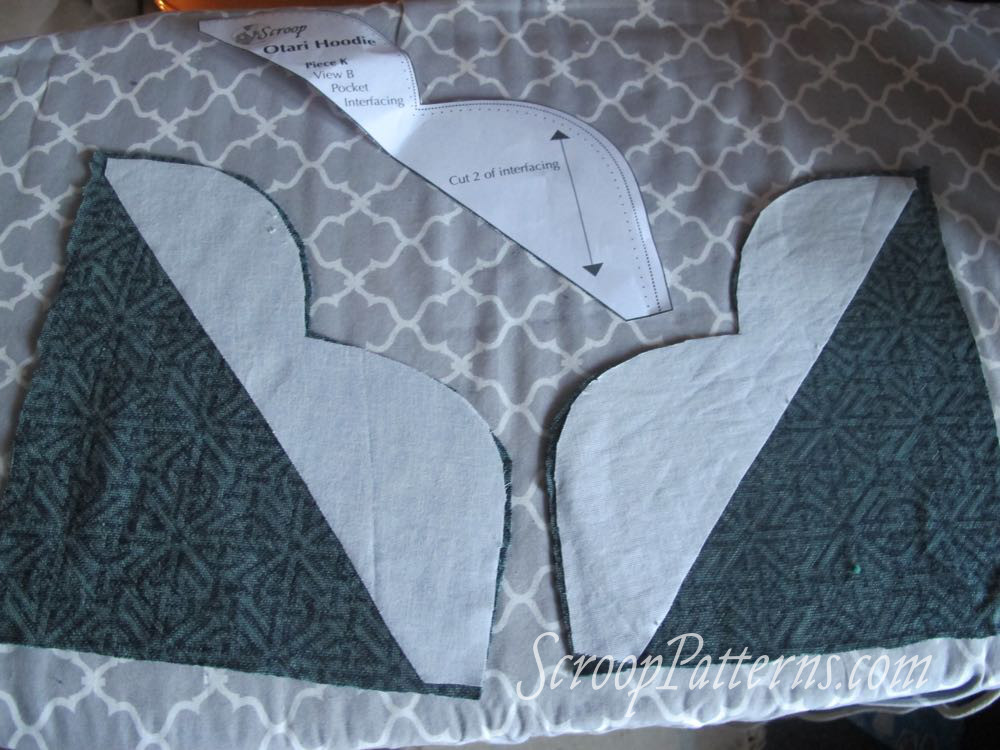
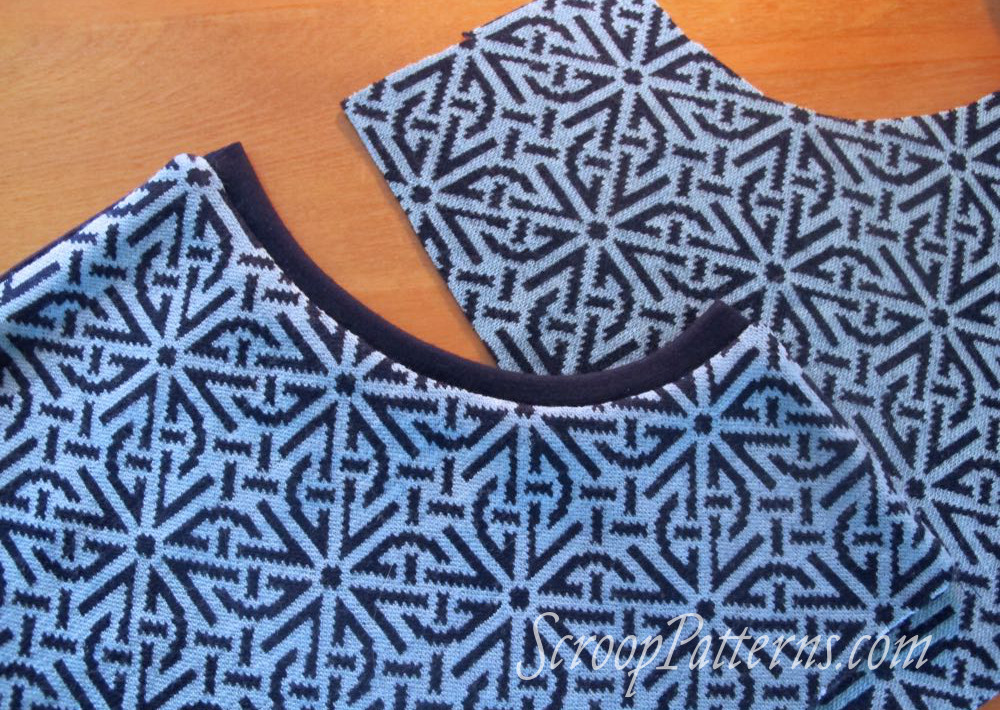
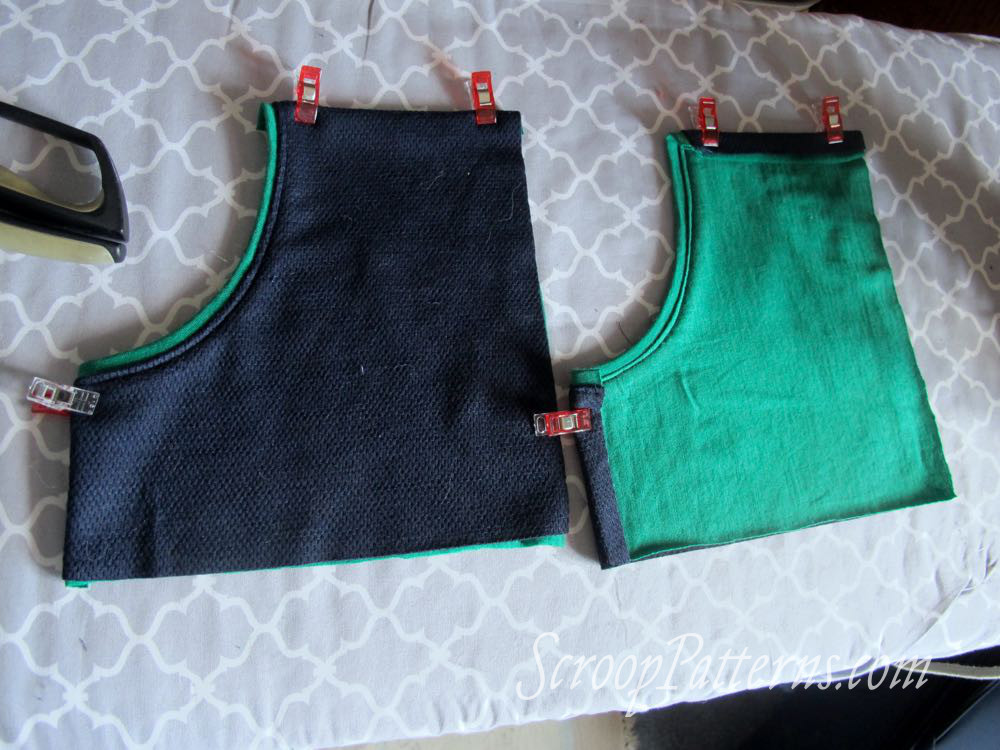
Before I show you how to attach the pockets for this view I need to finalise my pocket choices for my jacquard double-knit hoodie. I can’t decide which pockets I ought to use, so I sewed both up:

What do you think? View A, with the pockets cut on the same grain as the fabric, or View B, with the pockets cut on the bias?
View B Pockets by the Alternative Method:
The alternative method for sewing the View A pockets can be easier or trickier than the method given in the pattern, depending on the fabric you use, the finish you want, and your sewing style. It does have the unfortunate drawback of leaving raw edges feel-able on the inside of the pockets along both short, straight edges.
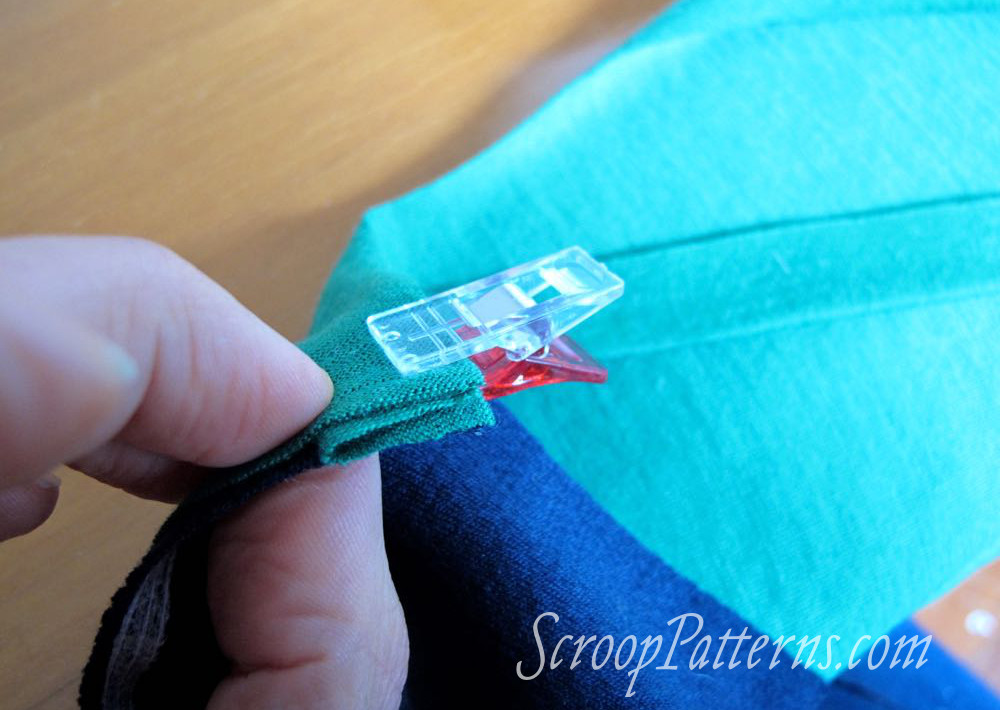
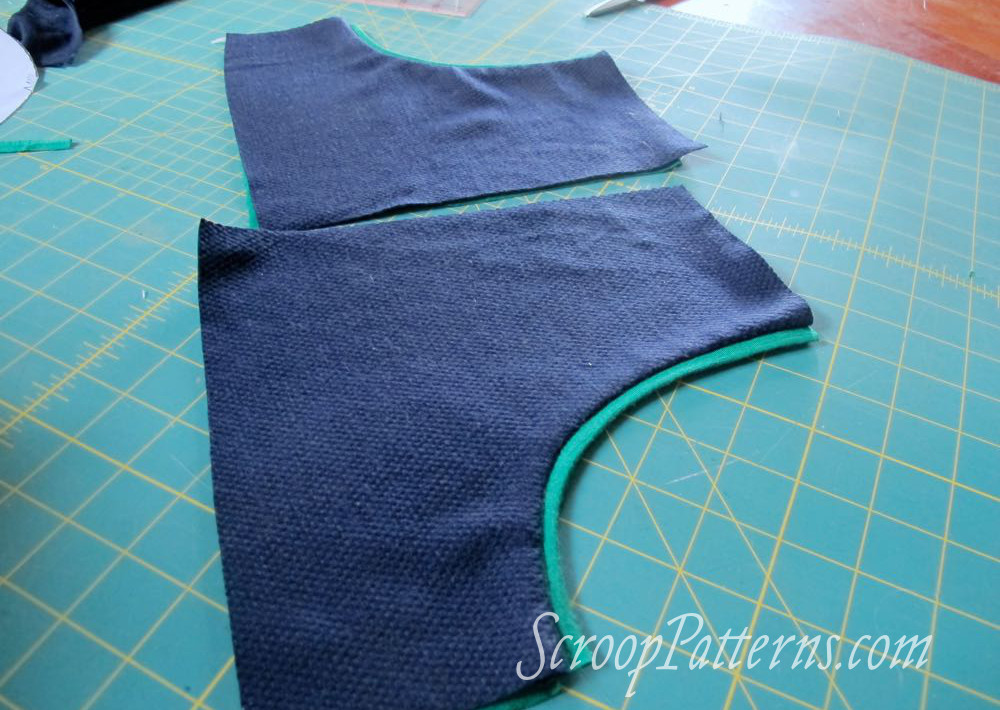
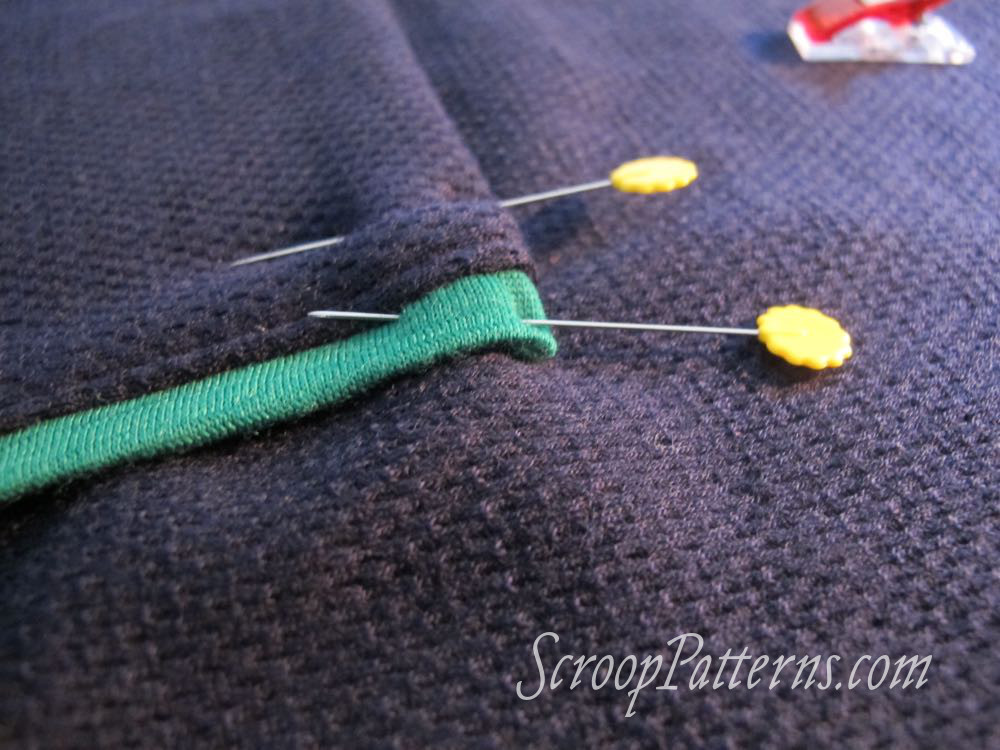
Start with your interfaced and prepped pockets and binding strip. Press the binding strip in half lengthwise, wrong sides together:

Sandwich pocket binding G between pockets F outer and lining, with the right sides of the outer and lining facing, and all raw edges matching. Stretch binding to match the curve of the pocket and pin (or clip) in place:
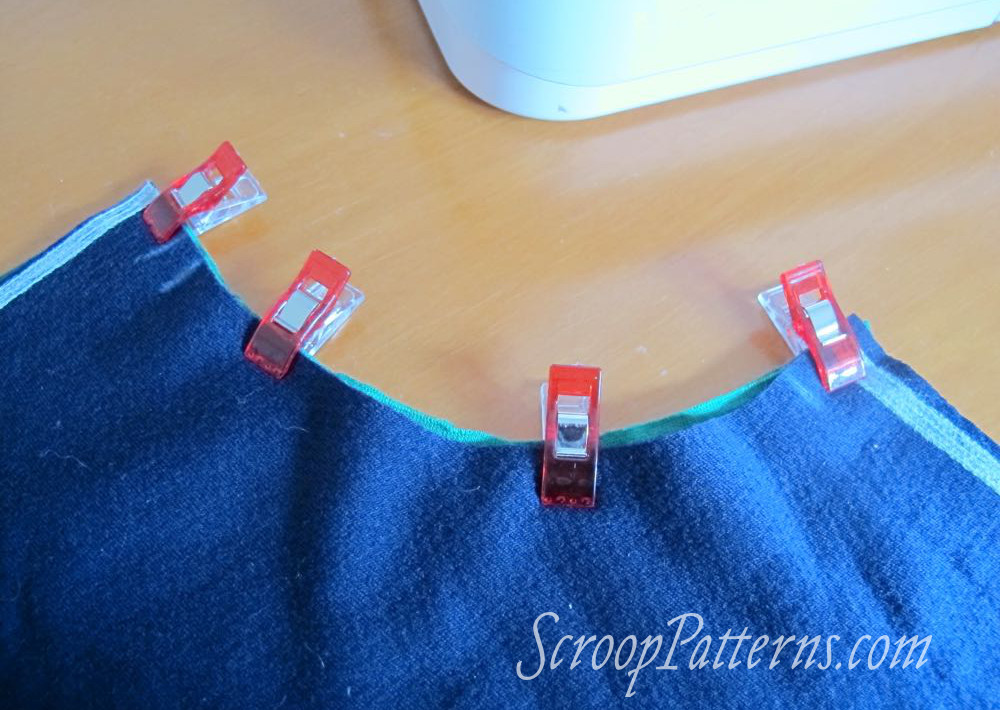
The short ends of bindings G should sit flush with the short straight edges of the pocket.
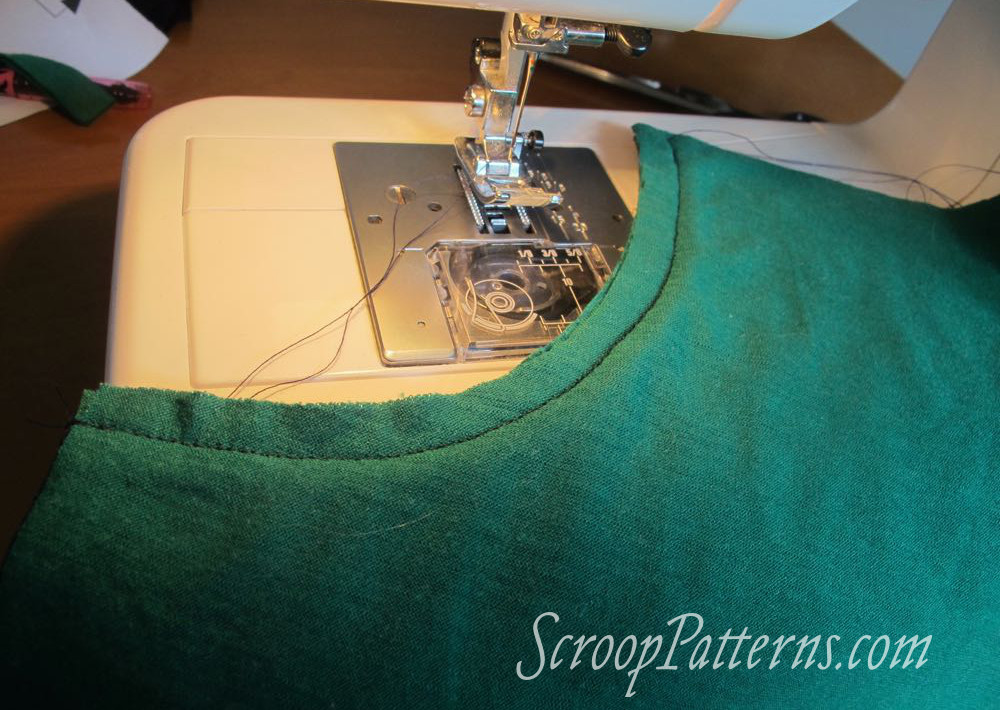
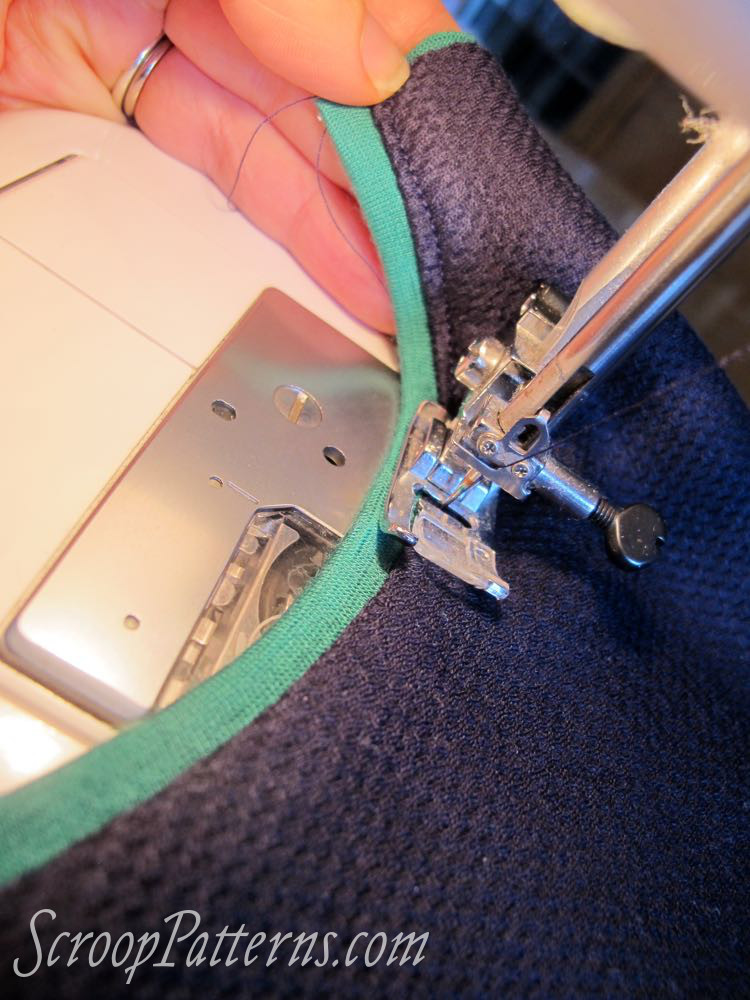
Using a stretch stitch, sew along the curve of the pocket, securing binding in place
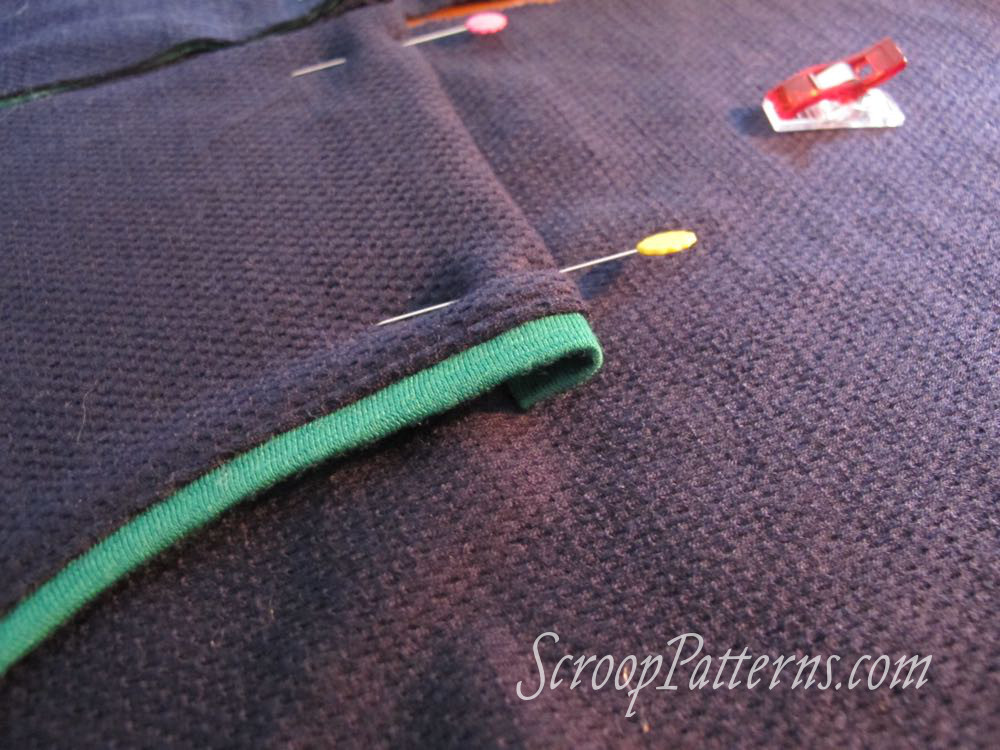
Turn pocket right side out and press:
Topstitch along the curved edge of the pocket, 1/8″/3mm from binding.
Press under the two short edges of the pocket 3/8″/1cm
Place pockets on the front of the Hoodie, matching notches and ensuring that the top edges of the pockets are perfectly even across both sides:

Pin pockets in place:
If your binding fabric isn’t too bulky you can fold under the raw corners of the binding, to ensure it won’t show outside your stitching:
Stretch stitch along the bottom and zipper edges of the pockets:
And topstitch along the two short straight edges of the pockets:

Instead of backstitching at the pocket opening corners, you can sew little triangles, which distribute the tension of the sewing over a larger area, and help to reinforce the pocket ends over time.
And that’s it! The pockets are on!
In the next Sew Along post:
Sewing the View B Pockets
Want to join in? Buy your Otari Hoodie Pattern Here