

With surprisingly little faffing and no angst at all, my 1360s-70s gown now has sleeves!
Medieval sleeves have a reputation for being hard (I’ve heard them called slevils more than once) but sleeves are one of the things I’m really good at, so I wasn’t too worried about them.* I think it’s because I’d sewn in a dozen sleeves and drafted at least two before I heard that sleeves are supposed to be awful. I never had time to be scared!
But I’m a good little bloggy scholar, and I want my dress to help me get to historical accuracy, so I read pretty much all the medieval sleeve drafting posts on the internet, and got myself all psyched up to sew 14th century sleeves.
I started with the sleeve drafting tutorial at the Completely Dressed Anachronist. Nice and clear, and I like the way she discusses the pitfalls of drafting methods.
By following it, I got this:
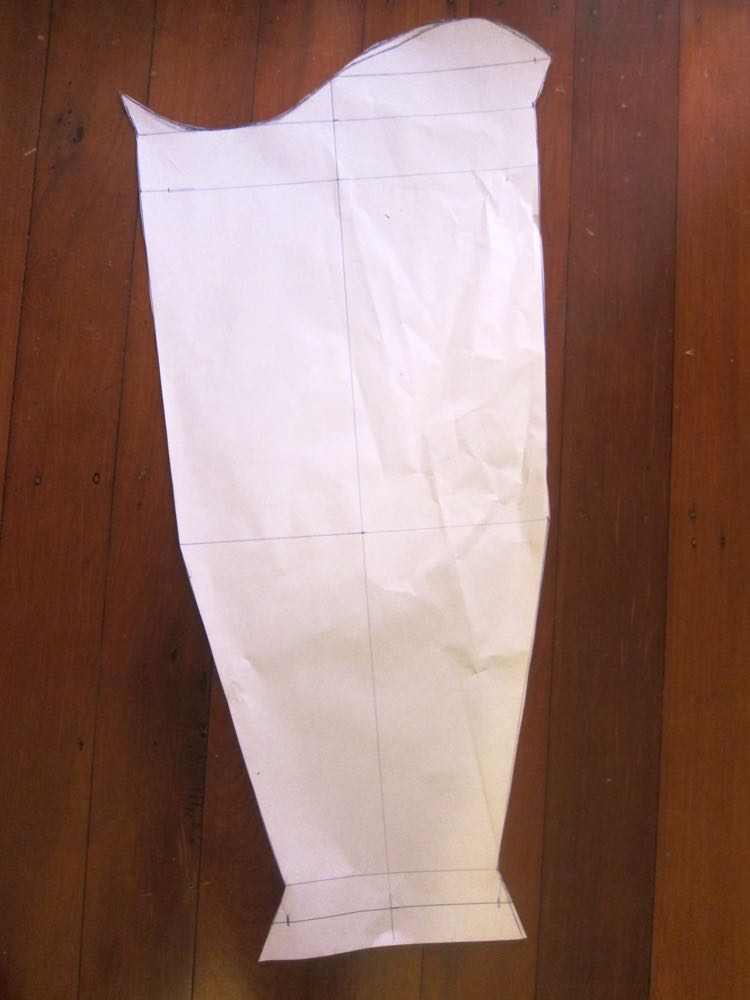
I cut it out in toile fabric, sewed it up, and it DID NOT WORK. It was way too long, particularly in the upper half, and the armscye was ridiculously not-right. Half of that I will cop as totally my fault, because I did the measurements on myself, and I’m pretty sure I did a really crappy job on them. The other half is the limitations of any drafting system for a garment with a very fitted armscye – the shape is just going to be so specific to the individual and the garment that it’s almost impossible to develop a formula for it.
But I didn’t loose heart! Oh no! I shortened the upper sleeve 2″, peered at the armscye while tugging and moving my arm, and drew a new armscye shape with a shallower top curve, and a narrower underarm dip:

I tried that as a toile, made a few tweaks to it, made another toile, the fit was perfect, so I re-drew my arm seam on it based on the extremely helpful diagrams at By My Measure, and made a fourth toile.
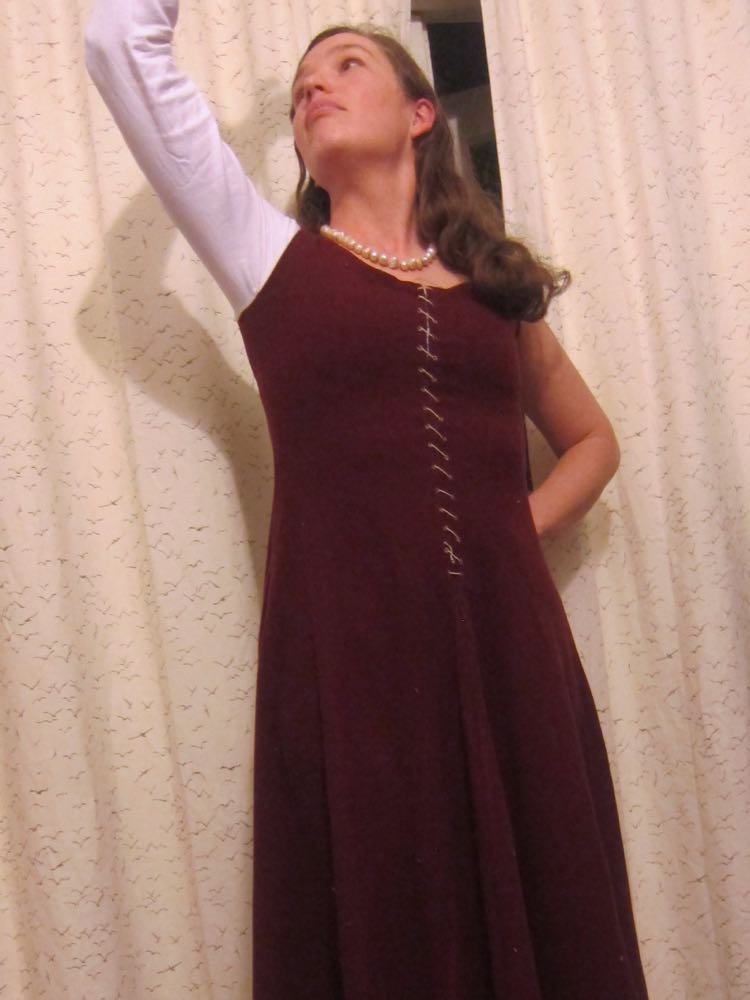
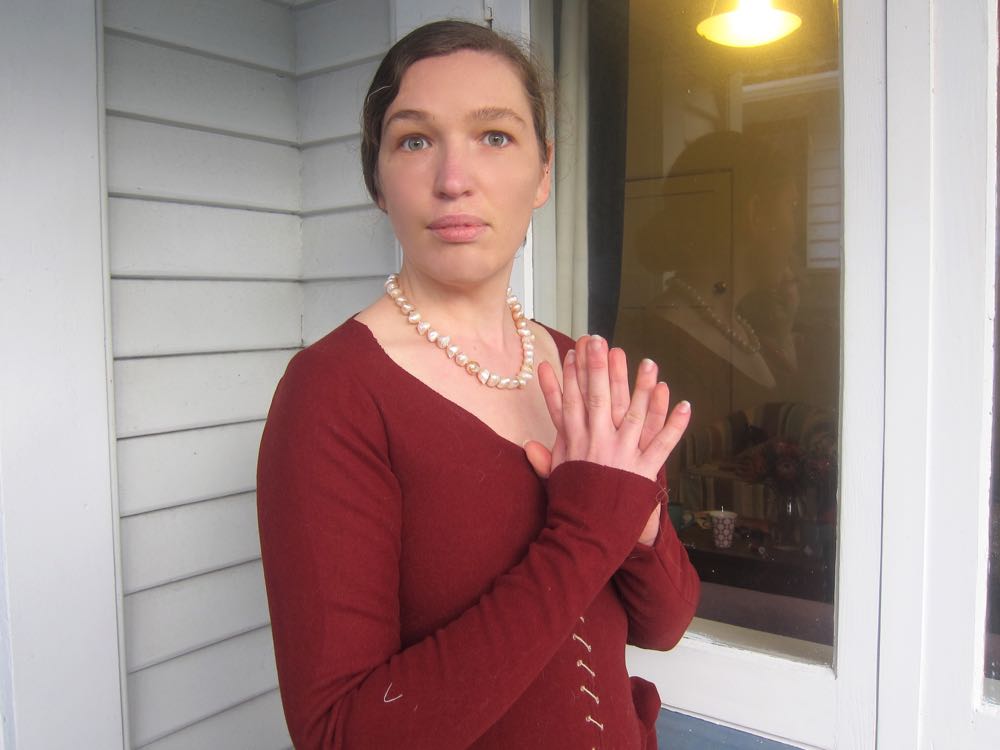
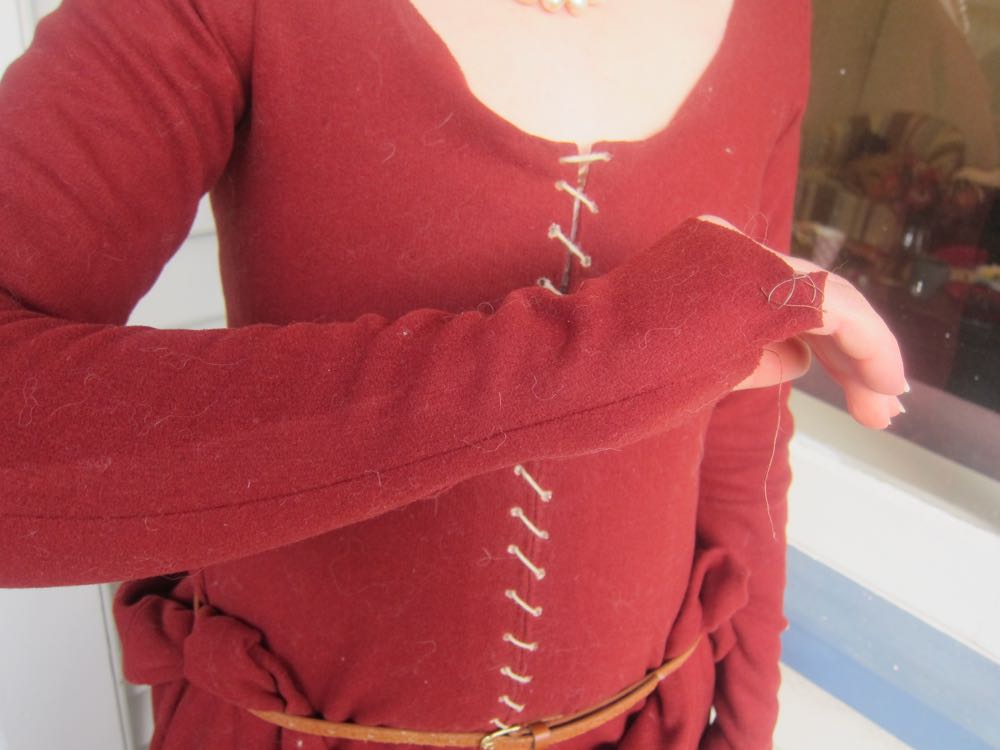
I could bend my elbow:
I could bend my elbow a lot:

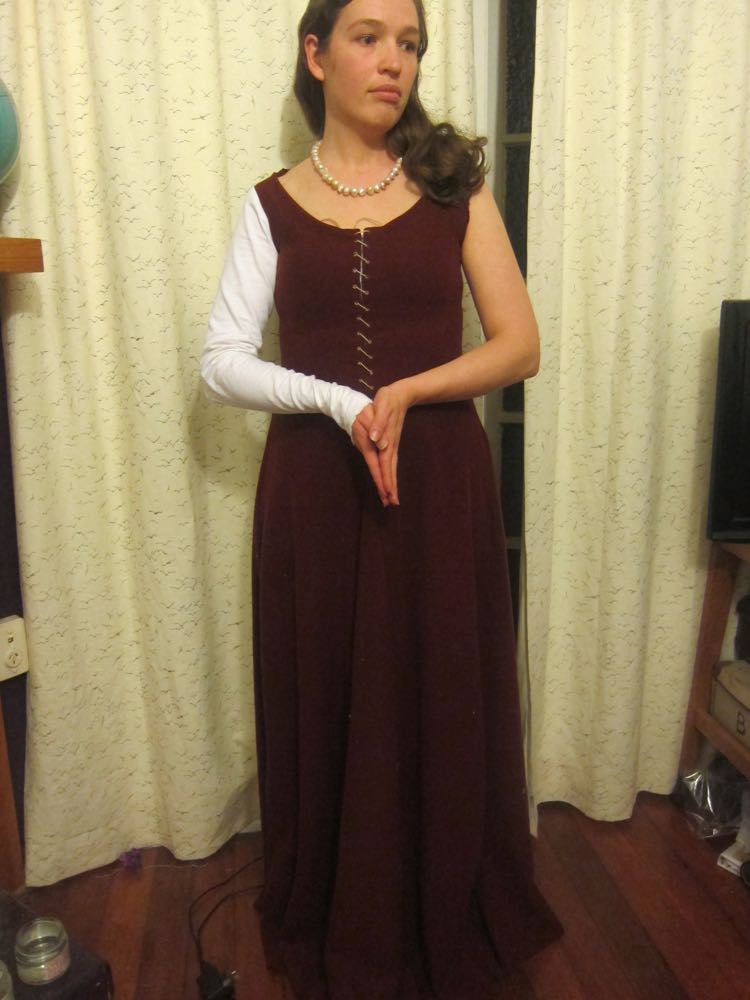
(side note: I’ve moved the skirt gores back down again, versus their position in the last post, and look how much better than hang of the dress and the line over my hips is)
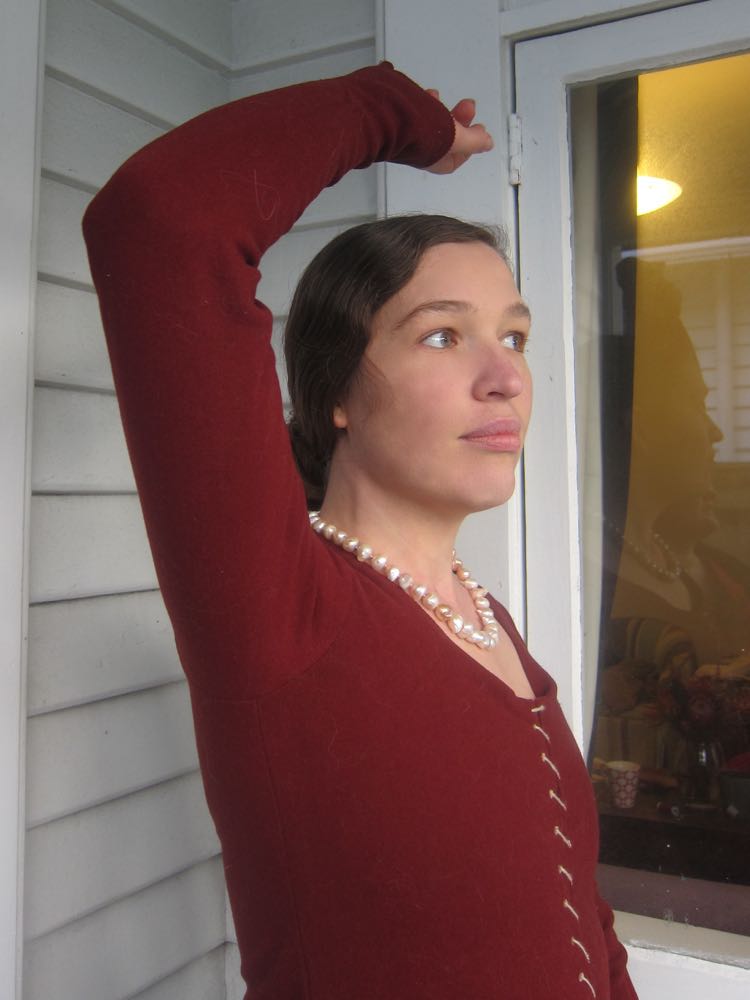
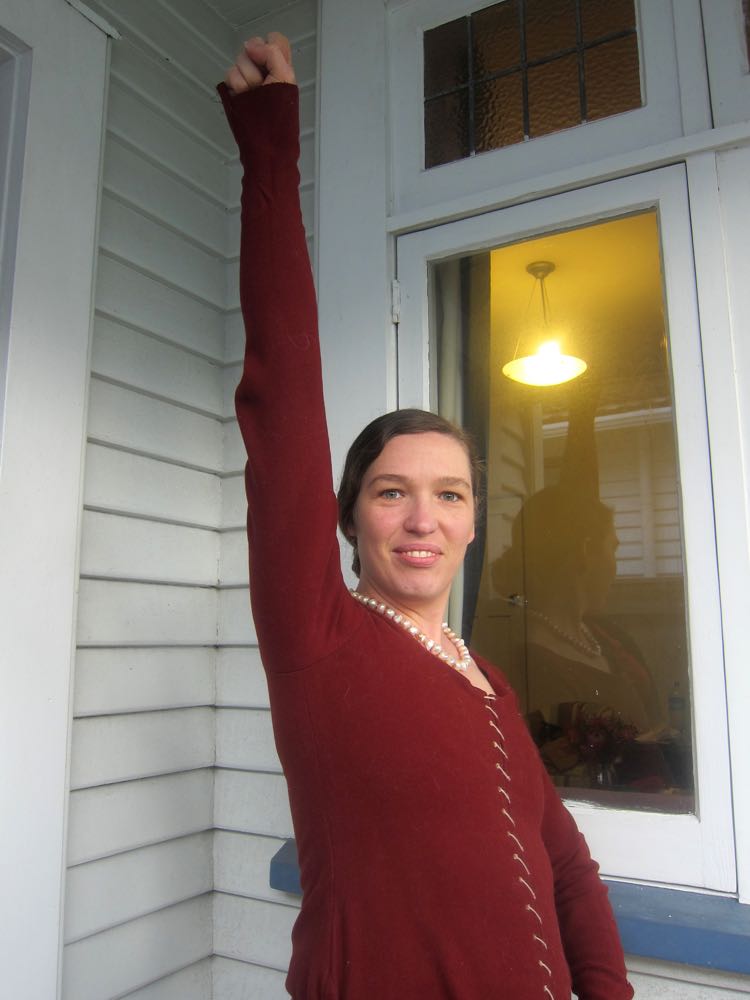
I could raise my arm:
I was ready to cut sleeves!
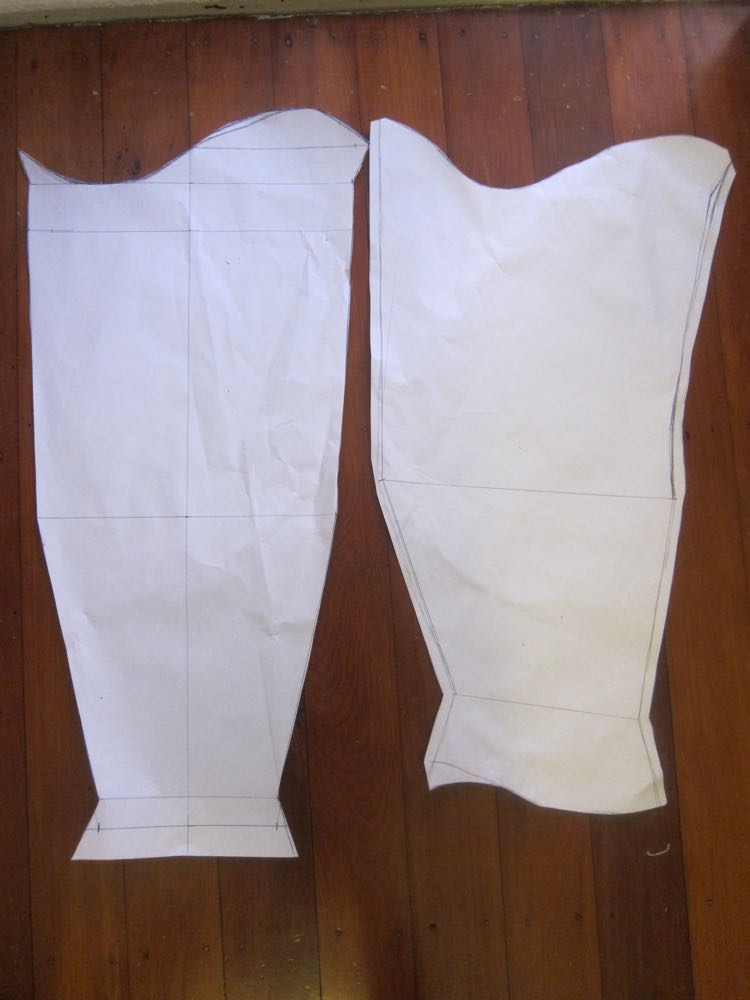
For reference, here is my original drafted pattern on the left, and my final version with an altered line so the seam runs on the side of my arm so I can have sleeve buttons on the right (the final version has seam allowance added). The final version looks a little weird, but that’s because arms and shoulders are weird. They aren’t nice straight symmetrical tubes.
And here are my sewn-in sleeves:
Success!
I’m pretty pleased, though I may keep fussing with the pattern, as I think I could get it just a bit more perfect for my next version, but overall it does everything it should, and Felicity likes the pattern, so it must be good:
Some final thoughts on sleeve fitting:
- Toiles. Lots of em. Suck it up and just keep doing them, because that’s how you get things right.
- Just keep looking at your toiles, analysing where there is pulling (too little fabric) or bagging (too much fabric) and adding or taking away until you get it just right.
- Sleeve fitting is an art, not a science.
- Arms and shoulders are not symmetrical, and not straight. It’s better to have a funny looking pattern that fits right, than a tidy looking one that doesn’t.
* Don’t worry, there are plenty of sewing and other things I’m not remotely good at, so balance is achieved across the universe!
Wow, super-impressive sleeves! I’m particularly enamoured with how snug under the armpit you got the armscye to be.
I admit I tend to just wing it and drape in the final fabric from the get go. Actually, that’s a lie. I cut the basic shapes for draping and hand them to my husband who has crazy-good spatial awareness. *He* drapes them. It seems to work…
Forgot to say – lowering the gores really worked to get that androgynous shape. I think I’m going to have to steal that idea…
Fascinating to see the shape of sleeve piece you ended up with, and such a good fit! I don’t sew historical pieces but that makes me want to have better-fitted sleeves in regular garments. Toile I shall!
Um… where do the buttons go?
Congratulations on mastering the sleeves!
The buttons go up the seam! I sewed the seams closed to fit, and will unpick and add buttons as I work buttonholes 🙂
Funny how a crooked garment, properly fitted, of course, can give the illusion of straightness to a body while a straight garment can highlight crookedness in a body. I see it especially when I look at tailored suits vs. off-the-rack: most men are bigger on one side than another, and most sedentary men have poor posture. A well-fitted suit is neither symmetrical nor upright, but it gives the illusion that the man wearing it is.
As always, I am impressed and inspired by your skills. Thanks for sharing so many pictures and details of your projects!
Well done on those sleeves! They are fantastic, and I am really, really envious. I look forward to seeing them with buttons. The repositioned gores look good too, they are a better match for the shape in the painting this way, and I think they drape better.
Very impressive sleeves!
I am most assuradly looking forward to seeing the finished dress! It is so reassuring that you also struggle with fitting sleves. I understand that you created the pattern, and are trying to be historically accurate in the method, but to know that you also have challenges with the process gives me heart. As always, thank you for your honesty in sharing the process you go through to produce such lovely interesting garments. You are a treasure.
I realize this post is quite old, but I just came across it. I wanted to say thank you for giving my method a try. I’m sorry that the results didn’t work for you, but I’m glad you were able to see further adjustments to get to something that does work. The sleeve you’ve got here looks great. Thank you for explaining where my method was off for you, and for showing the side-by side. That helps me see if there are adjustments or points I can make as I further develop the theory and process behind my method. I absolutely agree with you that there will always be limitations when we attempt to transfer our body’s form to fabric. My own experience with sleeves (from developing my method and beyond) has borne out that while the way a set-in sleeve functions can be understood in scientific principles, drafting and fitting said sleeve is most definitely an art and based 100% on the individual and the garment they are working with. Your process here- starting somewhere and refining it to get to something pretty great is ultimately the way it has to be done. I know that meant a lot of work, but the result is clearly worth it. I hope you’ll continue to experiment with late medieval clothing. I highly recommend giving early 15th Century French a try. 😉