
We’ve come to the tricky bit in the Otari Hoodie Sew-Along: zips. (oooh!) I’ll be showing you the zip interfacing step (and explaining why it’s so important), and how to install your zip.
To keep the post from getting too long, I’ll do the finishing bits, with ribbons/tape and topstitching in tomorrow’s post.
Buy the Otari Hoodie Pattern Here
In the previous Otari Hoodie Sew Along posts I covered:
- #1 Choosing fabric
- #2 Pattern alterations to get the perfect fit, & cutting out
- #3 Sewing Preparation: interfacing & choosing stitches
- #4 View A Pockets
- #5 View B Pockets — including a hack to add binding to them
- #6 Sleeves & Side Seams
- #7: Hem & Sleeve Bands
For this part of the Sew Along I’m going to be using images taken when making the original sample Otari Hoodies for the pattern launch, AND images from the hoodies I’m sewing along, because there are different ways to do some steps, and I want to show you the options!
The numbering of the instructions in this post corresponds to the numbering of the pattern’s instructions.
Interfacing
Tip>>>
Interfacing the front edge of the hoodie with a strip of interfacing that is slightly shorter than the front measure is VERY important. If you don’t ease the front edge in to your interfacing (and thus your zip), your zip will ripple and bulge up your front, rather than sitting smoothly. It’s a small change that makes a huge difference in the finished hoodie.
You should be aiming to ease the front edge in at least 1″/2.5cm – more can be better, depending on how stretchy your hoodie fabric is, and how willing it is to ease in.
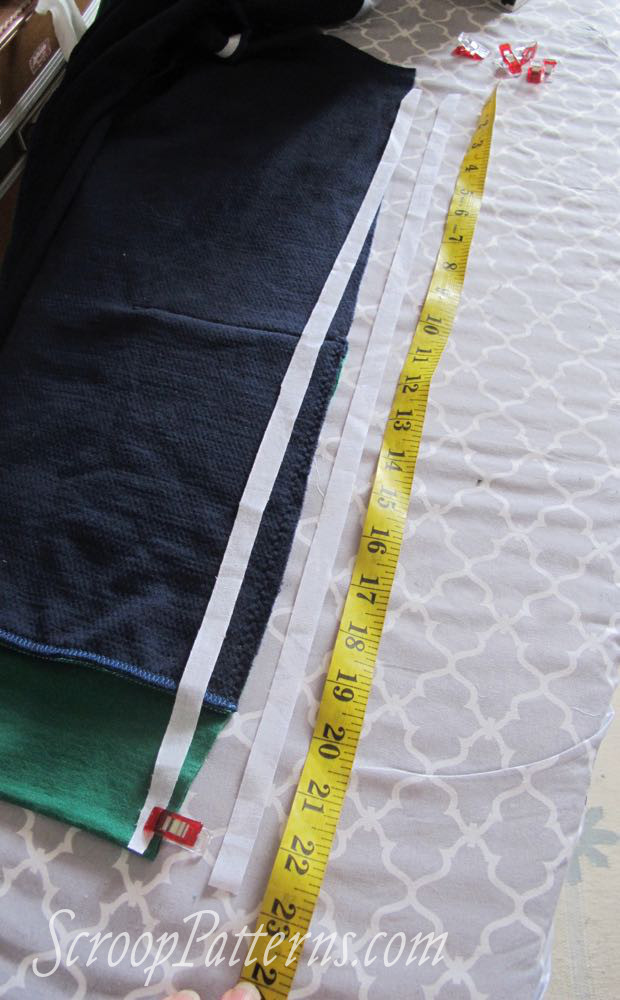
22. Cut two lengths of 5/8″/1.5cm wide interfacing (you can cut strips of interfacing, or use pre-made tape) for the front edge. If you’ve lengthened or shortened your hoodie you’ll need to lengthen or shorten your length a corresponding amount.
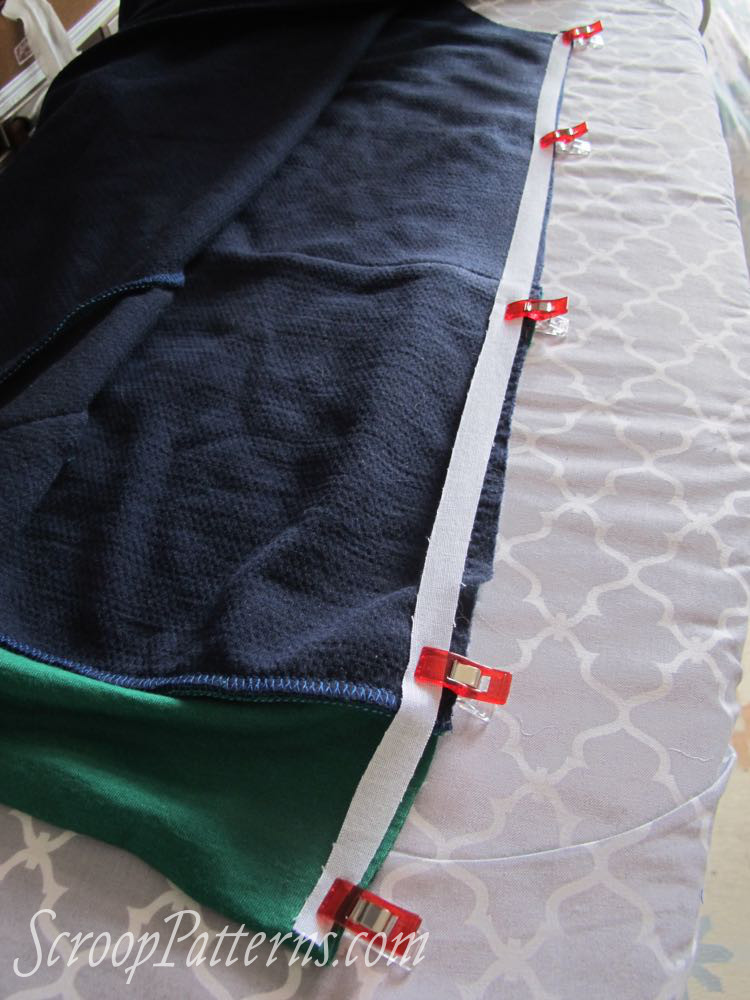
23. Use clips or pins to evenly distribute the length of the one side of the hoodie front along one length of tape, making sure there is an equal amount of ease between clips/pins:
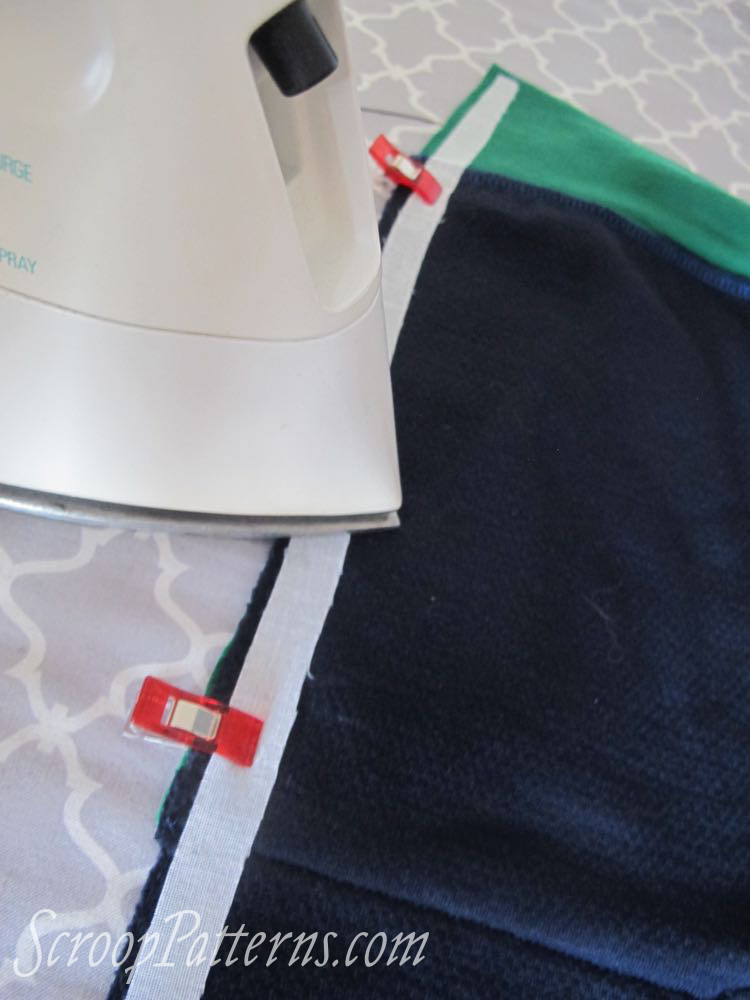
Fuse between each clip/pin, and then remove the clips, pins, and fuse the remaining length, carefully easing in the fabric as you do so:
Lay your other length of fusing tape next to the first edge, mark on any match points (notches, the top of pockets, stripes if you have them) and then pin/clip to the second edge, matching any relevant points to the marks on the tape.
The Zip
Tip>>>
Depending on the type of zip you have, your zip pull may sit on the Wearer’s Left, or the Wearer’s Right. Either works equally well: just make sure to start sewing with the side of the zip tape that has the pull.
24. Place the zip tape side with pull right side down on the front of the hoodie, pin/clip.
Placement:
The teeth will be facing away from the centre front.
The bottom of the zip should sit 1mm above the bottom edge of the hoodie
The zip pull stop should sit 5/8″/1.5cm below the top of the front edge.

24. Sew with the stitching line sitting a generous 1/8″/4mm from the teeth.
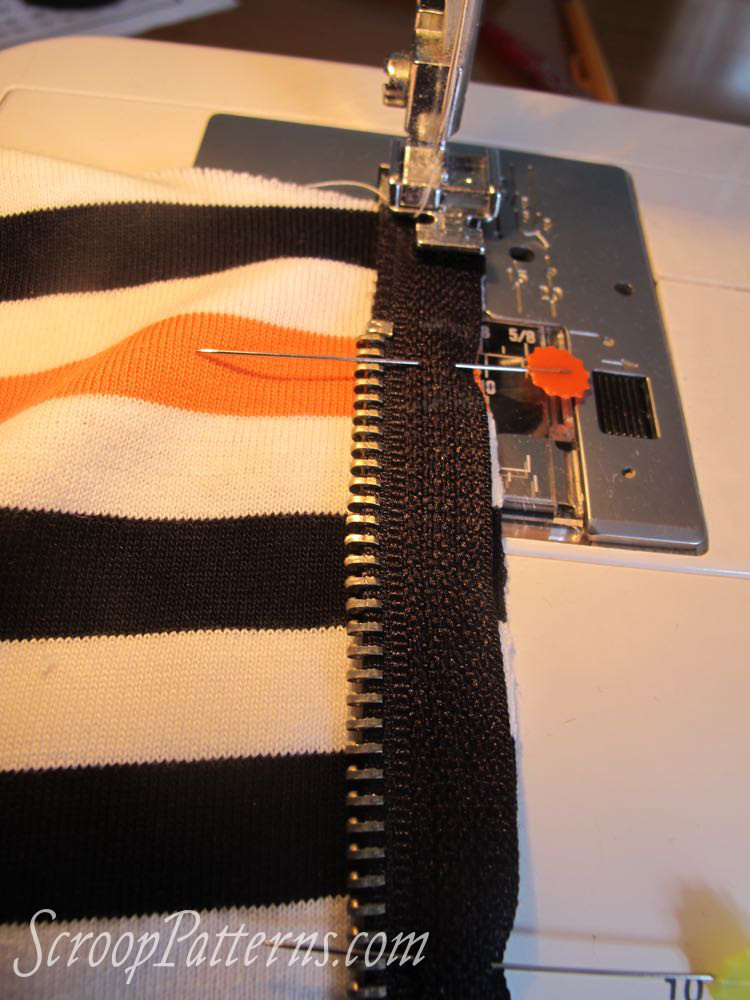
Tip>>>
If you have trouble sewing past the zip pull, sink your needle when you get to it, lift the foot, move the zip pull back, past the foot to where you have already sewn, put the foot back down and keep going.
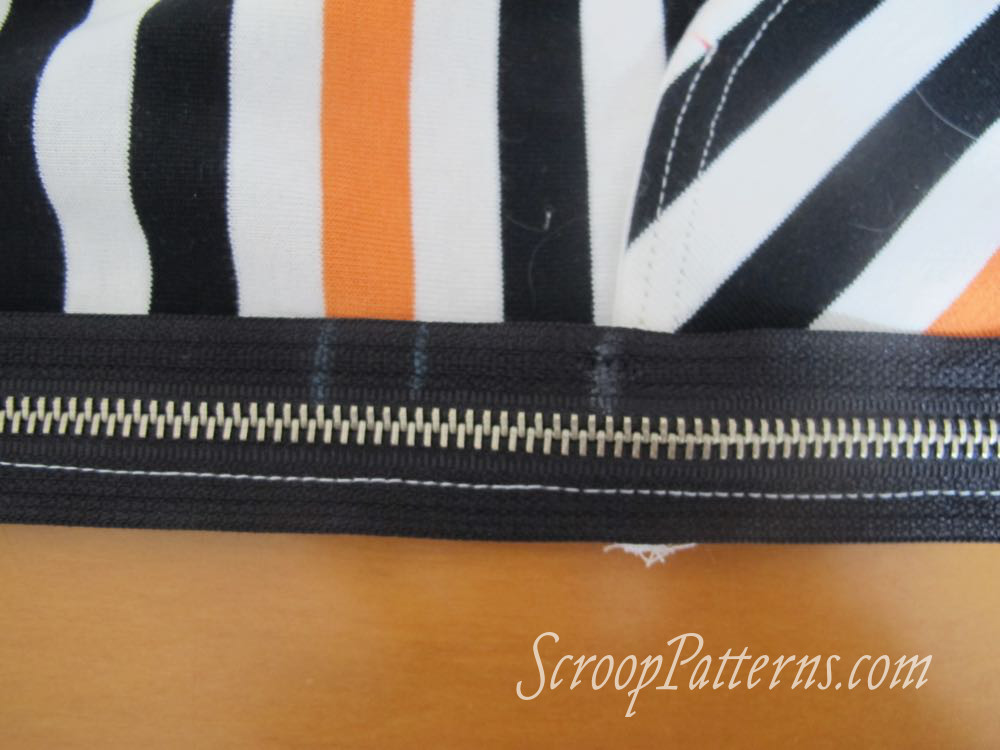
25. Close the zip, and mark the placement of the pocket, hem band, and any other design lines (stripes, pattern matching etc) across the zip:
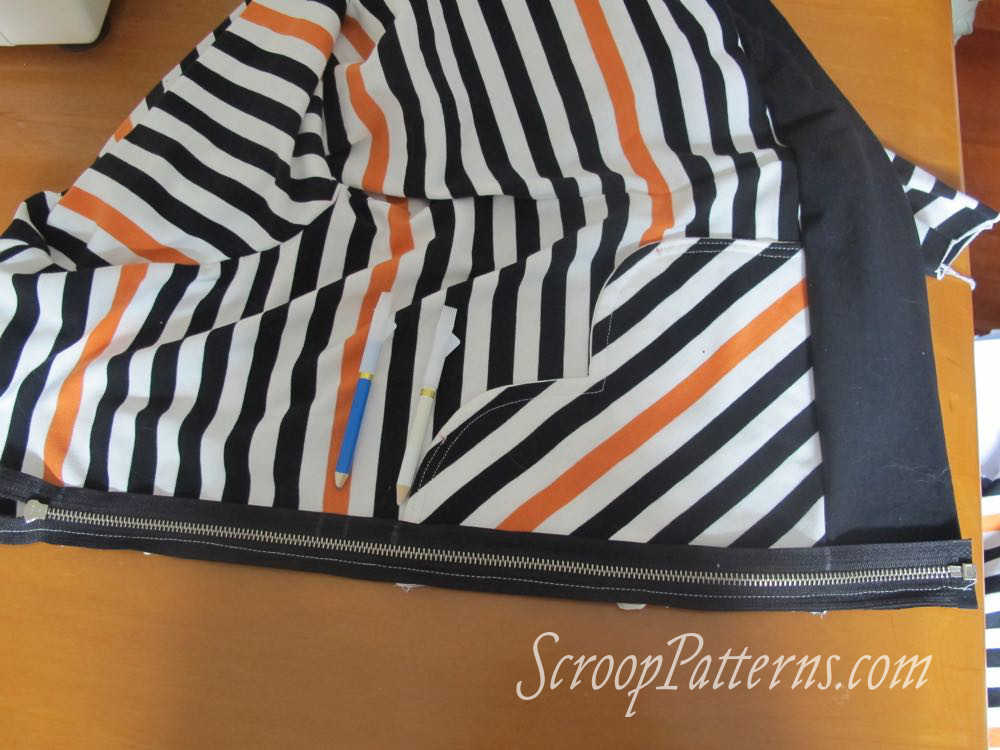
26. Pin/clip and sew the non-pull side of the zip to the loose front edge of the hoodie, taking care that all pocket, hem band, and design lines match.
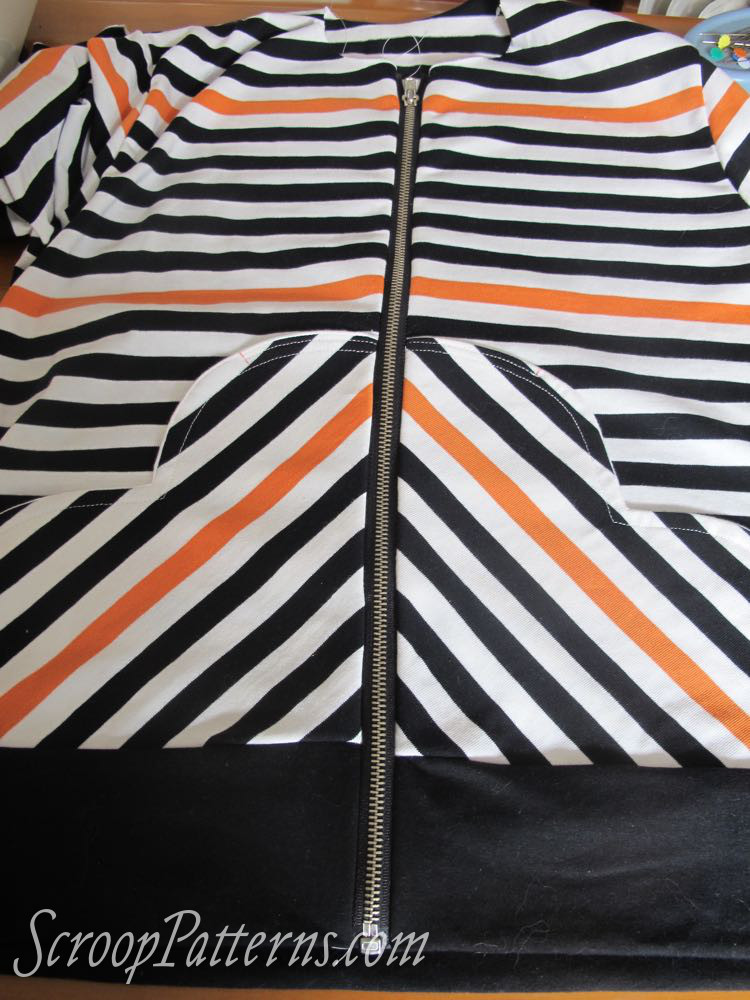
And there is your installed zip!
In the next Sew Along post:
Finishing the zip with pretty tape for a nice, polished finish (and no scratchy bits!).
Want to join in? Buy your Otari Hoodie Pattern Here