Hurrah hurrah! We have finally reached the point where you assemble your Cassandra Stays for the last time (hopefully!)
That’s right: it’s time to whip the panels together. Whip it, whip it good! (sorry, couldn’t help myself)
Previously on The Cassandra Stays Sew Along:
- Choosing Material for the Cassandra Stays
- Making Linen Buckram
- Making your Mock-Up
- Fitting
- How to alter the Cassandra Stays pattern to be front-laced only
- Cutting Out & Basting
- Testing techniques
- Sewing the Boning Channels
- Making the View B Stomacher using historical materials
- Marking & Sewing Eyelets
- Assembling the Panels & Boning
- The Final Fitting – how to properly fit stays
- Sewing Down the Seam Allowance
- Extant Stay Interiors
Prep & Materials
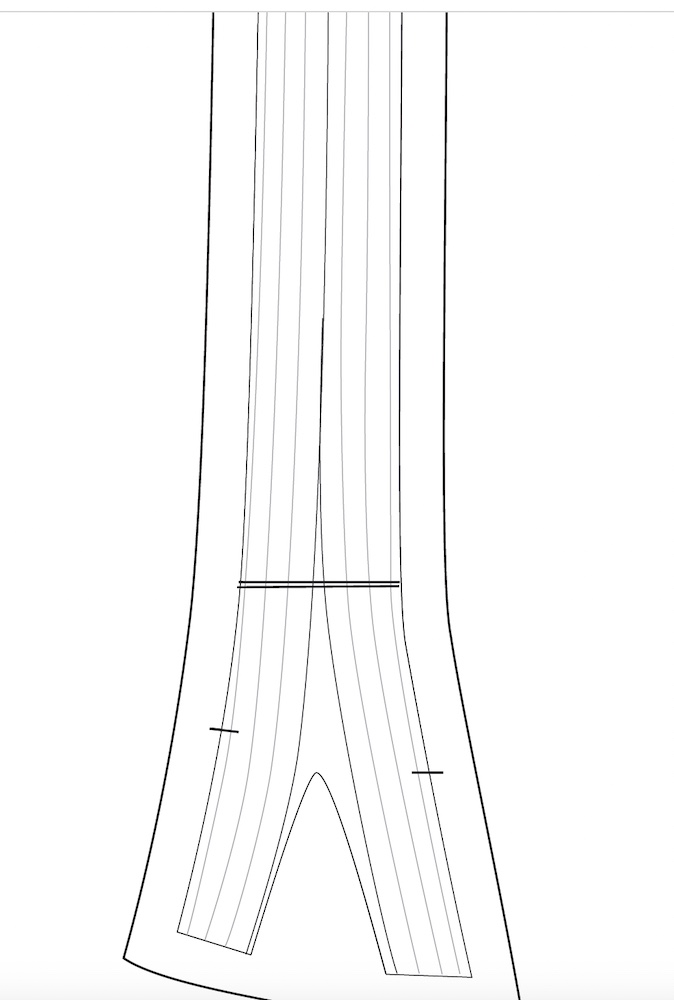
Before joining my stay panels I find that it’s a good idea to go back to the pattern, and check and re-transfer any notches to make sure you align the pieces perfectly.
You need a nice strong linen thread for this. The pattern has detailed notes on linen thread sizing and the different ways it is measured. I’m using Bockens Knyppelyarn in 50/2.
Use sewing wax to smooth your thread! I cannot stress enough how much easier this will make every part of this process.
Your thread will be easier to put through the needle, easier to pull through the fabric, less likely to break, less likely to knot. Just better in every way.

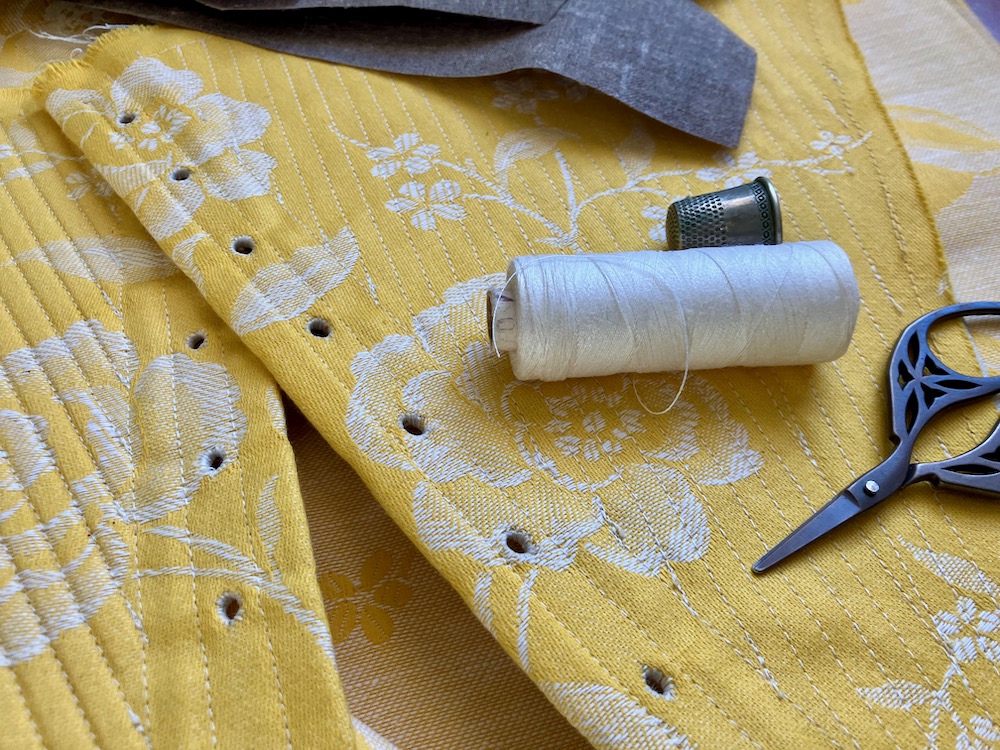
The other tip I can give for this step is to use a thimble. Whipping together the panels is hard on your hands. Give them all the extra help you can to push that needle through the fabric!
There are lots of different thimble styles, and lots of youtube tutorials on using a thimble. Some people feel very passionately that there is a ‘correct’ way to sew with a thimble. My advice is that the correct way to use one is however works for you.
Try a few styles, and whichever method you find helps you to sew a stitch with minimal hand stress is good. We all sew (and write, and knit, and…) slightly differently, so it makes sense we find different thimble styles helpful.
Sewing the Panels:
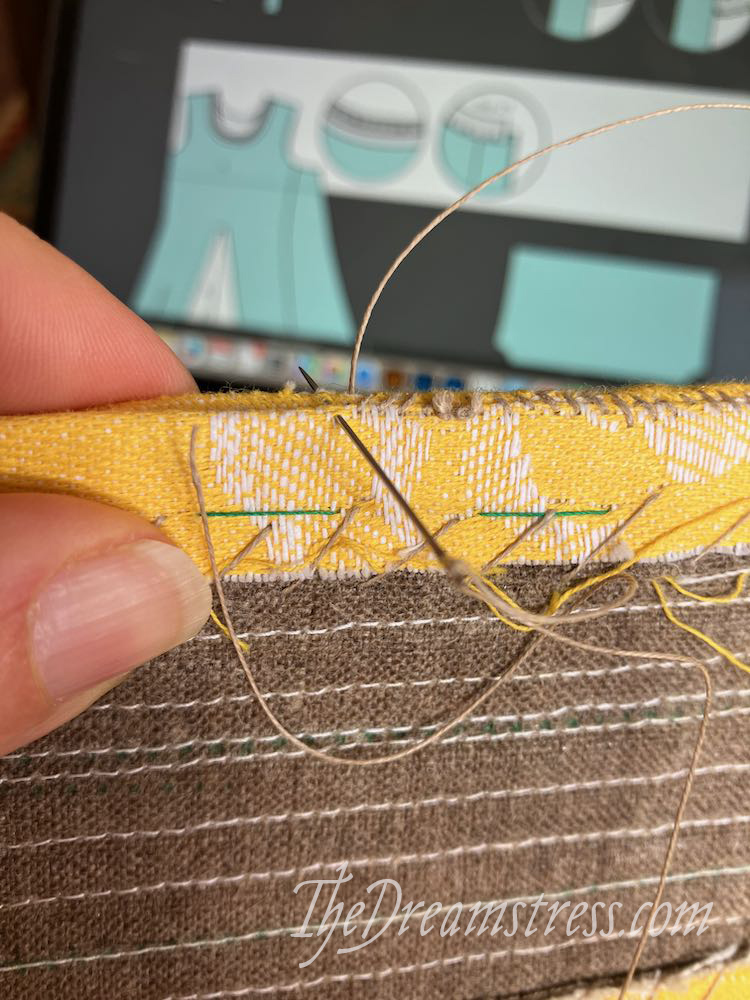
In addition to a nice strong thread, you want to make your whip-stitches joining the panels nice and tight. Remember that all the stress of pulling the stays tight on your body will be borne by the stitching. You don’t want it to break!
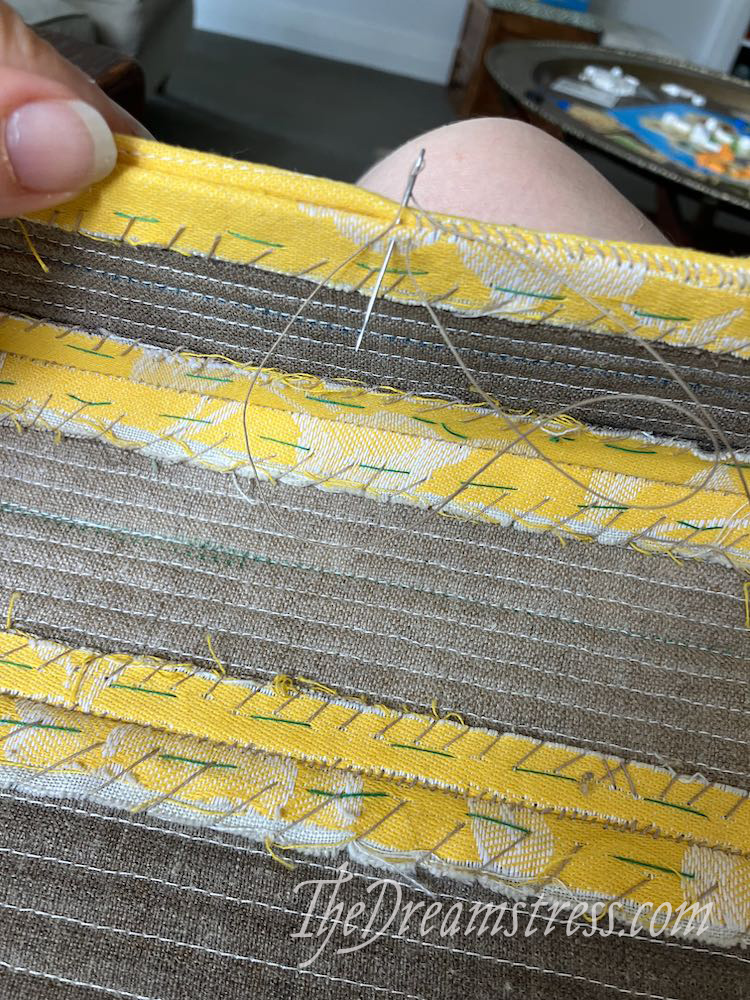
To make my stitching even stronger, I tend to overlap my stitches a couple of cm every time I start a new piece of thread.
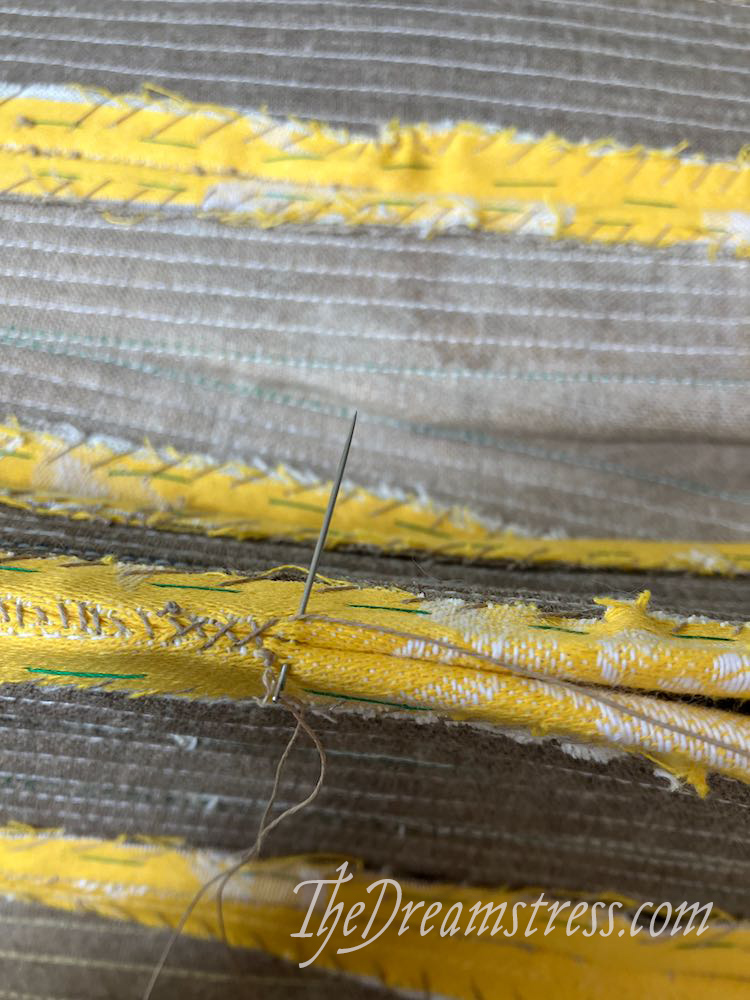
I like to join my stays in as many separate portions as possible, (side front to side, side back to back, then sf/s to sb/b, then each of those assembled pieces to front etc.), so that I’m working with the smallest, most flexible piece possible at any moment.
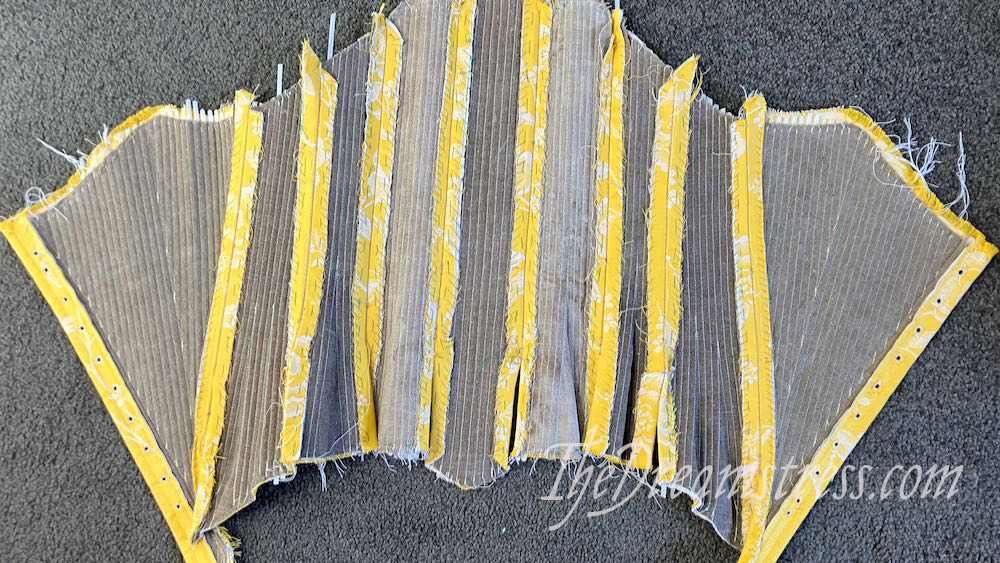
When you’ve sewn a seam it should look like this on the inside:
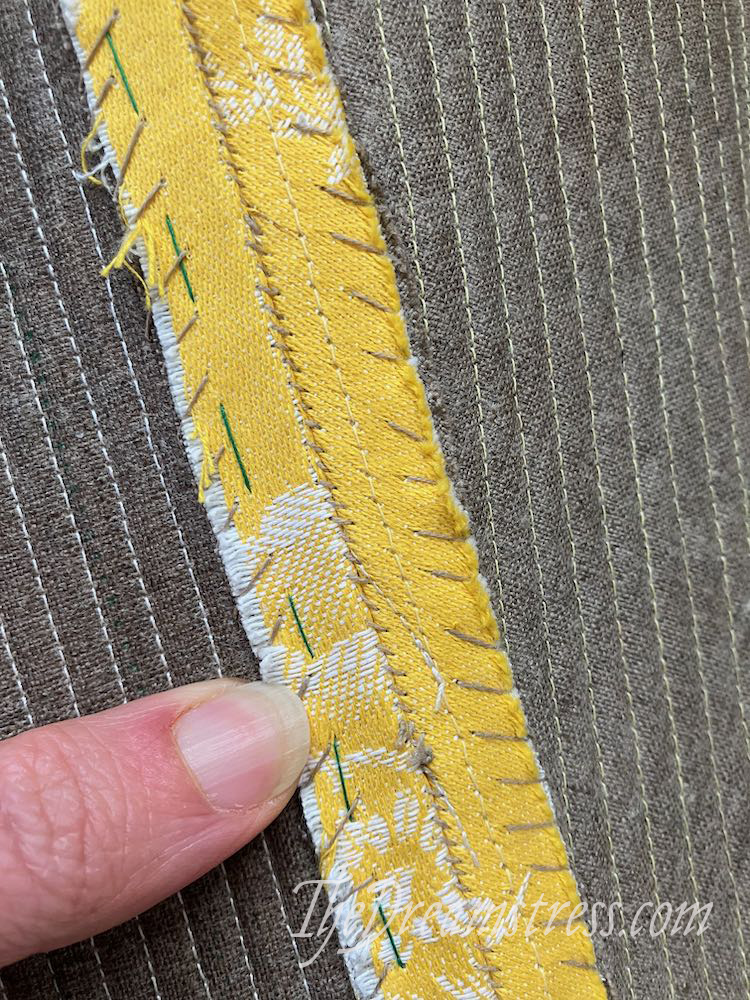
And this on the outside:
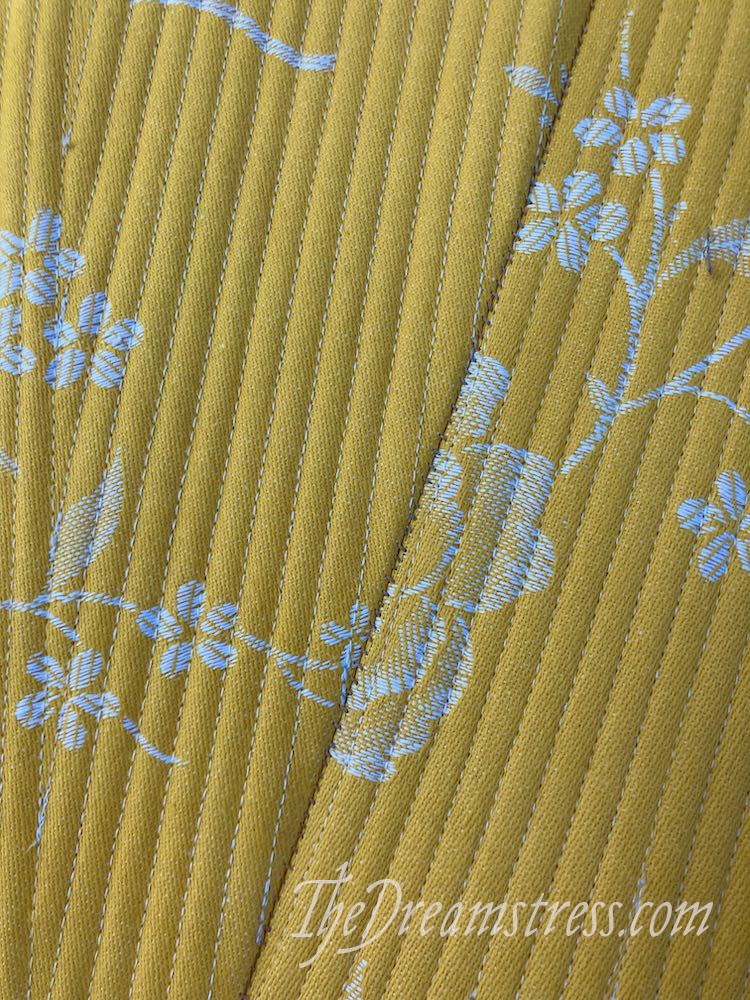
And you should be able to open the seams completely flat:
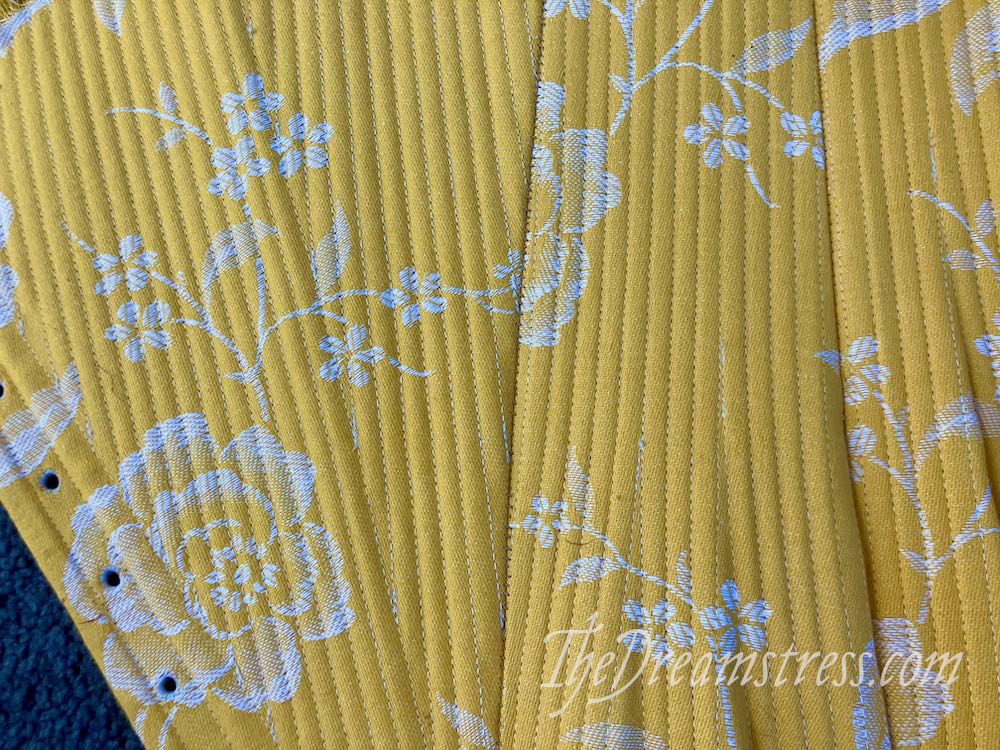
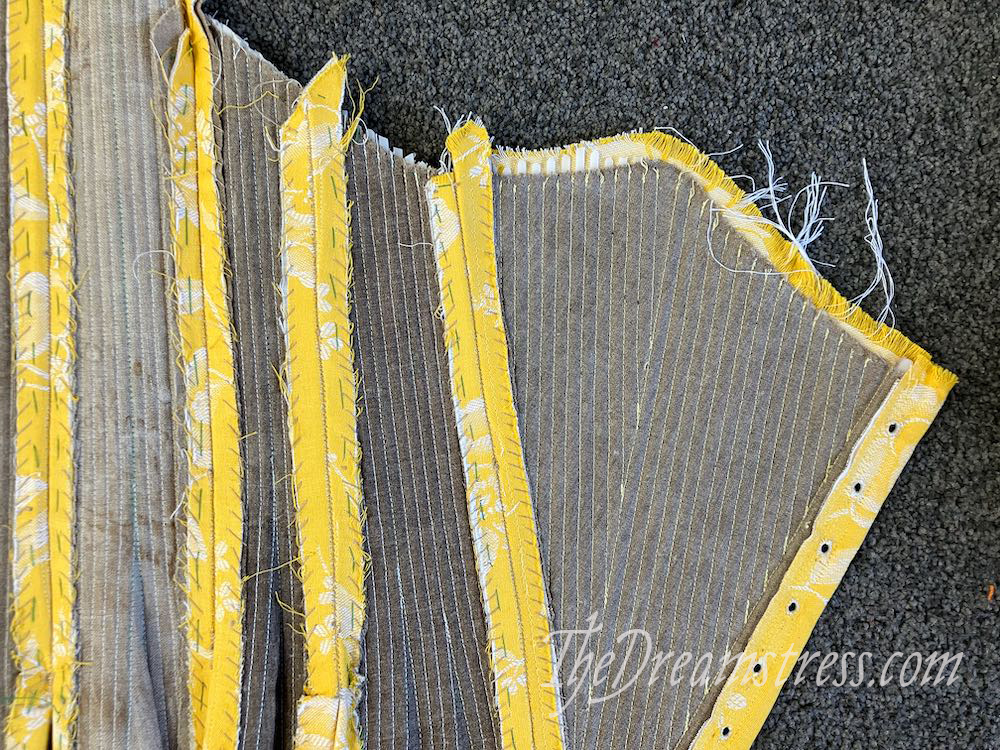
When your panels are all joined you’re ready for the next step! Seam tapes!
But first, maybe try them on one more time, just to double, triple-check they fit the way you want…

What beautifully detailed instructions, such a glowing golden yellow, and a serious banger stuck in my head for the day!
Those are really beautiful!
Those are really beautiful!
I love the yellow color of these stays. And, I too, usually think ‘Whip it. Whip it good!’ whenever that stitch needs to be used… 🙂
Best,
Quinn