It’s time for the the final bits of the Otari Hoodie zipper: covering the zip tape with a finishing ribbon or tape, and doing topstitching.
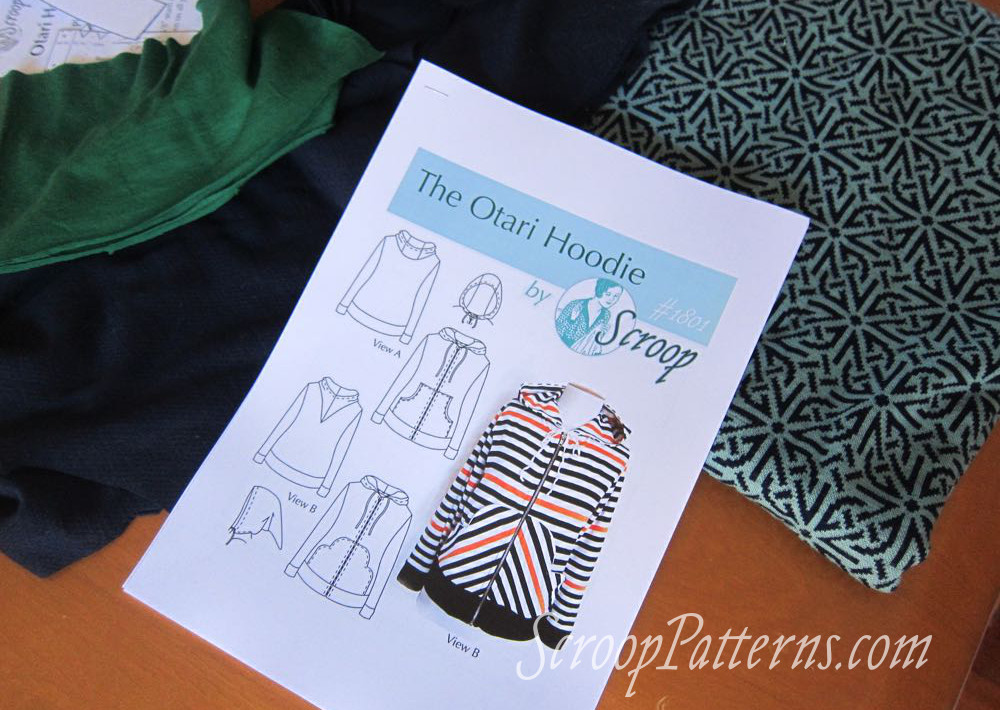
Buy the Otari Hoodie Pattern Here
In the previous Otari Hoodie Sew Along posts I covered:
- #1 Choosing fabric
- #2 Pattern alterations to get the perfect fit, & cutting out
- #3 Sewing Preparation: interfacing & choosing stitches
- #4 View A Pockets
- #5 View B Pockets — including a hack to add binding to them
- #6 Sleeves & Side Seams
- #7: Hem & Sleeve Bands
- #8 The Zip
The numbering of the instructions in this post corresponds to the numbering of the pattern’s instructions.
The Zip Tape
Tip>>>
Covering the zip tape where it sits on the inside of the hoodie results in a smoother finish, that feels nice against the skin, and looks nicer when your zip is open.
I usually use twill tape to cover my zip backs, but you can also use bias tape, and more robust types of ribbon, like rayon (viscose) grosgrain. I wouldn’t recommend polyester tapes, as they tend to be scratchy, and polyester satin ribbon isn’t strong enough to last well over time.
I’ll refer to covering tape as twill tape in the instructions, just to clearly differentiate it from the zip tape.
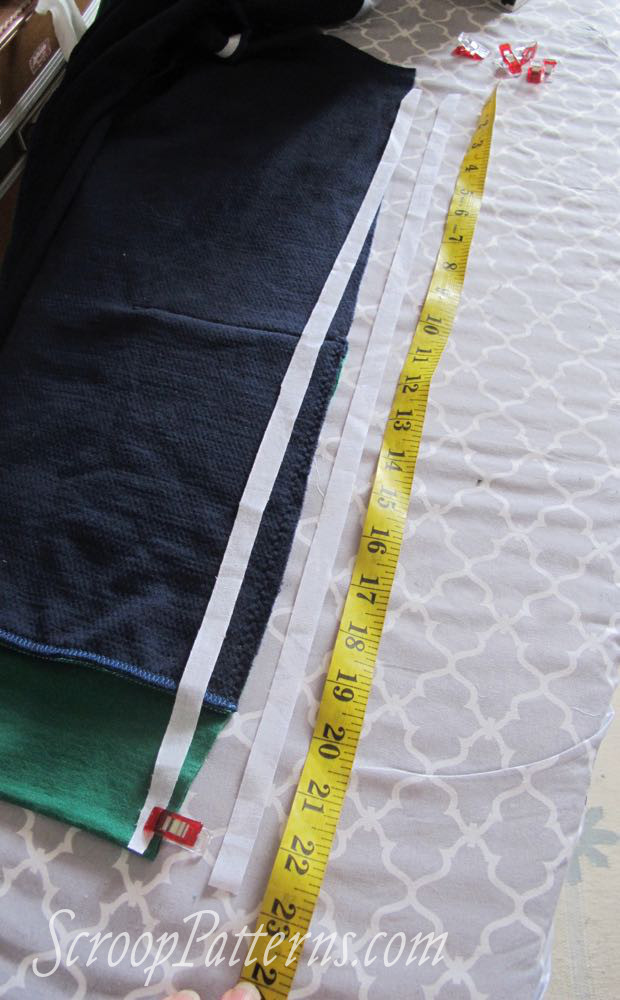
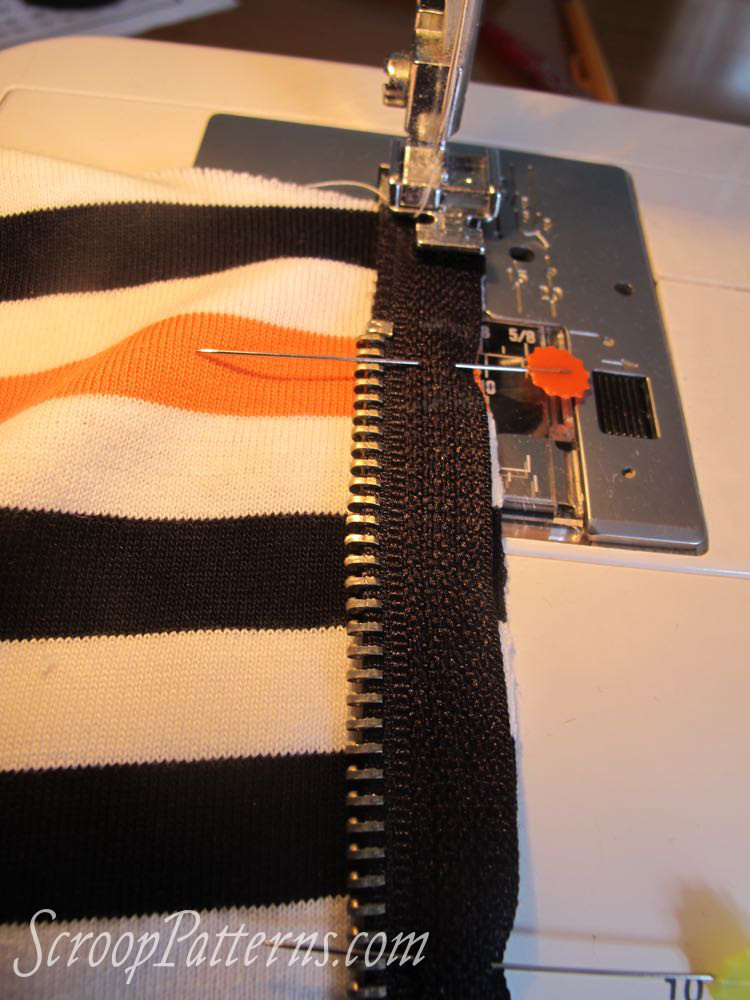
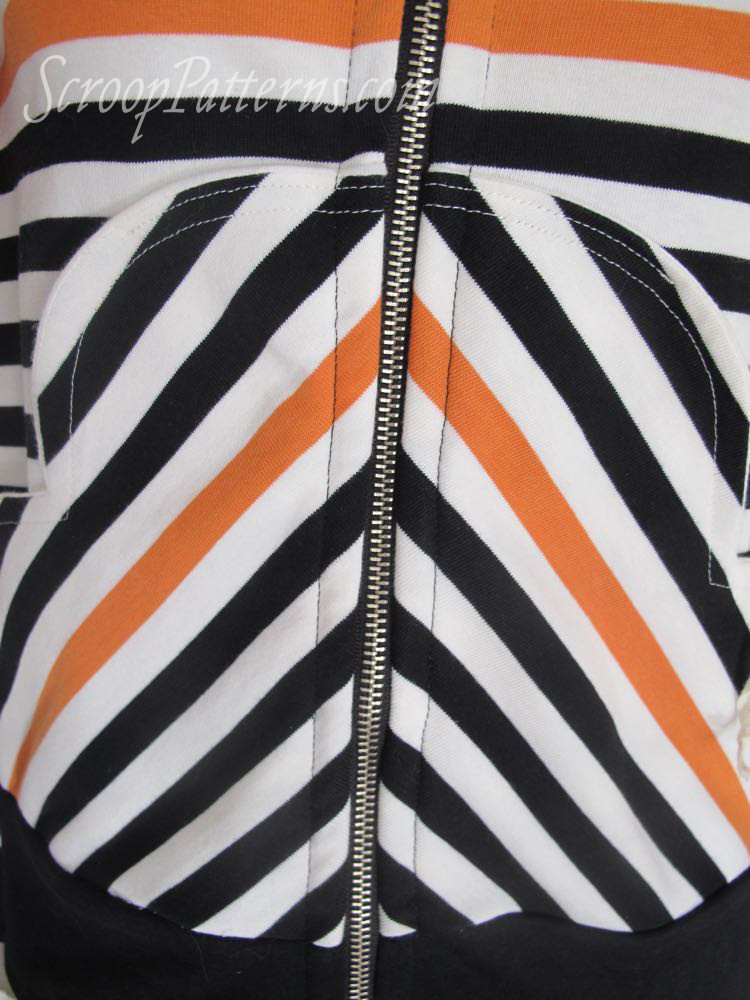
27. Cut two lengths of twill tape the length of the centre front of your hoodie, plus 3/4″/2cm.
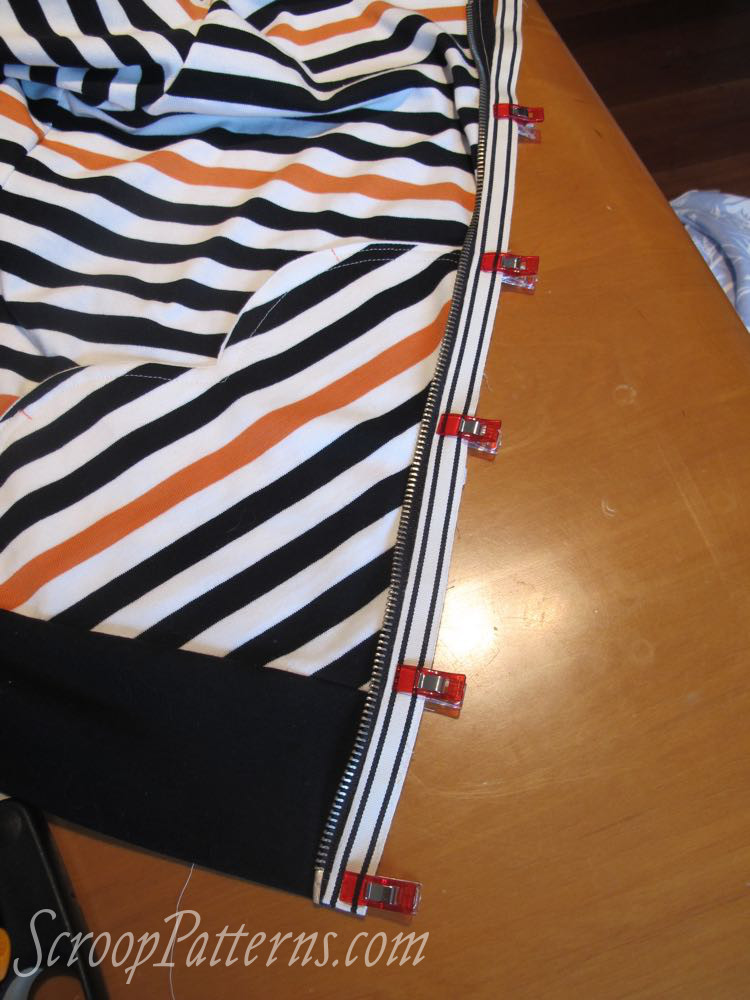
28. Place your twill tape along the zip tape, just covering the stitching attaching the zip to the hoodie, with the bottom edges of the twill tape folded under. The folded bottom edge should be aligned with the bottom of the zip. The top edge can extend past the top of the neck: it will be covered up once the hood is attached.

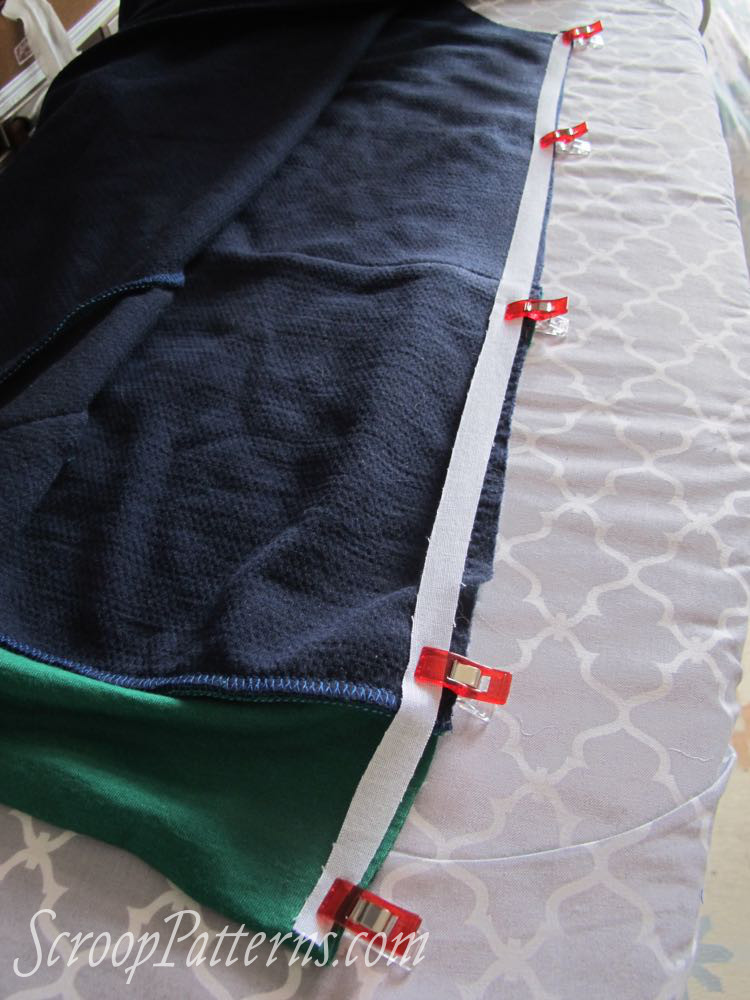
29. Stitch down the twill tape, sewing 1mm from the edge of the twill tapes. Turn your needle at the bottom, and sew across the bottom fold of the twill tape, securing it to the bottom of the zip tape.
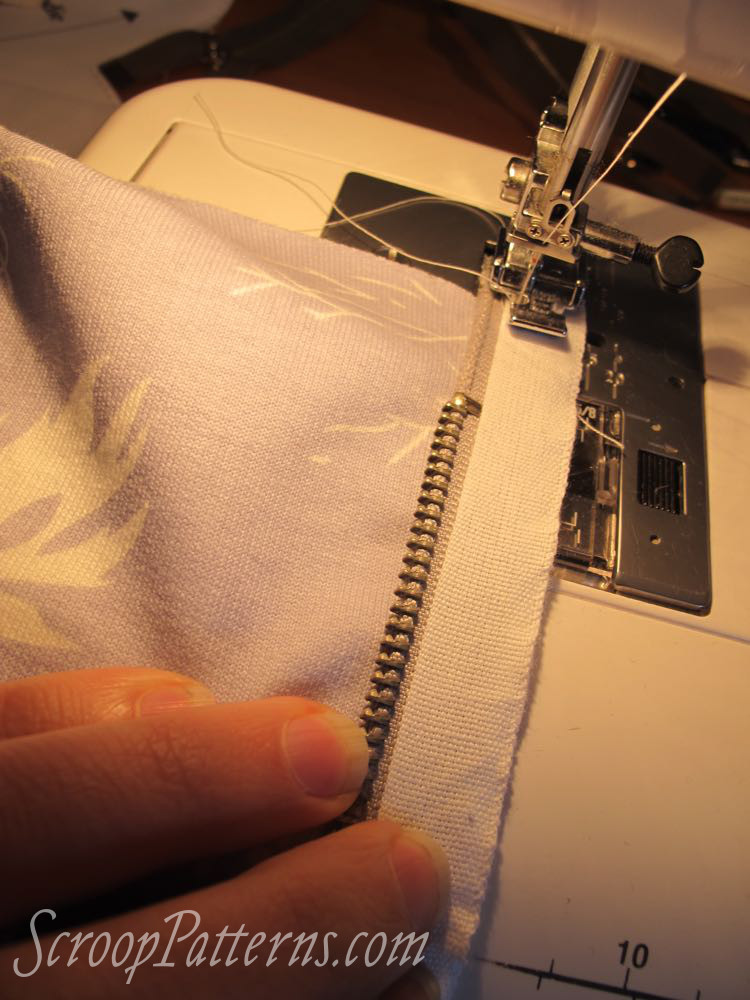
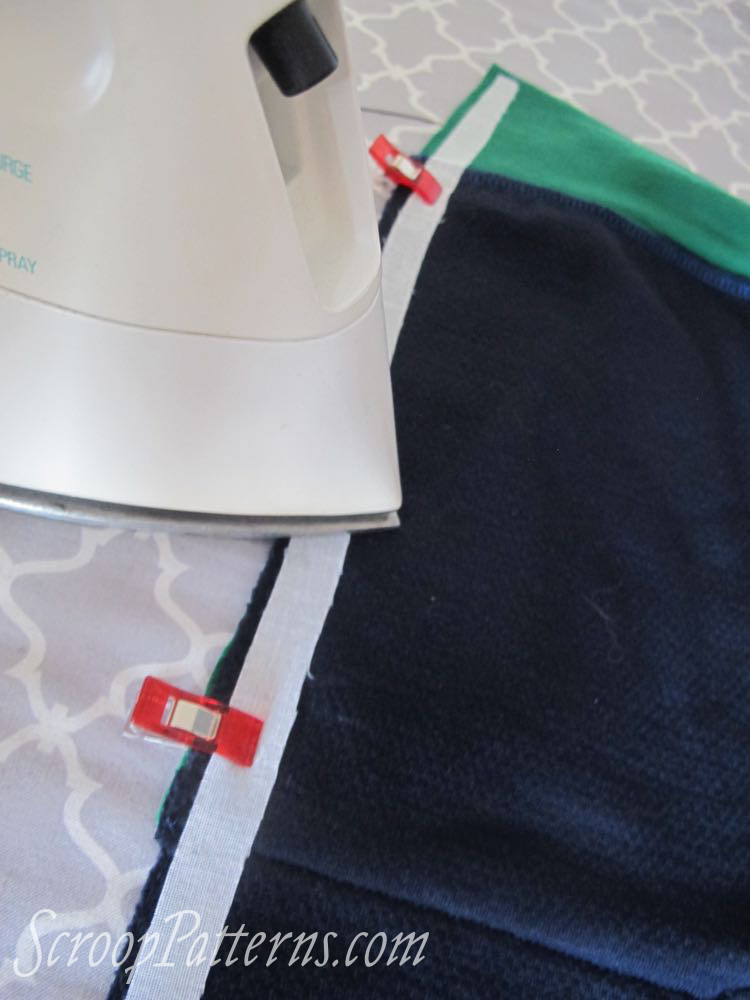
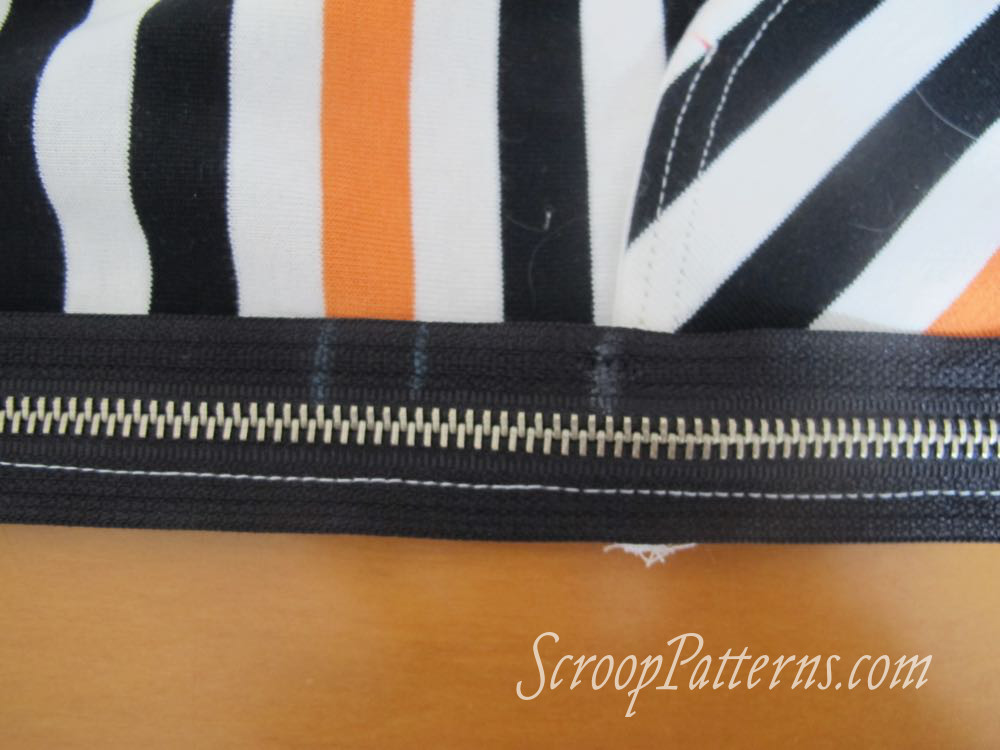
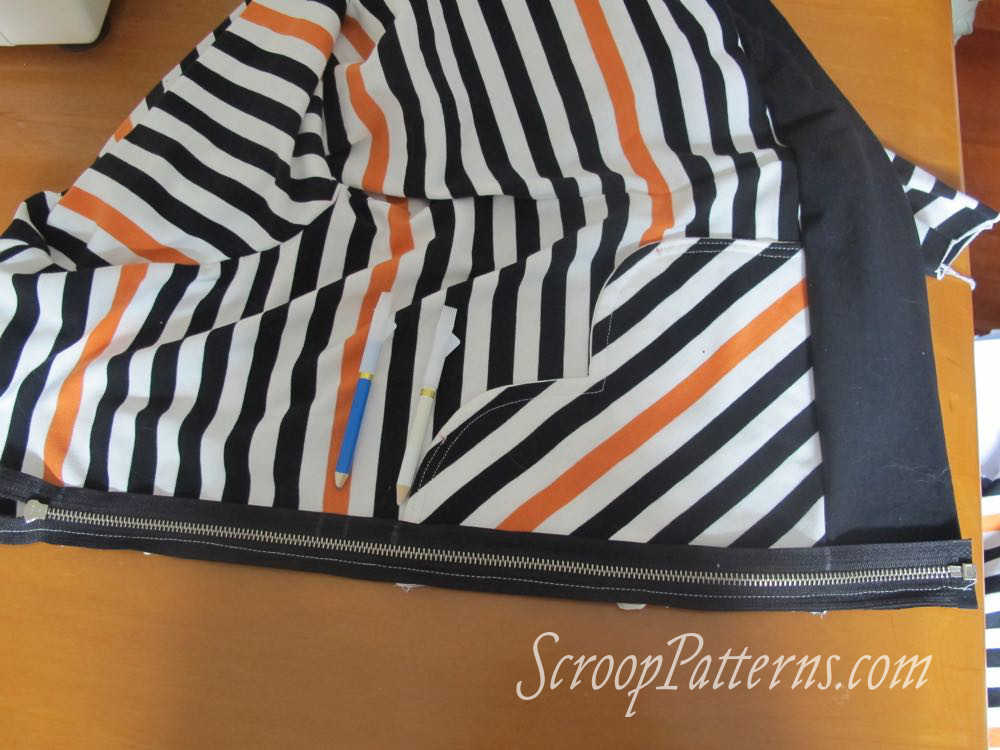
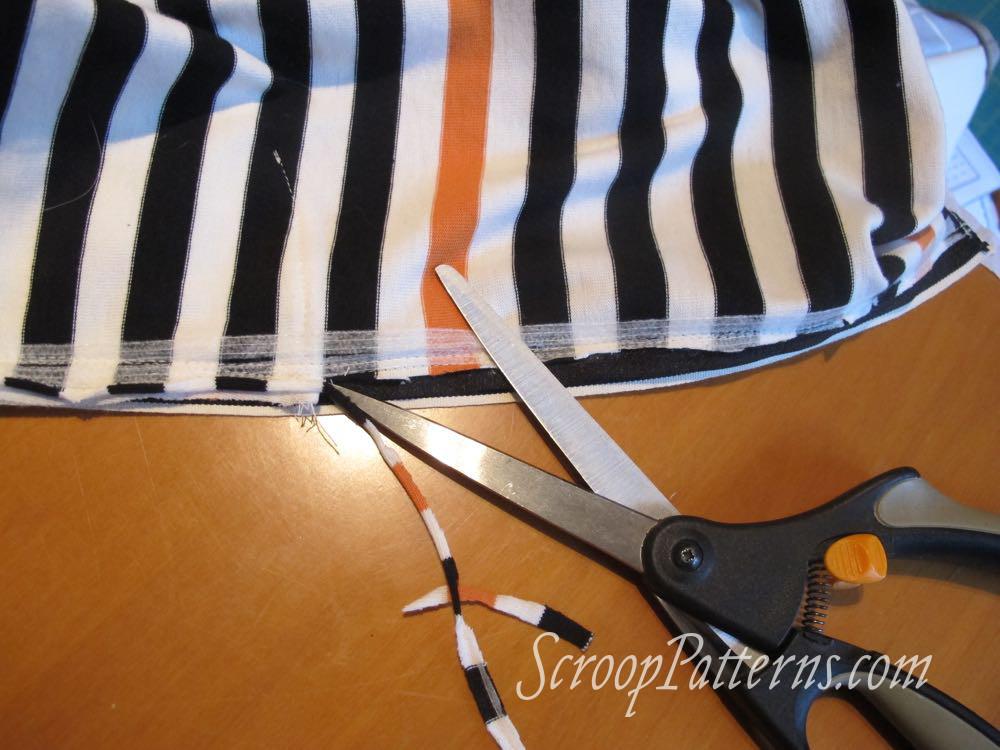
30. Press the zip and zip tape with sewn down twill tape back to the inside of the hoodie. Grade the seam attaching the hoodie to the zip.
31. Carefully pin or clip the twill tape/zip tape in place on the wrong side of the hoodie, and then topstitch from the right side of the hoodie, securing the outer edge of the twill tape.
Tip > > > Make sure to leave the pin heads or clips accessible from the right side of the hoodie, so you can remove them as you sew.
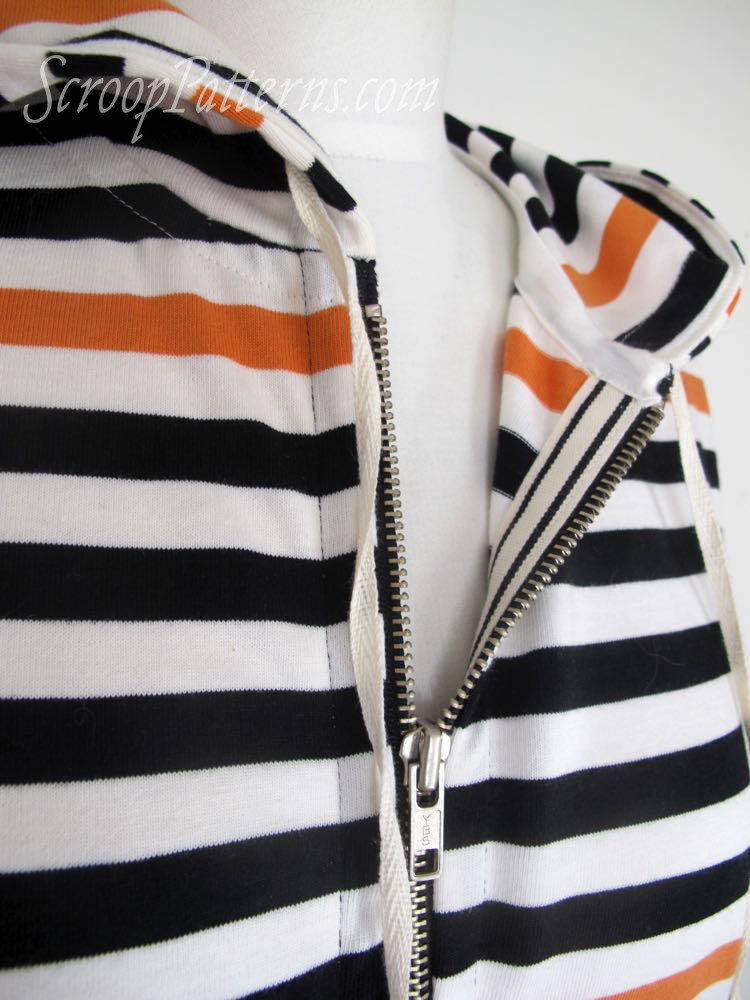
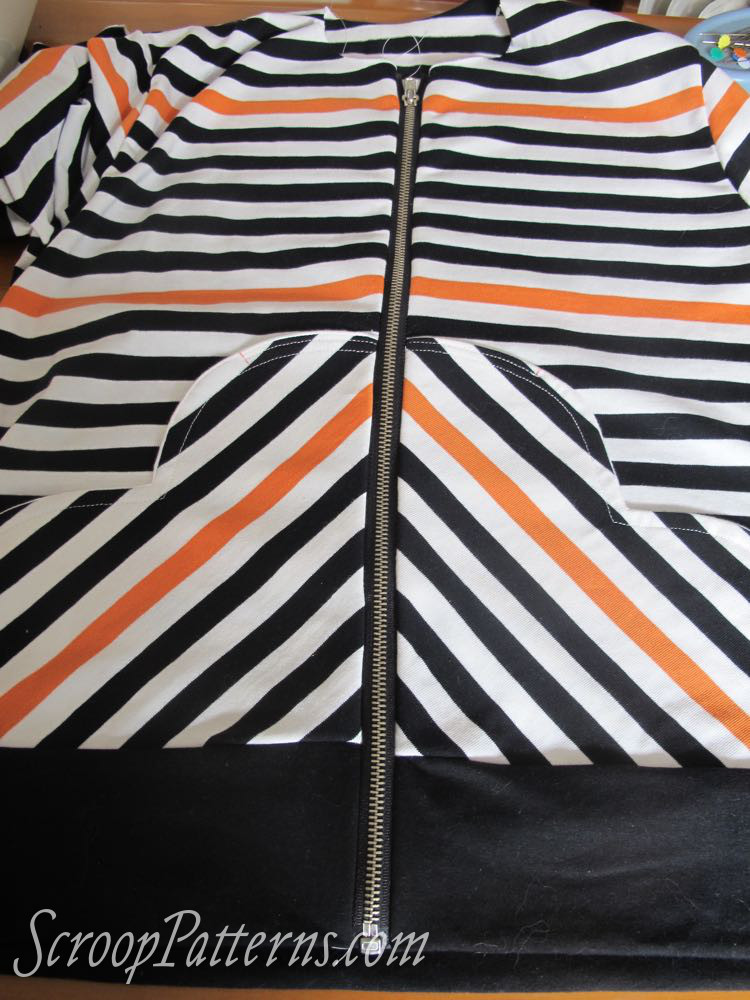
And there is your finished zip!
In the next Sew Along post:
Assembling the hoods!
Want to join in? Buy your Otari Hoodie Pattern Here