The first proper Historical Sew Fortnightly challenge is done – some amazing things were created, it’s so exciting! Mine is done but not quite photographed, so I’ll do that tomorrow and post about it Wednesday after the Rate the Dress.
And then it’s time to work on the next one…
The next challenge is UFO – Un-Finished Object. Use this opportunity to finish off something that’s never quite gotten done, or stalled halfway through.
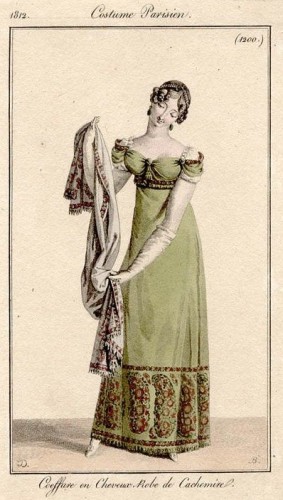
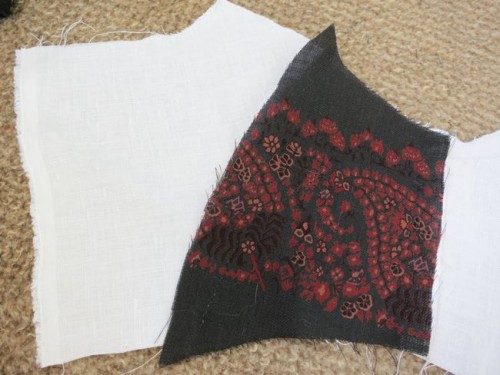
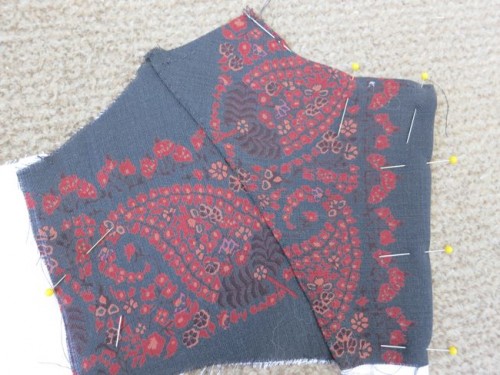
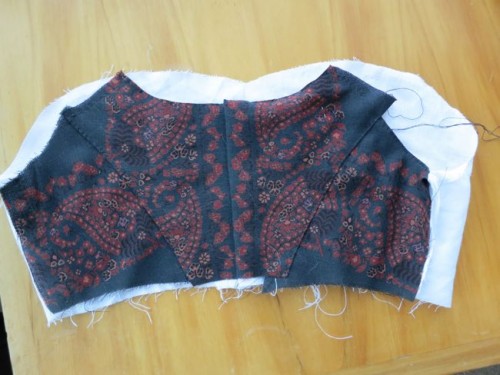
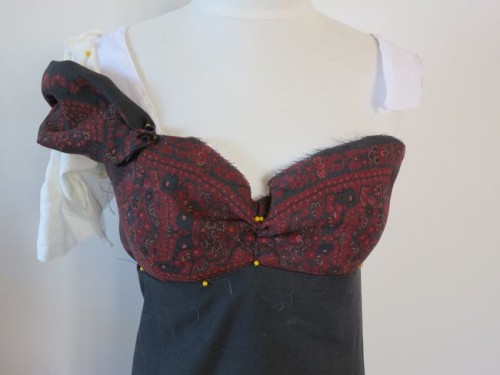
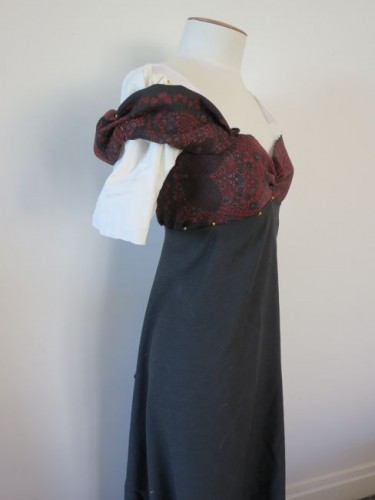
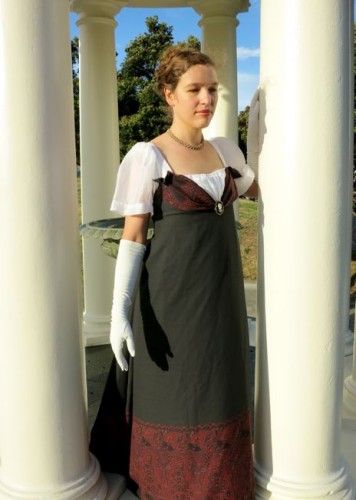
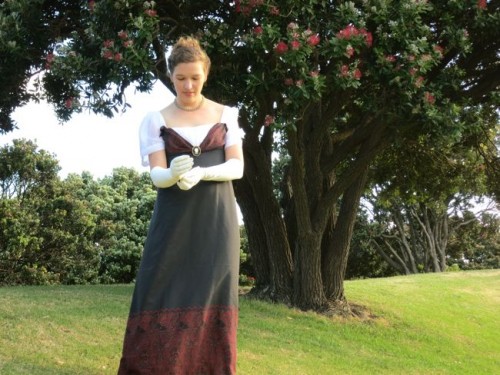
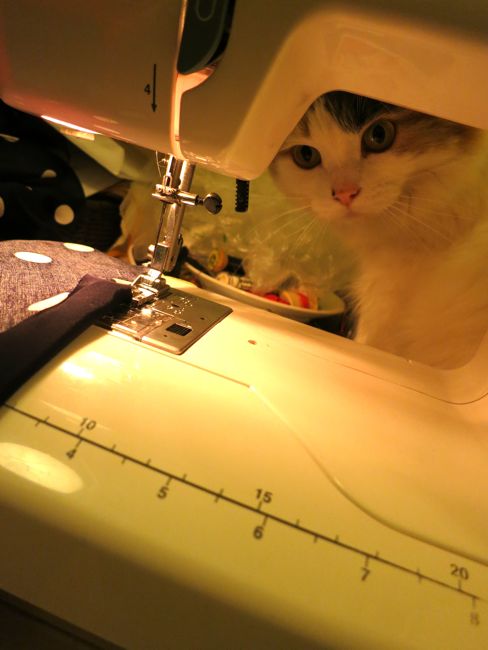
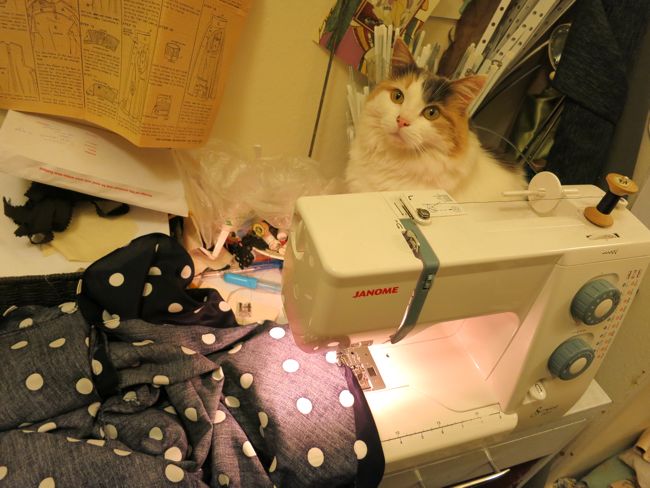
I’m finishing the Luna Moth frock:
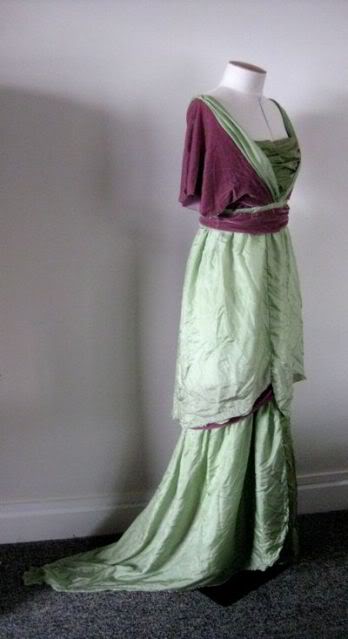
I’m finishing my Luna Moth frock
I thought this would be super easy, because I have so, so many UFOs to tackle. I assumed everyone else would have the same problem. I didn’t count on two things.
- To my absolute delight, there are a lot of seamstresses doing the HSF as their first introduction to historical sewing, so they don’t have any historical UFOs, and;
- Some of you are ridiculously organised and have no UFOs. I am so envious!
If you fall into one of these two categories, fear not, I have a solution. There are three ways to interpret this challenge so that everyone can participate.
- First, the obvious way is if you have an outstanding UFO (or 6, or 26) pick one of them and finish it. I’m finishing my Luna Moth frock for three reasons – 1) it’s the closest to being done, 2) it’s the UFO that I get the most requests to finish, and 3) all my other UFO’s would be perfect for other challenges.
- If you don’t have an outstanding UFO, what about a UFI? Un-Finished Idea. Do you have a project you have always wanted to tackle, something you have always wanted to create, or an accessory an outfit has always needed an accessory?
- Finally, as a last resort, if neither of the previous two applies, create a UFO. Really (I know, I feel like I’m encouraging an addiction). Not a long term UFO, but a chance to look ahead at the other challenges, and pick one that you really want to do something spectacular for but couldn’t get done in a 2 week period. Use this challenge to get a start on your project and then finish it for that challenge. If you do pick this option, try to get a set amount done – the bodice, or the main construction with finishing and trimming to be done later.
Obviously if you do have any actual UFO’s I really, really recommend you go that path and get something off the pile!
I can’t wait to see what you do!