
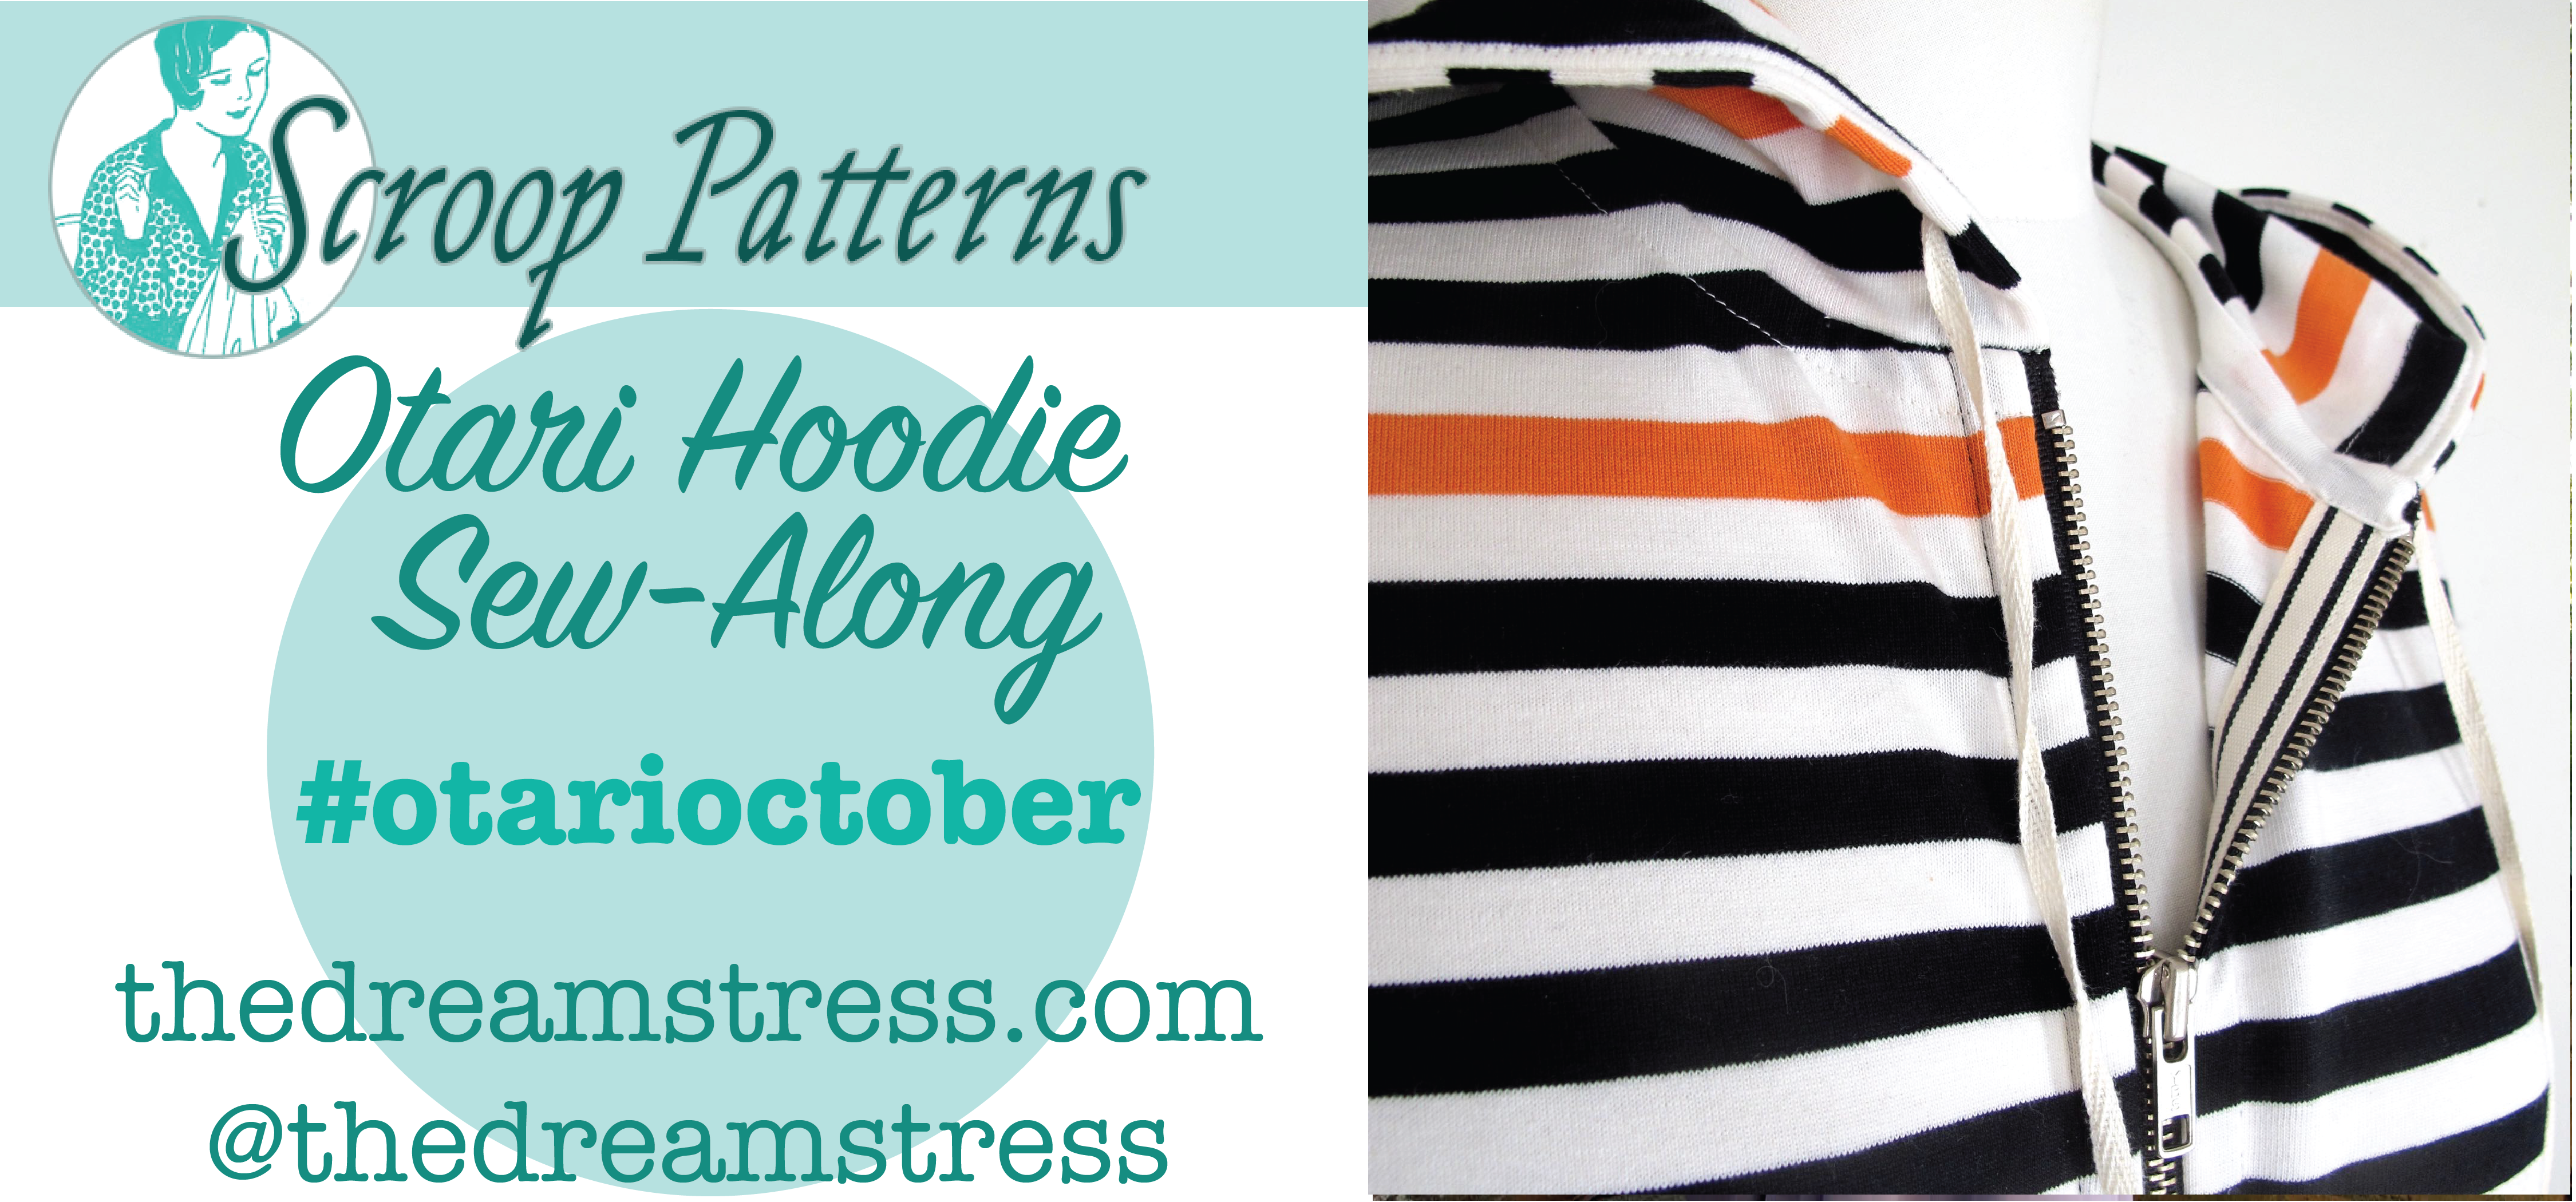
Hooray! It’s the last construction post for the Otari Hoodie Sew Along! In this post I’ll show you how to attach the hood, finish the seam, and give some tips on threading your cord.
And then your hoodie is done!
Buy the Otari Hoodie Pattern Here
In the previous Otari Hoodie Sew Along posts I covered:
- #1 Choosing fabric
- #2 Pattern alterations to get the perfect fit, & cutting out
- #3 Sewing Preparation: interfacing & choosing stitches
- #4 View A Pockets
- #5 View B Pockets — including a hack to add binding to them
- #6 Sleeves & Side Seams
- #7: Hem & Sleeve Bands
- #8: The Zip
- #9: Covering the Zip Tape
- #10: Constructing the Hoods, Views A & B
So, last post! Let’s do this thing!
The numbering of the instructions in this post corresponds to the numbering of the pattern’s instructions.
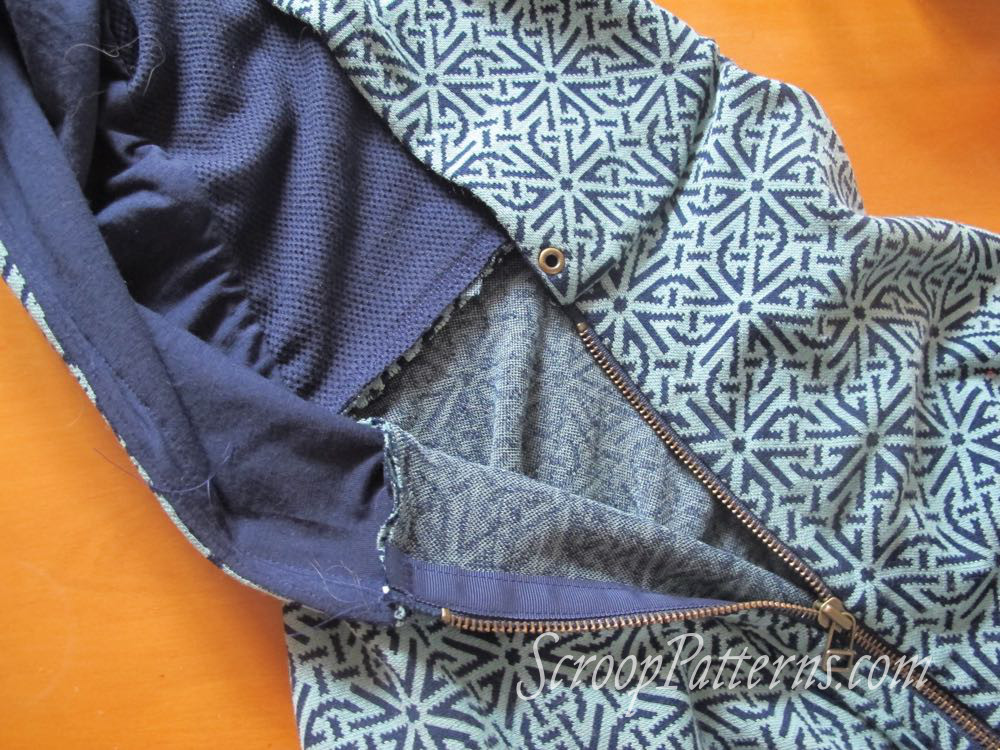
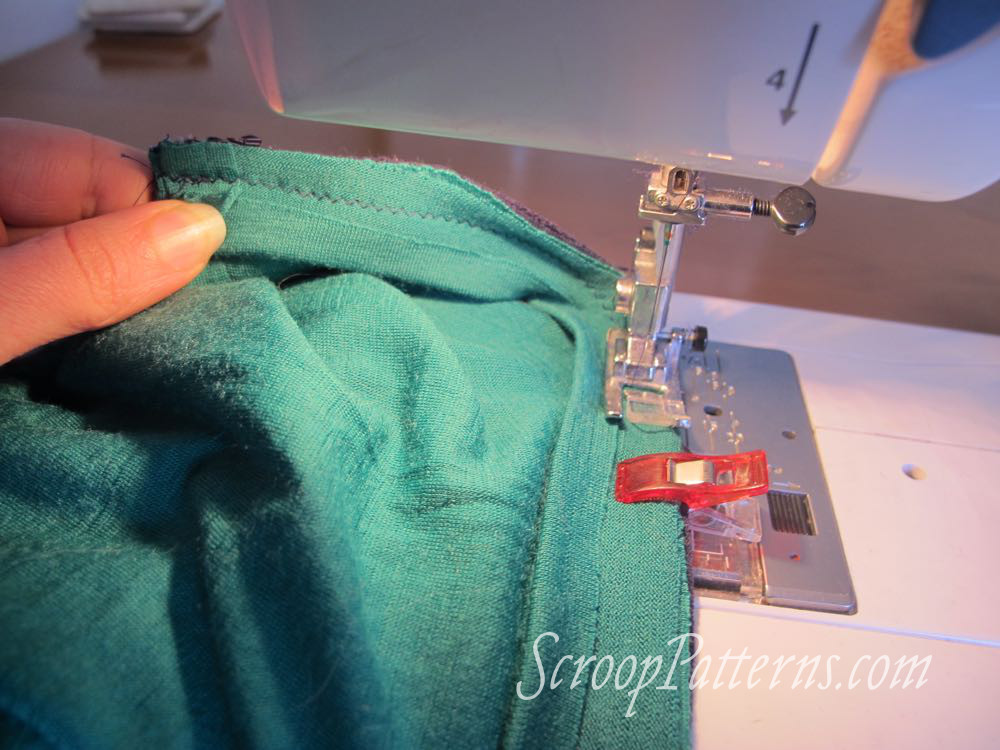
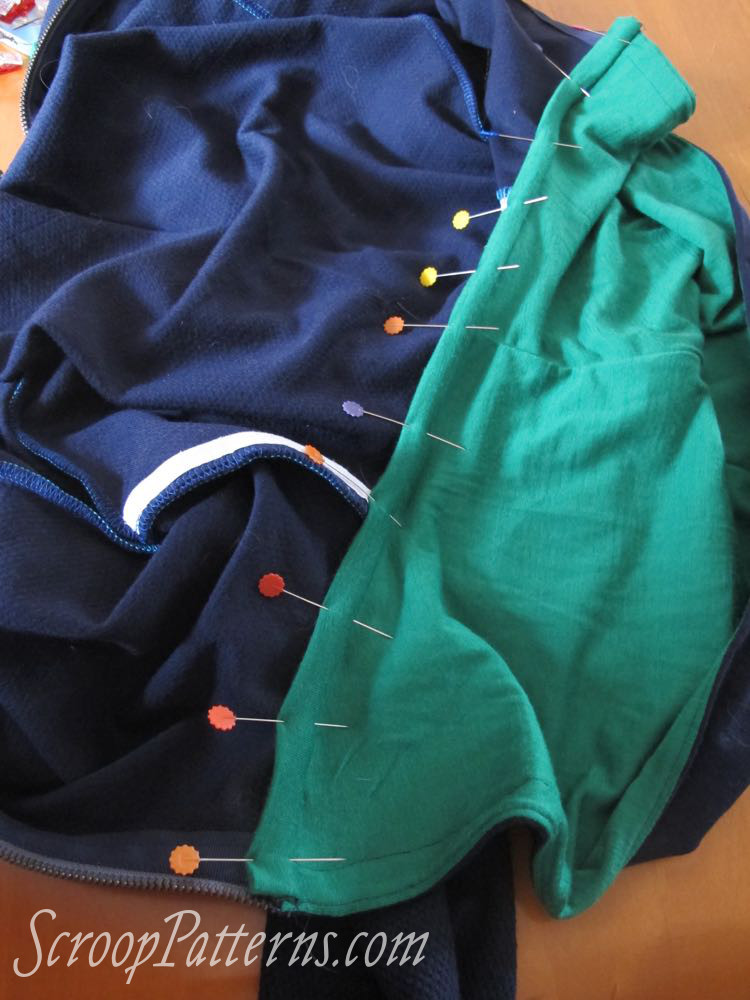
Attaching the Hood to Body
40. Clip/pin and sew your hood to your body, matching the centre back, and the front edges of both views.
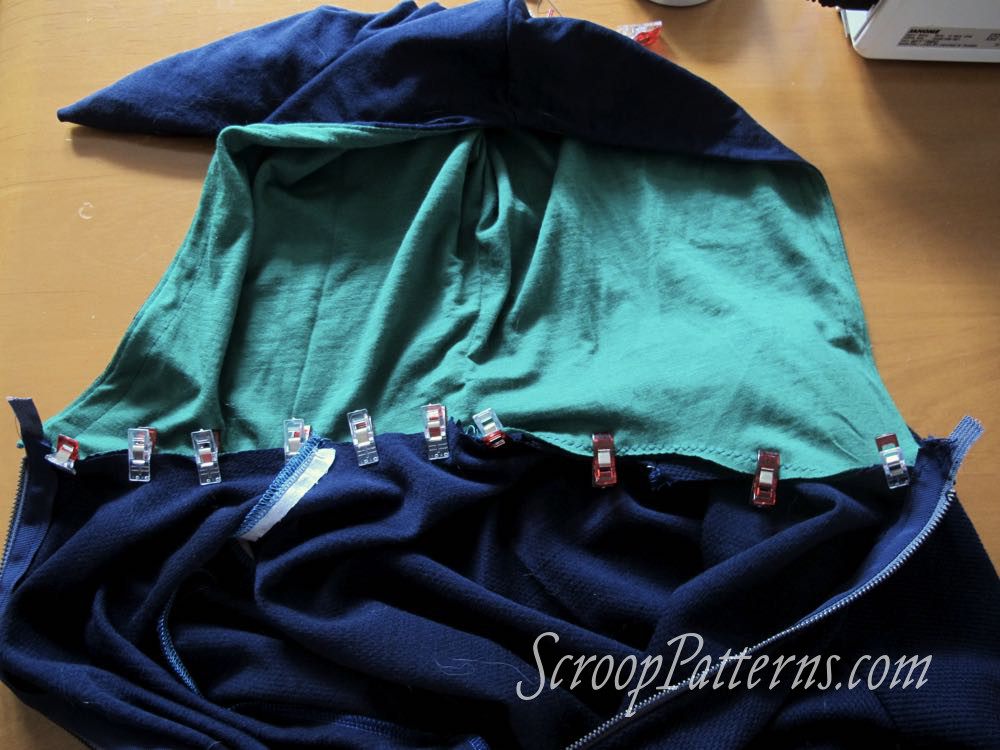
The seams of Hood A should match the shoulder seams of the hoodie:
And there’s your assembled hoodie!
Press the seam down towards the body, and you’re ready for…
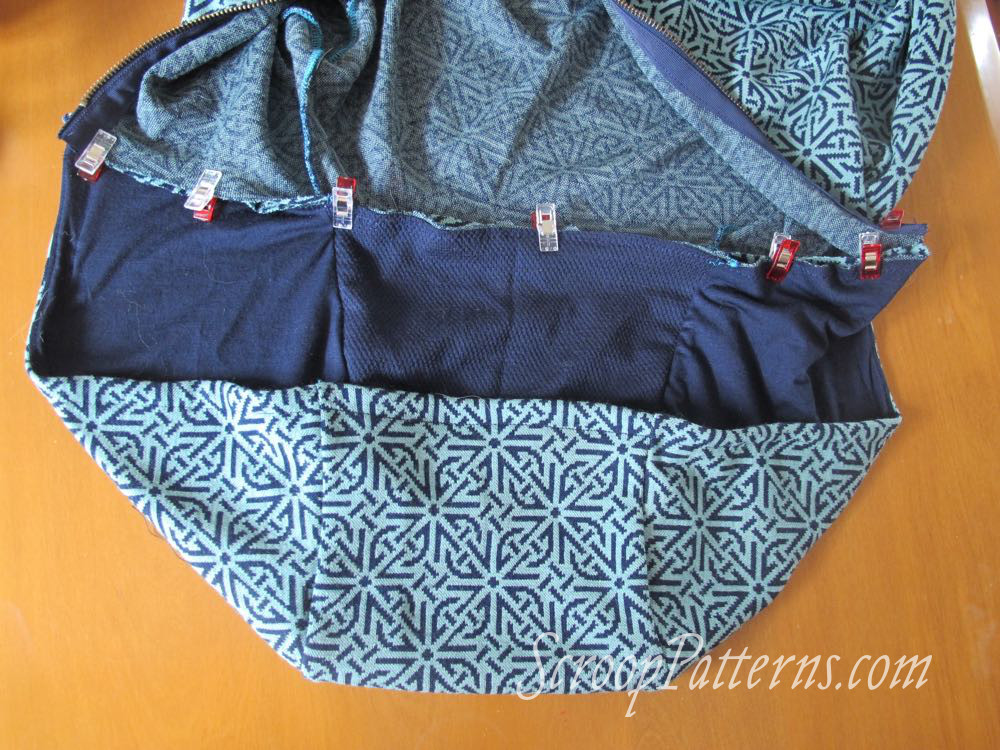
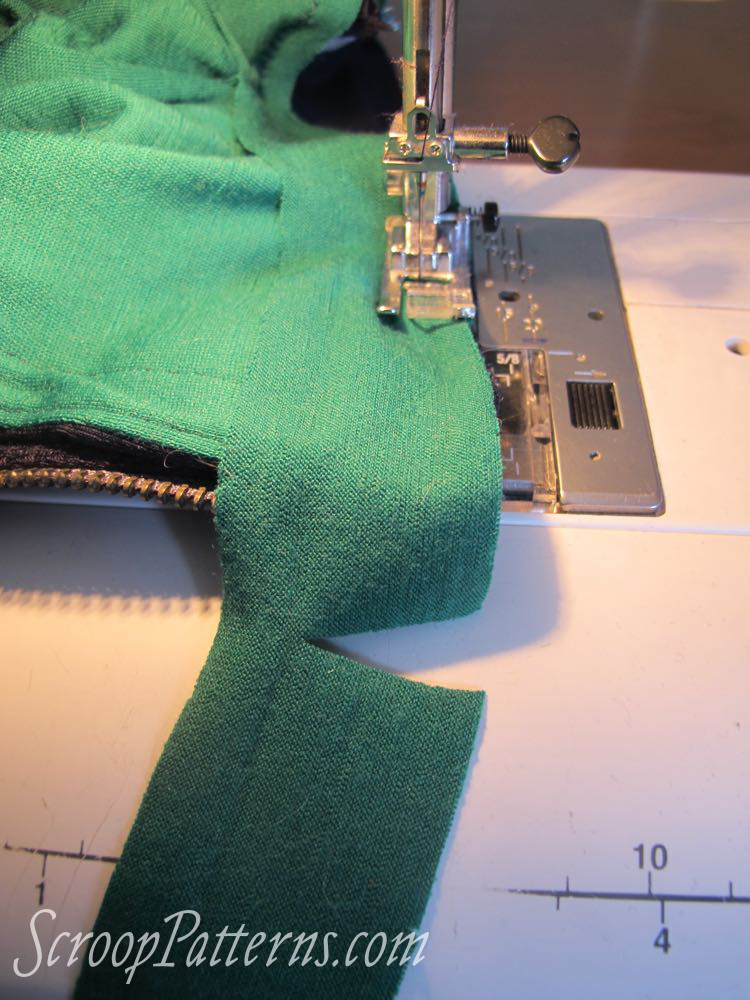
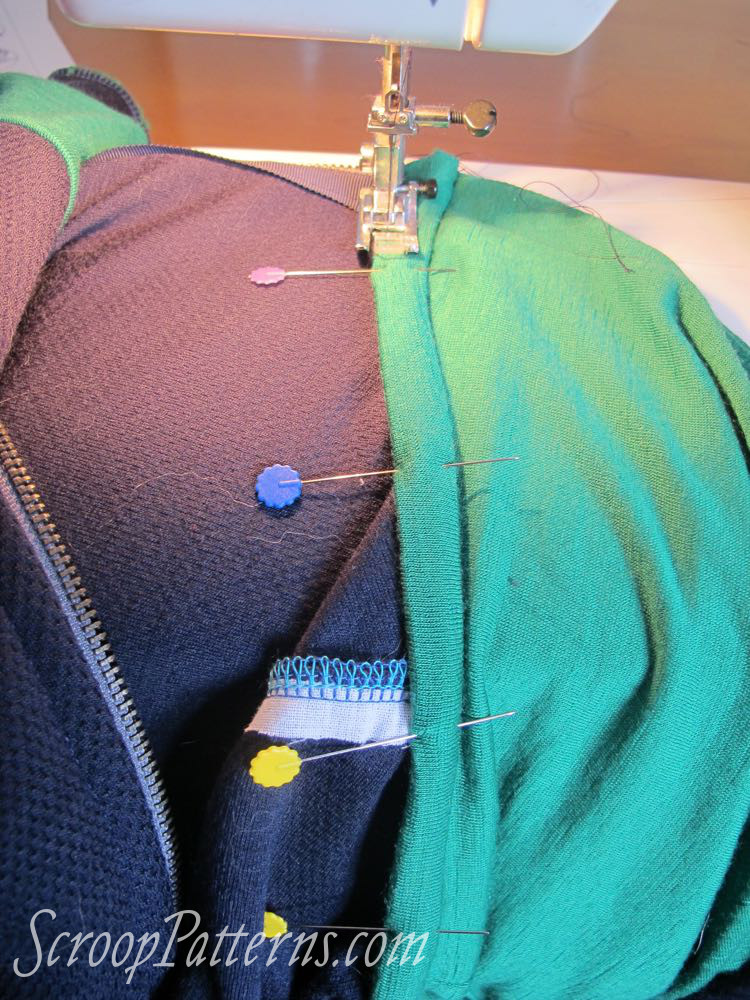
Binding the Hood Seam
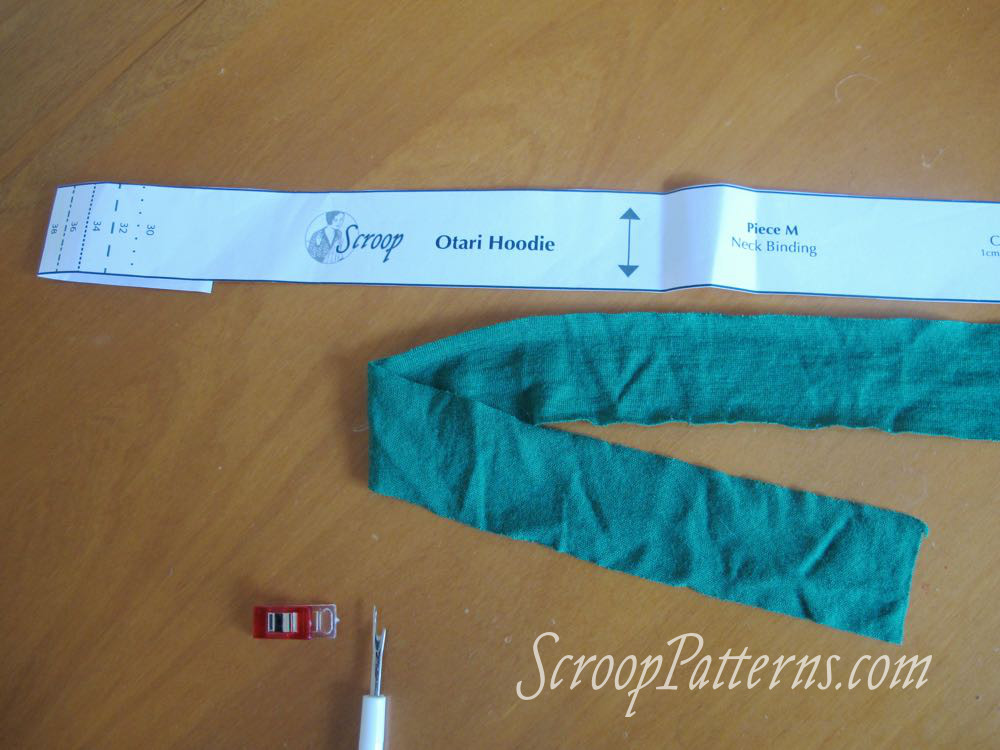
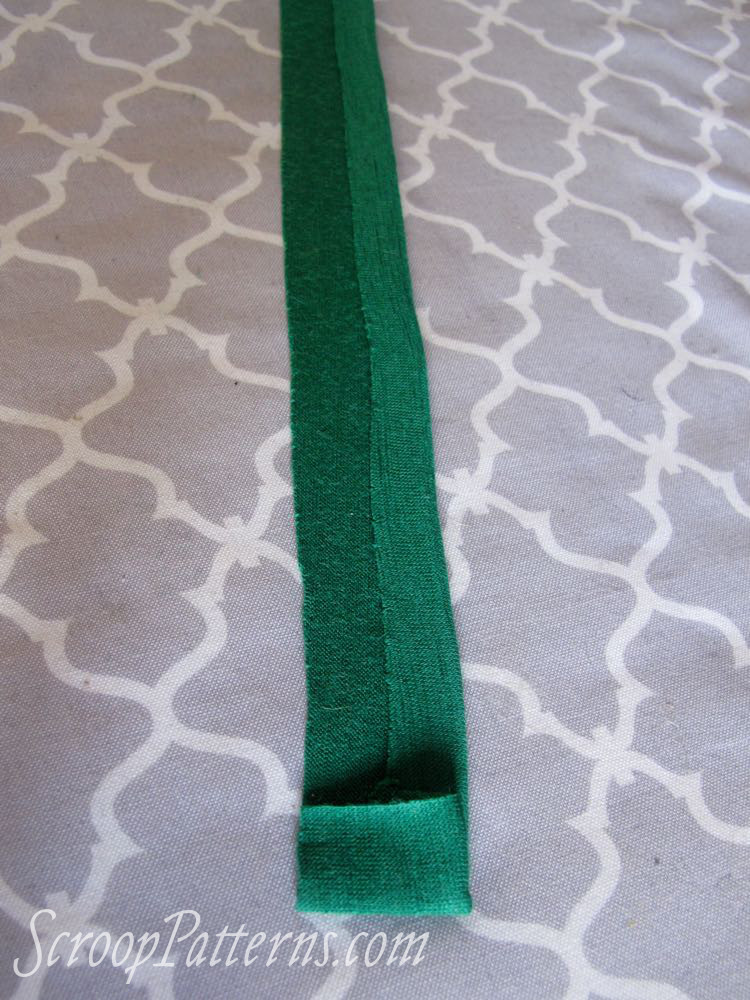
41. Press under 1cm (wrong side to wrong side) one long edge of hood binding strip M. Then turn under the end as shown:
42. Starting with your turned-under end, sew the un-folded edge of binding strip M along the hood-body seam. The right side of your strip should face the hood lining (in green on my hoodie).
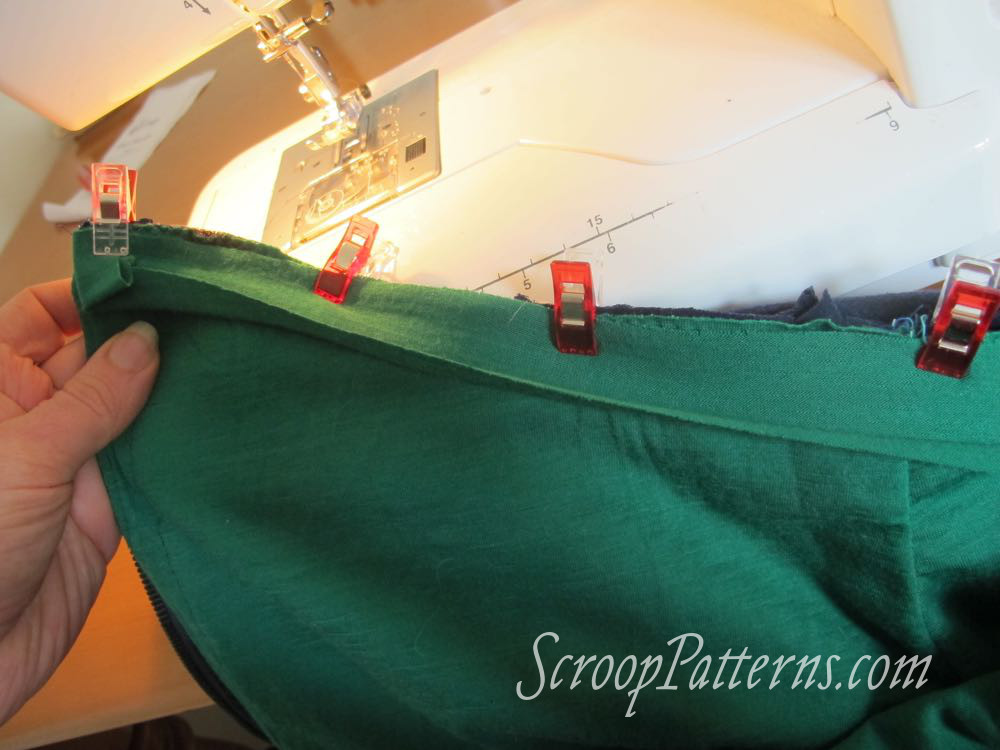
Stretch the binding strip slightly as you sew
When you get close to the end of the binding strip, cut it off 3/8″/1cm beyond the edge of the hoodie, fold as you did with the other end, and sew to the end.
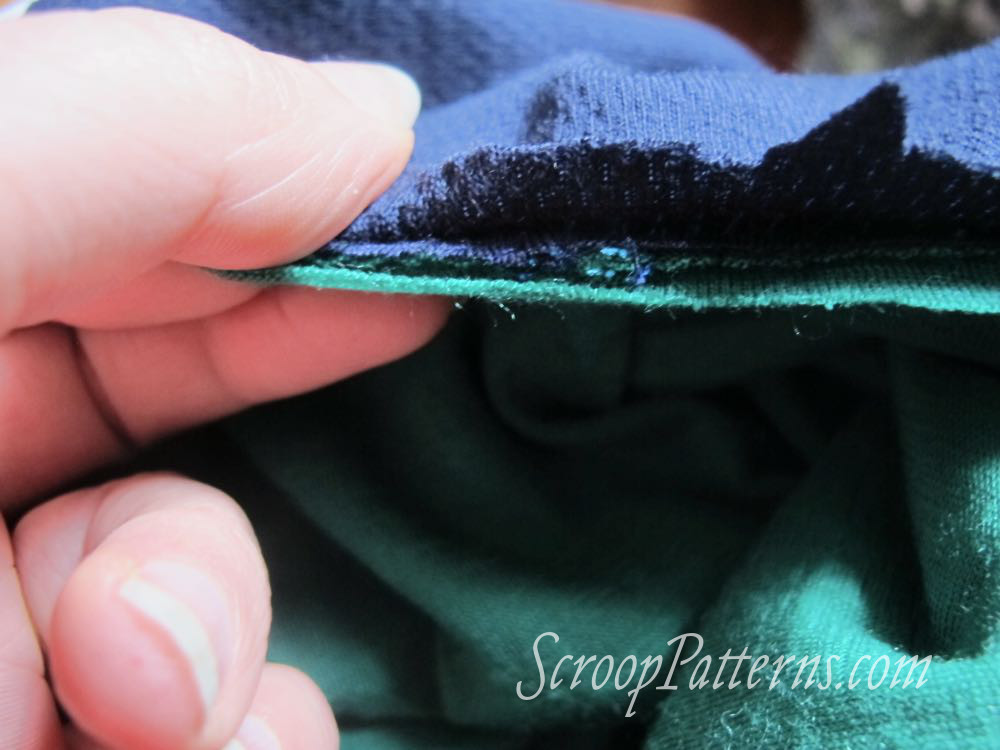
Grade the seam to reduce bulk at the neck join. I like to cut out the middle two layers:
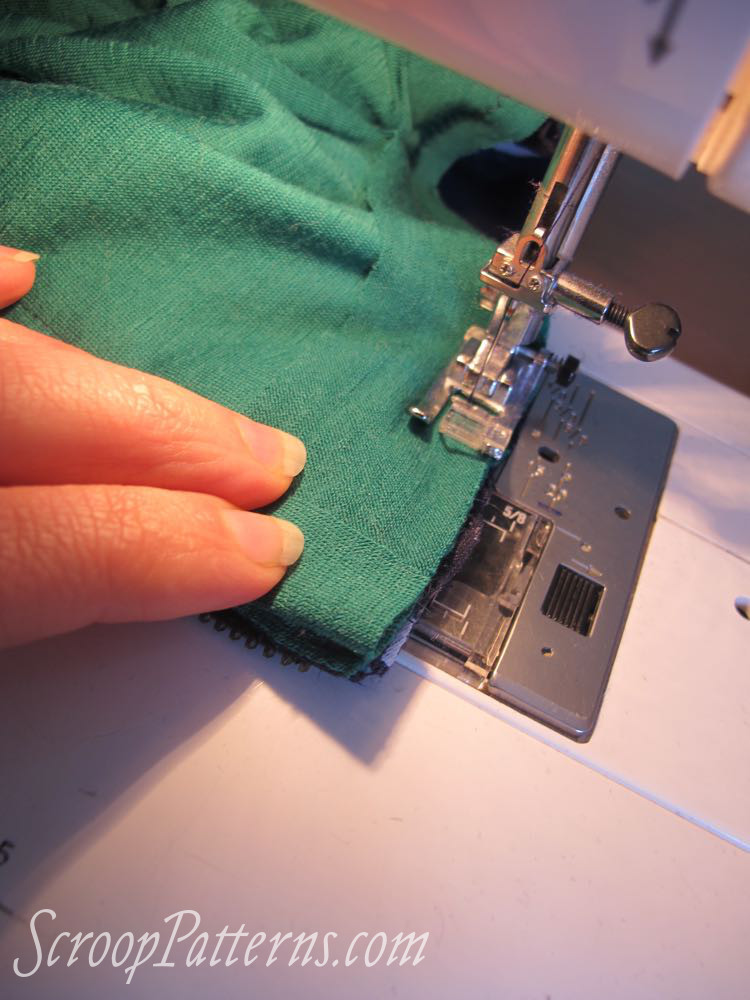
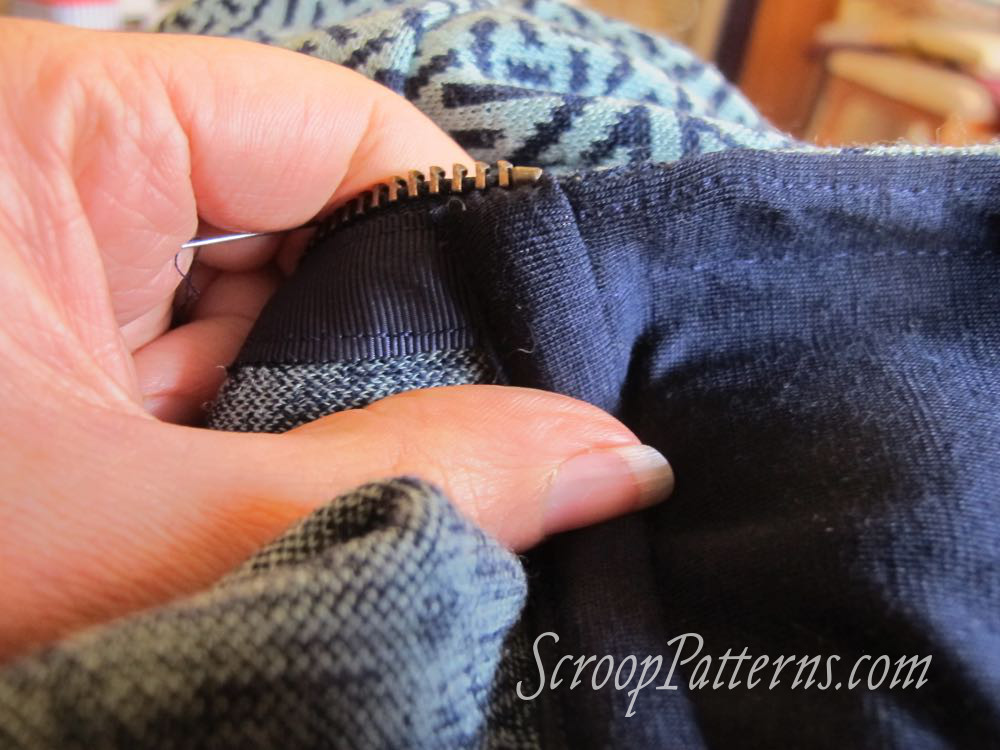
43. Press down your binding strip M to cover the join of the hood & body, and all the raw seams. Pin in place:
44. Sew along the bottom of the pinned down strip, using a straight stitch, and stretching ever so slightly as you sew.
Make sure to use a bobbin thread that matches the outside of your hoodie, because that’s where it will show:
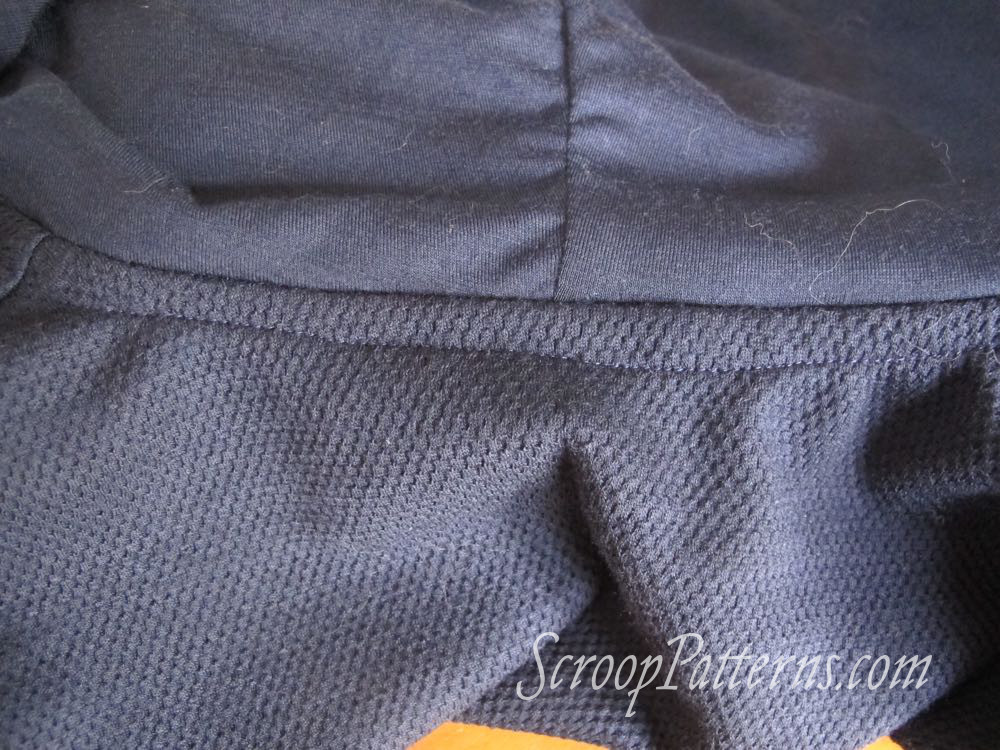
And here is what it looks like on my double knit hoodie:
Hand sewing:
45. Hand sew the ends of your binding strip closed:
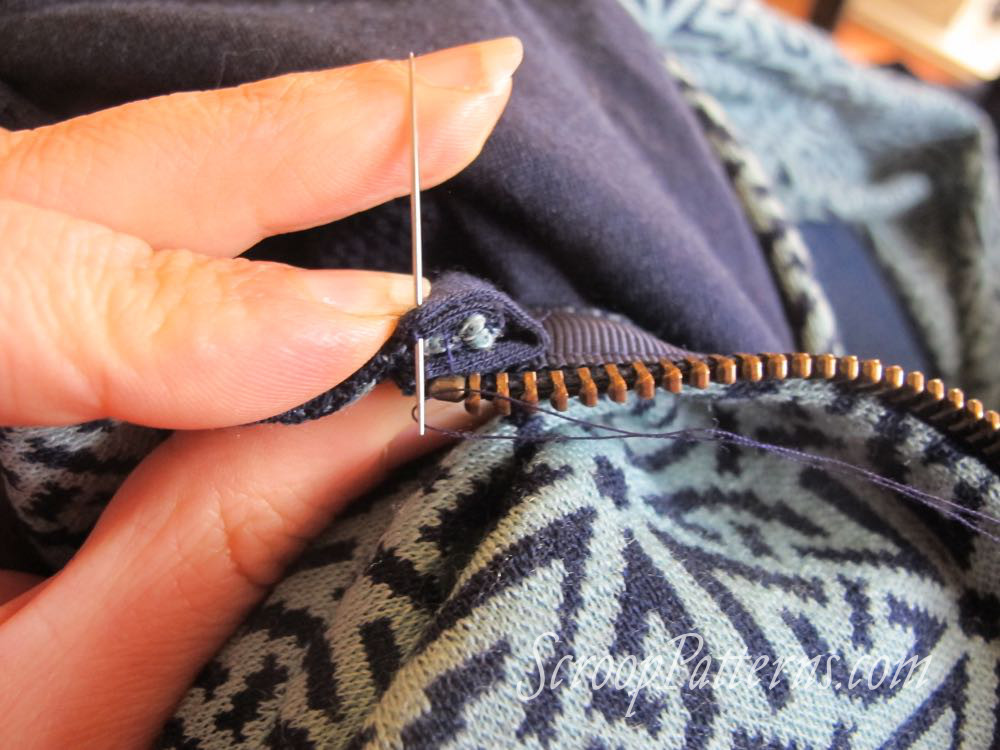
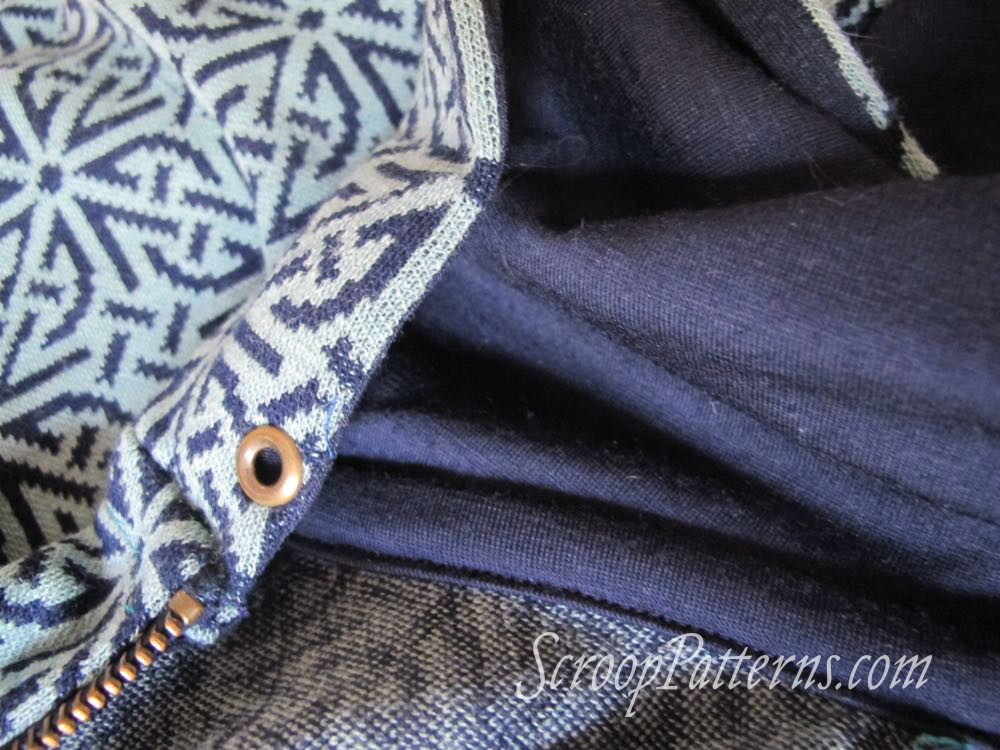
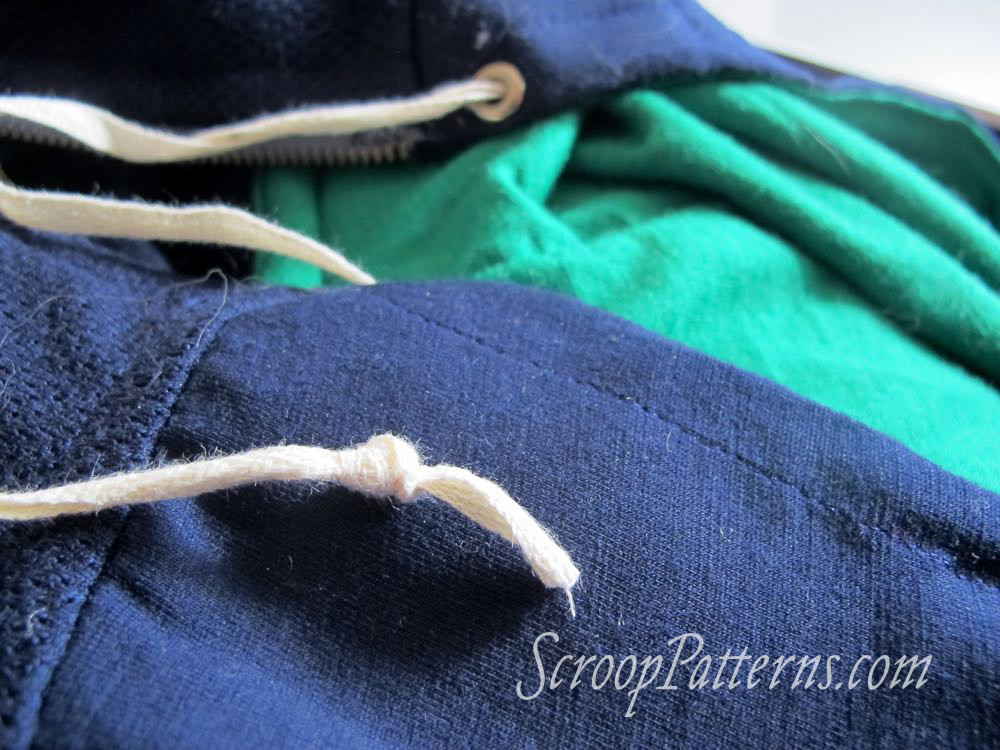
Hood Cord:
46. Use a bodkin, blunt tapestry needle, or tape wrapped around the end of the hood cord to thread the hood cord through your channel:
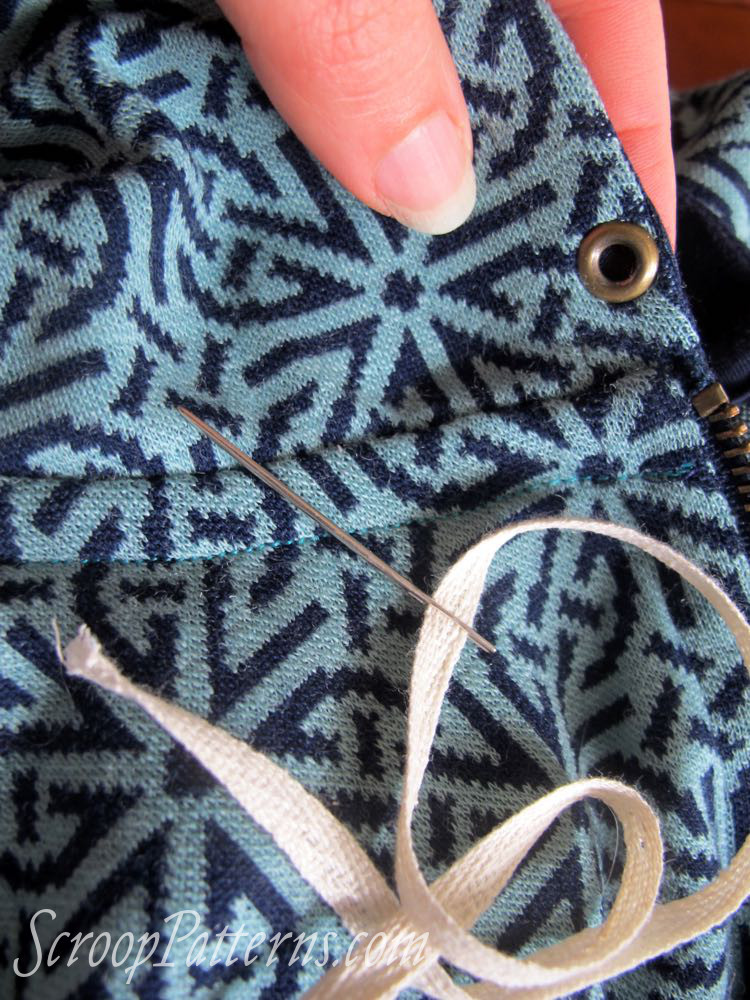
Jamming the end of a large needle into a tiny bit of cork or rubbing eraser also works – anything that is small enough to go through your grommet, will blunt the tip, and won’t fall off as you thread the cord.
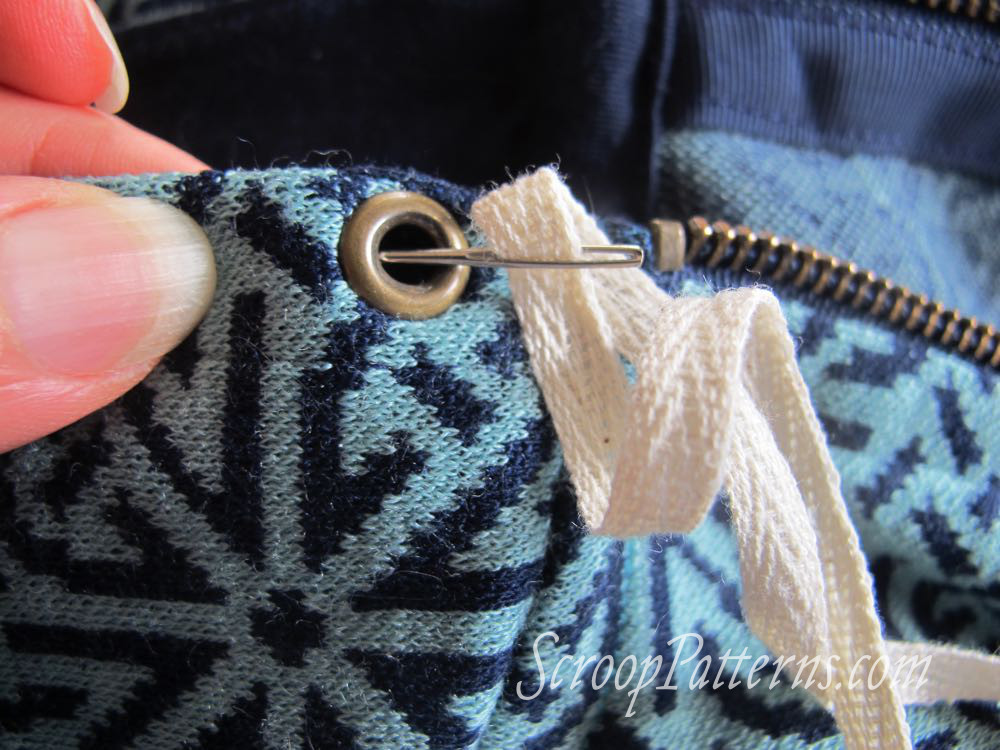
Once your cord is threaded through, tie off the ends. Or get really fancy and add beads or cord endings.
And that’s your finished hoodie!
In the final Sew Along post:
My finished hoodies
Want to make your own? Buy your Otari Hoodie Pattern Here
I almost always fold the end of my tape, attach a sturdy safety pin to the folded end, and use that to push the tape through a channel. I use the same method for elastic in casings. Do you ever use a safety pin?
It’s been fun watching you construct the hoodie(s)!
Best,
Quinn
I use safety pins for a lot of threading, but I don’t know of any safety pins small enough to fit through a grommet with a 7mm opening. 🙁
Oh hm. I think my eyes missed that measurement! Yes, that would need to be a pretty small pin. 🙂