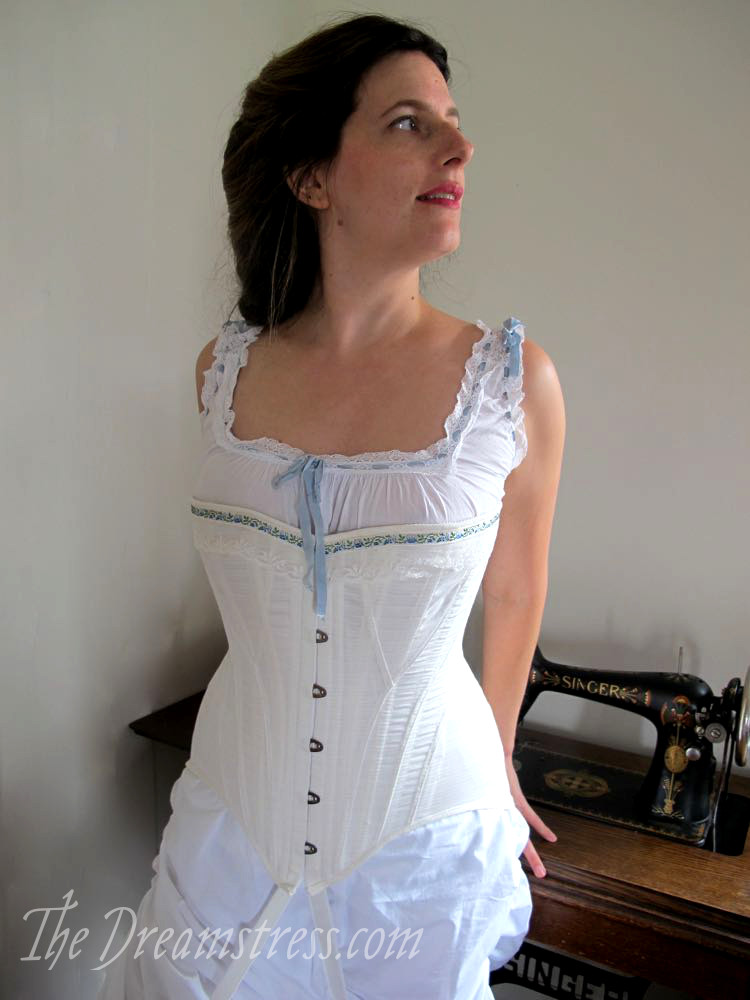
The 1900s ‘Touch of blue’ corset that I made recently was the first 1900s corset that I’ve finished, but it wasn’t the first that I started.
(brace yourself for a long post, full of problems!)
I’ve had the TVE01 Edwardian corset pattern in my stash since shortly after it came out, but hadn’t gotten around to making it up. Then Lauren of Wearing History made a gorgeous version of it in green brocade back in March 2014. I fell in love, pulled out my pattern, and immediately started my own version.
I had green on my mind thanks to Lauren’s version, so I picked a silk taffeta in pale spring green, and a midweight herringbone twill cotton for backing and support.
Lauren had mentioned that she must have measured wrong, because her 1900s corset came out quite small. So I measured very carefully, and checked the pattern very carefully, and was a little generous in picking my size.
I flat lined everything, sewed everything together, added stunt bones, and a stunt lacing strip, and tried on the corset.
No dice. Fully laced there was over 5″ of lacing gap, and none of the seams sat in the right place.
Ack! What to do? Lauren solved her fitssue by adding extra panels to the side. I didn’t feel I had quite enough of a gap for that, and I was really worried about messing up the shape. So I decided to let out every seam as much as possible. The seam allowance is only 1/2″, but I could let out every seam 1/8″ on each side (so 1/4 per seam). With six seams for each half of the corset that could be let out, that would give me an extra 3″ of corset, reducing the gap to a totally acceptable 2″ and a bit. Plus, with the way corsets fit, once I got the seams in the right place on my body, I might be able to lace a little tighter.
There was gnashing of teeth and muttering, and a LOT of unpicking. So much unpicking…
Then, back to re-sewing.
Which, of course, is when I discovered I was running low on the specific colour of vintage thread I’d picked for this project, and didn’t have any replacement. Gah!
At this point I’d been working on the corset for four months (it kept getting shoved aside for being annoying), and I was pretty peeved and over it.
So it got shoved in the naughty pile.
Then, Art Deco Weekend 2015, I found more of the right thread colour. Hooray! Back on track! I kept working on the corset, but it was never top priority. I’d hoped to get them done in time for my Anne of Green Gables in New Plymouth photoshoot but this (of course) is when I realised that in the gap between starting the corset and getting to boning, I’d used up the boning I had intended for it, and didn’t have anything suitable in stash.
Grrrr….
So it went back in the naughty pile, until I finally got around to ordering more of the right boning when I was in the US for Costume College this July/August.
I was so busy after Costume College that I couldn’t work on the 1900s corset, but I was determined to get it done before 2016 was over. The HSF October ‘Heroes’ challenge seemed like the perfect opportunity – Lauren is a hero of mine, and the current family history research is centred on a Great-Great Aunt who did some pretty awesome work in 1900 (see the HSF write-up at the bottom of the post for more on her).
I got the corset completely ready to bone, all the boning channels sewn on, ready to go, by the end of October. I had a bit of trouble figuring out the boning channels: there wasn’t space on my pattern for all the channels indicated in the pattern instructions (and by this point, I was far from the smallest size!). The boning instructions were pretty vague – there were only a couple of sentences, and one small picture of the front boning channels only. I really would have liked a lot more detail.
But, with lots of help from Norah Waugh, Jean Hunnisett, and, to a lesser extent, Valerie Steel, I figured out a boning placement suitable for a 1900s corset that I was happy with.
And then I realised that I’d been sent the wrong width of boning – 1.5mm instead of 8mm synthetic whalebone. I’d been testing the channels with a small piece I had left, and there just wasn’t enough to do even two channels!
I swear this corset was cursed.
I could have complained about the wrong width, but it was 4 months after the order, and they had already replaced another part of the order which wasn’t right – covering return shipping and shipping to NZ. So I would have felt a bit bad about asking for yet another thing, when I should have noticed that multiple parts of the order were off when I first checked and complained. (so, not sure if I should mention the company – on the one hand they were fantastic about replacing the incorrect item, even covering shipping to NZ when I’d had the original order sent to a US address – on the other hand, they messed up multiple parts of the order).
At this point I was out of time, and had to focus on other projects. So the corset went BACK into the naughty pile for November.
When my classes finished for the year I decided I was going to be my own hero, and get the corset DONE, even if the channels weren’t right. So I gritted my teeth, unpicked all my double boning channels, made new bone casings, and re-did all my boning channels.
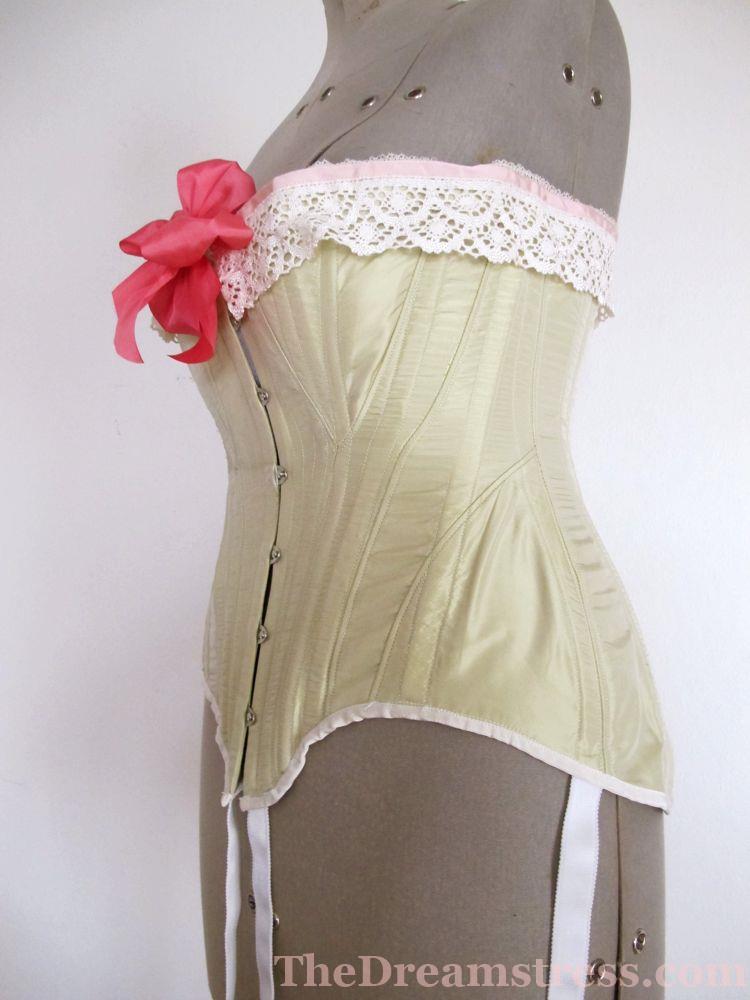
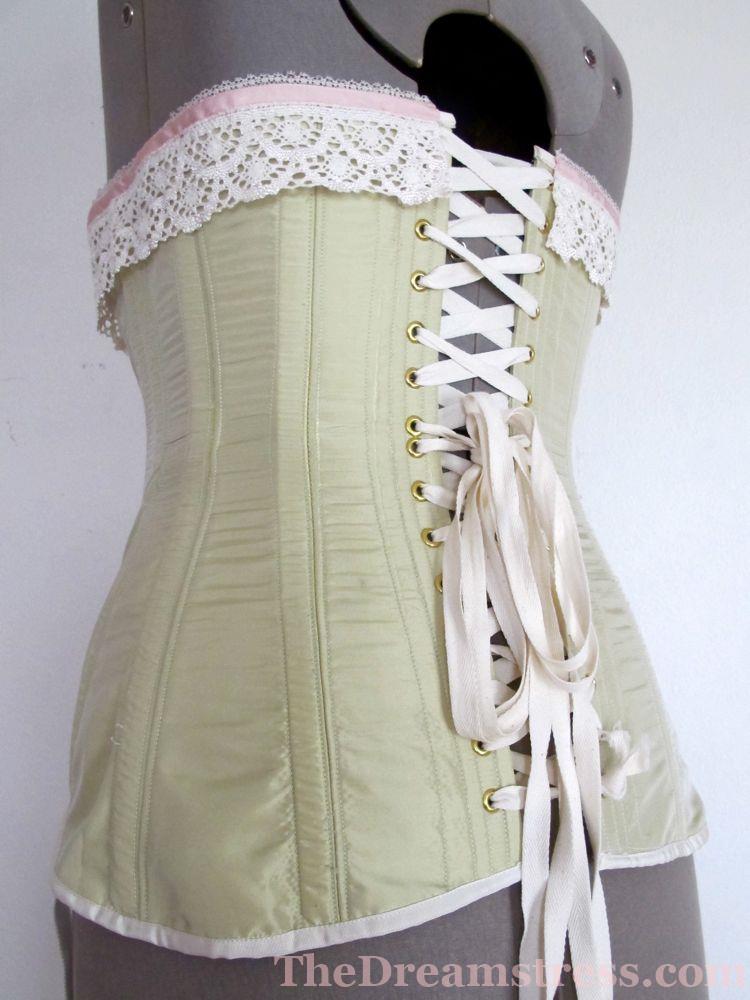
Then all I needed to do was bind the edges (I used viscose faille ribbon), attach garters, and trim it.
I wore it partly trimmed on the 22 Dec for a photoshoot. Unfortunately my hard drive crashed while backing up, destroying some older backups with the images, so they may all be lost.
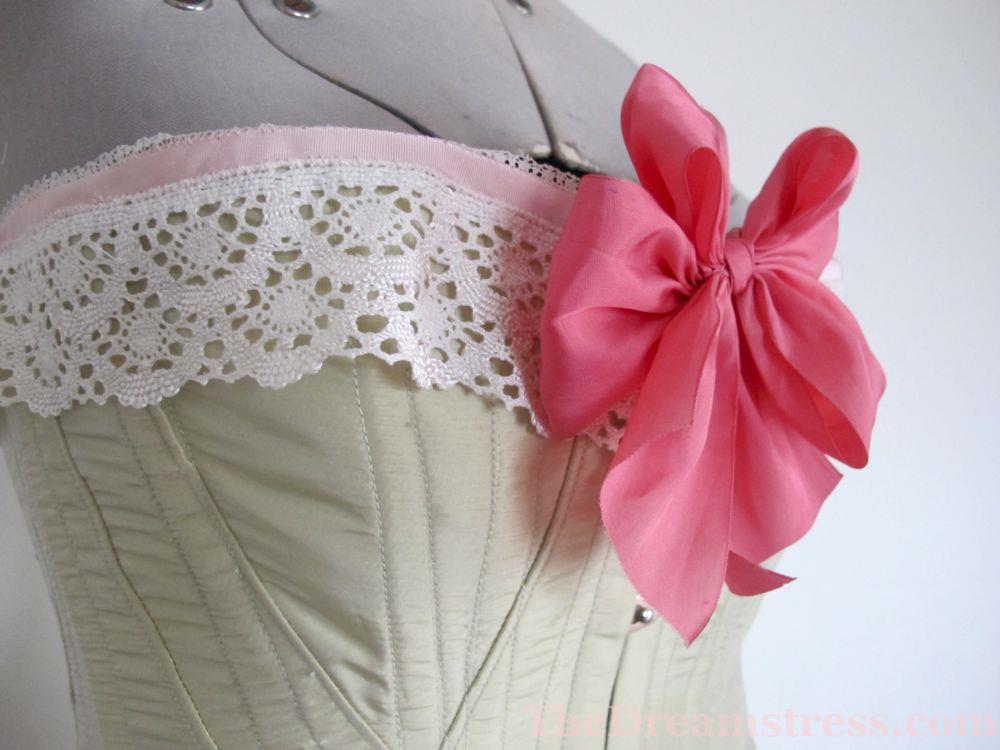
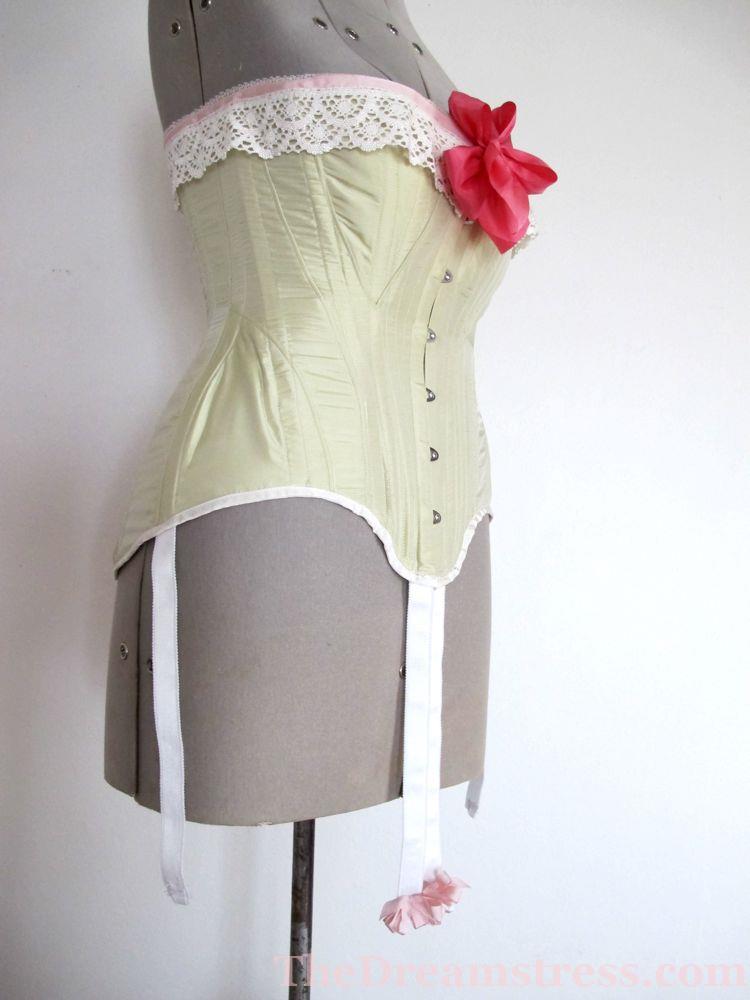
But here it is fully trimmed:
Many thanks to everyone who weighed in on ribbon choices for the corset. You’re definitely my heroes for all the support and encouragement you give me!
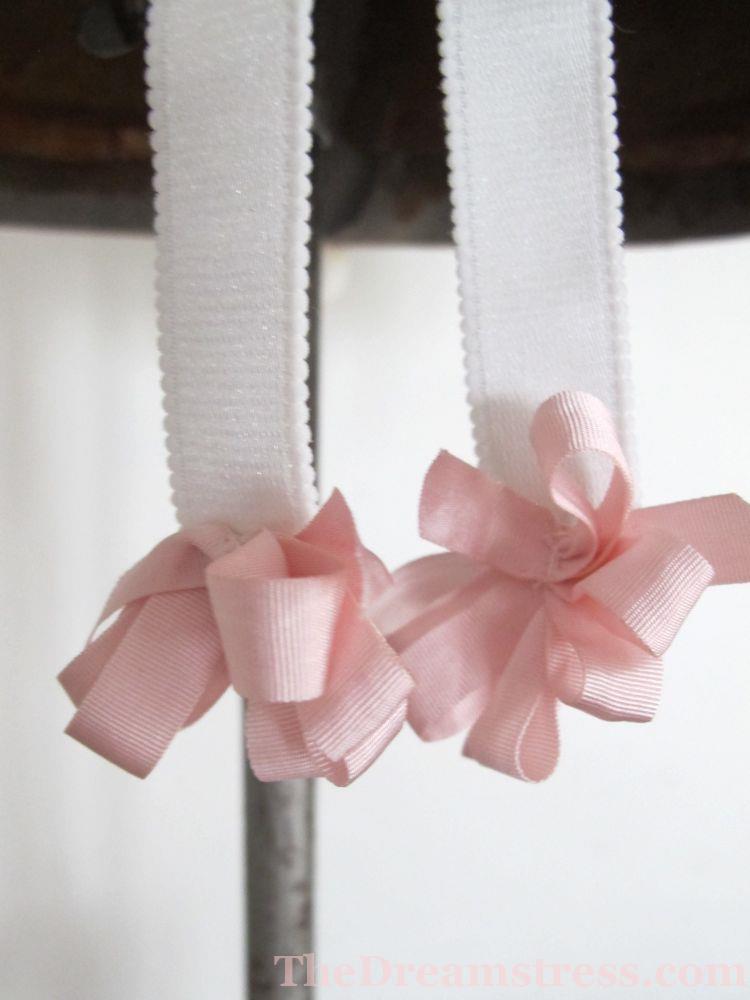
As you can see, I took most of your advice. 😉 I decided that if mimi pink was good, and French pink was good, using both was even better!
So, the corset was a headache to say the least. Some of the problems were the pattern, some were my own making, some were just bad luck. And the end result is far from perfect. Certainly unpicking every seam and every boning channel did not do the fabric any favours! But, it is done, and it works, and it is, despite the flaws, pretty, and I am very pleased with myself! So I call that a win!
And, two and a half months late or not, I’m counting it for the HSM ’16 Heroes challenge!
Just the facts Ma’am:
What the item is: a 1900s corset (suitable for 1901-1908)
The Challenge: #10 Heroes
My Heroes: I struggled with this pattern, because the sizing at the smaller sizes doesn’t work particularly well if you have a small waist and a big ribcage. I was only able to finish it thanks to Norah Waugh, Jean Hunnisett, and, to a lesser extent, Valerie Steel. These three historians fantastic research into corsets helped me to decide how to lay out the boning channels and make the sizing work for me.
So this pattern is in honour of those three ladies, and also my great, great aunt, Agnes. Agnes’ history is the latest research project among my family geneologists. She left the US to be a missionary in the (then) Ottoman Empire in 1901, and lived there for the next 43 years. She founded the first secondary girls school in the OE. She survived two world wars, the end of the OE, and the wrath of various governments because she publicly spoke out against the Armenian Genocide, and the rise of the Nazis. Pretty awesome woman!
Fabric/Materials: 1m of midweight cotton twill, op-shop find ($2), 1m of spring green taffeta ($18, The Fabric Store 40% off sale)
Pattern: Truly Victorian TVE01- 1903 S-Curve Corset
Year: 1901-8
Notions: cotton thread, a busk ($30), grommets ($5), synthetic whalebone ($20), rayon faille ribbon (about $10 worth), and vintage 1930s rayon ribbon ($2).
How historically accurate is it? I overlocked the interior seams. Overlockers have been around since the 1880s, but I am not aware of their use on corsets in the Edwardian era. The boning is too wide. The multiple unpickings and re-sewings aren’t helping. It’s a little early for rayon (viscose) ribbon, but it doesn’t act too differently to silk. I’m going to say 60%
Hours to complete: Oh dear…. 40+
First worn: For a photoshoot, 22 December (sans a few bows and bits of ribbon).

